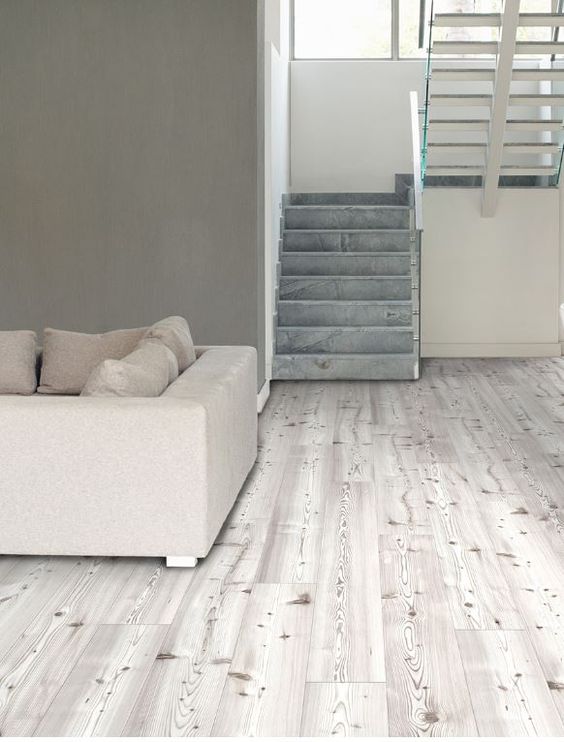
Why Choose Cork Flooring for Your Space?
When it comes to choosing the perfect flooring for your home, cork may not be the first material that comes to mind. However, I’ve found that cork flooring offers a unique blend of sustainability, comfort, and aesthetic appeal that’s hard to beat. It’s quickly becoming a popular option for homeowners looking for something a little different yet practical. If you’re considering cork for your next flooring project, here are the key reasons why it might be the ideal choice for your space.
- Eco-Friendly and Sustainable
Cork flooring is an environmentally friendly choice because it’s made from the bark of cork oak trees, which regenerate their bark after harvesting. This makes it a renewable resource. Unlike traditional hardwood, no trees are cut down during cork production, making it a sustainable option for those looking to reduce their environmental impact. - Comfortable and Soft Underfoot
One of the standout features of cork flooring is its softness. Walking on cork feels different than hardwood or tile—it has a slight give, almost like a cushion underfoot. This makes it a fantastic option for spaces where you’ll be standing or walking for long periods, like kitchens or living rooms. - Natural Insulation for Sound and Temperature
Cork is a natural insulator, which means it helps regulate temperature and sound in your home. It stays warm underfoot in the winter and cool in the summer. Plus, it’s great for noise reduction, making it ideal for bedrooms, playrooms, or office spaces where quiet is important. - Hypoallergenic and Mold-Resistant
If you or anyone in your home has allergies, cork is a smart choice. Cork’s natural properties make it resistant to mold, mildew, and pests. It doesn’t trap dust, dander, or other allergens, helping to maintain a cleaner air quality in your home. - Durable and Long-Lasting
Despite its soft feel, cork is a surprisingly durable material. It can withstand heavy foot traffic and furniture without denting or showing signs of wear as easily as other flooring types. With proper care, cork flooring can last for decades. - Aesthetic Versatility
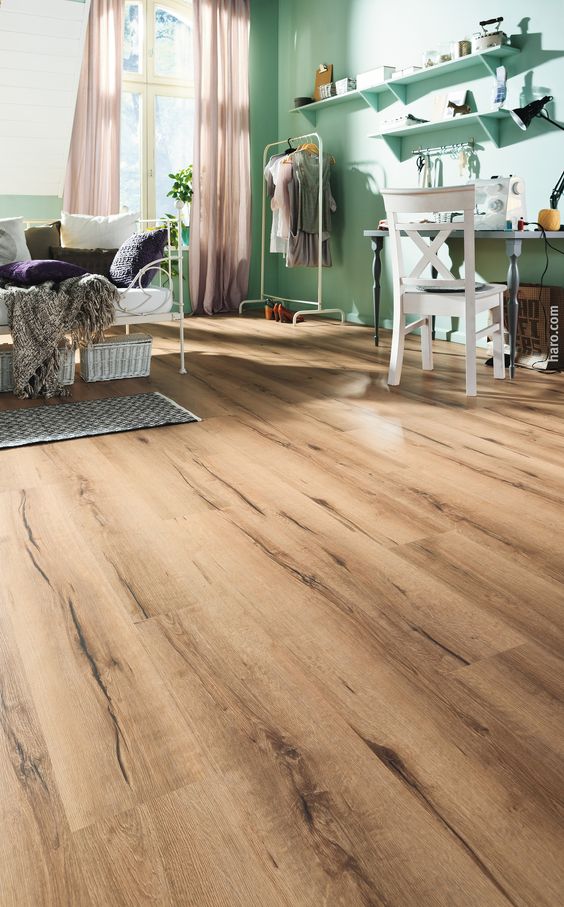
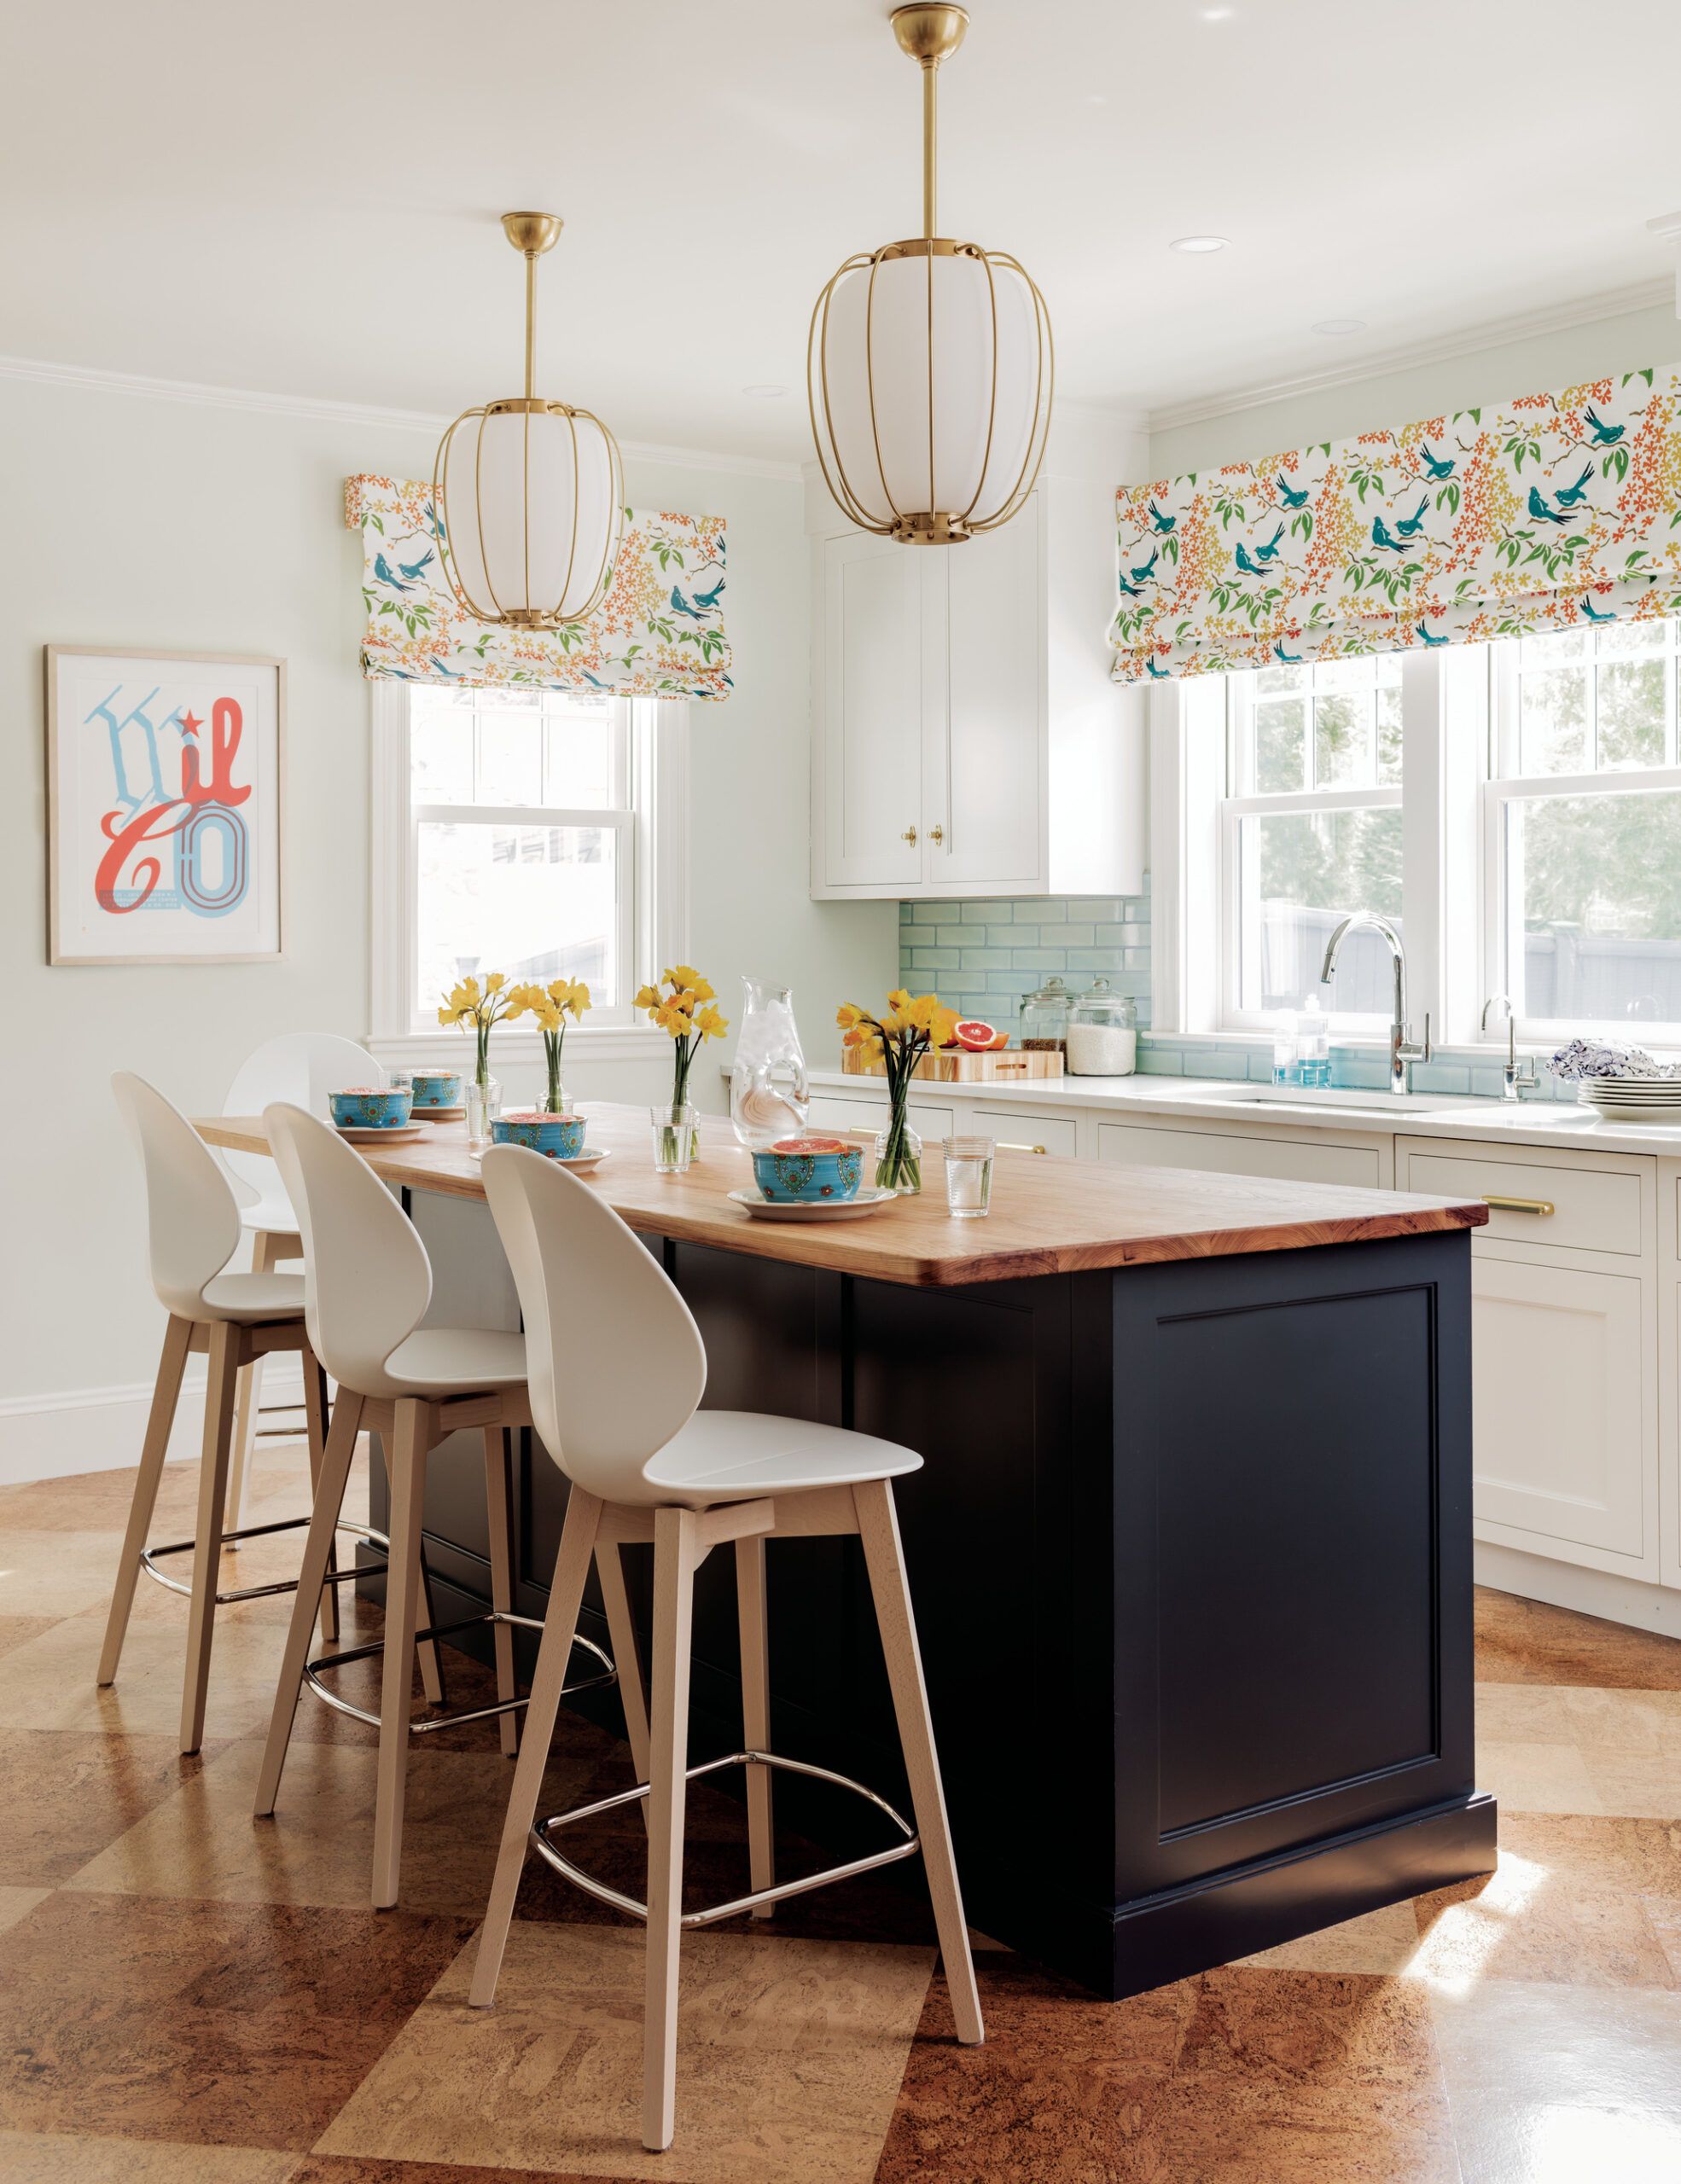
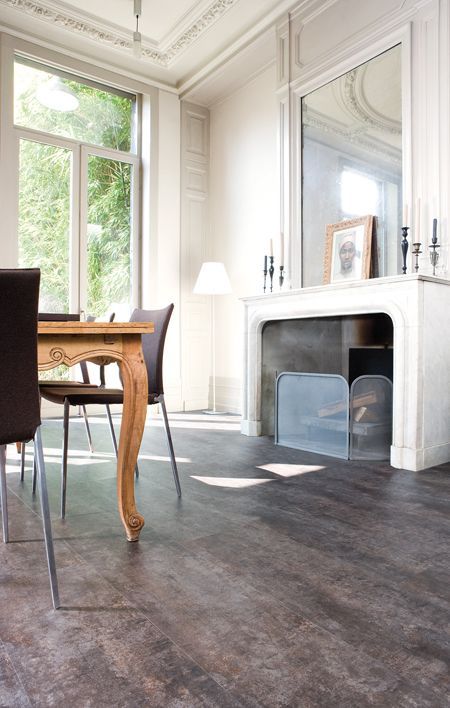
Cork flooring comes in a wide range of styles, patterns, and colors, making it easy to match with any interior design. Whether you want a modern, sleek look or a rustic, natural vibe, cork can be tailored to fit your aesthetic.

Preparing Your Cork Floor for a Fresh Coat of Paint
Before you can dive into painting your cork floor, there are some crucial preparation steps you need to take. Painting cork can provide a fresh, modern update, but proper prep work ensures the paint adheres well and lasts for a long time. Here’s a step-by-step guide on how to get your cork floor ready for a new coat of paint.
Clear the Room Completely
The first step is to clear the room of all furniture and objects. It’s important to have an unobstructed workspace when painting floors. I recommend moving everything out, including rugs, tables, and any loose items, so you can focus solely on the floor itself.
Thoroughly Clean the Cork Floor
Cork is naturally porous, so it can hold onto dirt, dust, and debris. Before painting, you’ll need to thoroughly clean the floor using a vacuum and a damp mop. Be sure to remove any stains or sticky spots, as these will prevent the paint from adhering evenly. Let the floor dry completely before moving to the next step.
Lightly Sand the Surface
While cork is a soft material, it’s still important to lightly sand the surface to create a texture that will help the paint stick. I suggest using fine-grit sandpaper for this step, going over the floor gently. The goal is not to damage the cork but to roughen the surface enough for better paint adhesion.
Patch Any Holes or Gaps
Inspect your cork flooring for any dents, holes, or gaps that may have developed over time. Use a wood filler or cork-compatible patching material to smooth out these imperfections. Once you’ve patched the floor, let it dry completely and sand the area smooth.
Apply a Primer Coat
Applying a primer is essential to ensure that the paint bonds well with the cork. A high-quality primer will seal the porous surface of the cork and prevent the paint from being absorbed unevenly. Be sure to use a primer designed for cork or similar materials, and apply it evenly with a roller or brush.
Allow for Adequate Drying Time
After priming, let the floor dry according to the primer’s instructions. This can vary depending on the product, but you should typically allow at least 24 hours before proceeding to the painting stage. Make sure the floor is completely dry before moving on to avoid any issues with paint adhesion.
Choosing the Right Paint and Supplies for Cork Flooring
Painting cork flooring requires special consideration when it comes to choosing the right paint and supplies. I’ve found that using the right materials makes all the difference between a paint job that lasts and one that peels away within months. Let me walk you through the essentials for a successful cork floor painting project.
Select a Durable Floor Paint
The most important factor in painting cork is the type of paint you use. Regular wall paint won’t cut it here. You’ll need a durable floor paint that’s specifically formulated for high-traffic areas. Look for paints that are designed for wood or concrete, as they will adhere well to cork and offer the durability needed.
Opt for Water-Based Over Oil-Based Paint
While oil-based paints used to be the go-to for floor projects, water-based paints are now the better option. They dry faster, are less toxic, and are much easier to clean up. Plus, water-based paints are less likely to yellow over time, which can be an issue with oil-based options.
Don’t Forget the Primer
Just like with any painting project, a good primer is essential. Choose a primer designed for porous surfaces like cork. This step is crucial for ensuring the paint adheres well and lasts for a long time. A primer will also help smooth out any imperfections in the cork’s surface.
Pick High-Quality Brushes and Rollers
The tools you use matter just as much as the paint. I always recommend using high-quality brushes and rollers for floor projects. A roller with a short nap works best for cork since it applies the paint evenly without soaking it up too much. For edges and corners, use a small, angled brush.
Purchase a Clear Floor Sealer
After painting, you’ll want to protect your work with a clear floor sealer. This will add an extra layer of durability and protect the paint from scratches and scuffs. Look for a water-based polyurethane or acrylic sealer for the best results.
Keep Extra Paint on Hand for Touch-Ups
Cork floors can experience wear and tear over time, especially in high-traffic areas. It’s a good idea to keep some extra paint on hand for touch-ups down the road. Having a small amount stored properly will allow you to freshen up any spots that begin to show signs of wear.
Step-by-Step Guide to Priming Your Cork Floor
Priming your cork floor is an essential step before applying paint. Trust me, this is one part of the process you won’t want to skip if you’re looking for a long-lasting, professional finish. Let’s dive into how you can prime your cork floor properly to set the stage for painting success.
Start with a Clean Surface
Before priming, make sure your cork floor is thoroughly cleaned. Any dirt, dust, or grime left on the surface can interfere with the primer’s ability to bond with the floor. I recommend vacuuming and mopping the area, then letting it dry completely before moving forward.
Choose the Right Primer
Not all primers are created equal, especially when it comes to porous materials like cork. You’ll want to use a high-quality primer designed specifically for floors or porous surfaces. This will ensure that the paint you apply later adheres evenly and doesn’t soak into the cork, which could lead to an uneven finish.
Apply the Primer Evenly
Using a roller with a short nap, apply the primer in even strokes across the entire surface of the cork floor. Make sure to work in small sections and overlap your strokes slightly to avoid streaks. If you’re working in tight spaces or corners, an angled brush can help you get into those hard-to-reach areas.
Allow Adequate Drying Time
After you’ve applied the primer, it’s important to give it enough time to dry completely before moving on to painting. Depending on the type of primer you use, drying times can vary, but I recommend waiting at least 24 hours. You want to ensure that the primer has fully cured before applying paint.
Lightly Sand the Primed Surface
Once the primer is dry, lightly sand the surface with fine-grit sandpaper. This step helps smooth out any imperfections or bumps that may have occurred during priming. Be careful not to sand too hard—you just want to create a smooth, even surface for the paint to adhere to.
Wipe Away Dust and Debris
After sanding, use a damp cloth or vacuum to remove any dust or debris from the surface. It’s crucial to start with a completely clean surface before you begin painting to avoid any particles from getting trapped under the paint.
Applying the First Coat: Techniques for a Smooth Finish
Now that your floor is primed and ready, it’s time to apply the first coat of paint. This is where the transformation really starts to take shape. Painting cork floors requires a bit of finesse to ensure a smooth, even finish, but with the right approach, it’s a manageable task.
Mix Your Paint Thoroughly
Before you begin, make sure to stir your paint thoroughly to ensure an even color and texture throughout. I like to give it a good mix with a stir stick, making sure there are no clumps or uneven streaks in the paint. This ensures that the color will be consistent when applied to the floor.
Use a Quality Roller for Large Areas
When applying the first coat, use a roller with a short nap to achieve an even finish across large areas of the floor. A roller will allow you to cover more surface area quickly and will help you avoid brush marks. I find that working in sections helps me maintain control over the paint application.
Apply in Thin, Even Layers
It’s tempting to load up your roller or brush with a lot of paint to speed up the process, but resist the urge! Applying thin, even layers will give you a smoother finish and help prevent drips or bubbles from forming. I always start with a small amount of paint and add more as needed.
Use a Brush for Edges and Corners
For those tricky edges and corners, I recommend switching to an angled brush. This will help you get into tight spaces and achieve a clean line around the perimeter of the room. I find it easiest to do the edges first before moving on to the larger sections with the roller.
Allow the First Coat to Dry Completely
Once you’ve finished applying the first coat, give it time to dry completely before considering a second coat. Depending on the type of paint you’re using, this can take anywhere from 4 to 6 hours. Be patient, as rushing this step can lead to a patchy finish.
Inspect the Surface for Imperfections
After the first coat has dried, take some time to inspect the surface for any imperfections like bubbles, streaks, or missed spots. If you notice any areas that need touch-ups, lightly sand those spots and clean the surface before applying the next coat.
Adding Additional Coats and Sealing for Durability
One coat of paint isn’t usually enough to achieve the look and durability you want for your cork floor. Adding additional coats ensures a richer color and better protection against wear and tear. Plus, sealing the floor is essential for making your paint job last for years. Let’s go over the next steps to get your cork floor looking flawless and long-lasting.
Apply a Second Coat for Full Coverage
After the first coat has dried, it’s time to apply the second one. This coat will give the floor a more solid, uniform color and make sure you have full coverage. Use the same technique as before—thin, even layers with a roller for the larger areas and a brush for the edges and corners.
Lightly Sand Between Coats
Between each coat, I like to lightly sand the surface with a fine-grit sandpaper. This step helps create a smooth surface for the next layer of paint to adhere to and eliminates any minor imperfections. Make sure to wipe away any dust or debris after sanding.
Check for Evenness After the Second Coat
Once the second coat is dry, inspect the floor again. If the color looks consistent and there are no streaks or patchy areas, you’re probably ready to move on to sealing. However, if needed, you can apply a third coat to ensure evenness, especially in high-traffic areas.
Choose the Right Sealer for Added Durability
To protect your newly painted cork floor, you’ll need to apply a clear sealer. A water-based polyurethane or acrylic floor sealer works well for cork. This step is crucial for adding a layer of protection against scratches, scuffs, and moisture, ensuring your floor looks great for years to come.
Apply the Sealer in Thin Layers
When applying the sealer, just like with the paint, use thin, even layers. I find that using a foam brush or a clean roller works best for this step. Make sure to let each layer of sealer dry completely before applying the next one. Two to three layers of sealer will offer the best protection.
Allow Ample Drying and Curing Time
After the final coat of sealer has been applied, it’s essential to let the floor cure fully before moving furniture or walking on it. Depending on the product, this could take 48 hours to several days. The longer you allow the floor to cure, the more durable it will be in the long run.

Maintaining Your Painted Cork Floor for Long-Lasting Results
Once your cork floor is freshly painted and sealed, you’ll want to keep it looking pristine for as long as possible. With a few simple maintenance tips, you can protect your hard work and ensure that your painted cork floor stands the test of time.
Sweep and Vacuum Regularly
One of the easiest ways to maintain your painted cork floor is by sweeping or vacuuming regularly. Cork can be prone to collecting dust and debris, which can scratch the painted surface over time. I recommend using a soft-bristle broom or a vacuum with a hardwood floor attachment to keep the surface clean.
Avoid Harsh Chemicals and Abrasives
When cleaning your painted cork floor, steer clear of harsh chemicals or abrasive cleaning tools that could damage the paint. Instead, opt for a mild, pH-neutral cleaner and a soft mop. Water and gentle soap are usually enough to keep the floor looking fresh without compromising the finish.
Use Furniture Pads to Prevent Scratches
Furniture can be a major culprit when it comes to damaging painted floors. To prevent scratches and dents, I always place felt pads or rubber protectors under the legs of chairs, tables, and other heavy furniture. This simple step can go a long way in preserving the look of your floor.
Touch Up Paint When Necessary
Over time, even the best-maintained painted floors may show signs of wear, especially in high-traffic areas. Keep some leftover paint from your original project on hand for touch-ups. When you notice small chips or scuffs, you can easily repaint those areas and maintain the overall look.
Reapply Sealer Periodically
To keep your floor protected, it’s a good idea to reapply the clear sealer every few years, depending on the level of wear and tear. A fresh coat of sealer will renew the protective barrier and keep the paint intact, ensuring your cork floor remains durable and vibrant.
Keep Moisture Levels in Check
While cork is naturally resistant to moisture, painted cork floors can still be susceptible to damage if exposed to excessive water. Avoid using excessive water when mopping, and wipe up any spills immediately. If you live in a humid area, consider using a dehumidifier to help maintain a stable environment.

Related Posts: