Maximizing Space: Open Concept Basement Floors
When I first considered transforming my basement, the thought of an open concept floor plan excited me. The idea of creating a spacious, multi-functional area appealed to my sense of design and practicality. Open concept basement floors are all about removing unnecessary walls and barriers to create a fluid, inviting space that can serve multiple purposes. Here’s how I approached it.
- Removing Barriers: The first step was to knock down any walls that weren’t load-bearing. This immediately opened up the space, making it feel much larger and more welcoming. Without these physical barriers, I could envision various zones within the basement, from a cozy lounging area to a functional workspace. The openness allowed for better light distribution, making the basement feel brighter and more airy.
- Defining Zones: Even in an open concept design, defining different areas is crucial. I used rugs and furniture placement to create distinct zones within the basement. A large sectional sofa and an area rug defined the living room area, while a sturdy desk and ergonomic chair set up a clear office space. This way, I maintained the open feel while ensuring each zone served its purpose effectively.
- Seamless Flooring: One of the keys to a successful open concept basement is seamless flooring. I chose a neutral-toned luxury vinyl plank that not only looked fantastic but also provided durability and moisture resistance, essential for a basement environment. The continuous flooring helped unify the various zones, contributing to the spacious feel.
- Multi-Functional Furniture: In an open concept basement, furniture that serves multiple purposes is a game-changer. I invested in pieces like a fold-out couch that could double as a guest bed and a coffee table with storage compartments. These items helped keep the space organized and clutter-free, reinforcing the open, airy vibe.
- Lighting Solutions: Proper lighting is vital in a basement, especially in an open concept design. I installed a mix of recessed ceiling lights, stylish floor lamps, and under-cabinet lighting in the kitchenette area. This combination ensured that every corner of the basement was well-lit and inviting, enhancing the open feel.
- Personal Touches: Finally, I added personal touches to make the open concept basement truly my own. Framed family photos, vibrant throw pillows, and a mix of plants brought warmth and character to the space. These elements made the basement not just a functional area, but a comfortable extension of my home.

Cozy Comfort: Carpeted Basement Floor Designs
When it comes to creating a cozy and inviting basement, nothing beats the warmth and comfort of carpeted floors. I found that carpeting can transform a cold, uninviting basement into a snug retreat perfect for family gatherings, movie nights, or even a quiet reading nook. Here’s how I went about designing a carpeted basement floor.
Choosing the Right Carpet
Selecting the right carpet was crucial. I opted for a plush, high-pile carpet in a neutral shade that complemented the rest of my home’s decor. The texture was soft underfoot, and the color helped to brighten up the basement. It’s important to choose a carpet specifically designed for basements, which often have higher moisture resistance and durability.
Adding Padding
A good carpet pad is essential for comfort and longevity. I invested in a high-quality, moisture-resistant padding that provided an extra layer of cushioning. This not only made the carpet feel even softer but also helped with insulation, keeping the basement warmer in the winter months.
Insulating the Basement
Before laying down the carpet, I made sure to properly insulate the basement. I used foam board insulation on the walls and a vapor barrier on the floor to prevent any moisture from seeping through. This step is crucial for maintaining the integrity of the carpet and ensuring a dry, comfortable environment.

Creating a Cozy Atmosphere
With the carpet installed, I focused on making the basement feel cozy and inviting. I added a mix of oversized bean bags, a sectional sofa, and plenty of throw blankets and pillows. Soft lighting, such as floor lamps and string lights, created a warm ambiance perfect for relaxation.
Soundproofing Benefits
One unexpected benefit of carpeting the basement was the improvement in soundproofing. The carpet and padding significantly reduced noise, making the basement an ideal spot for my home theater setup. Watching movies and playing music became a much more enjoyable experience without worrying about disturbing the rest of the house.
Easy Maintenance Tips
Maintaining a carpeted basement floor is relatively easy with a few simple tips. Regular vacuuming keeps the carpet clean and fresh, while a dehumidifier helps manage moisture levels. For any spills or stains, prompt cleaning with a carpet cleaner ensured the carpet stayed in top condition.

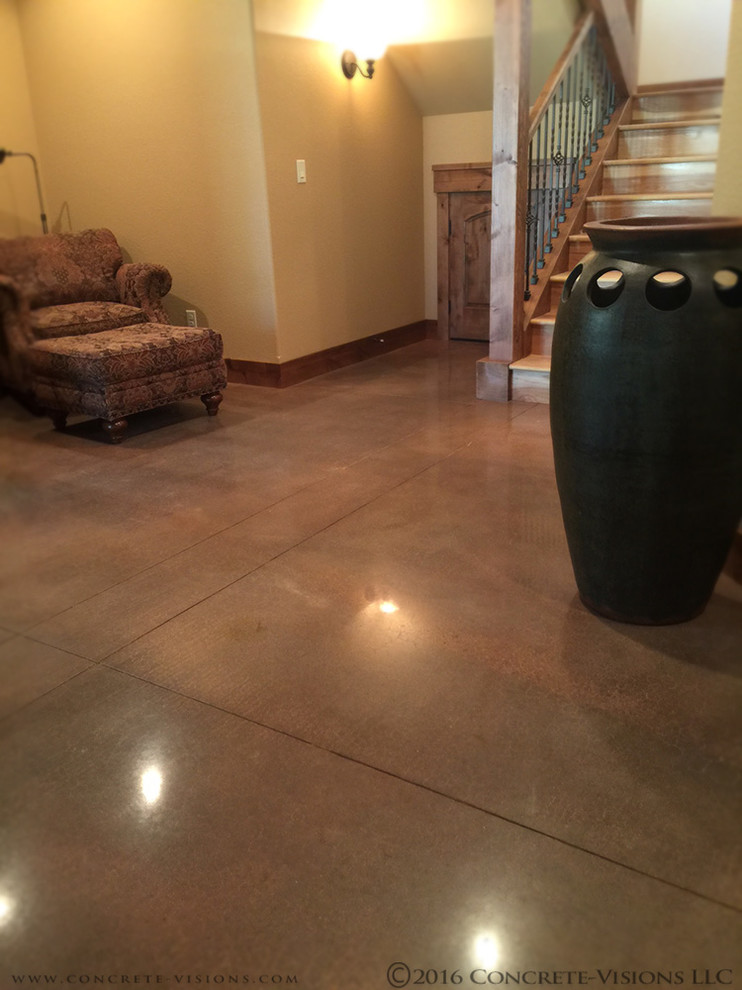
Modern Minimalism: Polished Concrete Floors
Polished concrete floors have a sleek, modern appeal that I found irresistible for my basement. They offer a durable and low-maintenance option that fits perfectly with a minimalist aesthetic. Here’s how I achieved a modern minimalist look with polished concrete floors in my basement.
Preparing the Concrete
The first step was to ensure the existing concrete slab was in good condition. Any cracks or imperfections were repaired using a concrete patching compound. This preparation was crucial for achieving a smooth, polished finish. I also made sure the floor was thoroughly cleaned before starting the polishing process.
Polishing Process
Polishing concrete involves grinding the surface with progressively finer grits of diamond-embedded pads. I hired a professional for this step, as the equipment and expertise required were beyond my DIY capabilities. The result was a smooth, shiny surface that reflected light beautifully, making the basement feel brighter and more spacious.
Adding a Stain or Dye
To enhance the aesthetic, I opted for a light gray stain that added depth and character to the polished concrete. Stains and dyes can transform plain concrete into a stylish statement piece, and the color I chose complemented the modern minimalist theme perfectly. This step allowed for customization, giving the floor a unique, personalized touch.
Sealing the Surface
Sealing the polished concrete was essential to protect it from stains and moisture. I used a high-quality, penetrating sealer that not only safeguarded the floor but also enhanced its glossy finish. This step ensured the concrete floor would remain beautiful and easy to maintain for years to come.
Minimalist Decor
With the floor completed, I focused on minimalist decor to complement the sleek concrete surface. I chose furniture with clean lines and a neutral color palette, avoiding clutter and excess. A few well-placed pieces, such as a modern sofa, a glass coffee table, and minimalist artwork, created a sophisticated yet understated look.
Practical Benefits
Aside from its aesthetic appeal, polished concrete has several practical benefits. It’s incredibly durable and able to withstand heavy foot traffic and occasional spills without damage. It’s also low-maintenance, requiring only regular sweeping and occasional mopping to keep it looking its best. This made it an ideal choice for my busy household.

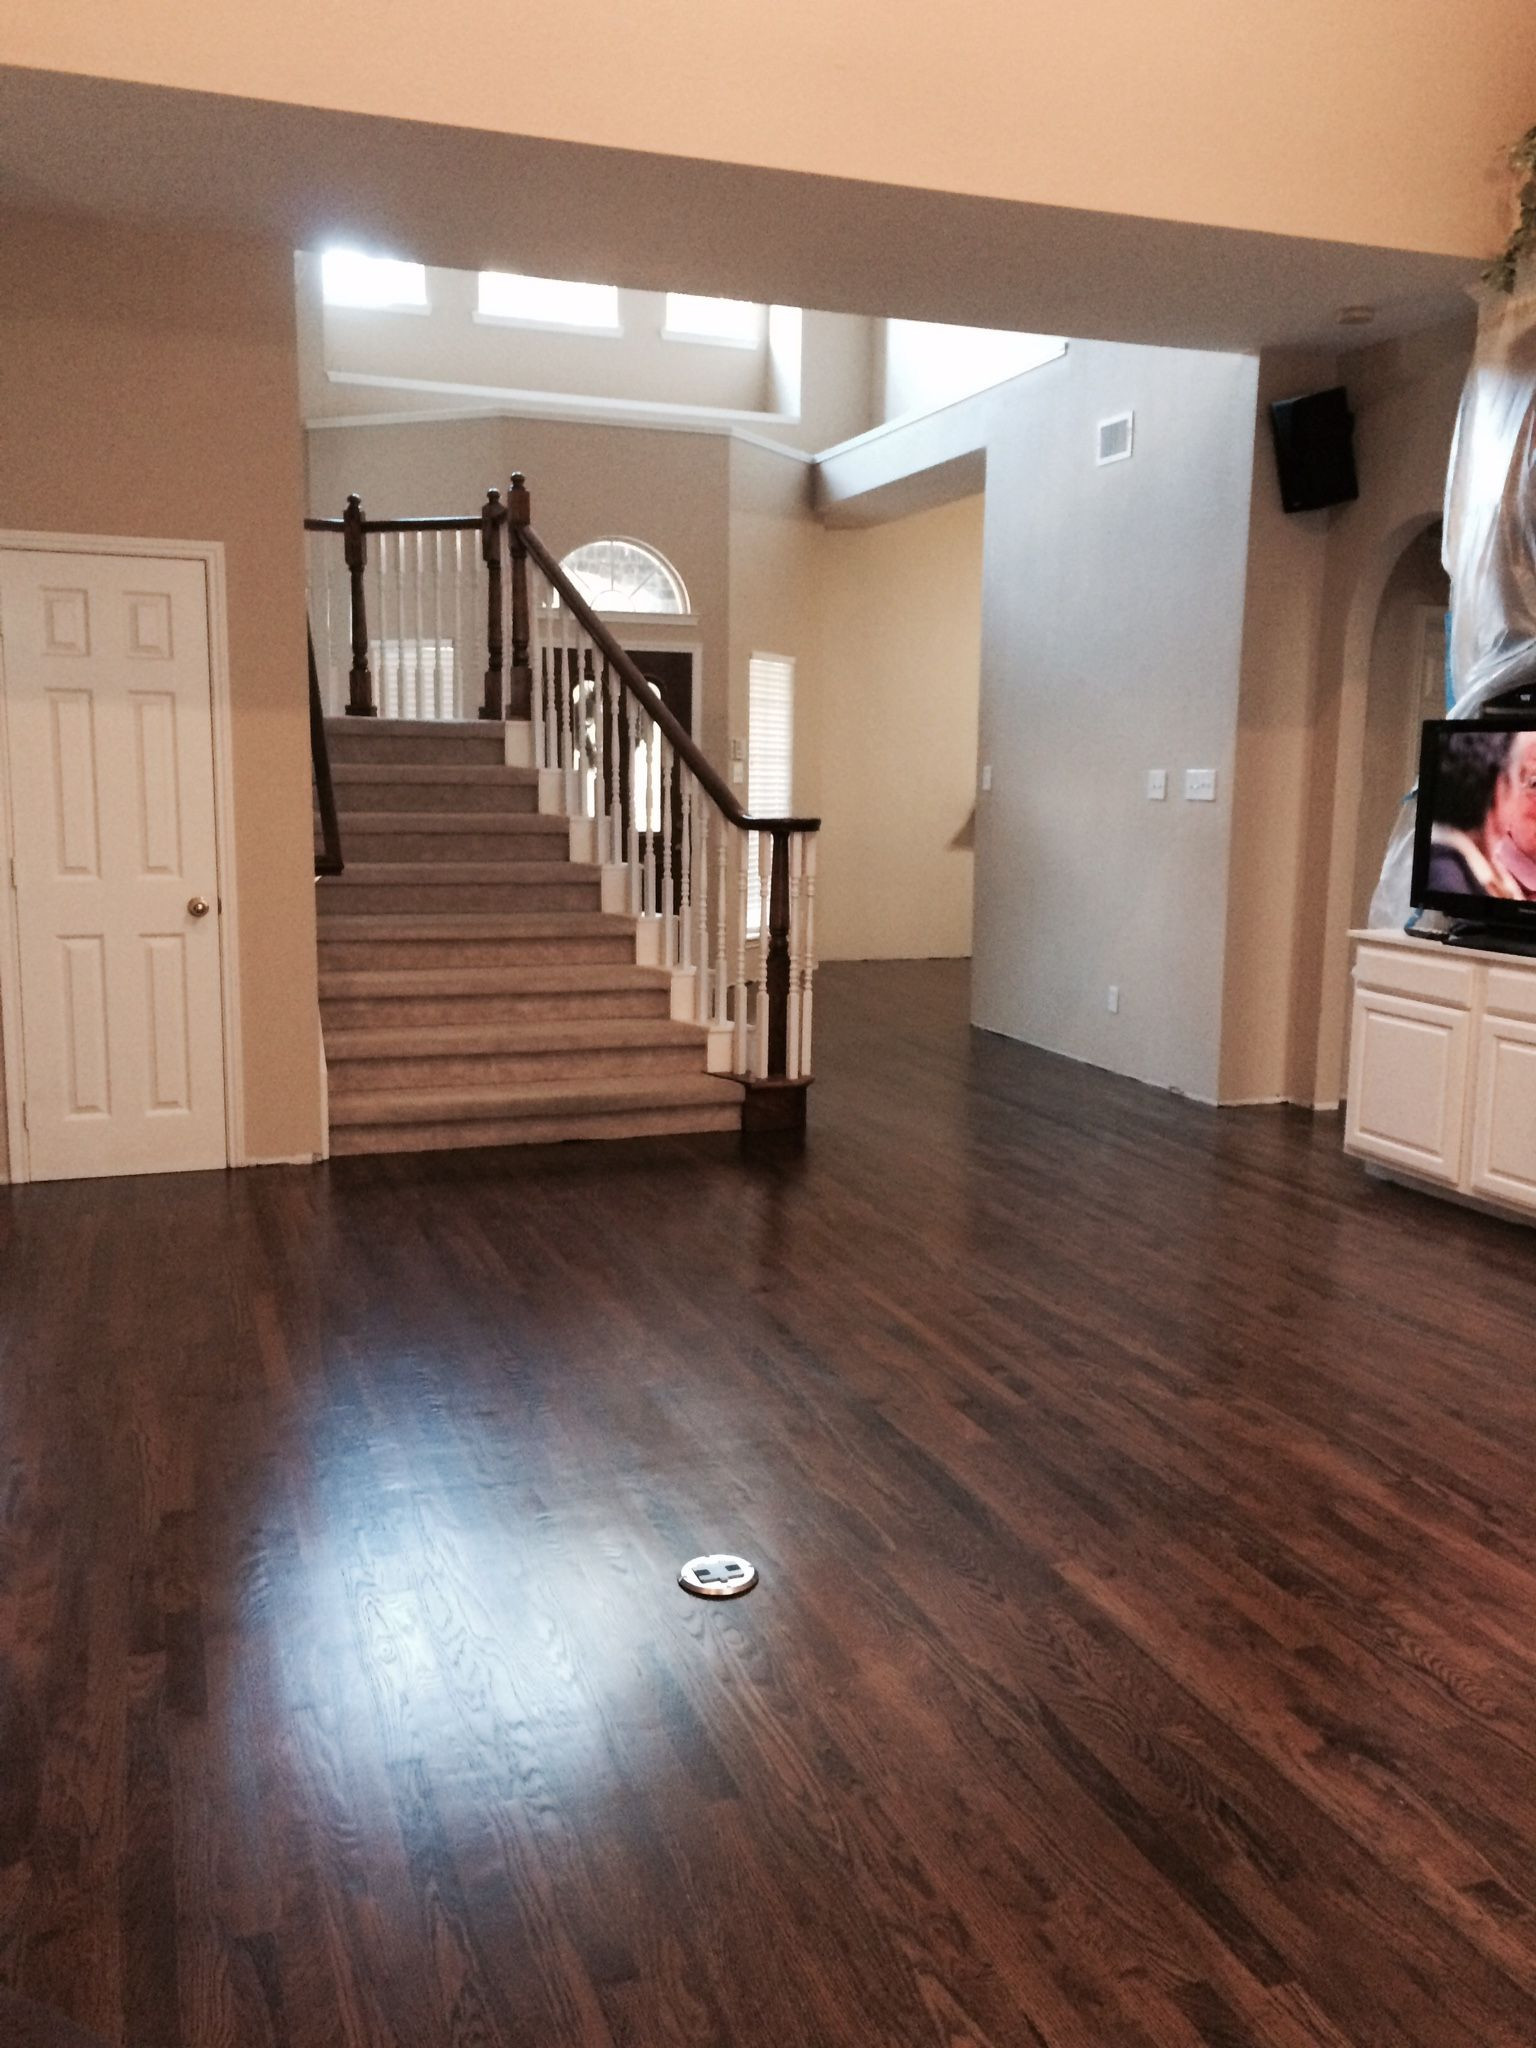
Rustic Charm: Hardwood Flooring for Basements
Hardwood flooring brings a timeless, rustic charm to any space, and my basement was no exception. I wanted to create a warm, inviting area with a touch of elegance, and hardwood flooring was the perfect solution. Here’s how I achieved a rustic look with hardwood floors in my basement.
Choosing the Right Wood
Selecting the right type of wood was the first step. I opted for engineered hardwood, which is more suitable for basements due to its increased moisture resistance compared to solid wood. I chose a distressed oak finish that had a natural, weathered look, adding to the rustic charm I was aiming for.
Preparing the Subfloor
Proper preparation of the subfloor was crucial for installing hardwood in the basement. I ensured the concrete slab was level and installed a moisture barrier to protect the wood from any potential dampness. This step was essential to prevent warping and ensure the longevity of the hardwood floor.
Installation Process
I decided to hire professionals for the installation to ensure a flawless finish. They used a floating floor method, which is ideal for basements as it allows for slight movements and adjustments. The planks were carefully laid out, creating a seamless, cohesive look that enhanced the rustic appeal.
Staining and Finishing
To further enhance the rustic look, I chose a medium brown stain that highlighted the natural grain of the wood. A matte finish was applied to give the floor a more authentic, aged appearance. This step added warmth and character to the basement, making it feel cozy and inviting.
Complementary Decor
With the hardwood floor in place, I focused on decor that complemented the rustic theme. I added a mix of vintage and farmhouse-style furniture, including a reclaimed wood coffee table and a leather sofa. Soft textiles, like wool rugs and throw blankets, added to the cozy ambiance, creating a perfect retreat.
Maintenance Tips
Maintaining hardwood floors in a basement requires a bit of extra care. I made sure to use area rugs in high-traffic areas and placed felt pads under furniture legs to prevent scratches. Regular sweeping and occasional mopping with a damp cloth kept the floors clean, while a dehumidifier helped manage moisture levels.

Luxury Living: Marble and Tile Basement Floors
Transforming my basement into a luxurious living space was an exciting project, and marble and tile flooring played a significant role in achieving that high-end look. These materials not only exude elegance but also offer durability and easy maintenance. Here’s how I created a luxurious basement with marble and tile floors.
Selecting the Right Materials
Choosing the right type of marble and tile was the first step. I went for large-format marble tiles with a subtle veining pattern that added a touch of sophistication without being overwhelming. For areas where marble might be impractical, such as the laundry room, I chose high-quality porcelain tiles that mimicked the look of natural stone.
Preparing the Surface
Proper surface preparation was crucial to ensure a flawless installation. I made sure the concrete slab was clean, level, and free of any cracks. A self-leveling compound was used to address any unevenness, providing a smooth base for the marble and tile.
Professional Installation
Given the complexity and precision required for installing marble and tile, I hired professionals to handle the job. They used a thin-set mortar for adhering the tiles to the floor and meticulously placed each tile to ensure a seamless finish. The result was a stunning, polished floor that instantly elevated the basement’s aesthetic.

Grouting and Sealing
Grouting was an important step to achieve a clean, finished look. I opted for a matching grout color to keep the focus on the beautiful marble and tile patterns. Sealing the grout and tiles was essential to protect against stains and moisture, ensuring the floor would maintain its pristine appearance over time.
Luxurious Decor
To complement the luxurious flooring, I chose decor that echoed the high-end theme. Plush area rugs, elegant furniture, and statement lighting fixtures added to the opulent feel. I incorporated a mix of textures, such as velvet cushions and silk curtains, to enhance the overall richness of the space.
Maintenance Routine
Maintaining marble and tile floors is relatively straightforward with a regular cleaning routine. I used a pH-neutral cleaner specifically designed for marble and tile to prevent any damage. A soft mop and periodic sealing kept the floors looking as beautiful as the day they were installed.

Creative Solutions: Epoxy and Painted Basement Floors
When I wanted to give my basement a fresh, creative look, epoxy and painted floors provided the perfect solution. These options are not only cost-effective but also allow for endless customization and unique designs. Here’s how I transformed my basement with epoxy and painted floors.
Choosing Epoxy Coating
Epoxy coating was my first choice for its durability and versatility. I selected a high-quality, self-leveling epoxy that provided a seamless, glossy finish. The color options were vast, but I opted for a metallic gray that added a modern, industrial feel to the basement.
Preparing the Surface
Proper surface preparation is key to a successful epoxy application. I thoroughly cleaned and etched the concrete slab to ensure the epoxy would adhere properly. Any cracks or imperfections were repaired with a concrete filler, creating a smooth, even surface ready for coating.
Applying the Epoxy
Applying the epoxy was a multi-step process. After mixing the epoxy resin and hardener, I poured it onto the floor and spread it evenly using a notched squeegee. A roller helped eliminate any bubbles, ensuring a flawless finish. The result was a stunning, high-gloss floor that looked both professional and stylish.

Painted Floor Designs
For areas where I wanted a more artistic touch, I chose to paint the floor. I used a high-quality, durable floor paint and created geometric patterns with painter’s tape. Bold colors and intricate designs added a playful and unique element to the basement, making it a fun and inviting space.
Sealing for Protection
Both the epoxy and painted floors required sealing for added protection. A clear topcoat was applied to enhance durability and provide a glossy finish. This step ensured the floors would withstand daily wear and tear while maintaining their vibrant appearance.
Creative Decor
To complement the creative flooring, I chose decor that echoed the playful and modern theme. Bright furniture, colorful artwork, and funky lighting fixtures added to the overall aesthetic. The basement became a lively and engaging space, perfect for entertaining or relaxing.
Easy Maintenance
Maintaining epoxy and painted floors is simple. Regular sweeping and occasional mopping kept the floors clean and fresh. For any spills or stains, a gentle cleaner was all that was needed to maintain the floors’ pristine condition.

Related Posts: