Cork flooring is a popular choice for its sustainability, aesthetic appeal, and comfort underfoot. However, like any flooring material, cork can suffer from wear and damage over time. A cork floor repair kit is an essential tool for maintaining the beauty and longevity of cork floors. This article will delve into the components, uses, and best practices associated with cork floor repair kits, ensuring you can tackle any flooring issue with confidence.
Understanding Cork Flooring
Cork flooring, derived from the bark of the cork oak tree, has unique properties that make it an excellent flooring choice. Firstly, it is a renewable resource, as the bark regenerates after being harvested. This sustainability aspect makes cork flooring environmentally friendly. Additionally, cork is naturally resistant to mold, mildew, and termites, contributing to its durability.
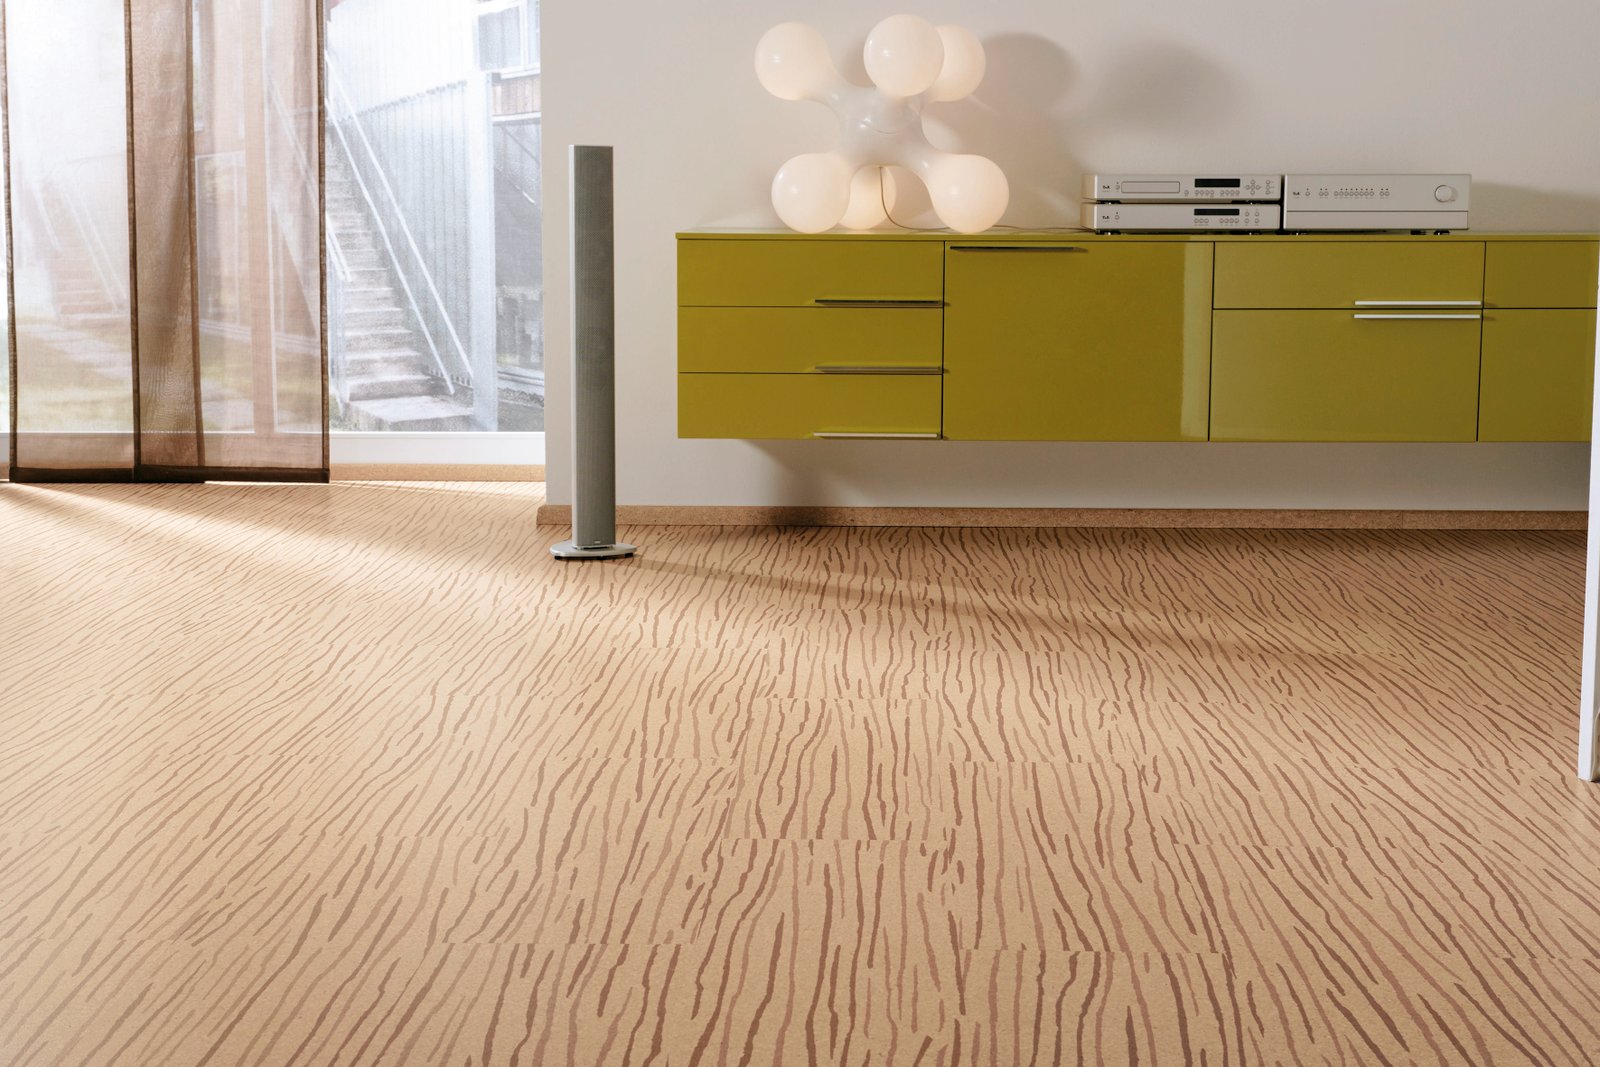
Cork floors are also praised for their comfort. The cellular structure of cork gives it a soft, cushiony feel underfoot, which can be especially beneficial in kitchens or other areas where people stand for long periods. Moreover, cork provides excellent thermal and acoustic insulation, making it a practical choice for maintaining a quiet and energy-efficient home.
The aesthetic versatility of cork flooring is another significant advantage. Available in various colors, patterns, and finishes, cork can complement a wide range of interior design styles. Whether you prefer a traditional look or a modern aesthetic, there’s likely a cork flooring option that will suit your taste.
Despite these benefits, cork flooring is not without its challenges. It can be susceptible to scratches, dents, and water damage, particularly in high-traffic areas or in rooms with significant moisture, like bathrooms. Understanding these potential issues is crucial in maintaining your cork floor, which is where a cork floor repair kit becomes indispensable.

Components of a Cork Floor Repair Kit
A standard cork floor repair kit typically includes several key components designed to address common types of damage. These kits often come with a set of tools and materials that can handle scratches, dents, and more severe damage.
Wood Fillers: These are essential for repairing deep scratches, gouges, or holes. They come in various colors to match different shades of cork flooring. High-quality wood fillers are designed to blend seamlessly with the floor, ensuring a natural look after the repair.
Sandpaper or Sanding Pads: Sanding tools are necessary for smoothing out the surface after applying fillers or other repair compounds. They help to create an even finish and prepare the floor for further treatment or sealing.
Sealants and Finishes: These are used to protect the repaired area and restore the original sheen of the cork floor. Sealants can also help to prevent future damage by providing a protective layer against moisture and wear.
Touch-Up Markers: These markers are useful for minor surface scratches and scuffs. Available in various colors, they allow for quick and easy touch-ups without the need for extensive repairs.
Adhesive: In cases where tiles or planks have become loose, adhesive is necessary to secure them back in place. This ensures the integrity and stability of the flooring.
Instructions: A comprehensive repair kit will include detailed instructions to guide you through each repair process. These instructions are vital for achieving professional-looking results, especially for those who are not experienced in DIY repairs.

Preparing for Cork Floor Repairs
Before embarking on any repair work, proper preparation is crucial. This involves gathering the necessary tools, cleaning the damaged area, and understanding the extent of the damage.
Firstly, ensure you have all the components of your cork floor repair kit at hand. It’s also advisable to have additional tools such as a utility knife, a putty knife, and cleaning supplies. Having everything ready will streamline the repair process and reduce the chances of missing any steps.
Next, thoroughly clean the damaged area. Dirt and debris can interfere with the repair materials, preventing them from adhering properly. Use a vacuum or a damp cloth to remove any particles from the surface and the surrounding area.
Assess the damage carefully to determine the appropriate repair method. For instance, minor scratches may only require touch-up markers, while deeper gouges might need wood fillers and sanding. Understanding the severity of the damage will help you choose the right approach and avoid over- or under-treating the issue.
It’s also important to test any repair materials on an inconspicuous area of the floor first. This can help you gauge how well the color matches and how the material interacts with your specific type of cork flooring. Performing a test patch can prevent any unwanted surprises once you start the actual repair.
Finally, ensure the area is well-ventilated if you are using any products with strong odors, such as adhesives or sealants. Proper ventilation will make the repair process more comfortable and safe.

Step-by-Step Repair Processes
Depending on the type of damage, the repair process can vary. Here are step-by-step guides for addressing common types of cork floor damage.
1. Minor Scratches and Scuffs:
- Clean the area thoroughly.
- Use a touch-up marker that matches the color of your cork floor.
- Apply the marker to the scratch, following the grain of the cork.
- Allow it to dry completely.
- If necessary, apply a sealant to protect the repaired area.
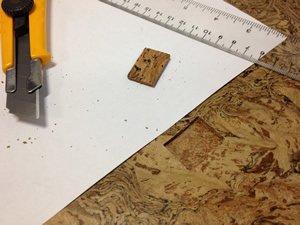
2. Deep Scratches and Gouges:
- Clean the damaged area.
- Use a utility knife to remove any loose pieces around the gouge.
- Fill the gouge with a wood filler that matches your cork flooring.
- Allow the filler to dry according to the manufacturer’s instructions.
- Sand the filled area until it is smooth and level with the surrounding floor.
- Apply a matching finish or sealant to protect the repair.

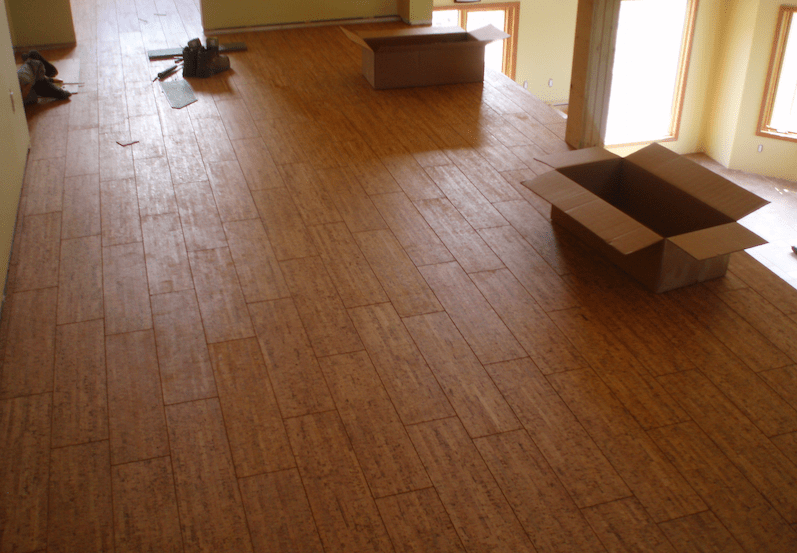
3. Loose Tiles or Planks:
- Lift the loose tile or plank carefully.
- Clean the underside of the tile and the subfloor.
- Apply a suitable adhesive to the subfloor.
- Press the tile or plank firmly into place.
- Wipe away any excess adhesive immediately.
- Place a heavy object on top of the repaired area to ensure a strong bond as it dries.
4. Water Damage:
- Assess the extent of the damage. Minor swelling can sometimes be resolved with drying and resealing.
- For significant damage, remove the affected tiles or planks.
- Allow the subfloor to dry completely.
- Replace with new tiles or planks if necessary.
- Seal the repaired area to prevent future water damage.
5. Burns and Stains:
- Clean the area to remove any residue.
- For burns, carefully cut out the damaged section using a utility knife.
- Fill the area with wood filler if the damage is not too deep.
- Sand and smooth the area once the filler is dry.
- Apply a matching finish or sealant.
- For stains, use a mild cleaner suitable for cork flooring.
- If the stain persists, you may need to sand and refinish the area.

Post-Repair Maintenance
Once repairs are completed, maintaining your cork flooring properly can extend its life and keep it looking beautiful. Regular care and preventive measures are key.
1. Regular Cleaning:
- Sweep or vacuum regularly to remove dirt and debris that can cause scratches.
- Use a damp mop with a cleaner specifically designed for cork flooring. Avoid excessive water, as cork is sensitive to moisture.
2. Protective Measures:
- Use mats and rugs in high-traffic areas and entryways to reduce wear.
- Place felt pads under furniture legs to prevent scratches and dents.
- Avoid wearing high heels or shoes with sharp points on cork floors.
3. Monitoring Humidity Levels:
- Cork can expand and contract with changes in humidity. Use a humidifier or dehumidifier to maintain stable humidity levels in your home.
- Avoid exposing cork flooring to direct sunlight for extended periods, as UV rays can cause fading.
4. Immediate Spill Cleanup:
- Wipe up spills immediately to prevent staining and water damage.
- Use coasters and trays under plants and pet bowls to avoid water rings and spills.
5. Periodic Sealing:
- Reapply a protective sealant as recommended by the manufacturer. This helps to maintain the floor’s finish and protect against damage.
- Inspect the floor regularly for any signs of wear or damage and address issues promptly.

Common Mistakes to Avoid
While using a cork floor repair kit can be straightforward, there are common mistakes that can compromise the results. Being aware of these pitfalls can help you achieve a successful repair.
1. Skipping the Cleaning Step:
- Always clean the damaged area before starting any repair. Dirt and debris can prevent adhesives and fillers from bonding properly.
2. Using Incorrect Products:
- Ensure the products in your repair kit are compatible with your specific type of cork flooring. Using the wrong products can lead to poor results and further damage.
3. Overfilling Gouges and Scratches:
- Apply fillers sparingly and build up layers if necessary. Overfilling can create a noticeable bump and make sanding more difficult.

4. Neglecting Ventilation:
- When using adhesives or sealants, work in a well-ventilated area to avoid inhaling fumes. Proper ventilation is essential for both health and safety.
5. Rushing the Drying Process:
- Allow sufficient time for fillers and adhesives to dry completely before sanding or applying finishes. Rushing this process can weaken the repair.
6. Inconsistent Sanding:
- Sand the repaired area evenly to blend it with the surrounding floor. Inconsistent sanding can leave noticeable marks and affect the final finish.
How do I choose the right cork floor repair kit?
Choosing the right repair kit involves matching the kit components to the type of damage you anticipate. Look for kits that include a variety of fillers, touch-up markers, and sealants in colors that match your flooring. Check for customer reviews and recommendations to ensure the kit is effective and easy to use.
Can I repair water-damaged cork flooring?
Water damage can be tricky, as cork is sensitive to moisture. For minor water damage, drying the area thoroughly and resealing might suffice. For significant damage, you may need to replace affected tiles or planks. Always address the source of moisture to prevent recurring issues.
How often should I reseal my cork floor?
The frequency of resealing depends on the level of traffic your floor experiences. In general, resealing every 2-3 years can help maintain the protective finish. However, high-traffic areas may require more frequent attention. Follow the manufacturer’s recommendations for the best results.

What should I do if a repair doesn’t match my floor color perfectly?
If the repair color doesn’t match perfectly, you can use a touch-up marker to blend the color more seamlessly. Additionally, applying a sealant can help to blend the repaired area with the rest of the floor. Testing repair materials in an inconspicuous area first can prevent noticeable mismatches.
Is it possible to prevent damage to cork floors altogether?
While it’s impossible to prevent all damage, taking preventive measures can significantly reduce the risk. Use rugs in high-traffic areas, felt pads under furniture, and clean spills immediately. Regular maintenance and resealing also play crucial roles in protecting your cork floor.
Can I use a regular wood floor repair kit on cork floors?
It’s best to use a repair kit specifically designed for cork floors. Regular wood floor repair kits may contain products that are not compatible with the unique properties of cork. Using the correct kit ensures that the repair materials will adhere properly and provide a lasting fix.
Related Posts: