Cork Flooring DIY

Pin by Trish on DIY ART Wine cork crafts decor, Wine cork, Cork flooring

Cork Flooring, Cork Floors, Click Cork Flooring iFLOOR.com 1000 in 2020 Cork flooring

Cork flooring #diyflooring Flooring, Cork flooring, House flooring

How to Install Cork Flooring – DIY and Repair Guides
Pin by Patricia Uldrich on Kitchen idea Cork flooring, Easy flooring, Flooring

DIY cork flooring
How to Install Natural Cork Flooring how-tos DIY
Renters Solutions: Temporary Cork Floors on a Tiny Budget Cork flooring, Renters solutions

How to Install Cork Flooring – DIY and Repair Guides
What Is Cork Flooring Good For – Flooring Images

Update: Our Cork Floors One Year Later Pretty Handy Girl Cork flooring kitchen, Cork

Related Posts:
- Glue Down Cork Flooring
- Cork Flooring for Exercise Room
- What Are The Benefits Of Cork Flooring
- Cork Flooring in Laundry Room
- Scandia Plank Cork Flooring
- Cork Floors That Look Like Hardwood
- How To Paint Cork Flooring
- Cork Flooring Renovation
- Cork Flooring Interior Design
- Natural Cork Flooring Ideas
# Cork Flooring DIY – A Comprehensive Guide to Installing Your Own Flooring
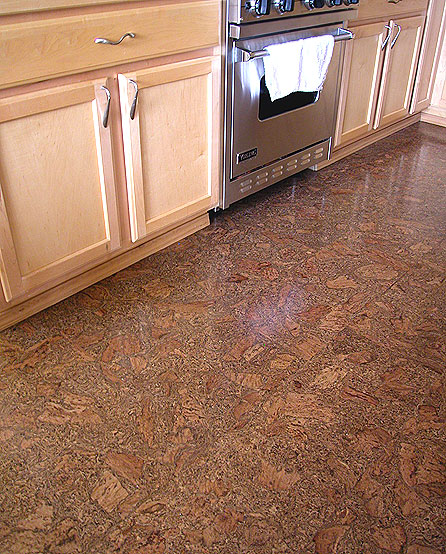
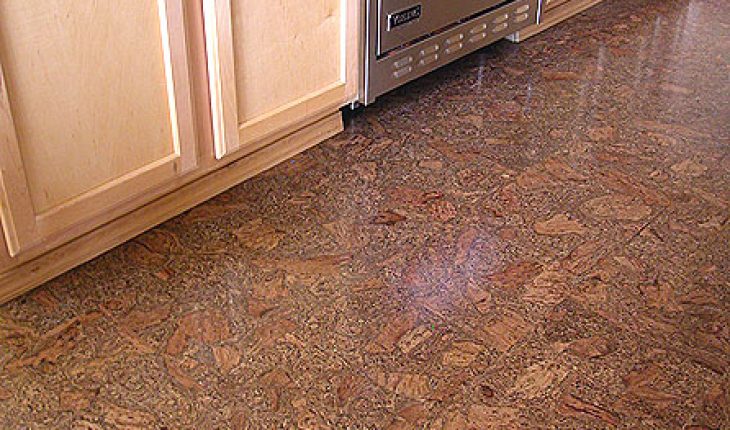
Cork flooring is an increasingly popular flooring option for homeowners, and with good reason. It’s durable, sustainable, and easy to maintain – plus, it looks great! But while it’s certainly possible to hire a professional to install cork flooring, many people are intimidated by the prospect of doing it themselves.
Fortunately, with the right preparation and knowledge, cork flooring DIY can be a relatively straightforward and enjoyable process. Here’s a comprehensive guide on how to install cork flooring yourself.
## Preparing Your Home for Cork Flooring Installation
Before you begin any installation process, you’ll need to make sure your home is ready for the task. First, consider the room or space where you’ll be installing the cork flooring. Is it a living room? A bedroom? A hallway? All of these spaces require different treatment and preparation before you can begin the installation process.
No matter what space you’ll be working in, you’ll want to make sure that the floor is clean and free of any debris or furniture that could interfere with your project. You should also check for any existing cracks or holes in the subfloor – if there are any, you should fill them in with wood putty or spackle prior to installation.
Next, you’ll want to check the subfloor for moisture. Moisture can cause irreparable damage to your cork flooring if it seeps up from the subfloor, so it’s important to make sure that everything is dry before beginning your project. You can use a moisture meter to check for dampness before proceeding.
## Choosing the Right Cork Flooring
Once your home is ready for installation, it’s time to choose your cork flooring. There are several types of cork flooring available on the market today, so it’s important to find one that fits both your style preferences and your budget.
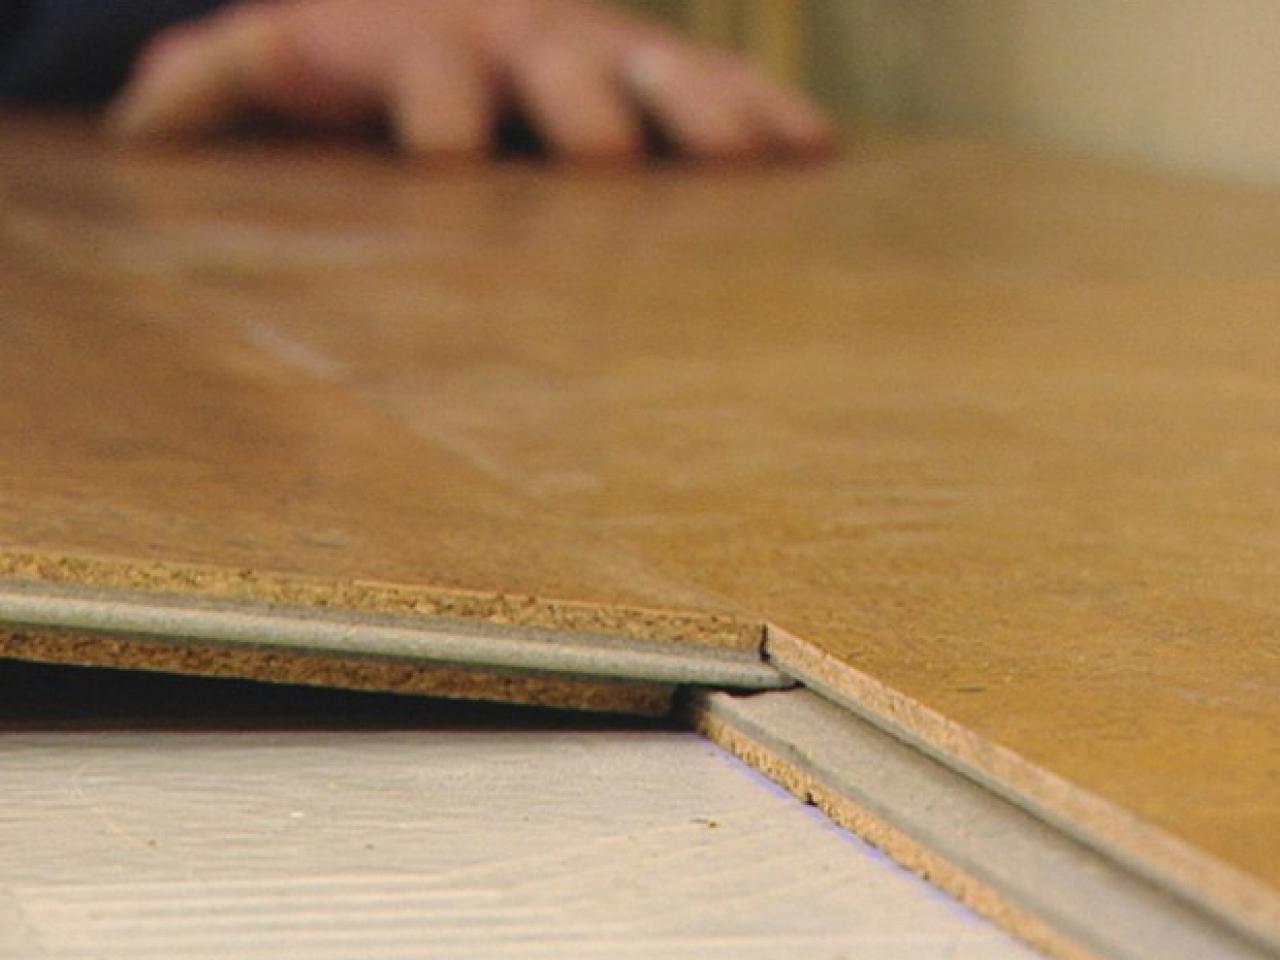
For instance, “floating floors” are one of the most popular types of cork flooring DIY projects since they don’t require adhesive or nails and are relatively simple to install. These floors are typically made up of tongue-and-groove planks that interlock together like puzzle pieces. Other types of cork flooring include tiles, which can be laid down in interesting patterns or used as accents around the edges of a room; pre-finished planks; and glue-down planks or tiles.
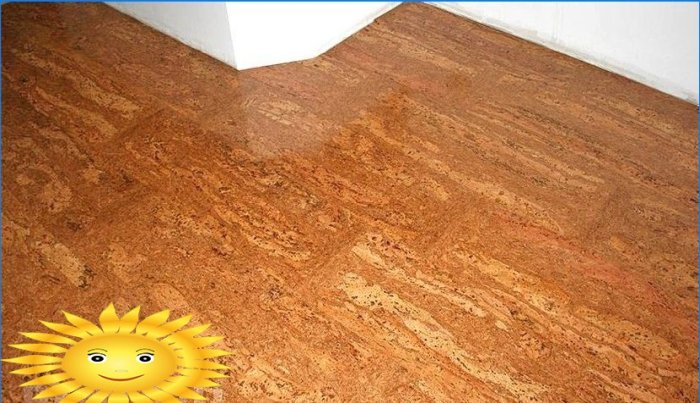
When selecting your cork flooring, also take into consideration the color and finish of the product. If you want more of a natural look, opt for lighter colors; darker colors will give your room a more dramatic effect. As for finish options, there are both matte and glossy finishes available; matte finishes tend to be more slip-resistant than glossy finishes but they also show scratches more easily.
## Installing Your Cork Flooring
Now that you have all the materials necessary for installation (including an appropriate underlayment), you can begin installing your cork flooring. The exact method of installation will depend on which type of flooring you’ve chosen – floating floors will generally require less preparation than tiles or glue-down planks – but all types should be installed according to manufacturer instructions.
When installing floating floors, start by laying out a row along one wall in the room and make sure that all pieces fit together properly before proceeding with installation. Once this row is complete, continue laying out rows until the entire area is covered. When installing tiles or glue-down planks, make sure all pieces are properly sealed before moving onto the next row or section.
## Finishing Your Cork Flooring Installation
Once all of your cork flooring is installed, it’s time to finish off your project with a few finishing touches. If you chose a floating floor system, you’ll need to install baseboards or trim around its edges; this will help protect it from damage and keep it looking neat and tidy over time. You should also apply a sealant or topcoat over the entire surface of your new cork floor;