Why Cork Flooring is a Sustainable Choice for Renovations
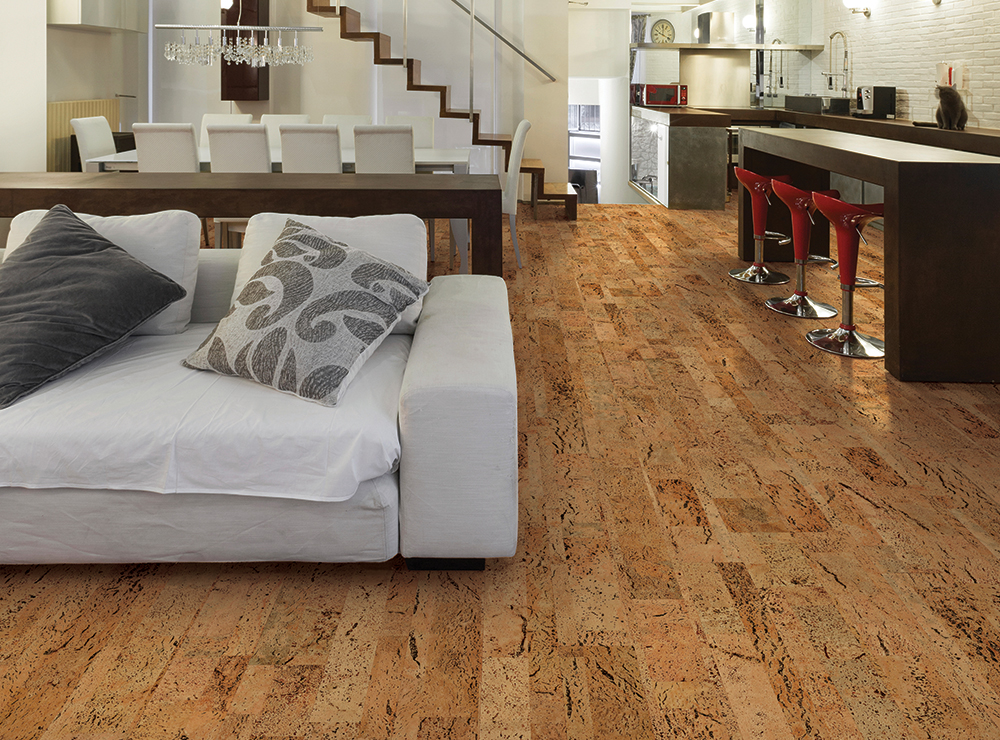
Cork flooring is becoming an increasingly popular choice for homeowners looking to renovate their homes with eco-friendly materials. Its sustainability, combined with its unique properties, makes it a smart choice for flooring. Made from the bark of cork oak trees, cork flooring offers a renewable and environmentally responsible option for both modern and traditional homes. Let’s explore why cork flooring stands out as a sustainable choice for your renovation projects.
- Renewable Resource
One of the most significant benefits of cork flooring is its renewable nature. Cork is harvested from the bark of cork oak trees, which can be stripped every 9 to 12 years without harming the tree itself. This makes it a highly sustainable material since the trees continue to live and regenerate their bark for decades. With a lifespan of over 200 years, cork oaks ensure a long-term supply of material without deforestation. - Low Environmental Impact
The production of cork flooring has a minimal environmental footprint compared to other flooring materials like hardwood or vinyl. The process of harvesting and manufacturing cork is energy-efficient, and there is little waste involved. Additionally, cork flooring is biodegradable, which means that at the end of its life cycle, it can be broken down naturally without contributing to landfill waste. - Natural Insulating Properties
Cork is a natural insulator, making it an energy-efficient choice for homes. It helps regulate indoor temperature by keeping spaces warm in the winter and cool in the summer. This not only reduces energy consumption but also lowers utility bills, contributing to a more eco-friendly home environment. - Hypoallergenic and Non-Toxic
Many conventional flooring materials can emit volatile organic compounds (VOCs) and other toxins into the air. Cork flooring is naturally hypoallergenic and does not release harmful chemicals, making it a healthier option for indoor air quality. Its antimicrobial properties also make it resistant to mold and mildew, which further enhances its eco-friendliness. - Longevity and Durability
Cork flooring is highly durable, and with proper care, it can last for decades. Its natural elasticity allows it to withstand pressure and impacts, making it less prone to damage. By choosing a long-lasting material like cork, homeowners can avoid frequent replacements, reducing the need for additional resources and the environmental impact of manufacturing and shipping new flooring materials. - Aesthetic Versatility
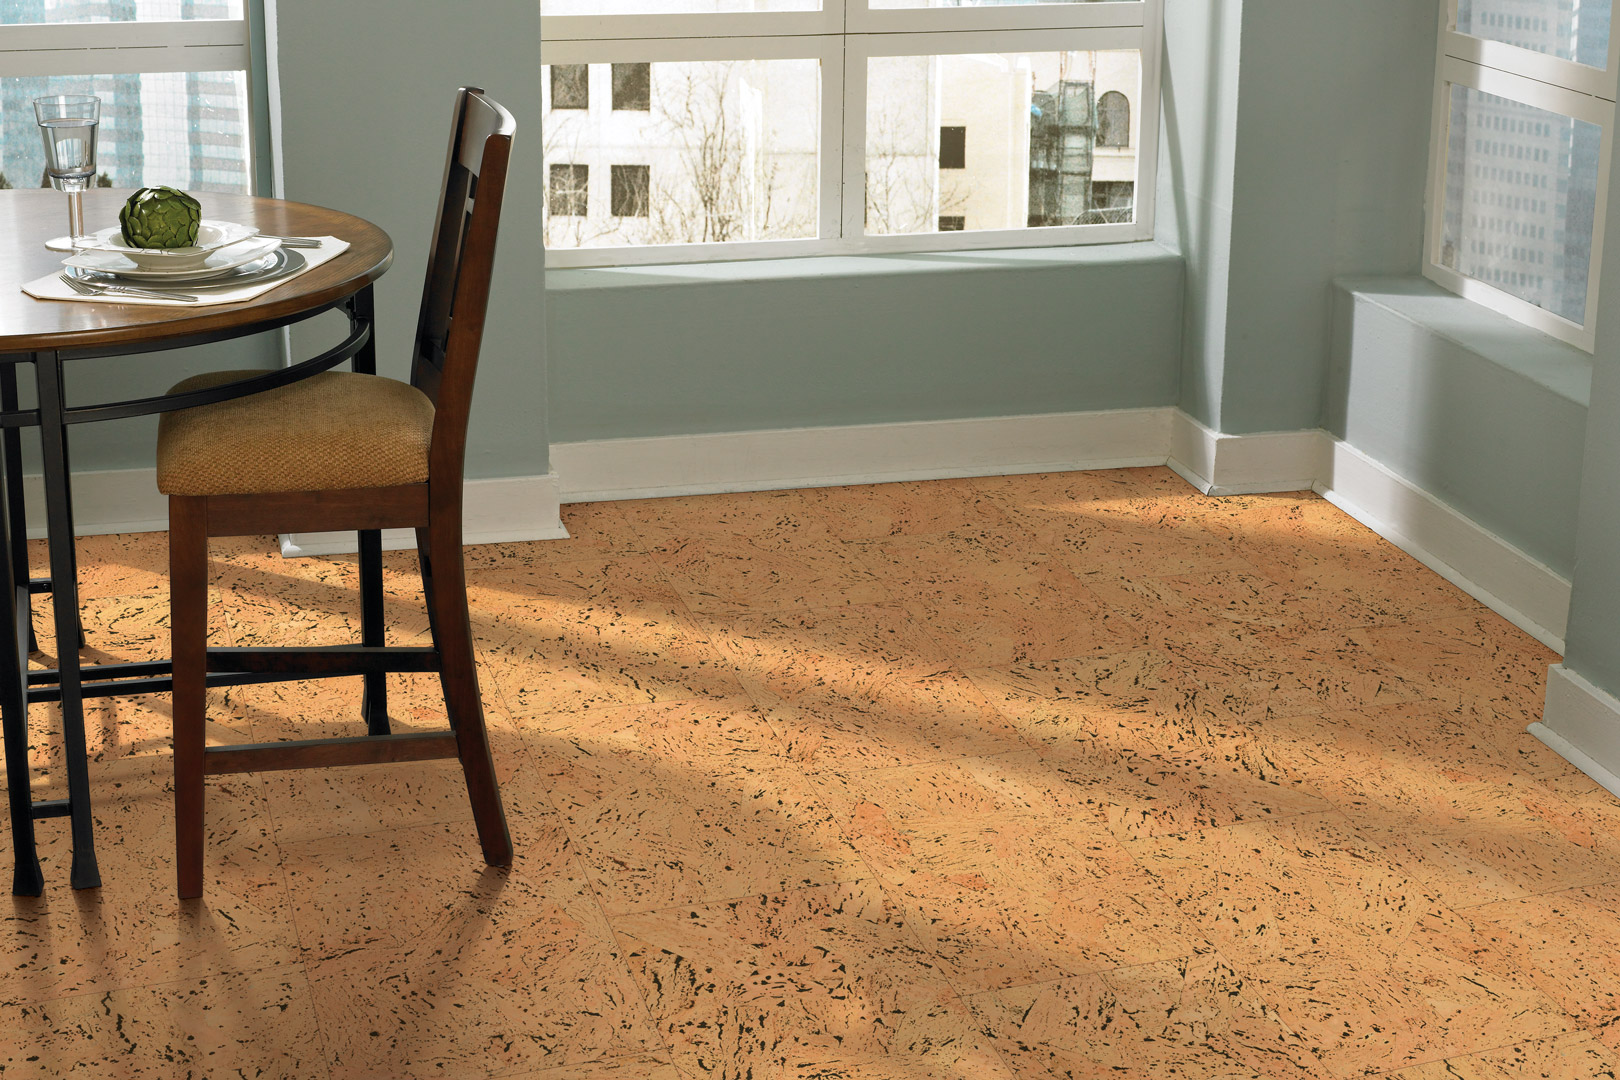
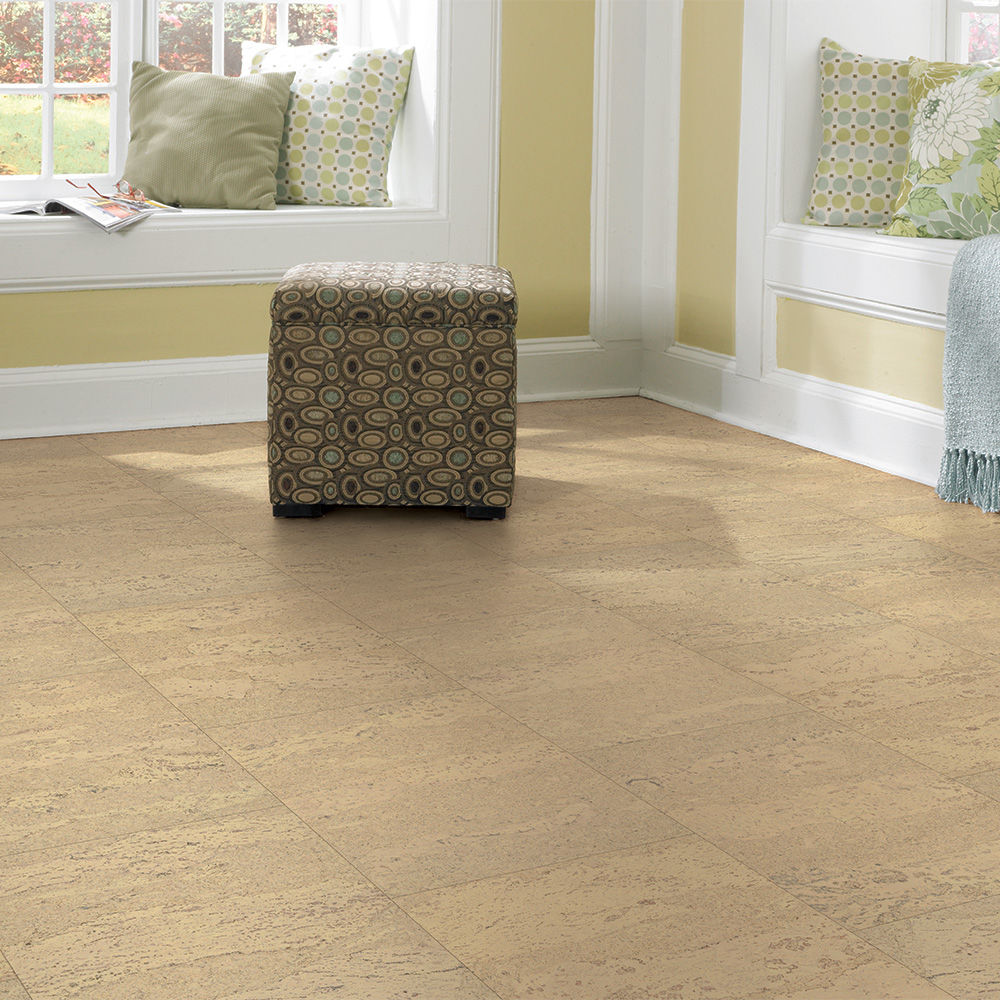
Cork flooring comes in various colors, patterns, and finishes, offering versatile design options that fit a wide range of renovation styles. Its ability to mimic the appearance of hardwood or stone allows it to integrate seamlessly into any home décor. This aesthetic flexibility ensures that cork remains a practical and eco-friendly choice for homeowners who care about both style and sustainability.
Assessing the Condition of Your Existing Cork Floor
Before jumping into a cork flooring renovation, it’s essential to evaluate the current condition of the floor. Properly assessing the floor helps you decide whether it needs refinishing, repairs, or a full replacement. A careful inspection can save both time and money by identifying specific areas that need attention rather than undergoing a complete renovation. Here are steps to effectively assess the condition of your existing cork floor.
Check for Surface Wear
One of the first things to look for when inspecting cork flooring is signs of surface wear. Over time, cork floors may develop scratches, dents, or dullness in high-traffic areas. These signs can indicate whether a simple refinishing job is needed to restore the surface or if the damage is too severe and requires more extensive repair work.
Inspect for Water Damage
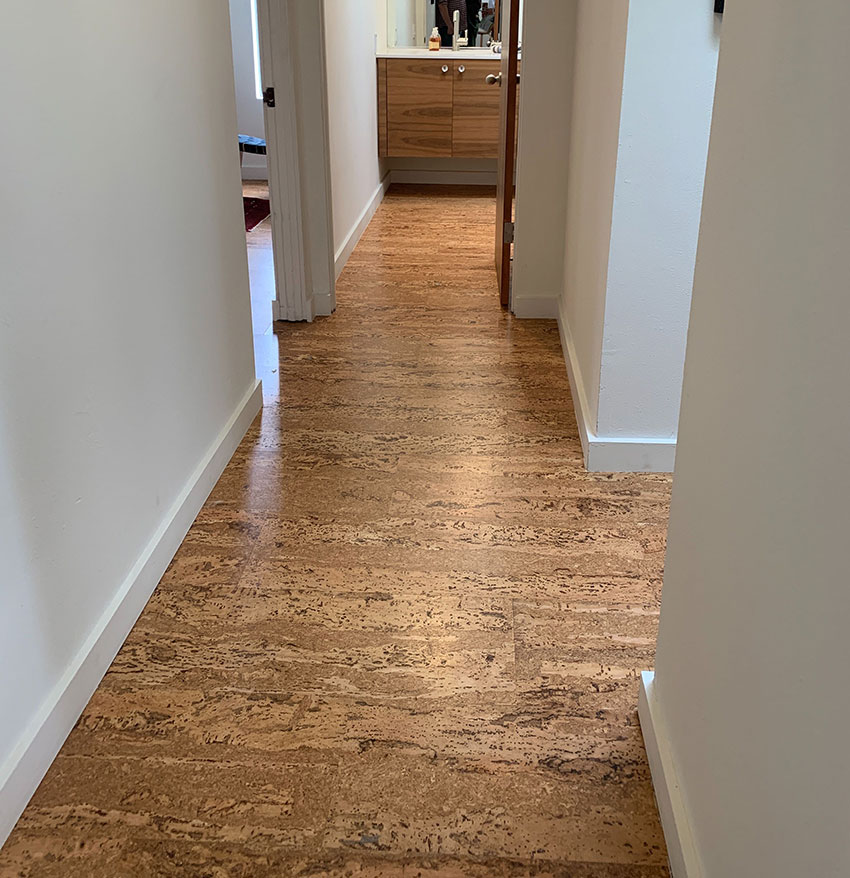
Cork flooring is naturally resistant to water, but excessive moisture exposure can cause it to swell, warp, or stain. Inspect areas around sinks, bathrooms, or any place where water may have come into contact with the floor. If you notice any warping or discoloration, it’s a clear sign that moisture has penetrated the floor and repairs may be necessary.
Evaluate Seams and Joints
The seams and joints between cork tiles or planks are critical points to examine during your assessment. Loose or separated seams can indicate that the floor is shifting or that it wasn’t properly installed. Loose tiles or gaps can also allow moisture to seep in, further damaging the subfloor. If these issues are present, a reinstallation or major repair may be required.
Check for Fading or Discoloration
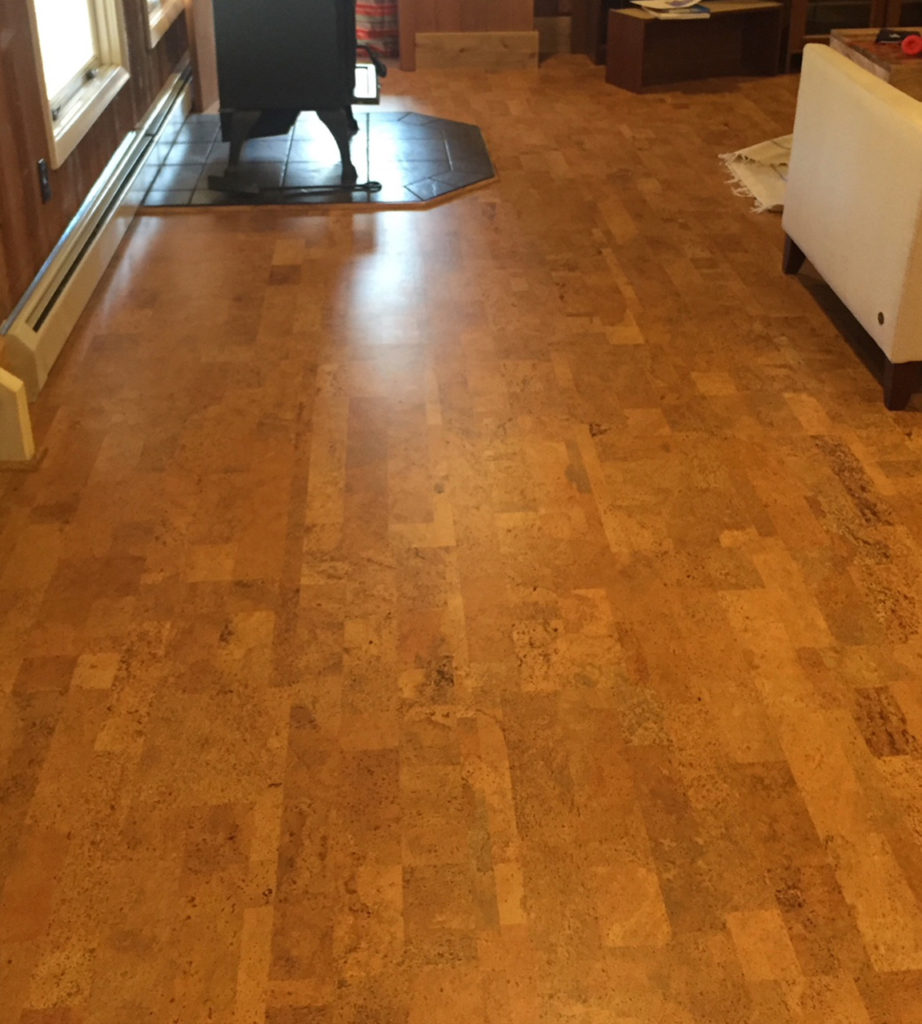
Cork floors can fade over time, especially in areas exposed to direct sunlight. While some color variation is normal, significant fading or uneven discoloration can affect the overall appearance of the floor. This issue may require refinishing to restore the original color or applying a new finish to protect the floor from further UV damage.
Test the Resilience of the Cork
Cork is known for its elasticity and resilience. To check if the floor is still in good shape, gently press down on different areas of the floor. A well-maintained cork floor should feel firm but slightly cushioned. If the floor feels overly soft or sponge-like, it could be a sign that the cork has deteriorated, potentially requiring a replacement.
Examine the Subfloor
Finally, consider what lies beneath the cork surface. If your floor feels uneven, bouncy, or makes creaking noises, there may be an issue with the subfloor. An uneven or damaged subfloor can lead to structural problems, so it’s crucial to inspect this area during the renovation process to ensure the cork floor has a stable base.
Step-by-Step Guide to Refinishing Cork Floors
Cork floors are durable, but over time they can show signs of wear, especially in high-traffic areas. Refinishing cork floors is a great way to breathe new life into them and restore their natural beauty. While refinishing cork requires careful attention to detail, the process can be straightforward when broken down into steps. Here’s a step-by-step guide to refinishing your cork floors.
Prepare the Area
Before you start refinishing, clear the room of furniture, rugs, and any other items that could get in the way. Thoroughly clean the floor by sweeping and vacuuming to remove dust and debris. If your floor has any sticky spots, use a damp mop to clean those areas, making sure the surface is completely dry before moving on to the next step.
Sand the Floor
The next step in refinishing is to sand the cork surface to remove the old finish and smooth out scratches or dents. Use fine-grit sandpaper or a floor buffer with a sanding pad to gently sand the surface. Be careful not to over-sand, as cork is softer than hardwood and can be damaged if too much material is removed. Focus on even sanding to ensure a smooth, uniform surface.
Repair Minor Damages
After sanding, inspect the floor for any minor damages such as small dents, cracks, or scratches. You can use a cork filler or a wood filler that matches the color of your cork floor to repair these imperfections. Fill in the damaged areas, and once the filler is dry, lightly sand the surface to ensure it blends in with the rest of the floor.
Apply a New Finish
Once the floor is sanded and repairs are made, it’s time to apply a new finish. Cork floors can be finished with either water-based or oil-based polyurethane, depending on your preference. Water-based finishes tend to dry faster and have less odor, while oil-based finishes provide a richer color. Apply the finish with a brush or roller, starting at one corner of the room and working your way out. Be sure to apply thin, even coats for the best results.
Let the Finish Cure
After applying the finish, allow the floor to cure for the recommended time, which can vary depending on the type of finish used. Water-based finishes typically dry faster, while oil-based finishes may take longer to fully cure. It’s essential to give the floor enough time to dry before walking on it or replacing furniture.
Buff the Floor (Optional)
For an extra smooth finish, you can buff the floor once the final coat of finish has cured. Use a floor buffer with a soft pad to lightly buff the surface. This will remove any imperfections and give the floor a polished, professional look. After buffing, clean the floor again to remove any remaining dust or debris.
Choosing the Right Finish for Your Cork Flooring
Selecting the right finish for your cork flooring is a crucial step in any renovation. The finish you choose not only affects the appearance of the floor but also its durability and ease of maintenance. With various finishes available, it’s important to understand the pros and cons of each option to ensure you make the best choice for your space. Let’s explore some of the most popular cork flooring finishes and what makes them ideal for different situations.
Water-Based Polyurethane Finish
Water-based polyurethane is a popular finish for cork flooring due to its fast drying time, low odor, and eco-friendly properties. This finish provides a clear, durable coat that helps protect the cork from wear and tear while maintaining its natural color. Water-based finishes are ideal for areas with moderate foot traffic and are easy to clean with minimal maintenance.
Oil-Based Polyurethane Finish
Oil-based polyurethane offers a richer, amber-colored finish that enhances the natural beauty of cork. While it takes longer to dry and has a stronger odor than water-based finishes, it is known for its durability and longevity. Oil-based finishes are suitable for high-traffic areas like kitchens and hallways, providing superior protection against scratches and stains.
UV-Cured Acrylic Finish
UV-cured acrylic finishes are becoming increasingly popular due to their quick drying time and high durability. This finish is applied using UV light, which cures the finish instantly, allowing for immediate use of the floor. UV-cured finishes are highly resistant to scratches, making them a great choice for commercial spaces or homes with pets and children.
Natural Oil Finish
For homeowners looking for a more natural and eco-friendly option, natural oil finishes are an excellent choice. Made from plant-based oils, these finishes penetrate the cork and protect it from within, rather than sitting on top of the surface like polyurethane. While natural oil finishes may require more frequent maintenance, they offer a beautiful, matte finish that complements the organic look of cork.
Wax Finish
Wax finishes have been used for centuries to protect cork floors, and they continue to be a popular choice today. Wax creates a soft, natural sheen and provides a layer of protection against spills and stains. However, wax finishes require regular buffing and reapplication to maintain their protective properties, making them more high-maintenance than other finish options.
Matte vs. Glossy Finishes
In addition to choosing the type of finish, you’ll also need to decide between a matte or glossy finish. Matte finishes offer a more understated, natural look that works well in casual or rustic spaces. Glossy finishes, on the other hand, reflect more light and give the floor a polished, elegant appearance. Consider the overall aesthetic of your space when deciding between these two options.

Repairing Damaged Cork Flooring: Tips and Techniques
Even though cork flooring is highly durable, it can still sustain damage over time. Whether it’s due to heavy furniture, sharp objects, or moisture exposure, repairing damaged cork flooring is often a necessary part of its maintenance. Fortunately, cork is relatively easy to repair, and with the right techniques, you can restore its appearance without needing a full replacement. Here are some tips and techniques for repairing various types of cork floor damage.
Filling Small Scratches and Dents
Minor scratches and dents are common on cork floors, especially in high-traffic areas. To repair these imperfections, use a cork filler or wood putty that matches the color of your floor. Apply the filler to the damaged area, and once it has dried, lightly sand the surface to ensure it’s smooth and level with the rest of the floor. Afterward, apply a finish to protect the repaired area.
Replacing Individual Cork Tiles
In cases where the damage is more severe, such as deep gouges or cracks, it may be necessary to replace individual cork tiles or planks. Start by carefully removing the damaged tile using a chisel or utility knife. Once the damaged tile is removed, clean the area and apply adhesive to the subfloor. Place the new tile in position and press it firmly into place. Allow the adhesive to dry before applying a finish to match the rest of the floor.
Dealing with Water Damage
Water damage is one of the most challenging issues to address with cork flooring. If moisture has caused the cork to swell or warp, it may be necessary to replace the affected tiles. In some cases, drying out the floor with a dehumidifier or fan can help reduce the swelling. However, if the damage is extensive, it’s best to remove the damaged sections and replace them.
Sanding and Refinishing for Surface Damage
If your cork floor has widespread surface damage, such as scratches or fading, sanding and refinishing the floor may be the best solution. Sanding removes the damaged surface layer, while refinishing restores the floor’s appearance and protects it from future damage. Be sure to use fine-grit sandpaper to avoid over-sanding, and apply a durable finish to keep the floor looking new.
Fixing Loose or Lifting Tiles
Loose or lifting cork tiles can occur due to improper installation or environmental factors such as humidity changes. To fix this issue, remove the loose tile and clean the subfloor. Apply a strong adhesive to the back of the tile and press it back into place. Use a roller or heavy object to ensure the tile adheres properly. Allow the adhesive to dry completely before walking on the floor.
Preventing Future Damage
Once you’ve repaired your cork floor, it’s important to take steps to prevent future damage. Place furniture pads under heavy objects, use rugs in high-traffic areas, and avoid dragging furniture across the floor. Regular cleaning and maintenance, such as sweeping and mopping, will also help protect the floor from scratches and stains.
How to Maintain and Protect Renovated Cork Floors
After investing time and effort into renovating your cork floors, maintaining and protecting them is crucial to ensure they remain beautiful and durable for years to come. Proper care will not only preserve the aesthetic appeal of the floor but also extend its lifespan. Here are some key tips for maintaining and protecting your renovated cork floors.
Regular Cleaning
Regular cleaning is essential to keep cork floors in good condition. Dust, dirt, and debris can act as abrasives and scratch the surface over time. To prevent this, sweep or vacuum the floor regularly using a soft brush attachment. Avoid using a vacuum cleaner with a beater bar, as it can damage the cork. For deeper cleaning, use a damp mop with a mild, pH-neutral cleaner designed for cork floors.
Protecting Against Moisture
While cork is naturally resistant to moisture, excessive water exposure can cause damage. To protect your renovated cork floors from moisture, wipe up spills immediately and avoid using wet mops or steam cleaners. In areas prone to moisture, such as kitchens or bathrooms, consider applying a waterproof finish or placing rugs and mats to absorb any excess water.
Using Furniture Pads
Heavy furniture can dent or scratch cork floors, especially if moved frequently. To prevent damage, place felt pads or coasters under the legs of chairs, tables, and other furniture. This will help distribute the weight more evenly and protect the floor from indentations. When moving furniture, lift it instead of dragging it to avoid scratching the surface.
Applying Protective Finishes
One of the best ways to protect renovated cork floors is by applying a protective finish. Whether you choose a polyurethane or natural oil finish, it will create a barrier that shields the floor from scratches, stains, and UV damage. Over time, the finish may wear down, so it’s important to reapply it as needed to maintain the floor’s protection.
Avoiding Harsh Cleaners
Harsh chemical cleaners can damage cork floors and strip away their protective finish. To maintain your renovated floor’s integrity, stick to mild, pH-neutral cleaning products specifically designed for cork or hardwood floors. Avoid using ammonia, bleach, or abrasive cleaners, as they can dull the finish and weaken the cork material.
Dealing with Minor Repairs
Even with proper care, minor damages like scratches or scuffs may still occur. For small scratches, use a cork filler or wood putty to fill in the damaged area, then sand and refinish it as needed. Regularly inspect your floor for signs of wear and tear and address any issues promptly to prevent them from worsening.
Cost-Effective Cork Flooring Renovation Ideas for Budget-Conscious Homeowners
Renovating cork floors doesn’t have to break the bank. With a little creativity and smart planning, you can achieve a stunning, refreshed floor without overspending. Here are some cost-effective cork flooring renovation ideas that will help you save money while still delivering great results.
DIY Refinishing
One of the most affordable ways to renovate cork flooring is by doing the refinishing work yourself. While professional refinishing services can be costly, refinishing cork floors is relatively easy for homeowners to tackle on their own. All you need is sandpaper, a floor buffer, and the appropriate finish to get started. By handling the refinishing process yourself, you can significantly cut down on labor costs.
Opt for Natural Oil Finishes
Instead of investing in high-end finishes like polyurethane, consider using a natural oil finish for your cork floors. Natural oils are not only more affordable but also provide a beautiful, eco-friendly finish that enhances the floor’s natural look. They’re easy to apply and can be re-applied as needed without the need for sanding or stripping the previous finish.
Spot Repair Damaged Areas
Instead of replacing the entire floor, focus on spot-repairing damaged areas. Whether it’s a small section of water damage or a few scratched tiles, repairing these specific spots can save you money. Purchase cork fillers or replacement tiles in bulk to get a better price, and use DIY techniques to restore the damaged areas.
Use Area Rugs for High-Traffic Zones
One way to protect your cork floor while giving it a fresh look is by incorporating area rugs. Not only do rugs add style and comfort to your space, but they also protect the floor in high-traffic areas, reducing wear and tear. By strategically placing rugs in key areas, you can prolong the life of your cork floor and avoid costly repairs.
Refurbish Rather Than Replace
Cork floors can often be refurbished rather than replaced, even if they’re showing signs of age. Instead of ripping out the old floor and installing new tiles, try sanding and refinishing the existing cork. This process is far less expensive than a full replacement and can restore the floor’s original beauty without the need for new materials.
Purchase Recycled or Reclaimed Cork
If you’re looking to replace damaged sections of your cork floor, consider purchasing recycled or reclaimed cork materials. These options are typically more affordable than brand-new cork and are just as durable and attractive. Using recycled materials is not only budget-friendly but also environmentally conscious, aligning with cork’s sustainable nature.

All About Cork Flooring – Home
Cork Flooring Niles Floors and Blinds
Distinct Properties of Cork for Flooring

Cork Flooring can be a very green option. kurk, lekker zacht aan de voeten Cork flooring

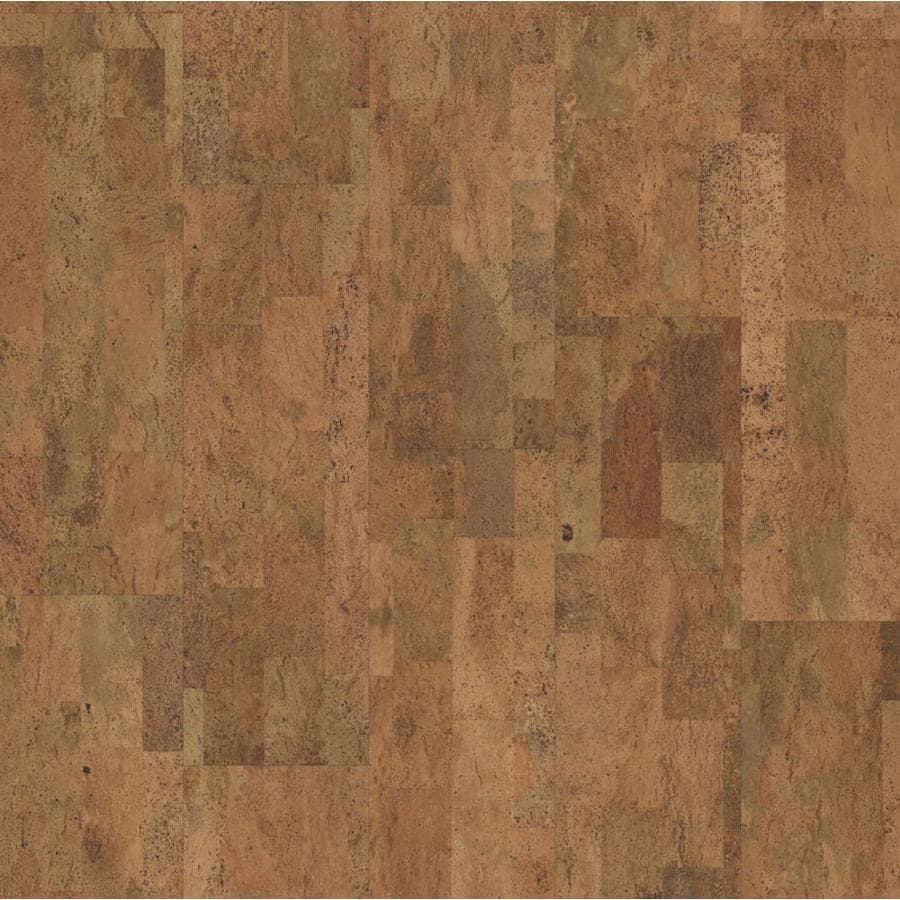
Natural Cork New Dimensions – Narrow Plank – Eco-Friendly

Related Posts: