Distressed Wood Flooring DIY
Our Certified Reclaimed Flooring products are milled using antique wood rescued from historic

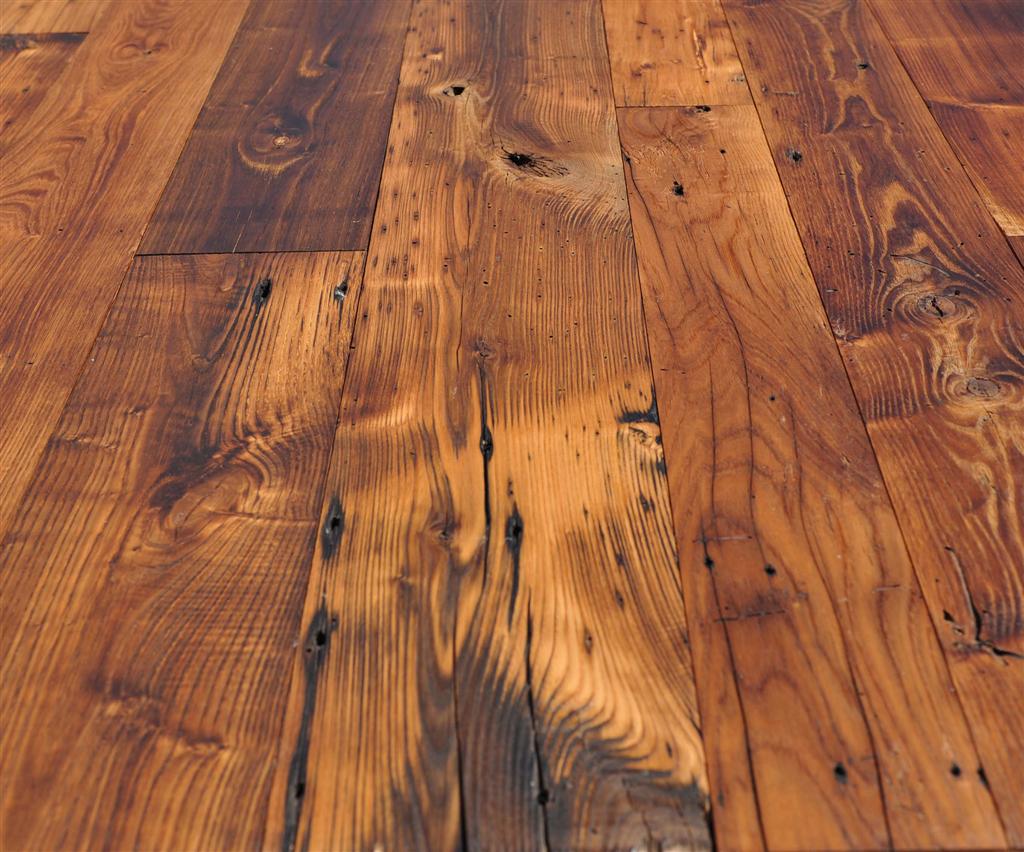
This unique photo is unquestionably a magnificent style alternative. #rusticwideplankfloor

Distressed Hardwood Flooring Diy – flooring Designs

Pin on DIY Rustic Wide Plank Plywood Flooring

Pin on Floored

Distressed Hardwood Flooring Diy – flooring Designs

Find out what the newest trends in #Handscraped and #Distressed #Flooring at Floorsme.com

Distressed Hardwood Flooring: 9 Design Ideas with a Cozy Distressed Look

Distressed Wood Flooring – Painted, Worn Floorboards Distressed wood floors, Painted hardwood

Distressed Hardwood Flooring Diy – flooring Designs

Original Face White Washed Barn Flooring White wash wood floors, Painted wood floors, White

Related Posts:
- Grey Parquet Wood Flooring
- How To Install Pergo Wood Flooring
- Dark Black Wood Flooring
- Solid Wood Flooring White
- Pallet Wood Flooring Ideas
- Wood Floor Chevron Pattern
- Wood Flooring Home Ideas
- Wood Floor Filler Resin
- Glossy Wood Flooring Ideas
- Pergo Wood Flooring Installation
Distressed wood flooring has become increasingly popular in recent years. Not only does it bring a unique, rustic charm to any room, but it also adds a layer of sophistication and timelessness that can’t be achieved with other flooring options. While it can be expensive to purchase pre-distressed wood flooring, you can easily create your own distressed flooring at home with the right materials and tools.
## What You Need to Get Started
Creating distressed wood flooring is a relatively easy project that doesn’t require a lot of tools or materials. As long as you have access to the following items, you should have everything you need to create an authentic aged look for your flooring:
* Sandpaper
* Hammer
* Nails
* Chisel
* Stain
* Polyurethane
* Rag
* Foam brush
## Preparing Your Wood Flooring
The first step in creating distressed wood flooring is to prepare your wood planks. Start by laying them out and making sure they are flat and even. Once they are placed in their desired position, use sandpaper to smooth out any rough edges or imperfections. You can also use sandpaper to lightly distress the planks if desired.
## Adding Nail Heads
Once your planks are ready, it’s time to add the nail heads that will give your floor its distinctive aged look. Start by taking a hammer and lightly tapping nails into the planks. Make sure that the nails aren’t too close together – about 3-4 inches apart is ideal. After hammering in the nails, use a chisel to pull out the nail heads and leave behind indentations. This will give your floor a more authentic aged look.
## Staining & Sealing Your Flooring
Once you’ve finished adding nail heads to your planks, it’s time to stain and seal them. Start by staining the wood with the desired color of your choice. You can use a rag or foam brush for this step. Once the stain has dried completely, apply two coats of polyurethane to protect the floor from scratches and wear and tear. Allow each coat to dry completely before applying the next one.
## Finishing Touches
Once your floor has been stained and sealed, it’s time for the final touches! Use sandpaper to distress areas of your planks that haven’t been affected by the nails or chisel before staining them. This will give your floor an even more authentic aged look. You can also use a wire brush or random orbital sander to further distress any areas of the planks if desired.
Creating distressed wood flooring is a great way to bring character and charm into any room of your home. With just a few simple steps, you can easily create an authentic aged look for your floors for a fraction of what it would cost to purchase pre-distressed wood planks!