Laminate flooring has become a popular choice among homeowners due to its affordability, durability, and aesthetic appeal. It mimics the look of hardwood, stone, or tile at a fraction of the cost, making it an attractive option for budget-conscious individuals. Additionally, laminate flooring is relatively easy to install, especially for those who enjoy DIY projects. This article provides a thorough guide on DIY laying laminate flooring, covering preparation, installation, maintenance, and common mistakes to avoid.
Understanding Laminate Flooring
- What is Laminate Flooring? Laminate flooring is a multi-layer synthetic product designed to imitate the appearance of natural materials such as wood, stone, or tile. It typically consists of four layers: a wear layer, a decorative layer, a core layer, and a backing layer. The wear layer protects against scratches and damage, while the decorative layer provides visual appeal. The core layer, usually made of high-density fiberboard, adds stability and durability, and the backing layer provides additional support and moisture resistance.
- Types of Laminate Flooring: Laminate flooring comes in various styles and finishes to suit different tastes and applications. Options include textured, smooth, hand-scraped, and embossed finishes. Textured laminate mimics the natural grain of wood or stone, while smooth laminate provides a sleek, polished look. Hand-scraped and embossed finishes offer a more rustic or vintage appearance, adding character to the flooring.
- Advantages of Laminate Flooring: One of the main advantages of laminate flooring is its affordability compared to hardwood, stone, or tile. It is also durable and resistant to scratches, stains, and fading, making it ideal for high-traffic areas. Laminate flooring is easy to clean and maintain, requiring only regular sweeping or vacuuming and occasional damp mopping. Additionally, it is relatively easy to install, even for DIY enthusiasts, thanks to its click-lock installation system.
- Limitations of Laminate Flooring: While laminate flooring has many benefits, it also has some limitations. It is susceptible to moisture damage, so it may not be the best choice for areas prone to water exposure, such as bathrooms or basements. Laminate flooring can also be noisy underfoot, but this can be mitigated with underlayment. Additionally, it cannot be refinished like hardwood, so once it is worn out, it needs to be replaced.
- Choosing the Right Laminate Flooring: Selecting the right laminate flooring involves considering factors such as the room’s use, the level of foot traffic, and personal aesthetic preferences. For high-traffic areas, choose a laminate with a higher AC (Abrasion Class) rating, which indicates better durability. Consider the color, texture, and finish that will best complement the room’s décor. Additionally, ensure the laminate is compatible with the existing subfloor and any underfloor heating systems.
- Cost Considerations: Laminate flooring is generally more affordable than hardwood, stone, or tile, but prices can vary based on quality and brand. It is essential to budget for additional materials such as underlayment, trim, and installation tools. While DIY installation can save on labor costs, it is crucial to factor in the time and effort required for the project. Comparing prices and features from different suppliers can help ensure you get the best value for your investment.

Preparing for Installation
Assessing the Subfloor
Before installing laminate flooring, it is crucial to assess the condition of the subfloor. The subfloor should be clean, dry, and level to ensure the laminate planks fit together correctly and do not shift or warp over time. Concrete subfloors should be free of cracks and moisture, while wooden subfloors should be sturdy and free of squeaks or loose boards.
Acclimating the Laminate
Laminate flooring needs to acclimate to the room’s temperature and humidity before installation to prevent expansion or contraction after it is laid. This process typically involves leaving the unopened boxes of laminate planks in the room for 48 to 72 hours. Ensure the room is at a stable temperature and humidity level during this period.
Gathering Tools and Materials
Having the right tools and materials on hand will make the installation process smoother and more efficient. Essential tools include a tape measure, a saw (circular or jigsaw), a tapping block, a pull bar, spacers, a rubber mallet, and a utility knife. Materials needed include underlayment, moisture barrier (if required), laminate planks, transition strips, and trim or molding.
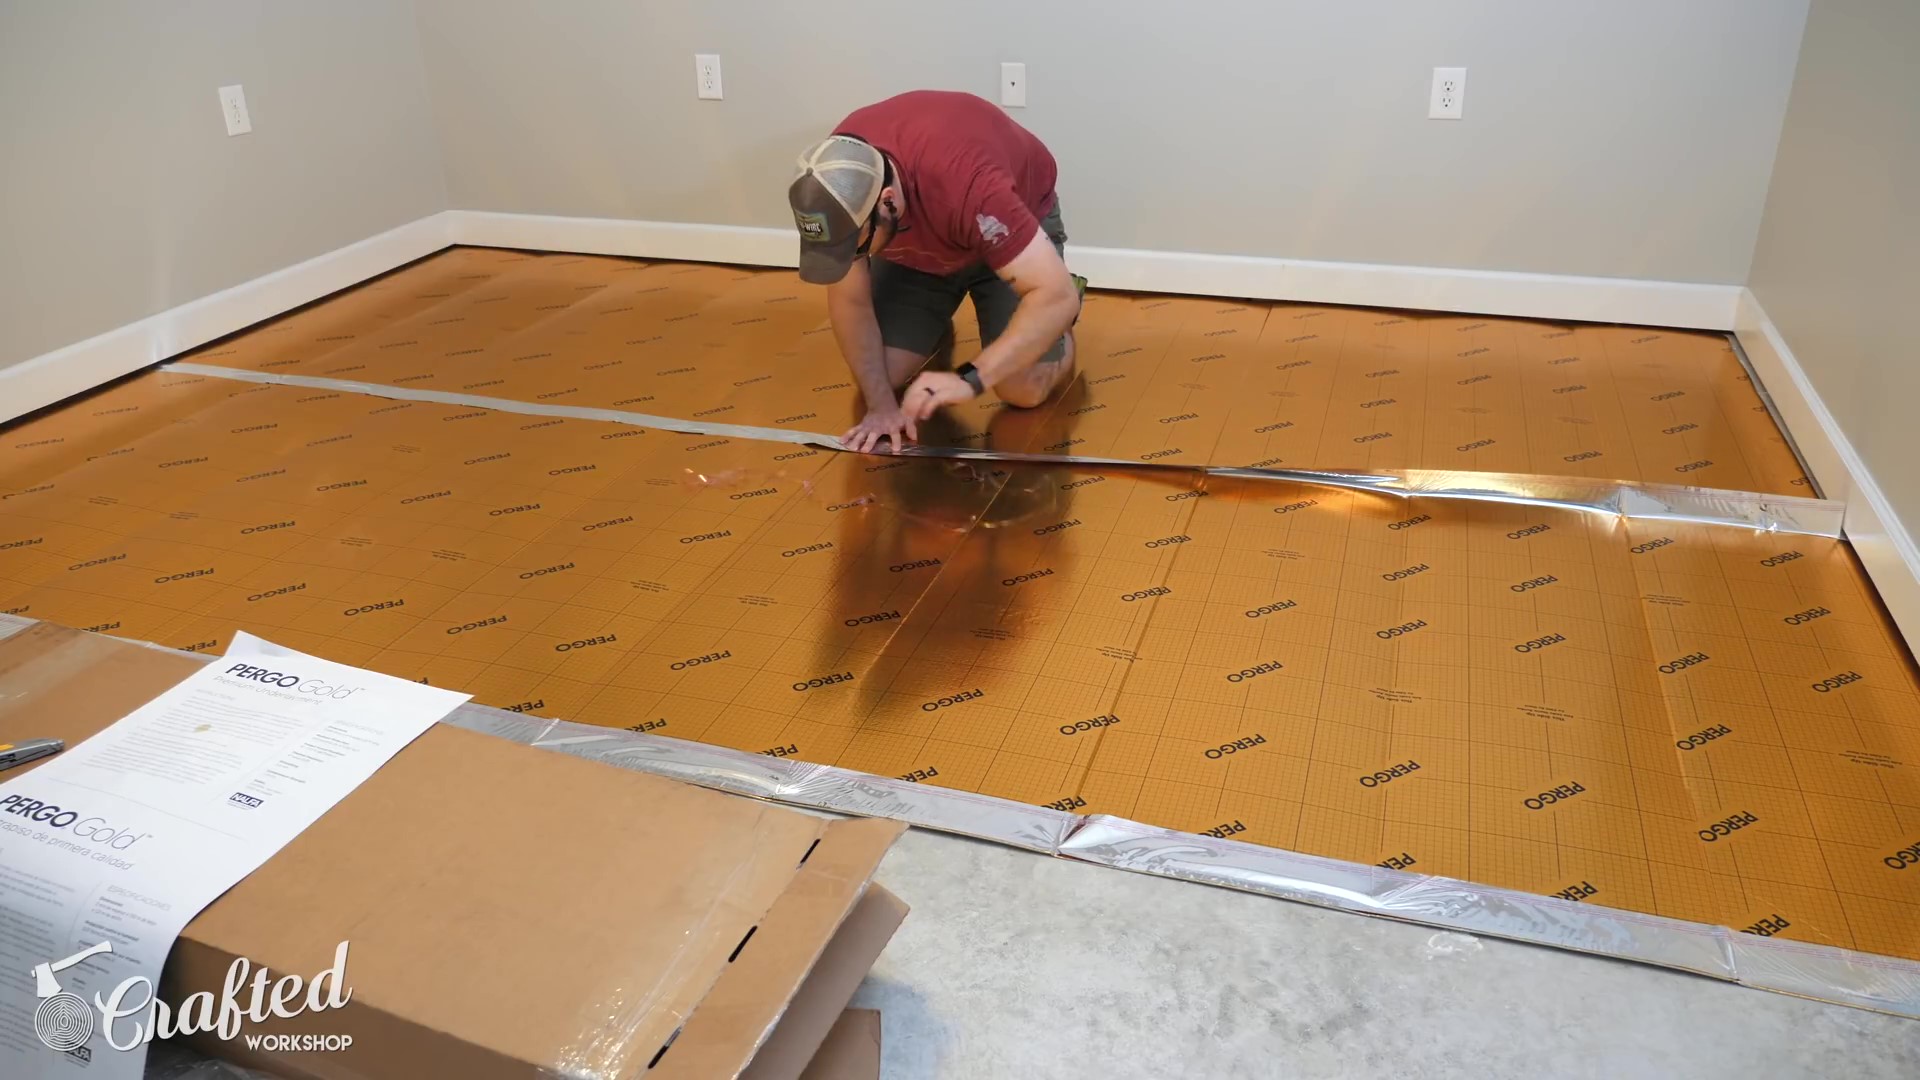
Preparing the Room
Prepare the room by removing all furniture and existing flooring. If installing over concrete, ensure it is dry and level. For wooden subfloors, secure any loose boards and remove any protruding nails or staples. Clean the subfloor thoroughly to remove any dust or debris. Install a moisture barrier if required, followed by the underlayment according to the manufacturer’s instructions.
Planning the Layout
Careful planning of the laminate flooring layout can help minimize waste and ensure a professional-looking result. Start by measuring the room and calculating the number of planks needed. Plan the direction of the planks, typically parallel to the longest wall or the main source of light. Stagger the end joints by at least 12 inches to create a more natural and stable appearance.
Cutting the Planks
Cutting laminate planks accurately is crucial for a good fit and professional finish. Measure and mark the planks carefully, accounting for expansion gaps around the perimeter of the room. Use a saw to make clean, precise cuts. A miter saw or circular saw works well for straight cuts, while a jigsaw is useful for cutting around obstacles such as doorways or vents.
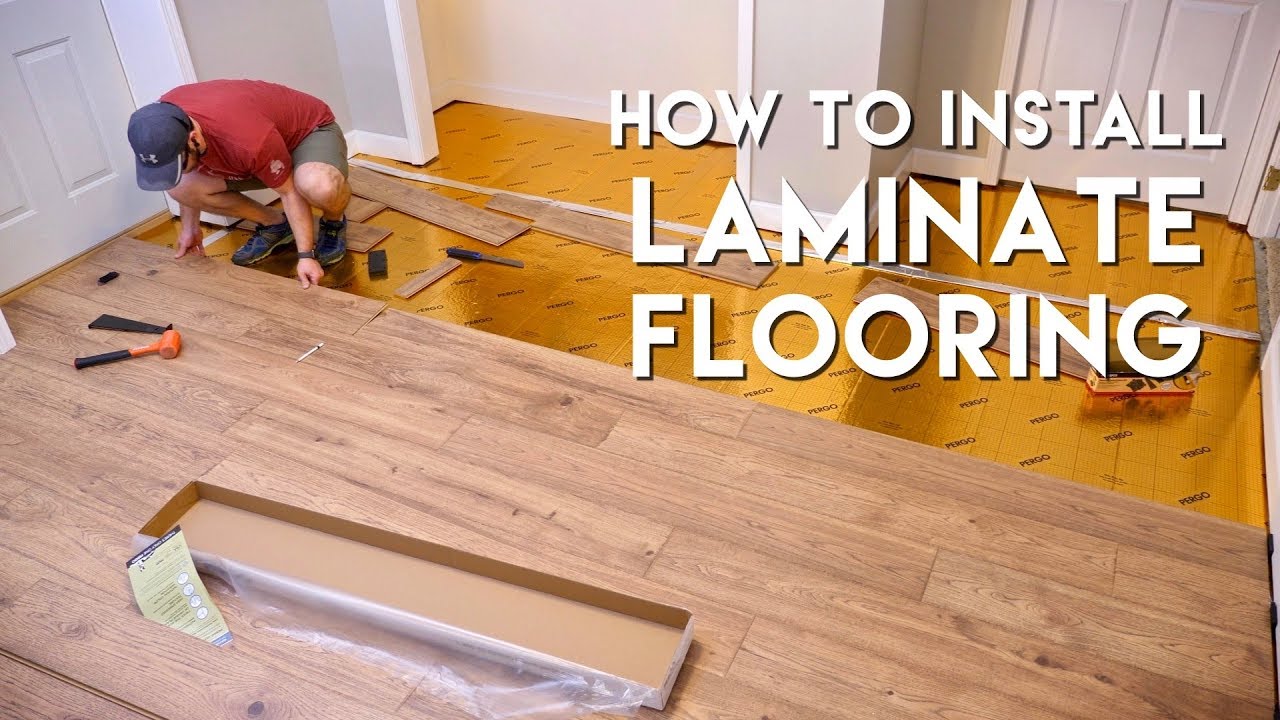
Installing Laminate Flooring
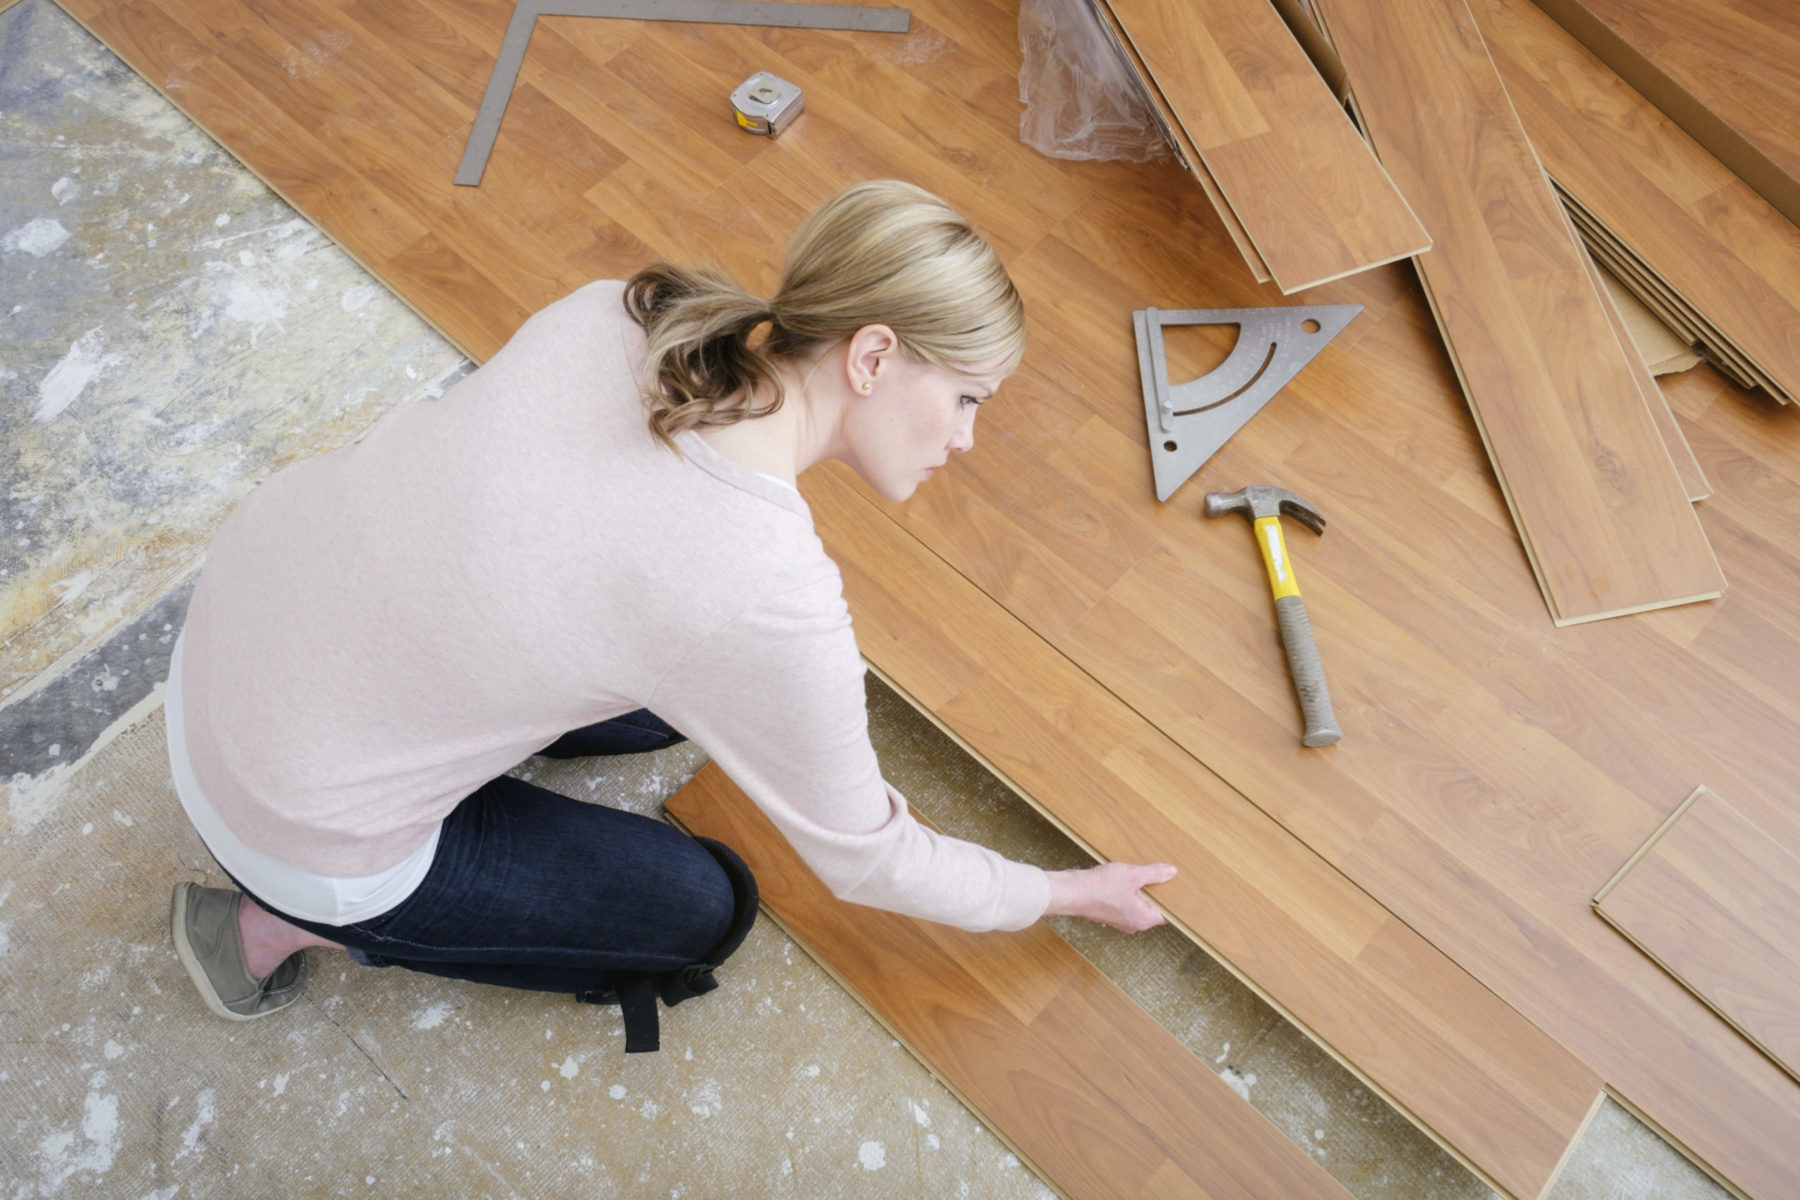
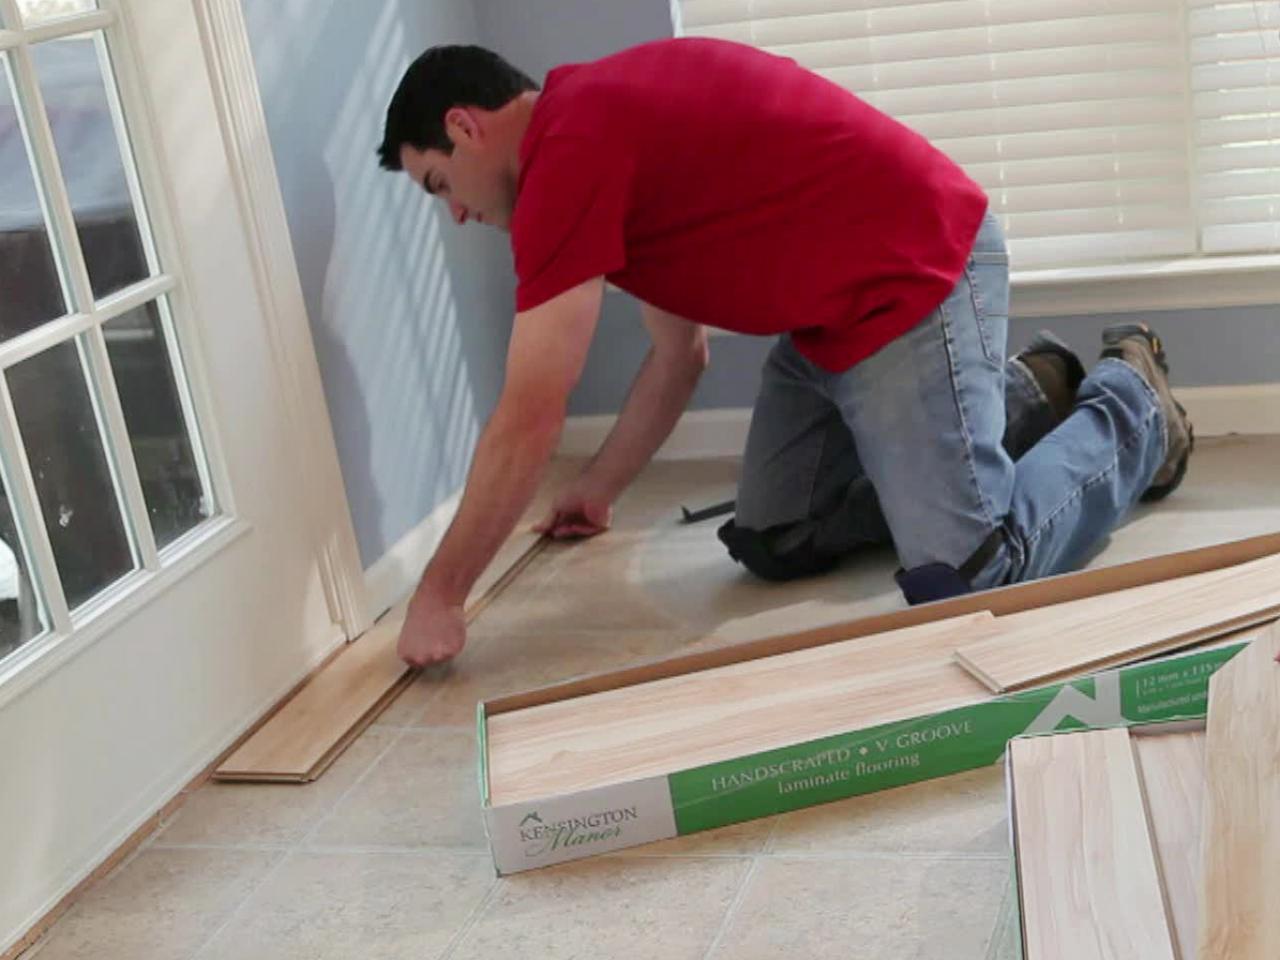
1. Starting the First Row
Begin the installation with the first row of planks along the longest wall, using spacers to maintain the required expansion gap between the planks and the wall. The expansion gap allows for natural movement of the flooring and prevents buckling. Connect the planks end to end, ensuring the joints are tight and secure.
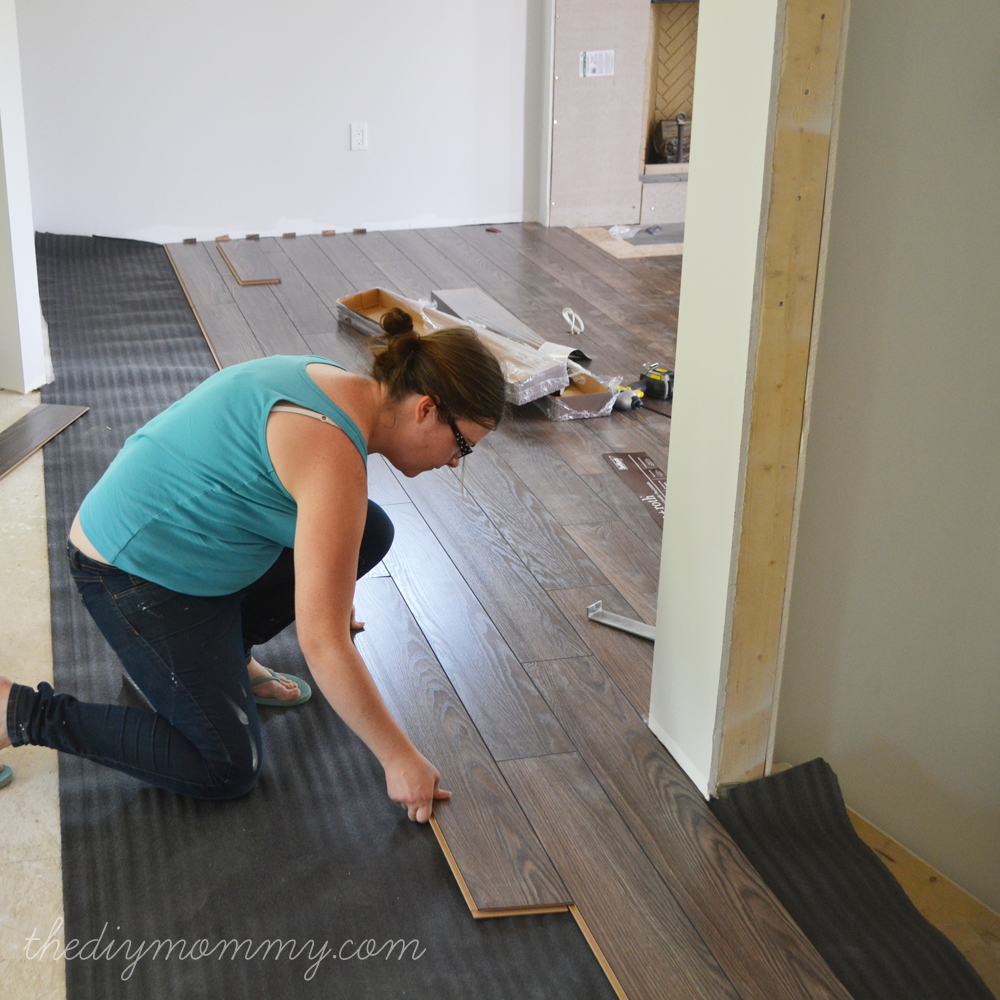
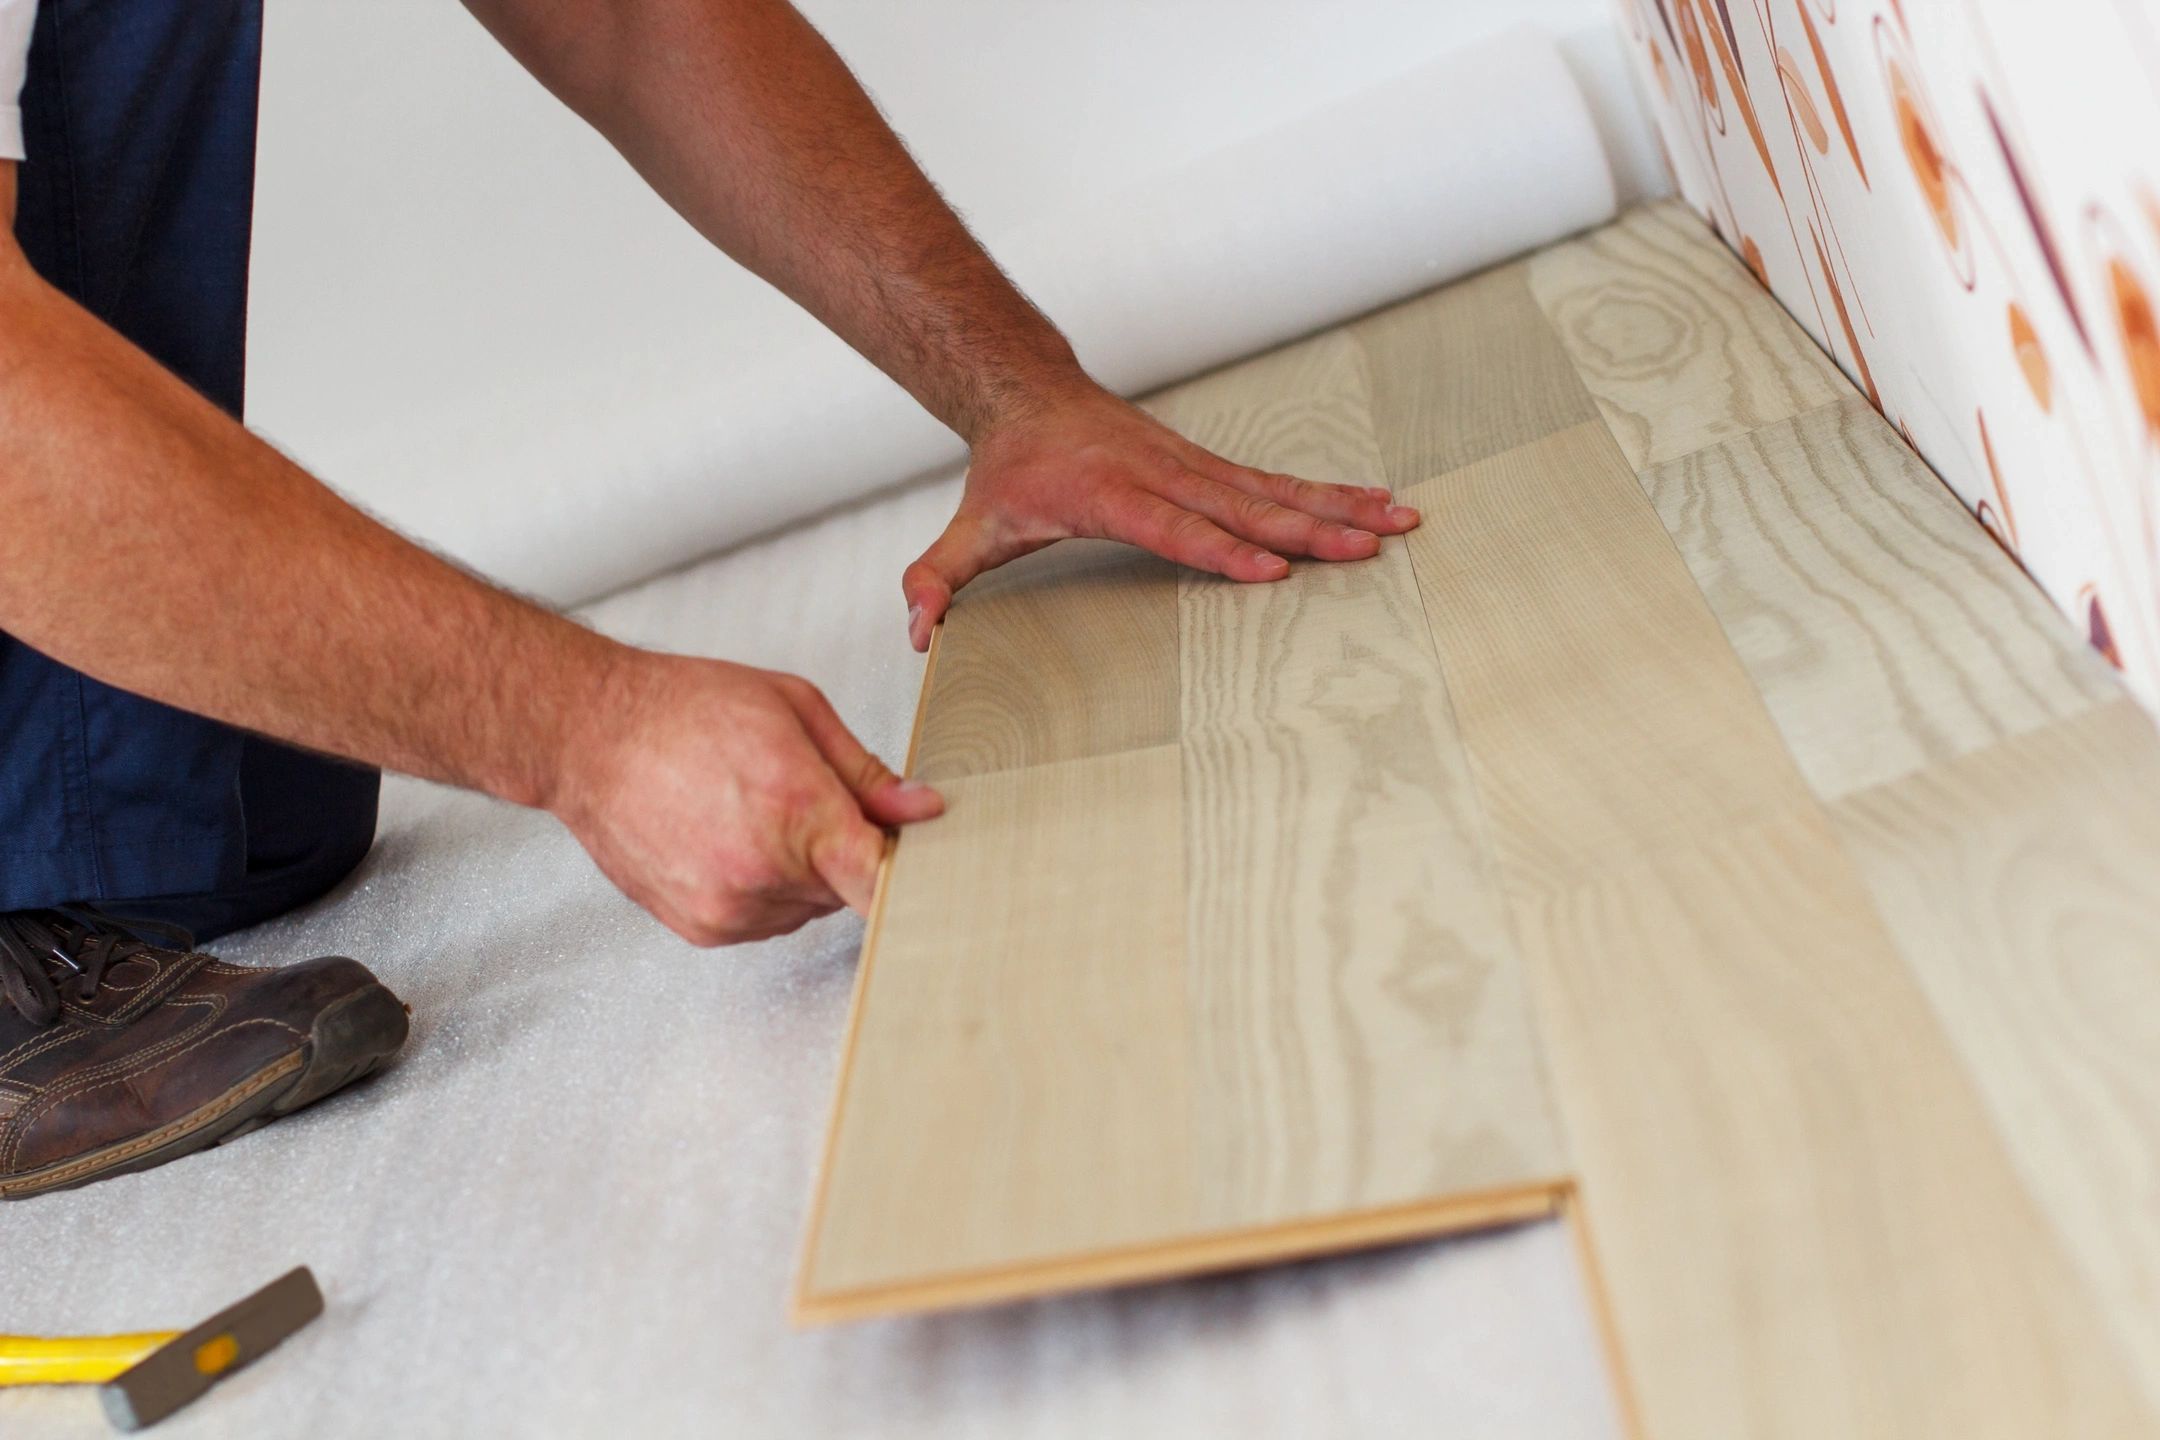
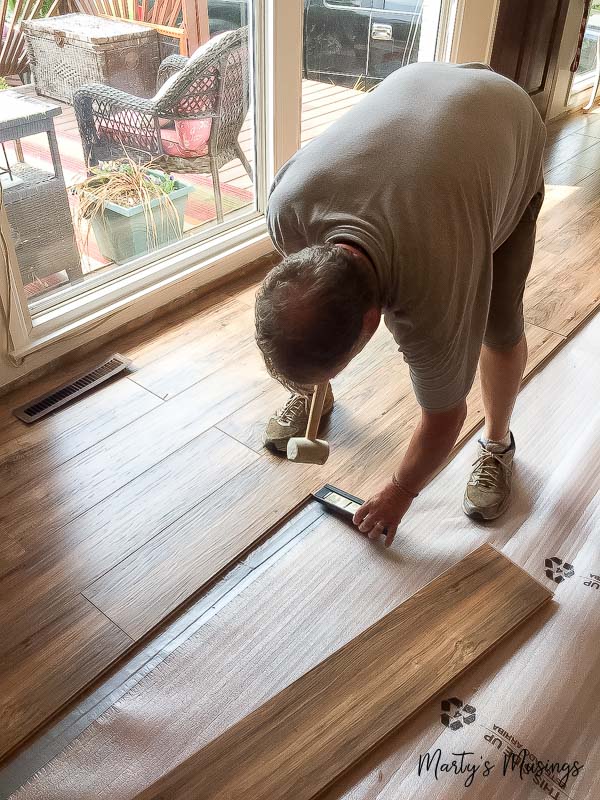
2. Installing Subsequent Rows
For subsequent rows, use a tapping block and rubber mallet to gently tap the planks into place, ensuring a snug fit. Stagger the end joints by at least 12 inches to create a stable and visually appealing pattern. Use a pull bar to secure the last plank in each row, maintaining the expansion gap with spacers.
3. Dealing with Obstacles
Obstacles such as doorways, vents, and cabinets can complicate the installation process. Measure and cut the planks to fit around these obstacles, leaving the necessary expansion gap. For doorways, undercut the doorjambs to allow the laminate to slide underneath for a seamless appearance.
4. Installing the Last Row
The last row of planks may need to be trimmed to fit. Measure the width required, accounting for the expansion gap, and cut the planks accordingly. Use a pull bar to fit the last row snugly against the previous row, ensuring the joints are tight and secure. Check the expansion gaps around the perimeter and adjust the spacers as needed.
5. Installing Transition Strips
Transition strips are used to create a smooth transition between laminate flooring and other types of flooring, such as carpet, tile, or vinyl. Install transition strips at doorways and between rooms to cover the expansion gaps and create a professional finish. Follow the manufacturer’s instructions for installing transition strips.
6. Adding Trim and Molding
The final step in the installation process is adding trim or molding around the perimeter of the room to cover the expansion gaps and give the floor a finished look. Baseboards, quarter-round, or shoe molding can be used for this purpose. Nail the trim to the wall, not the floor, to allow for natural movement of the laminate.
Maintaining Laminate Flooring
Regular Cleaning
Maintaining the cleanliness of laminate flooring is essential for preserving its appearance and longevity. Regularly sweep or vacuum the floor to remove dirt, dust, and debris. Use a damp mop with a mild cleaner designed for laminate flooring to clean spills and stains. Avoid using excessive water or harsh chemicals, as these can damage the laminate.
Preventing Damage
To prevent scratches and damage to laminate flooring, use furniture pads under the legs of chairs, tables, and other heavy furniture. Place mats or rugs at entryways to catch dirt and moisture before it reaches the floor. Avoid dragging heavy objects across the floor, and use a dolly or furniture sliders when moving furniture.
Handling Spills
Promptly clean up spills to prevent moisture from seeping into the seams and causing damage. Use a clean, absorbent cloth or paper towel to blot up spills, and then clean the area with a damp cloth and a mild cleaner. Avoid using steam mops or wet mops, as excessive moisture can damage the laminate.
Addressing Scratches and Scuffs
Minor scratches and scuffs can be addressed with laminate floor repair kits, which typically include a filler compound and a touch-up marker. Follow the manufacturer’s instructions for repairing scratches and scuffs. For deeper scratches or damage, consider replacing the affected planks.
Periodic Deep Cleaning
In addition to regular cleaning, periodic deep cleaning is necessary to remove ingrained dirt and grime. Use a specialized laminate floor cleaner and follow the manufacturer’s recommendations for deep cleaning. Avoid using abrasive cleaners or scrubbers, as these can damage the laminate surface.
Protecting Against UV Damage
Prolonged exposure to sunlight can cause laminate flooring to fade or discolor. Use curtains, blinds, or UV-protective window film to reduce direct sunlight exposure. Rearrange furniture and rugs periodically to prevent uneven fading and maintain a consistent appearance.
Common Mistakes to Avoid
Ignoring Subfloor Preparation
One common mistake is neglecting to properly prepare the subfloor before installation. An uneven or dirty subfloor can lead to issues such as gaps, shifting, or squeaking. Ensure the subfloor is clean, dry, and level before laying the underlayment and laminate planks.
Skipping Acclimation
Skipping the acclimation process can result in the laminate planks expanding or contracting after installation, leading to gaps or buckling. Allow the laminate to acclimate to the room’s temperature and humidity for at least 48 hours before installation.
Incorrect Use of Spacers
Failing to use spacers correctly can prevent the necessary expansion gap around the perimeter of the room. This gap is crucial for allowing natural movement of the flooring. Ensure spacers are used consistently along all walls and obstacles.
Misaligned Planks
Misaligned planks can create an uneven and unprofessional appearance. Take care to align the planks properly, using a tapping block and rubber mallet to ensure tight joints. Stagger the end joints by at least 12 inches for a stable and visually appealing pattern.
Improper Cutting
Inaccurate cutting of planks can result in gaps or poor fits around obstacles. Measure and mark the planks carefully, and use the appropriate saw for clean, precise cuts. Double-check measurements before cutting to avoid costly mistakes.
Neglecting Post-Installation Care
Neglecting post-installation care can affect the longevity and appearance of laminate flooring. Avoid walking on the new floor for the recommended time to allow the adhesive to set. Follow the manufacturer’s guidelines for initial cleaning and maintenance.

How long does it take to install laminate flooring?
The time required to install laminate flooring depends on the size of the room, the complexity of the layout, and the installer’s experience. On average, a DIY installation for a standard-sized room can take one to two days, including preparation and cleanup. Professional installers may complete the job more quickly.
Can laminate flooring be installed over existing flooring?
Laminate flooring can be installed over some types of existing flooring, such as vinyl, linoleum, or tile, provided the existing floor is clean, dry, and level. However, it is generally recommended to remove carpet and other soft flooring materials before installation. Check the manufacturer’s guidelines for specific requirements.
Do I need to use underlayment with laminate flooring?
Underlayment is typically required for laminate flooring to provide a moisture barrier, reduce noise, and add cushioning. Some laminate flooring products come with pre-attached underlayment, while others require a separate underlayment to be installed. Follow the manufacturer’s instructions for the appropriate underlayment.
Can I install laminate flooring in bathrooms or kitchens?
Laminate flooring can be installed in kitchens, but caution is advised in bathrooms due to the high moisture levels. If installing in a bathroom, choose a water-resistant laminate and ensure the installation is properly sealed around the edges to prevent moisture from seeping into the seams. Vinyl or tile may be better options for high-moisture areas.
How do I repair damaged laminate flooring?
Minor scratches and scuffs can be repaired with laminate floor repair kits, which include a filler compound and touch-up marker. For more significant damage, such as deep scratches or chipped planks, the affected planks may need to be replaced. Carefully remove the damaged planks and install new ones, following the original installation method.
Is laminate flooring suitable for homes with pets?
Laminate flooring is a good option for homes with pets due to its durability and scratch resistance. However, it can be slippery for pets, so consider placing rugs or mats in high-traffic areas. Regularly trim your pets’ nails and clean up any spills or accidents promptly to maintain the flooring’s appearance and longevity.
How to Lay a Laminate Floor Laminate flooring, Laying laminate flooring, Dark laminate wood

DIY Vintage Chic: DIY Laminate Flooring

How Do You Stagger Laminate Wood Flooring Floor Roma
Laminate Flooring How To Lay
Installing Laminate Flooring Over Carpet Padding
DIY Laminate Floor Installation

Stone Laminate Flooring Installation

Related Posts:
- Farmhouse Laminate Flooring
- Dark Laminate Flooring Ideas
- Laminate Floor Uneven Transition
- Laminate Floor Colors Ideas
- Grey Oak Laminate Flooring
- Laminate Flooring Installation Tips
- Laminate Flooring Installation On Concrete
- Laminate Flooring For Steps
- Wood Laminate Flooring In Kitchen
- Laminate Floor Glue Removal