Engineered hardwood flooring is a popular choice for homeowners due to its durability, aesthetic appeal, and resistance to moisture compared to solid hardwood. However, like all flooring types, it can experience wear and damage over time. Understanding how to properly repair engineered hardwood flooring can save you money and extend the life of your floors. We will cover the essentials of engineered hardwood flooring repair, common problems, and practical solutions.
Understanding Engineered Hardwood Flooring
Composition and Structure
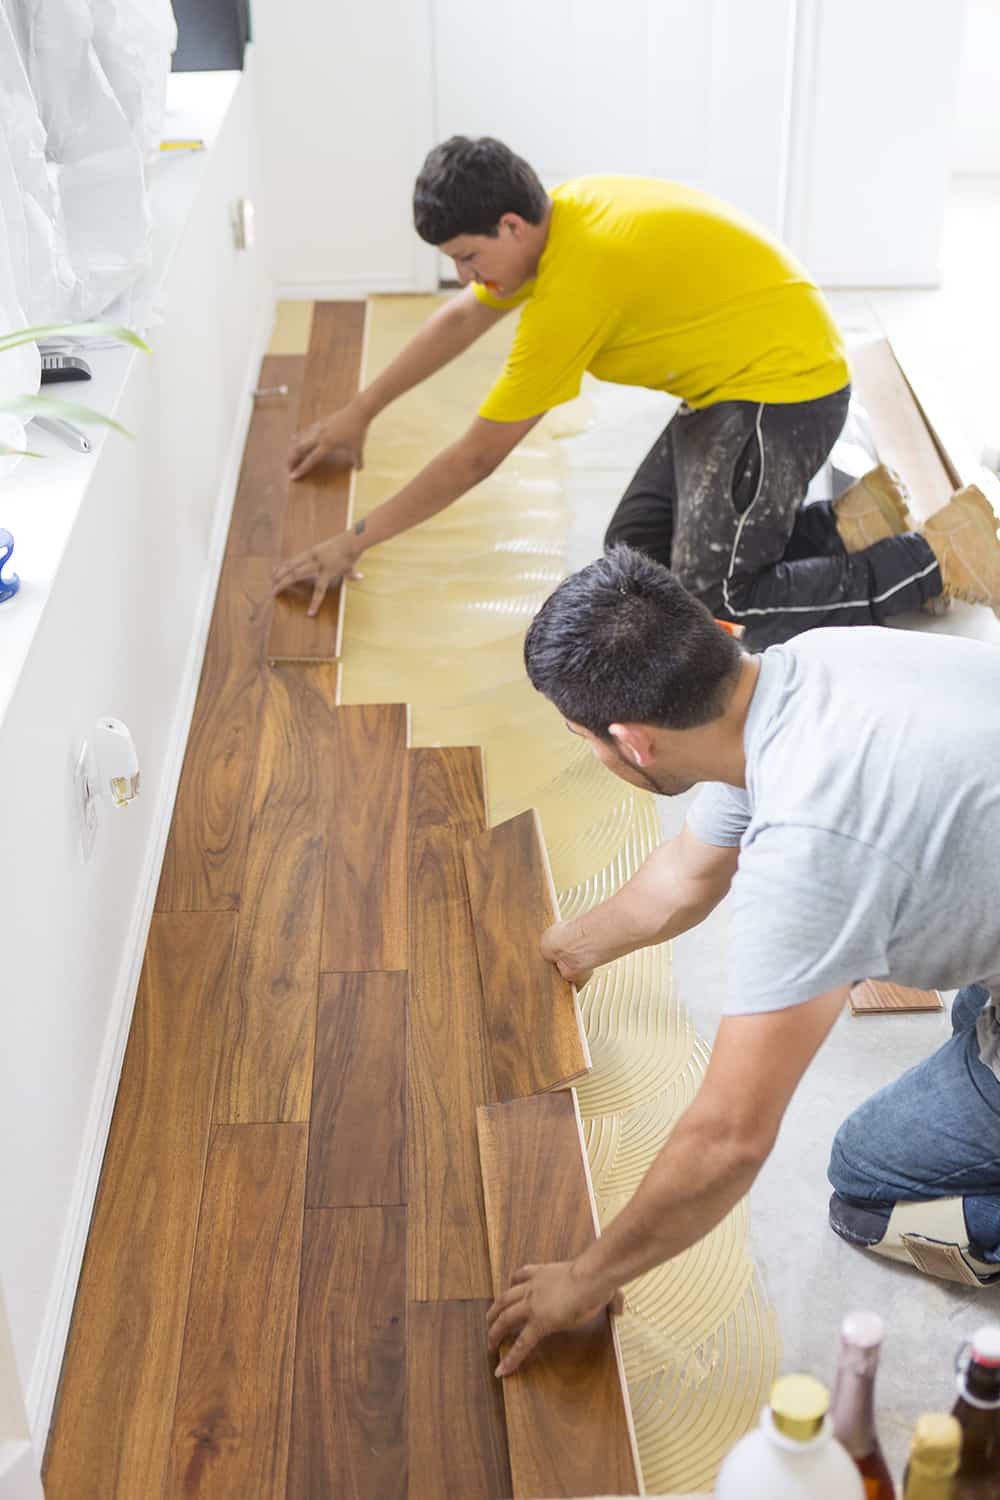
Engineered hardwood flooring is composed of multiple layers. The top layer, known as the wear layer, is made of real hardwood and can range from 1mm to 6mm thick. Below the wear layer are several layers of plywood or high-density fiberboard (HDF) arranged in a cross-grain configuration. This structure provides stability and resistance to changes in temperature and humidity, making it suitable for various environments, including basements and areas with fluctuating climates.
Benefits of Engineered Hardwood
The primary advantage of engineered hardwood flooring is its dimensional stability. The layered construction prevents the floor from expanding or contracting as much as solid hardwood, reducing the risk of warping. Additionally, engineered hardwood is often more cost-effective than solid hardwood and offers a similar aesthetic. It can also be installed over concrete slabs and radiant heating systems, adding to its versatility.
Common Types of Damage
Despite its durability, engineered hardwood can still suffer from various types of damage. Common issues include scratches, dents, water damage, and fading from UV exposure. The top wear layer can also become worn over time, particularly in high-traffic areas. Understanding the types of damage that can occur is the first step in determining the appropriate repair method.
Factors Affecting Durability
Several factors influence the durability of engineered hardwood flooring, including the thickness of the wear layer, the quality of the core layers, and the type of finish applied. Thicker wear layers can be sanded and refinished multiple times, extending the floor’s lifespan. High-quality core layers provide better stability and resistance to moisture. The finish, whether it’s polyurethane, oil, or another type, also plays a crucial role in protecting the wood from scratches and spills.
Importance of Regular Maintenance
Regular maintenance is essential to prolong the life of your engineered hardwood flooring. This includes routine cleaning, using appropriate cleaning products, and addressing spills immediately to prevent water damage. Placing rugs or mats in high-traffic areas and using furniture pads can also help protect the floor from scratches and dents. By maintaining your floors properly, you can minimize the need for extensive repairs.
Initial Inspection and Assessment
Before undertaking any repair work, it’s crucial to conduct a thorough inspection of the damaged area. Assess the extent of the damage and determine whether it affects just the surface or extends deeper into the layers. This assessment will guide you in choosing the appropriate repair method, whether it’s a simple touch-up, a partial replacement, or a more extensive repair.
Common Problems and Their Solutions
Scratches and Surface Damage
Scratches are one of the most common problems with engineered hardwood flooring. Minor scratches can often be repaired with a wax or wood filler that matches the color of your floor. For deeper scratches, you may need to use a combination of wood filler and a touch-up marker. After filling the scratch, buff the area lightly to blend the repair with the surrounding floor.
Dents and Gouges
Dents and gouges can occur from heavy furniture, dropped objects, or high-heeled shoes. For minor dents, using a damp cloth and an iron can sometimes raise the wood fibers. Place the damp cloth over the dent and apply the iron for a few seconds at a time, checking frequently to avoid damaging the finish. For deeper gouges, a wood filler or putty designed for engineered hardwood can be used to fill the void, followed by light sanding and refinishing.
Water Damage
Water damage is a significant concern for any type of wood flooring. If the damage is minor and localized, you may be able to dry the area thoroughly and refinish the affected planks. For more severe water damage, such as from flooding, you may need to replace the damaged sections of the floor. It’s crucial to address water damage promptly to prevent mold growth and further deterioration.

Fading and Discoloration
Exposure to sunlight can cause fading and discoloration in engineered hardwood floors. To repair minor fading, you can use a tinted wood polish or a wood stain that matches the original color. For more extensive discoloration, sanding and refinishing the affected area may be necessary. To prevent future fading, consider using window treatments to block UV rays or rearranging furniture to minimize direct sunlight exposure.
Peeling and Delamination
Peeling or delamination occurs when the top wear layer separates from the underlying layers. This can be caused by water damage, poor quality construction, or excessive wear. Minor delamination can sometimes be repaired with wood glue and clamps to reattach the layers. For more severe cases, replacing the affected planks is often the best solution. Ensure that the subfloor is dry and properly prepared before installing new planks to prevent future issues.
Squeaky Floors
Squeaky floors can be caused by loose planks or subfloor issues. To fix squeaks, identify the source of the noise. If the planks are loose, you can secure them with finish nails or screws, being careful to countersink and fill the holes. If the squeak is due to the subfloor, you may need to address the issue from below, in the crawl space or basement, by shimming or adding support.

Tools and Materials Needed
Essential Tools
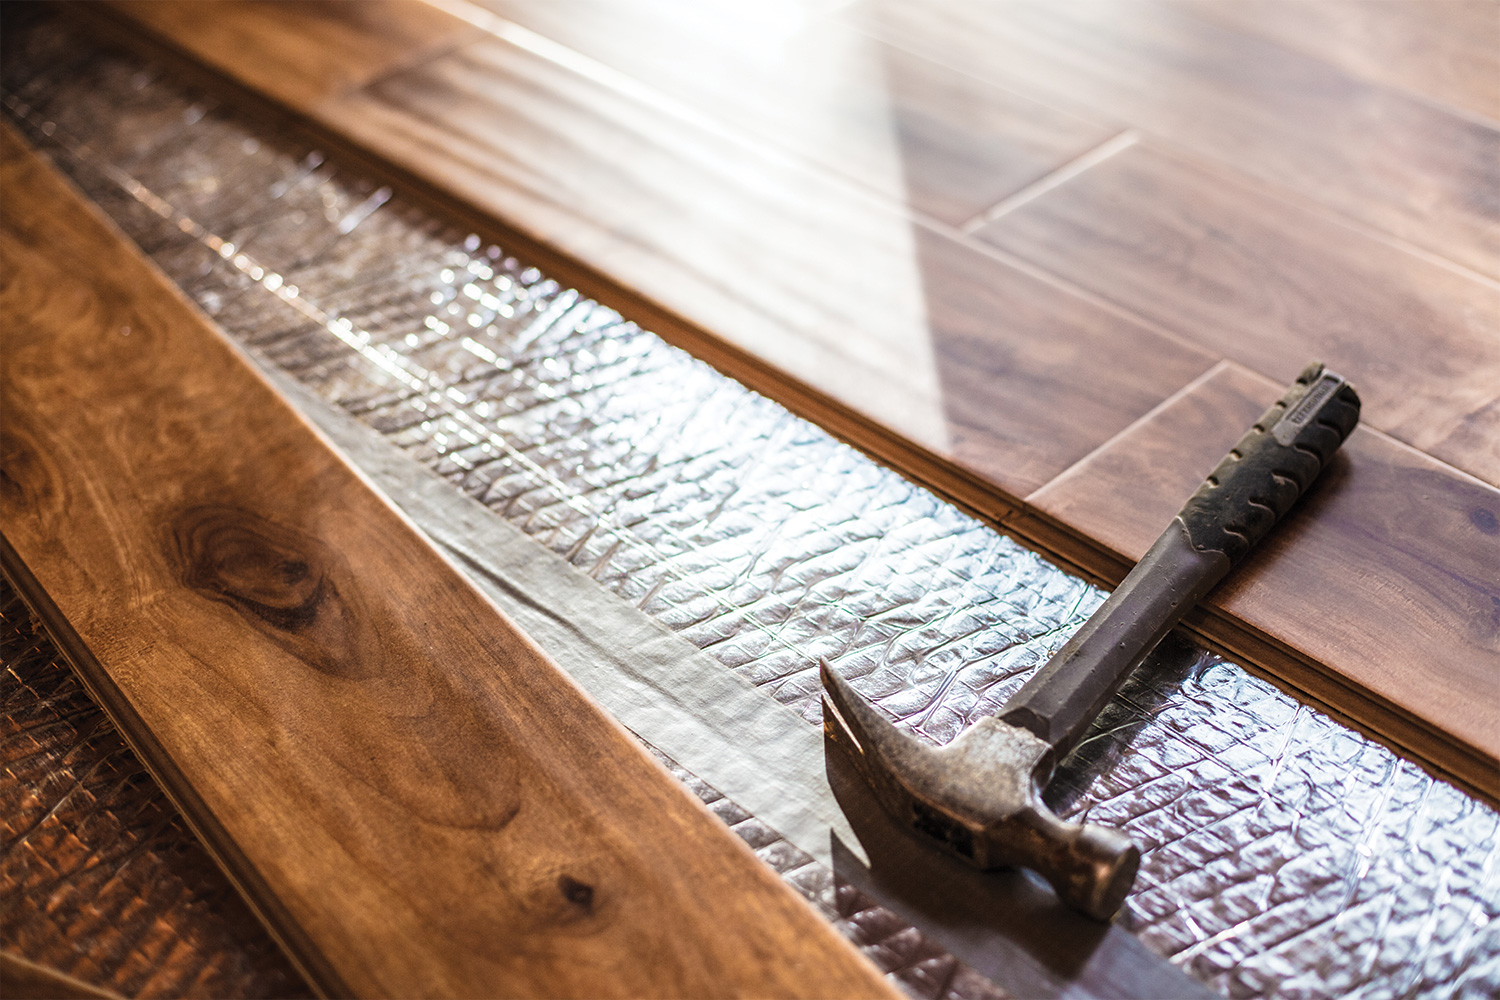
Having the right tools on hand is essential for any repair job. For engineered hardwood flooring repairs, some of the essential tools include a hammer, nails, wood glue, wood filler, putty knife, sandpaper, a damp cloth, and an iron. For more extensive repairs, you may need a circular saw, a chisel, clamps, and a drill. Ensuring you have the correct tools before starting the repair will make the process more efficient and effective.
Wood Fillers and Putty
Wood fillers and putty are crucial for repairing scratches, dents, and gouges. Choose a filler that matches the color of your flooring to ensure a seamless repair. Some fillers are water-based, making them easy to clean up, while others are solvent-based and may offer better durability. Test the filler on a small, inconspicuous area first to ensure it blends well with your floor.
Sanding and Finishing Supplies
Sanding and finishing supplies are needed for more extensive repairs involving deep scratches, gouges, or refinishing. You’ll need various grits of sandpaper, ranging from coarse to fine, to smooth out the repaired area. For finishing, you’ll need a wood stain or tinted polish that matches your floor, as well as a protective finish like polyurethane or oil. Proper sanding and finishing ensure the repaired area blends seamlessly with the rest of the floor.

Replacement Planks
For repairs involving the replacement of damaged planks, you’ll need replacement planks that match your existing flooring. It’s a good idea to keep extra planks from the original installation for this purpose. If you don’t have any extra planks, contact the manufacturer to find a close match. Ensure the new planks are acclimated to your home’s environment before installation to prevent future issues with expansion or contraction.
Adhesives and Fasteners
Adhesives and fasteners, such as wood glue, finish nails, and screws, are essential for securing loose planks and repairing delamination. Choose high-quality adhesives designed for wood flooring to ensure a strong bond. For nails and screws, opt for ones that are designed to be countersunk and easily concealed with wood filler. Proper adhesives and fasteners ensure a durable and long-lasting repair.
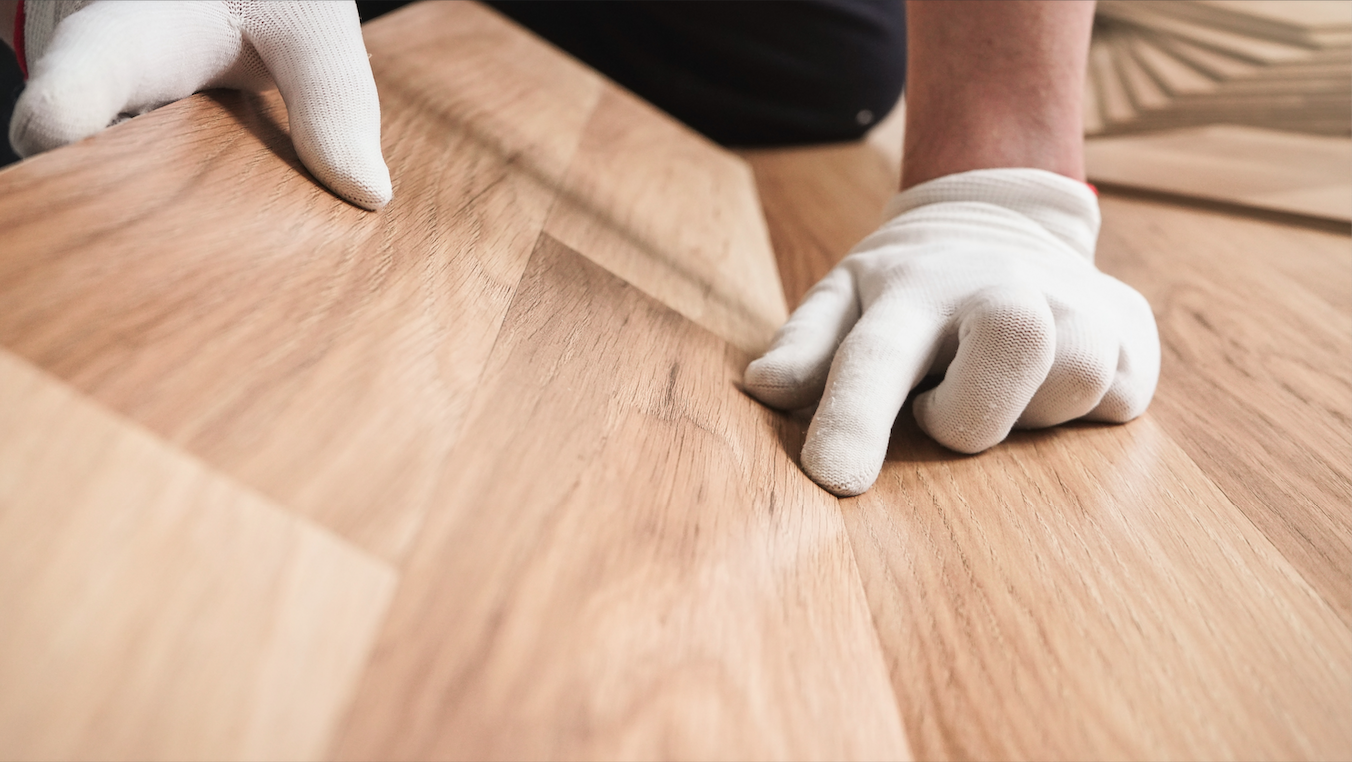
Protective Gear
Safety should always be a priority when performing repairs. Wear protective gear such as gloves, safety goggles, and a dust mask to protect yourself from dust and debris. When using power tools, follow the manufacturer’s safety instructions and take necessary precautions to avoid injury. Having the right protective gear ensures a safe and comfortable repair process.

Step-by-Step Repair Guide
Assessing the Damage
The first step in any repair is to thoroughly assess the damage. Identify the type and extent of the damage, whether it’s scratches, dents, water damage, or delamination. Determine whether the damage is superficial or affects deeper layers. This assessment will guide you in choosing the appropriate repair method and materials.
Cleaning the Area
Before starting any repair, clean the affected area thoroughly. Remove any dirt, dust, or debris that could interfere with the repair process. Use a soft cloth and a gentle cleaning solution designed for hardwood floors. Avoid using excessive water, as moisture can cause further damage to the wood. Proper cleaning ensures that the repair materials adhere properly and the repaired area blends seamlessly with the surrounding floor.
Repairing Scratches and Dents
For minor scratches, use a wood filler or touch-up marker that matches the color of your floor. Fill the scratch and buff the area lightly to blend the repair. For deeper scratches and dents, use wood filler to fill the void. Once the filler is dry, sand the area lightly with fine-grit sandpaper and apply a matching wood stain if needed. Finish with a protective coating to seal the repair.
Fixing Water Damage
Addressing water damage requires prompt action. If the damage is minor, dry the area thoroughly and sand the affected planks to remove any raised grain. Apply a matching wood stain and finish with a protective coating. For more severe water damage, you may need to replace the affected planks. Remove the damaged planks carefully and install new planks, ensuring they are properly aligned and secured.
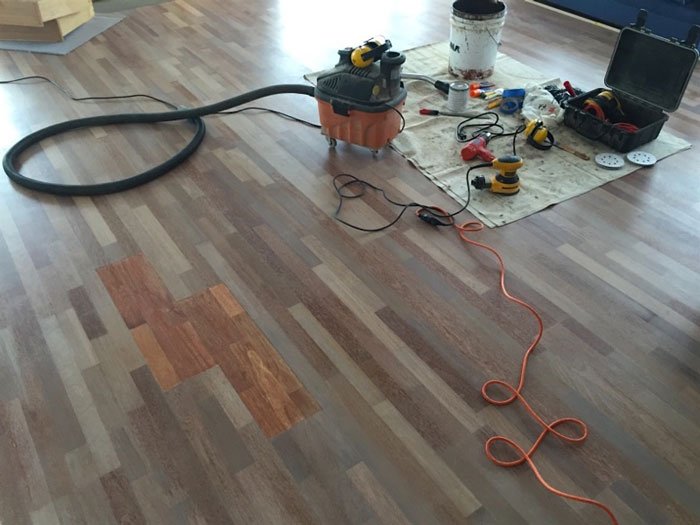
Replacing Damaged Planks
To replace damaged planks, start by removing the damaged planks using a circular saw or chisel. Be careful not to damage the surrounding planks. Once the damaged planks are removed, clean the subfloor and ensure it’s dry and level. Install the new planks, securing them with wood glue and finish nails. Sand and finish the repaired area to match the rest of the floor.
Final Touches and Inspection
After completing the repair, inspect the area carefully to ensure the repair is seamless and the floor is level. Make any final adjustments as needed. Clean the repaired area to remove any dust or debris from sanding. Apply a final coat of finish to seal the repair and protect the floor. Regularly inspect your floors to catch any new damage early and maintain their appearance and durability.
Preventative Measures
Regular Cleaning and Maintenance
Regular cleaning and maintenance are essential to prevent damage to your engineered hardwood floors. Sweep or vacuum the floor regularly to remove dirt and debris that can cause scratches. Use a damp mop with a cleaning solution designed for hardwood floors to clean the surface. Avoid using excessive water, as moisture can damage the wood. Regular maintenance helps preserve the floor’s appearance and extends its lifespan.
Protecting High-Traffic Areas
High-traffic areas are more prone to wear and damage. Place rugs or mats in these areas to protect the floor from scratches and dents. Use rugs with non-slip backing to prevent them from moving and causing accidents. Additionally, consider rearranging furniture periodically to distribute wear evenly across the floor. Protecting high-traffic areas helps maintain the floor’s appearance and reduces the need for repairs.
Managing Moisture and Humidity
Moisture and humidity can cause significant damage to engineered hardwood floors. Use a dehumidifier in areas with high humidity to maintain a stable environment. Wipe up spills immediately to prevent water damage. Avoid using steam cleaners, as the high heat and moisture can damage the floor. Proper moisture management helps prevent warping, swelling, and delamination.
Using Furniture Pads
Furniture can cause scratches and dents in your hardwood floor. Place felt pads or rubber protectors under the legs of furniture to prevent damage when moving or rearranging pieces. Replace the pads regularly to ensure they remain effective. Using furniture pads is a simple and effective way to protect your floor from damage.
Controlling Sunlight Exposure
Prolonged exposure to sunlight can cause fading and discoloration. Use curtains, blinds, or UV-protective window films to block direct sunlight. Rearrange furniture periodically to ensure even exposure across the floor. Consider using area rugs in sunny areas to protect the floor. Controlling sunlight exposure helps maintain the floor’s original color and appearance.
Regular Inspections
Regularly inspect your engineered hardwood floors for signs of damage. Look for scratches, dents, water damage, and signs of wear. Address any issues promptly to prevent further damage. Regular inspections allow you to catch problems early and take preventative measures to protect your floors.

Common Mistakes to Avoid
Using Incorrect Cleaning Products
One of the most common mistakes is using cleaning products not designed for hardwood floors. Harsh chemicals, abrasive cleaners, or excessive water can damage the finish and the wood itself. Always use cleaning products specifically formulated for engineered hardwood floors and follow the manufacturer’s recommendations.
Ignoring Small Damages
Ignoring small damages such as minor scratches, dents, or water spots can lead to more significant issues over time. Small damages can worsen if left untreated, leading to more extensive repairs. Address any damage as soon as you notice it to prevent it from becoming a more significant problem.
Over-Sanding the Wear Layer
When repairing scratches or refinishing engineered hardwood, it’s crucial not to over-sand the wear layer. The wear layer is relatively thin compared to solid hardwood, and excessive sanding can wear it down completely, exposing the underlying layers. Sand lightly and carefully to preserve the wear layer.
Using Excessive Water
Using excessive water for cleaning or during repairs can cause significant damage to engineered hardwood floors. Water can seep into the layers and cause warping, swelling, or delamination. Always use a damp, not wet, mop for cleaning and ensure any spills are wiped up immediately.
Not Acclimating Replacement Planks
Failing to acclimate replacement planks to your home’s environment can lead to issues with expansion and contraction. Engineered hardwood planks should be allowed to acclimate to the room’s temperature and humidity for at least 48 hours before installation. This prevents future problems with the new planks fitting correctly.
Skipping Protective Coatings
After repairing or refinishing your engineered hardwood floors, it’s essential to apply a protective coating. Skipping this step can leave the wood vulnerable to scratches, spills, and UV damage. Always finish repairs with a suitable protective coating to seal and protect the wood.
How can I prevent scratches on my engineered hardwood floor?
To prevent scratches, use rugs and mats in high-traffic areas, place felt pads under furniture legs, and avoid dragging heavy objects across the floor. Regularly sweep or vacuum to remove dirt and debris that can cause scratches. Using the right cleaning products designed for hardwood floors also helps maintain the finish and prevent scratches.
Can I refinish my engineered hardwood floor?
Yes, you can refinish engineered hardwood floors, but it depends on the thickness of the wear layer. Thicker wear layers can be sanded and refinished multiple times, while thinner layers may only allow for one or two refinishes. Consult the manufacturer’s guidelines or a flooring professional to determine if your floor can be refinished.
How do I repair water-damaged engineered hardwood?
For minor water damage, dry the area thoroughly, sand it lightly, and apply a matching wood stain and protective finish. For severe damage, you may need to replace the affected planks. Ensure the subfloor is dry and level before installing new planks to prevent future water damage.

What should I do if my engineered hardwood floor is fading?
If your floor is fading due to sunlight exposure, you can use a tinted wood polish or stain to restore the color. For extensive fading, sanding and refinishing may be necessary. To prevent future fading, use window treatments to block UV rays or rearrange furniture to minimize direct sunlight exposure.
How can I fix squeaky engineered hardwood floors?
To fix squeaky floors, identify the source of the noise. If the planks are loose, secure them with finish nails or screws, ensuring they are countersunk and filled with wood filler. If the squeak is due to the subfloor, you may need to address the issue from below by shimming or adding support in the crawl space or basement.
How often should I inspect my engineered hardwood floors?
It’s a good practice to inspect your engineered hardwood floors every few months. Regular inspections allow you to catch small issues early and address them before they become significant problems. Pay attention to high-traffic areas, moisture-prone spots, and places exposed to direct sunlight for signs of damage.
Related Posts:
- Hardwood Floor Stain Colors
- Hardwood Floor Repair DIY
- Dark Hardwood Flooring Ideas
- Hardwood Floor Installation DIY
- Hardwood Floor Repair
- Brazilian Cherry Hardwood Flooring
- Dark Hardwood Floors Decorating Ideas
- Hardwood Floor Cleaner Recipe
- Installing Unfinished Hardwood Flooring
- Hardwood Floor Maintenance Coat