Floating Interlocking Vinyl Flooring

Interlocking Vinyl Flooring Planks – flooring Designs
About Floating Vinyl Flooring OnFlooring

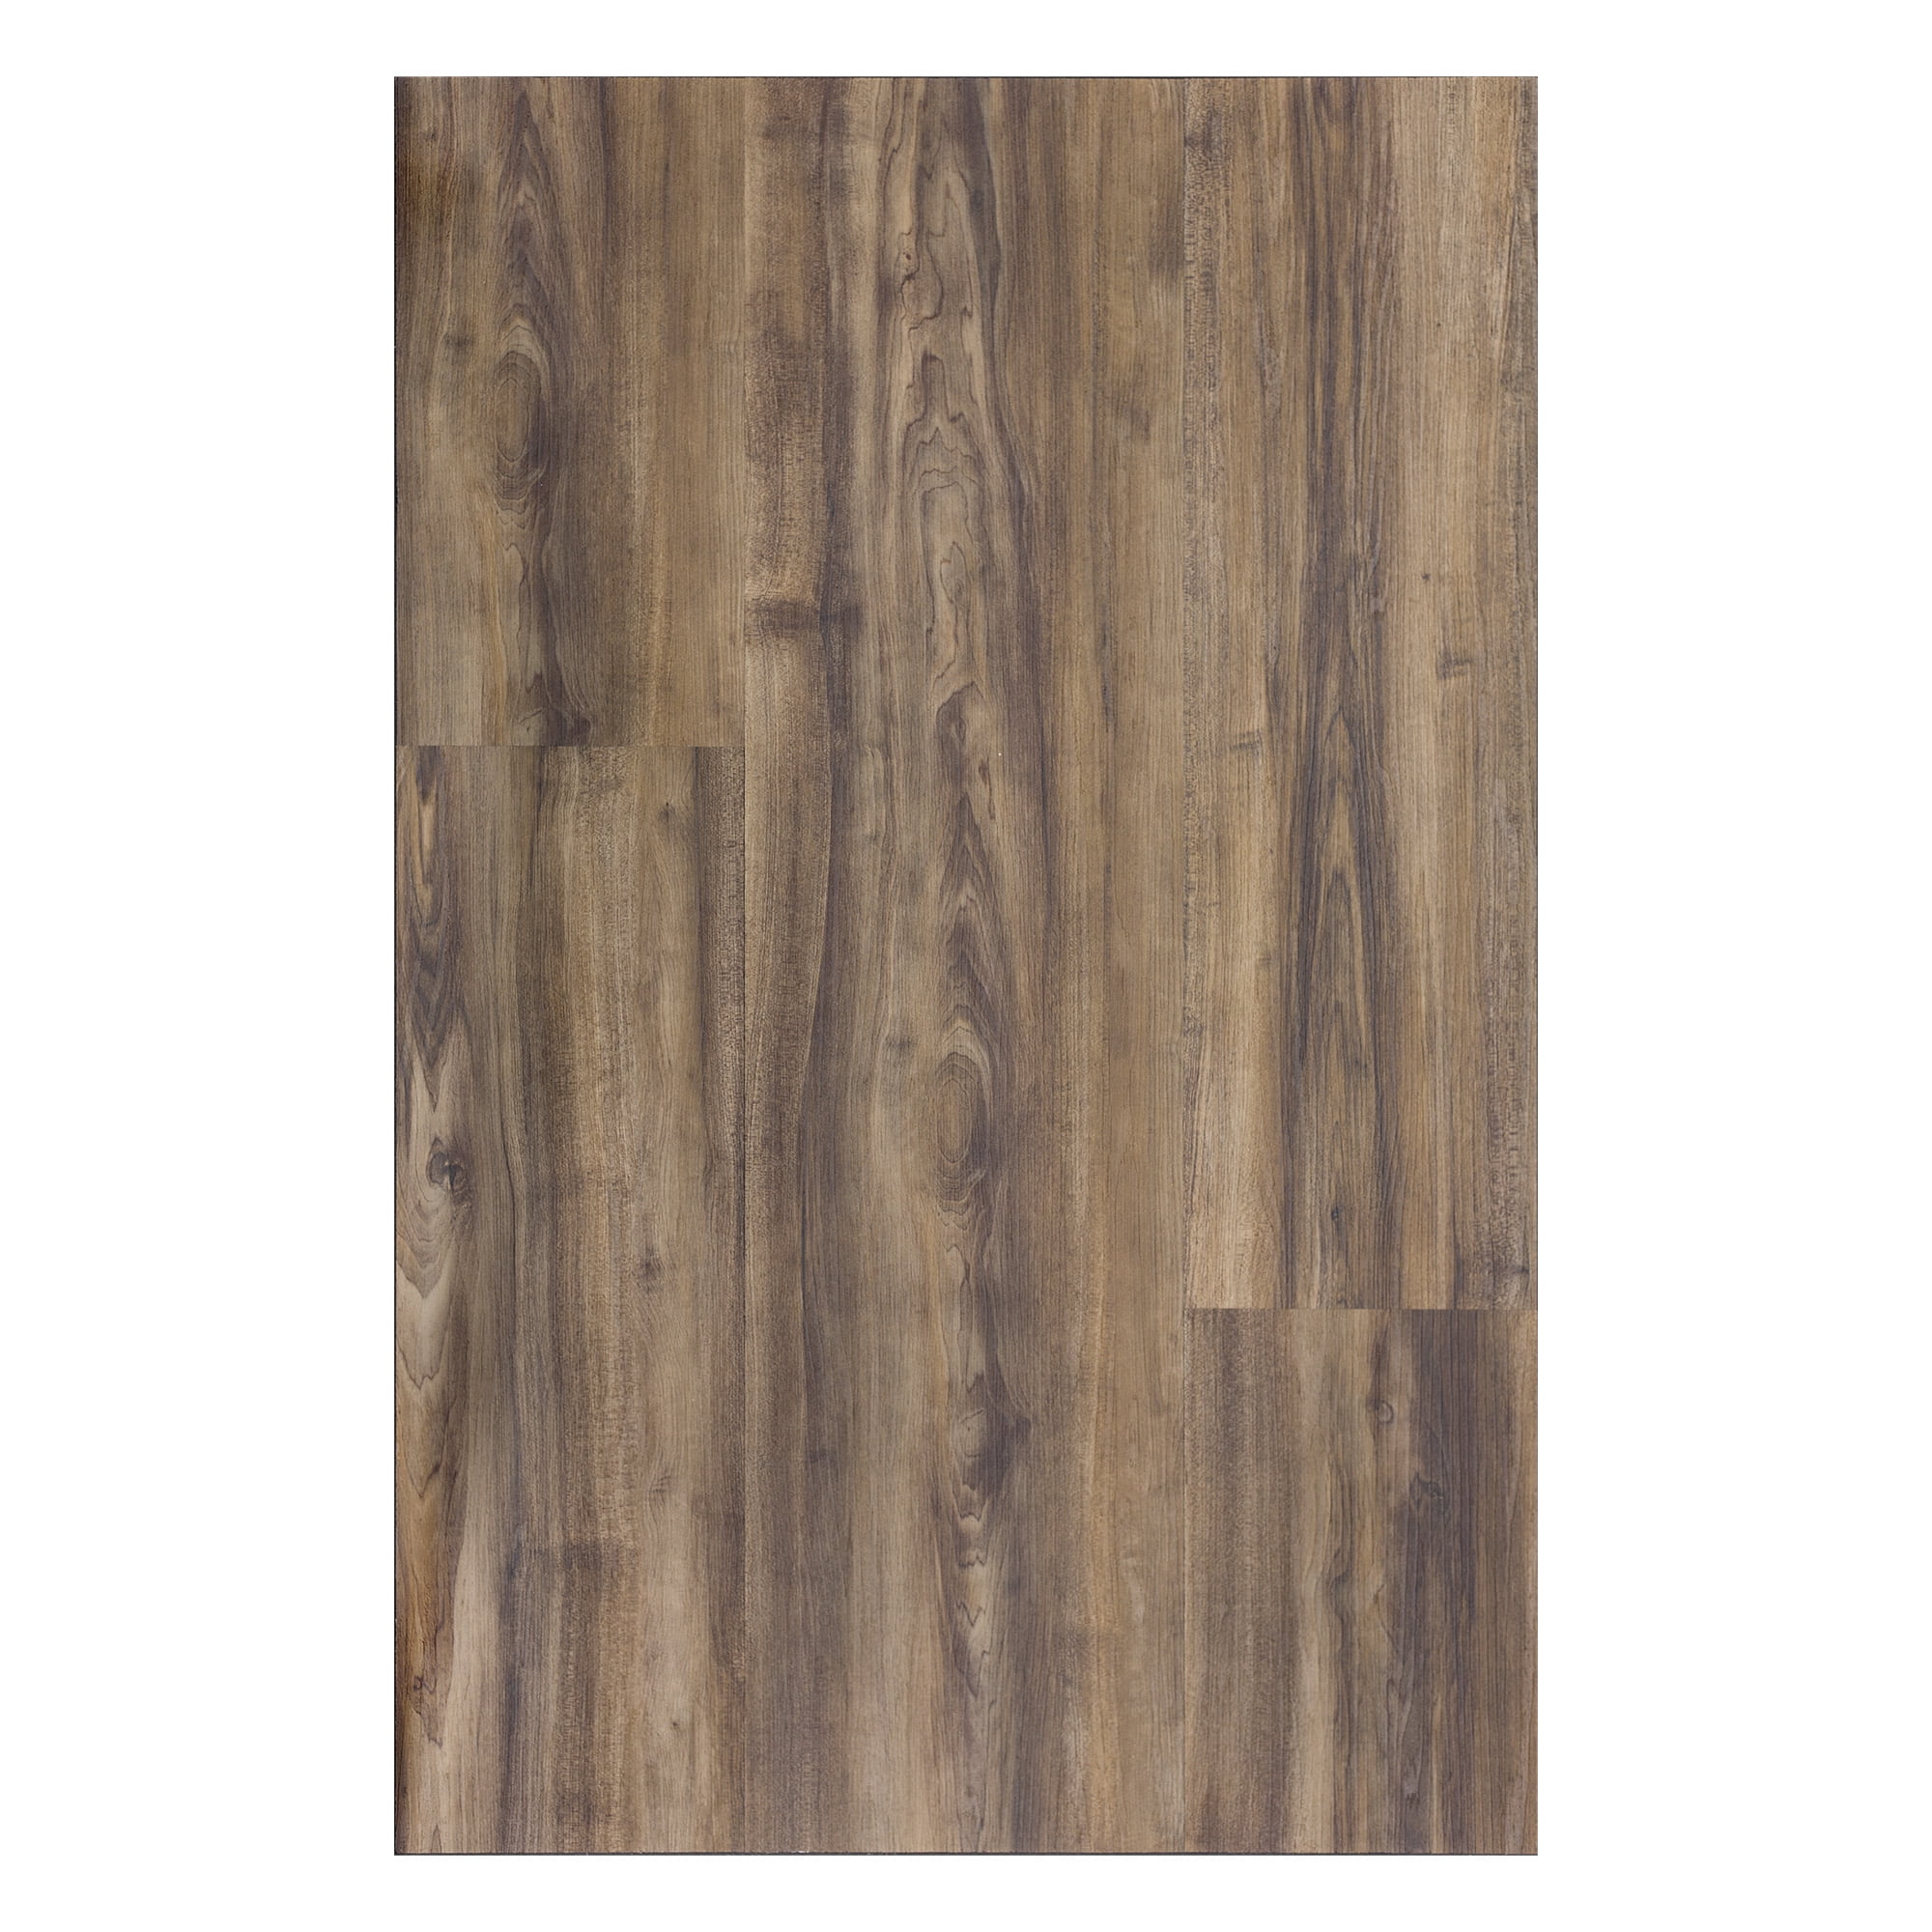
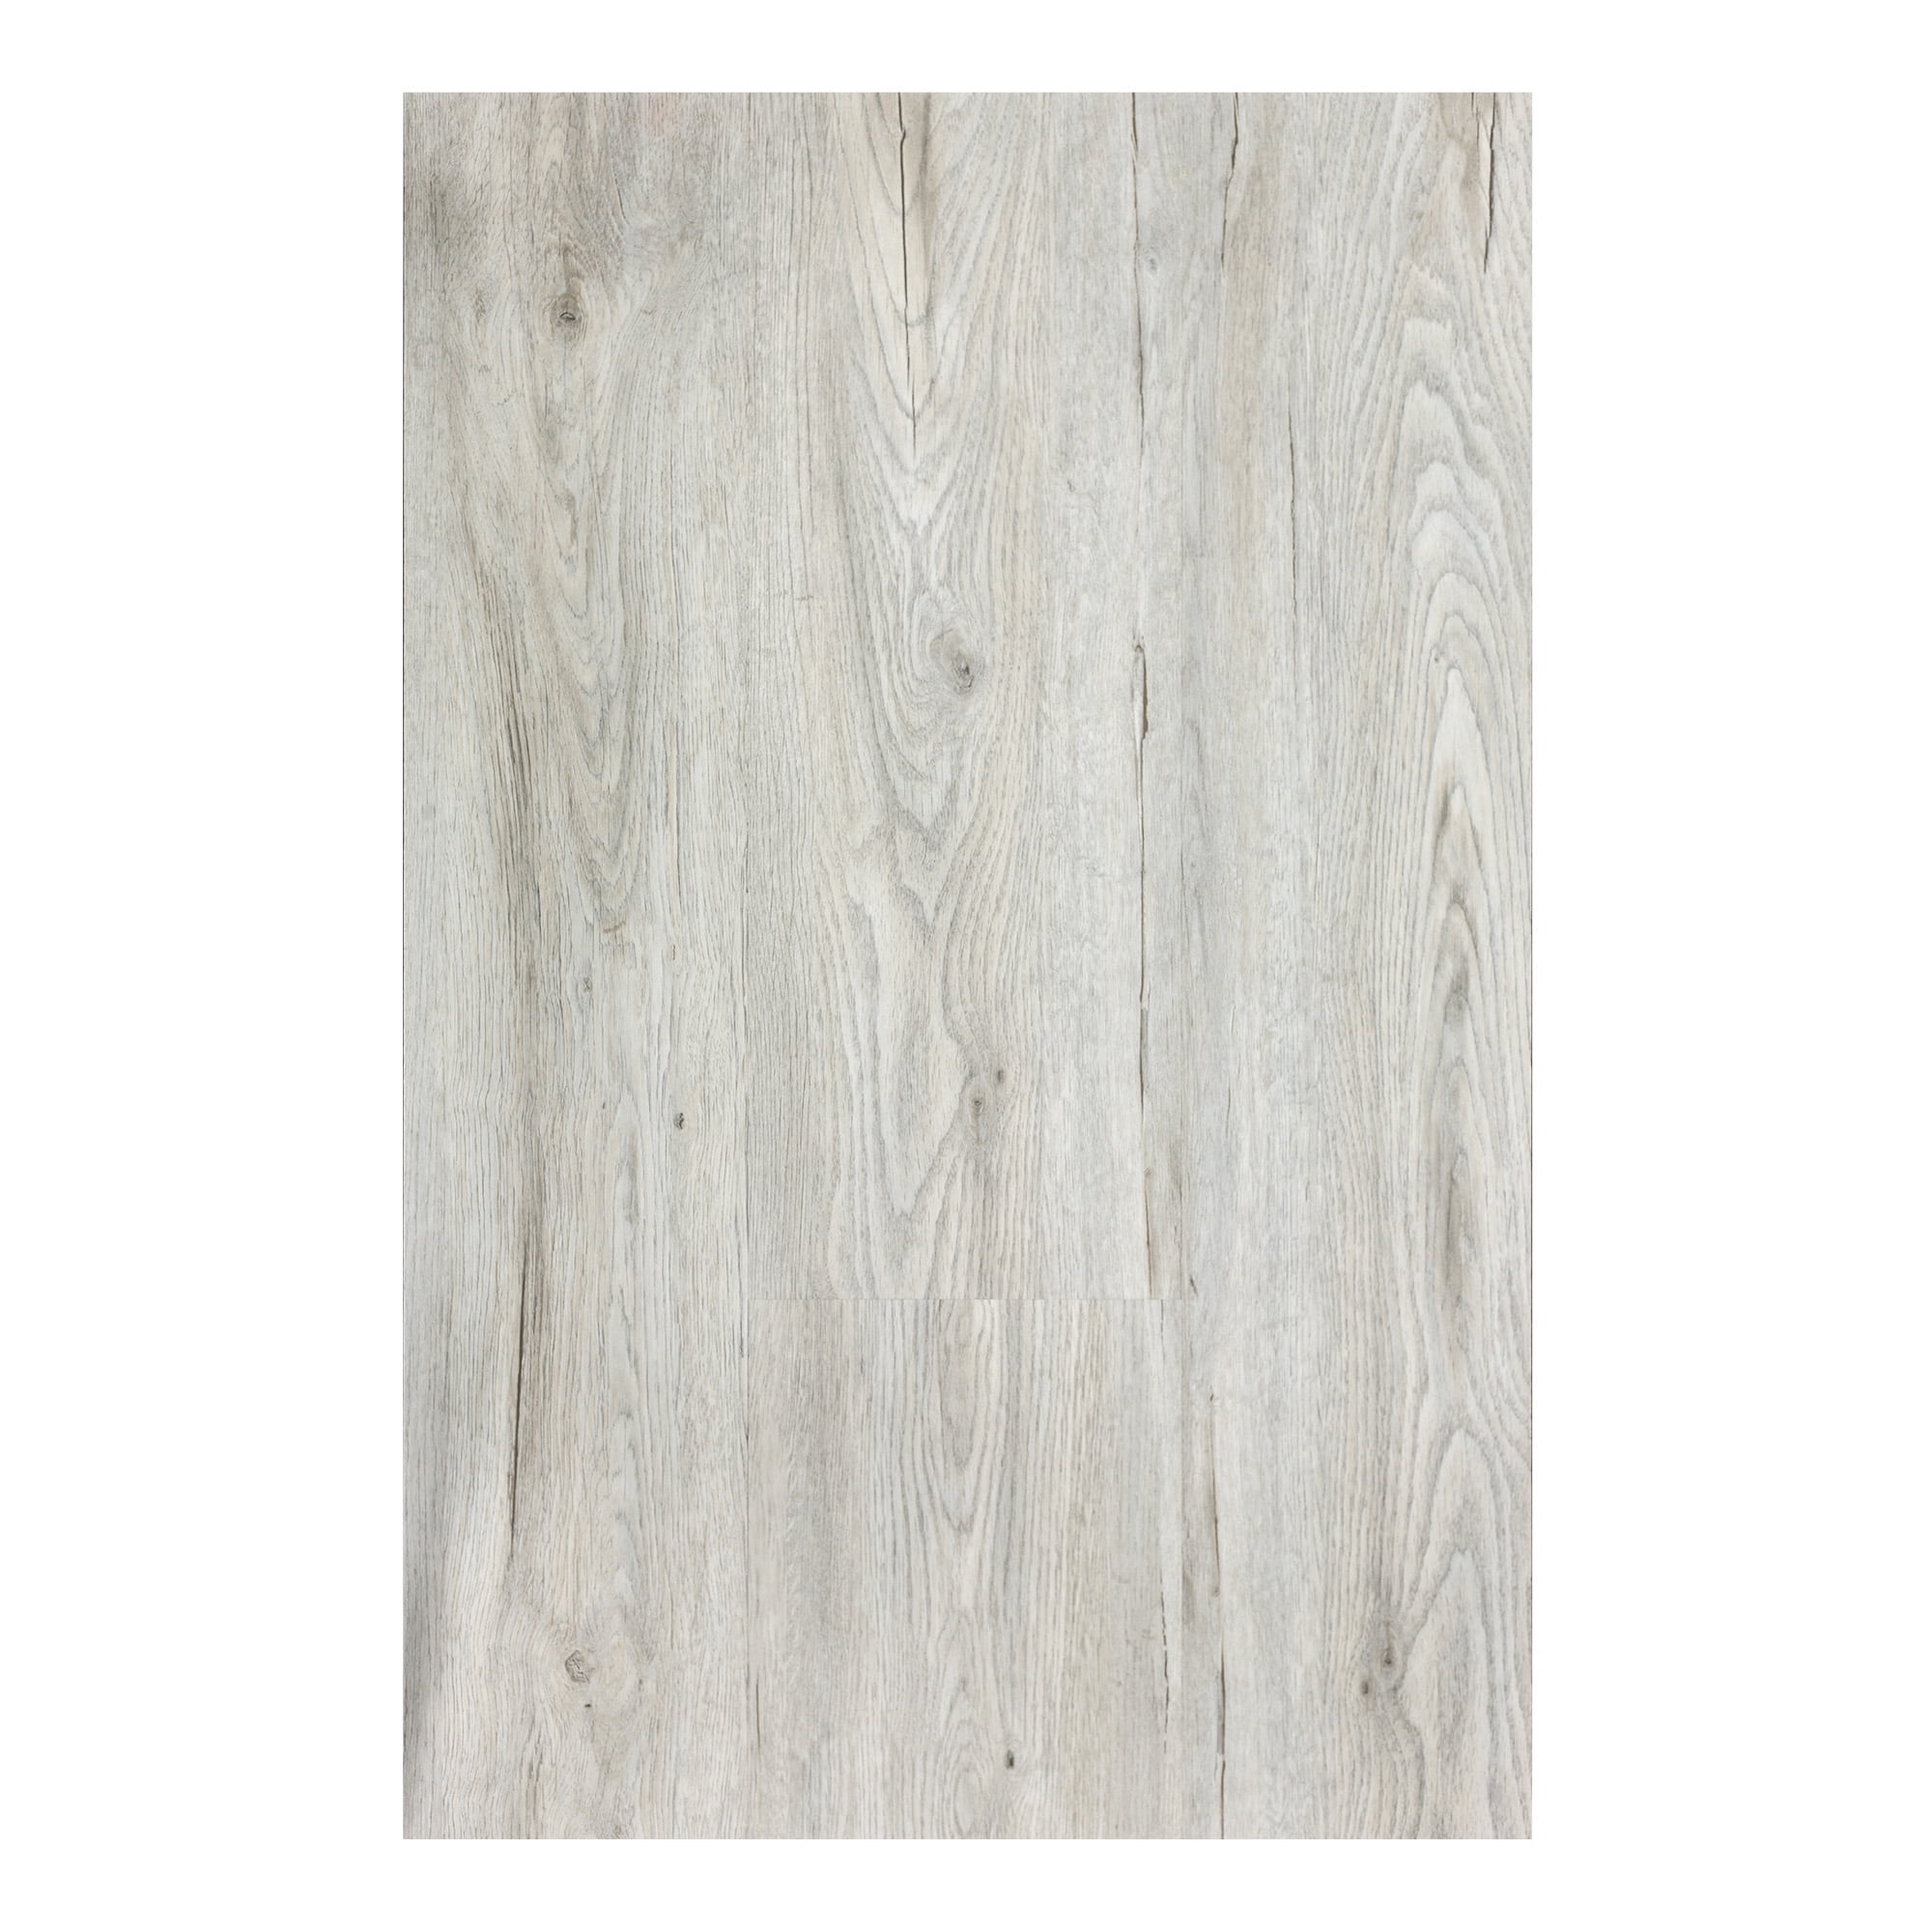
Elegant Vinyl Plank Flooring – Interlocking Floating Planks in Asheville– 4in x 7in Sample – from

Interlocking Vinyl Floor Tiles Bathroom
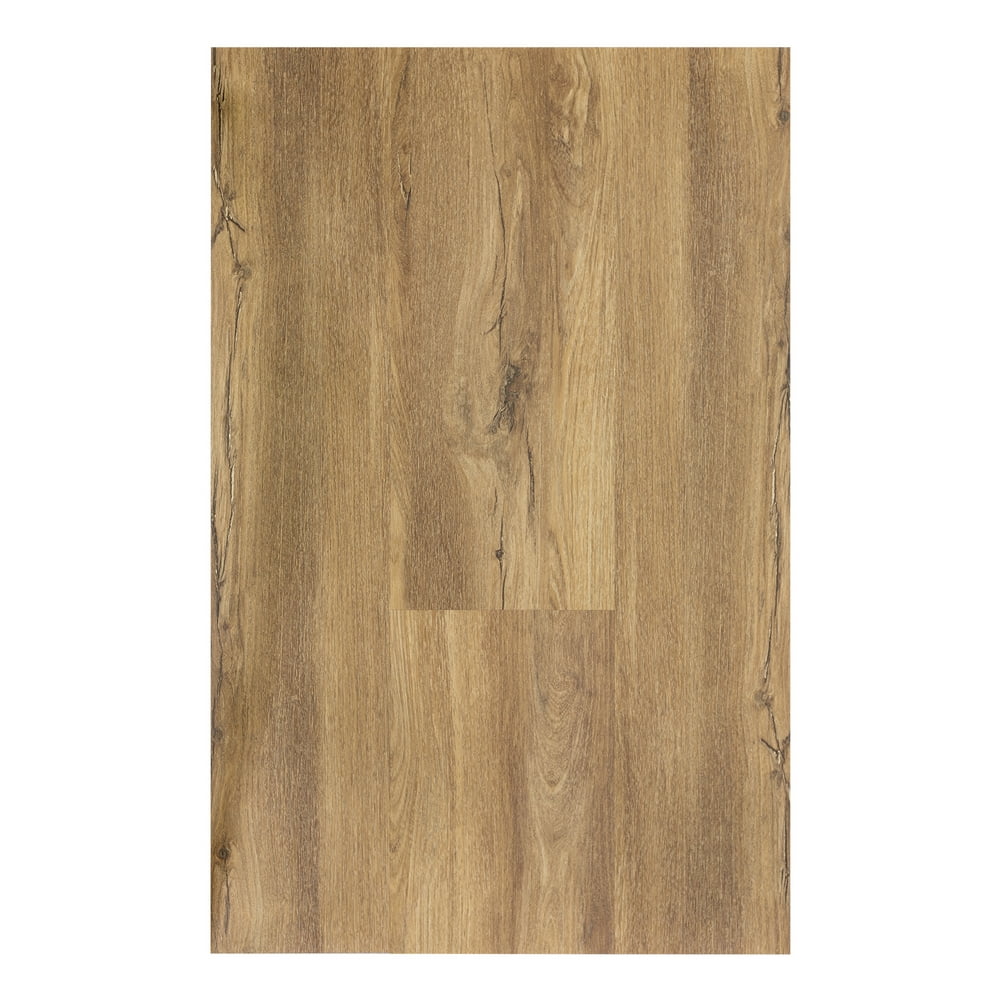
Elegant Vinyl Plank Flooring – Interlocking Floating Planks in Helena– 4in x 7in Sample – from
Interlocking Vinyl Floor Tiles Bathroom

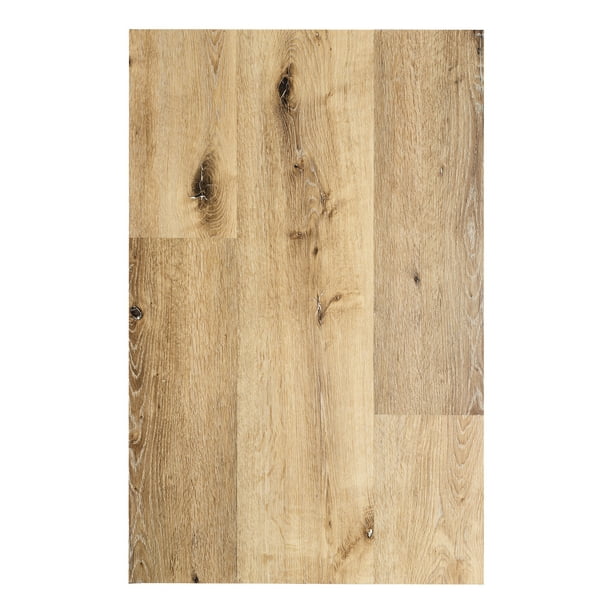
Elegant Vinyl Plank Flooring – Interlocking Floating Planks in Yosemite– 4in x 7in Sample – from
About Floating Vinyl Flooring OnFlooring

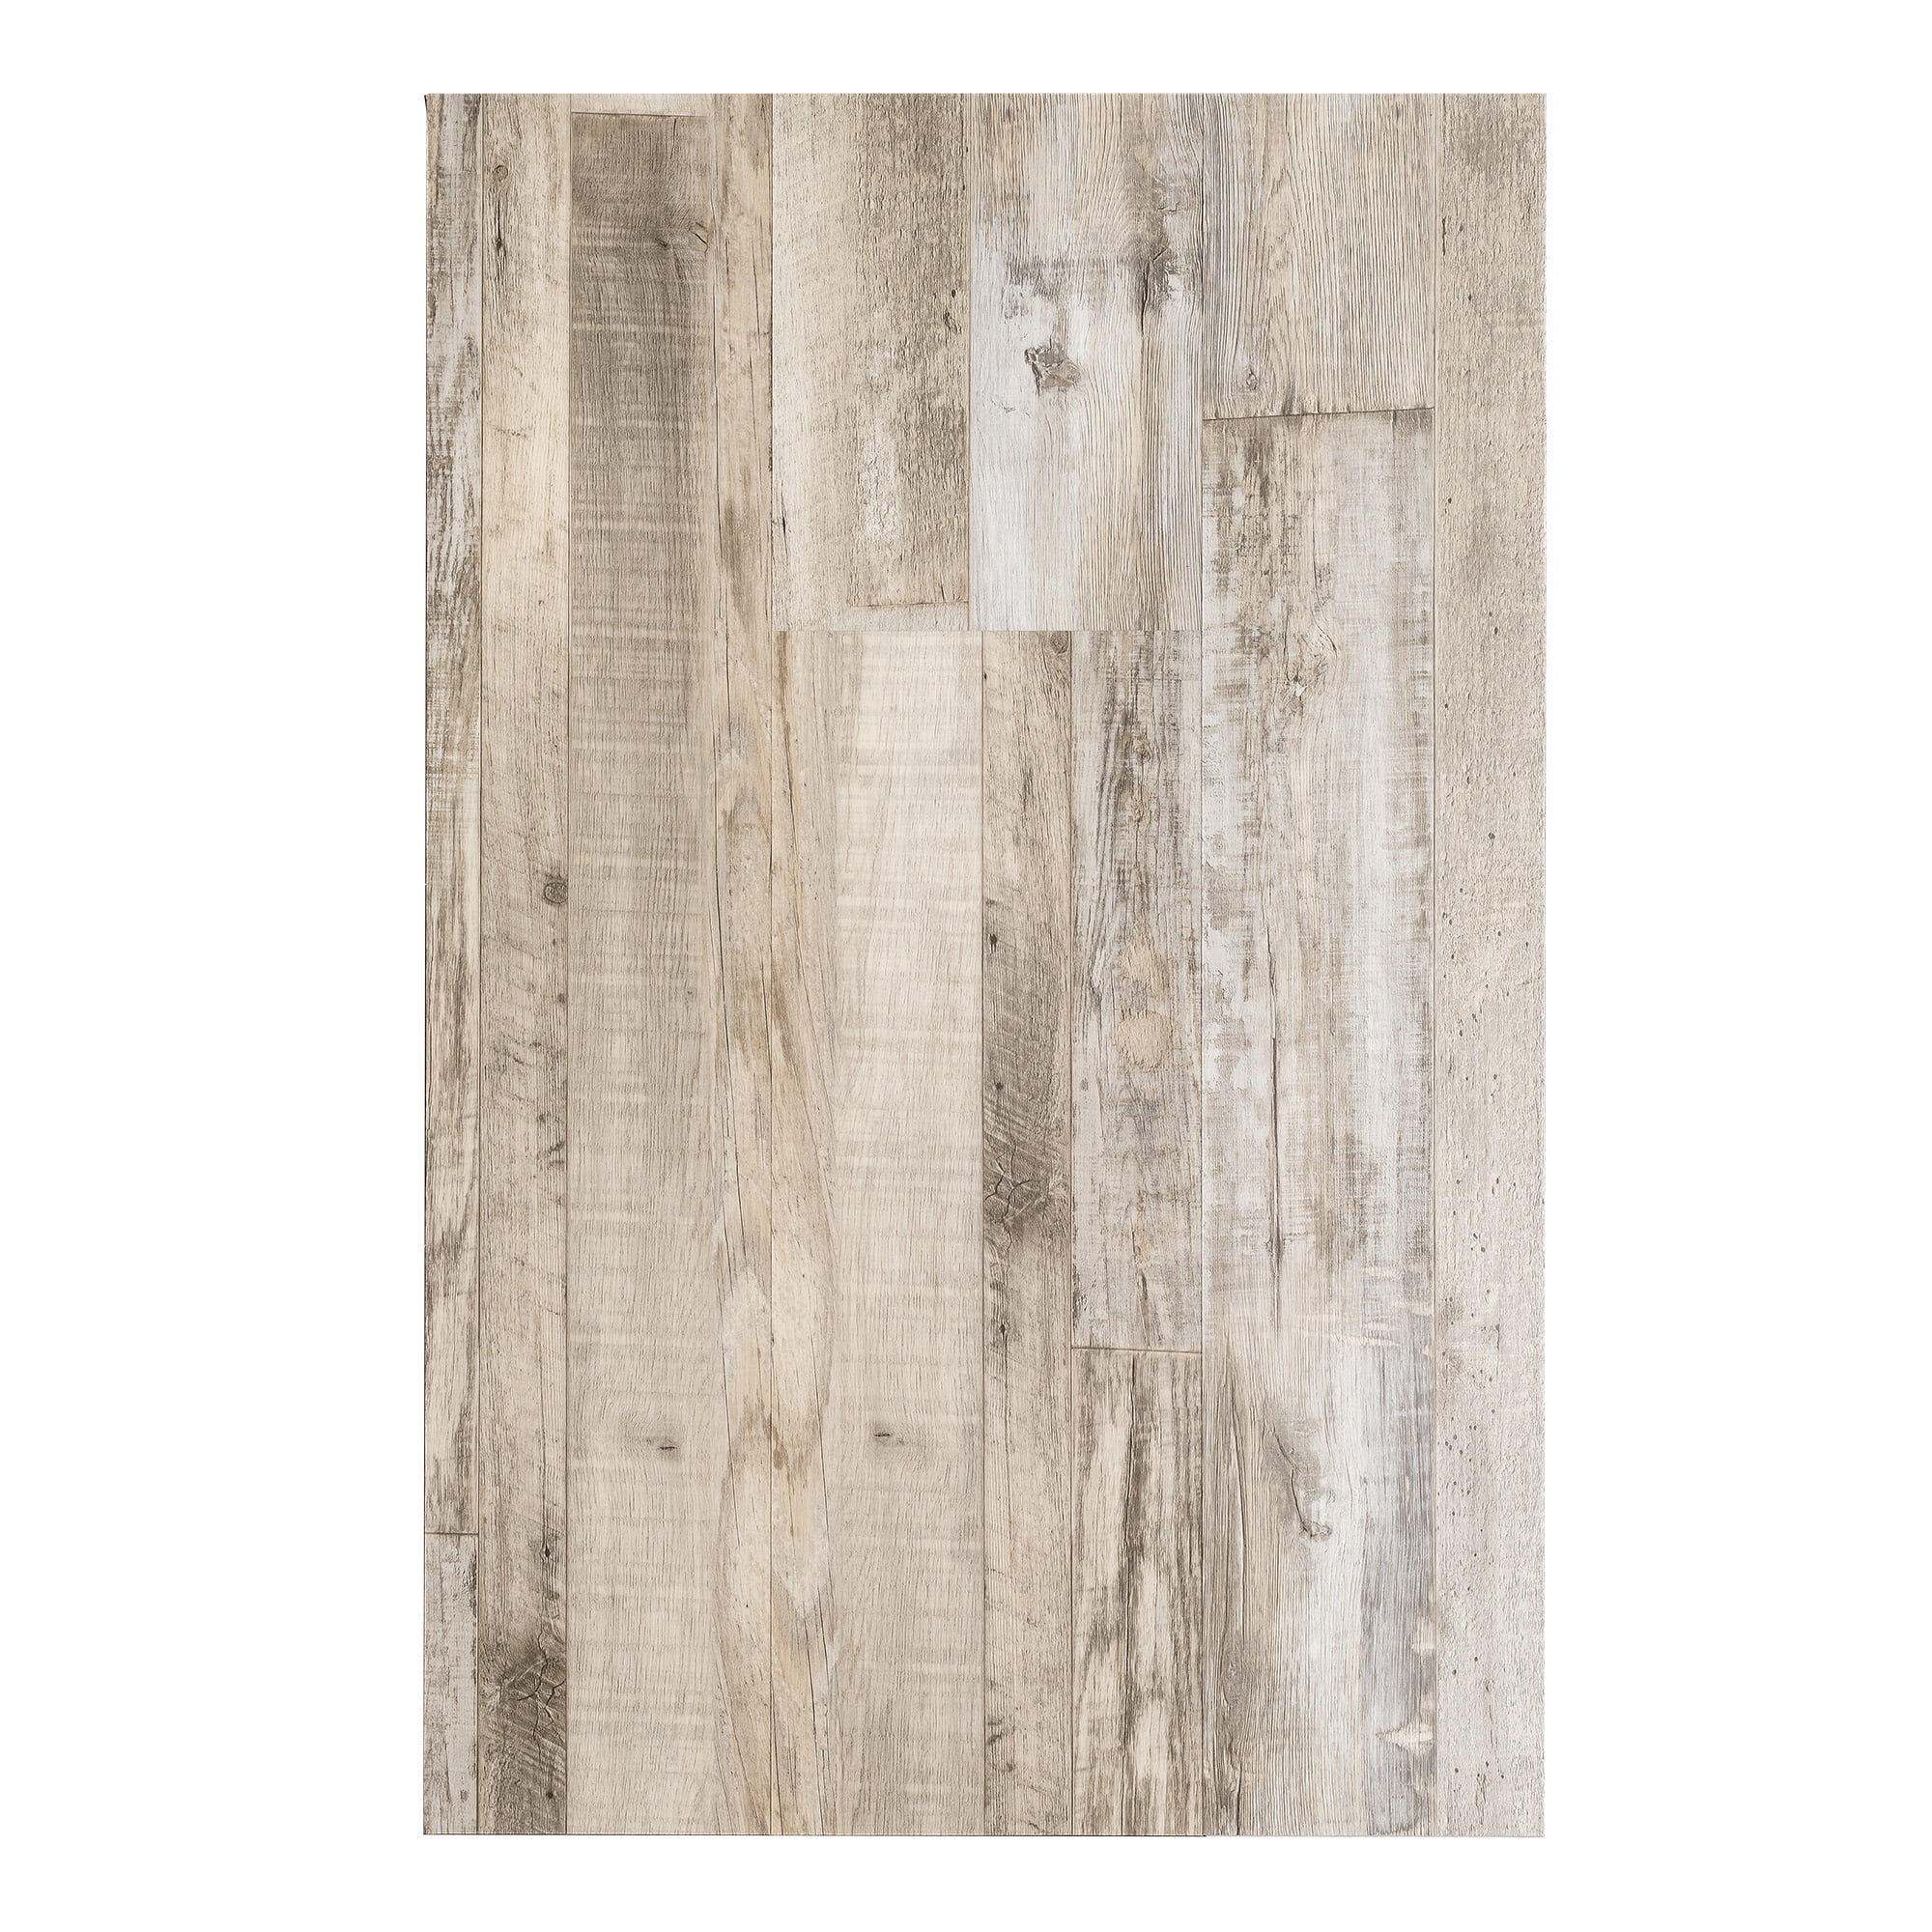
Elegant Vinyl Plank Flooring – Interlocking Floating Planks in Appalachcia – 4in x 7in Sample
Floating/Interlocking – Vinyl Tile Flooring – Vinyl Flooring – The Home Depot
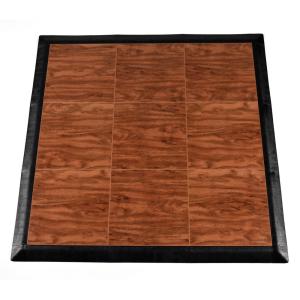
Interlocking Vinyl Floor Tiles Bathroom

Related Posts:
- Pine Vinyl Flooring
- Vinyl Floor Laying DIY
- Cortex Vinyl Flooring
- Grey Slate Effect Vinyl Floor Tiles
- Dark Oak Vinyl Flooring
- Limestone Effect Vinyl Flooring
- Vinyl Floor With Border
- Adhesive For Vinyl Flooring To Concrete
- Teak Wood Vinyl Flooring
- Cheap Vinyl Flooring
If you’re looking for a stylish yet durable flooring solution, then floating interlocking vinyl flooring may be the perfect fit for your home or business. With its easy installation and impressive lifespan, this type of flooring is becoming increasingly popular in homes and commercial spaces alike.
In this guide, we’ll explore the advantages of installing floating interlocking vinyl flooring, as well as walking you through the installation process.
## What is Floating Interlocking Vinyl Flooring?
Floating interlocking vinyl flooring is a type of vinyl that features an interlocking system to allow for quick and easy installation. It consists of individual planks or tiles that are connected without the need for glue, nails, or other adhesives. The result is a floating floor that can be laid over any existing surface, including concrete, wood, and even tile. This makes it extremely versatile and suitable for both residential and commercial applications.
Floating interlocking vinyl flooring is made from high-quality vinyl material that is designed to last. It is available in a wide range of styles and colors to fit any design scheme, while its waterproof quality makes it ideal for wet areas such as bathrooms and kitchens.
## Benefits of Installing Floating Interlocking Vinyl Flooring
Installing floating interlocking vinyl flooring has many advantages over traditional hardwood or tile floorings:
* Easy Installation: With its interlocking system, floating interlocking vinyl flooring is incredibly easy to install. It requires minimal tools and no additional adhesives or nails, making it a great DIY project. Plus, with its floating design, it can be installed over existing floors without the need to remove them first.
* Durable: Unlike hardwood or tile, which can easily chip or crack over time, floating interlocking vinyl flooring is built to last. The quality material used in its construction ensures that it will remain intact regardless of heavy foot traffic or environmental conditions.
* Waterproof: Thanks to its waterproof design, floating interlocking vinyl flooring is perfect for wet areas such as bathrooms and kitchens. Its waterproof nature also means it won’t swell or warp when exposed to moisture, making it ideal for damp basements and other areas prone to moisture buildup.
* Affordable: Compared to other types of flooring such as hardwood or tile, floating interlocking vinyl flooring is much more affordable. Additionally, since it can easily be installed over existing surfaces without the need for additional materials, you’ll save even more money on installation costs.
## How to Install Floating Interlocking Vinyl Flooring
Installing floating interlocking vinyl flooring is a simple DIY project that doesn’t require any special tools or expertise. Here are the steps you will need to follow for a successful installation:
1. Prepare the Surface: Before beginning the installation process, make sure that the subfloor is clean and dry by vacuuming and wiping it down with a damp cloth. If necessary, use a leveler or self-leveling compound to ensure that the surface is even before laying down the first piece of floating interlocking vinyl flooring.
2. Begin Laying: Begin laying the first piece of floating interlocking vinyl flooring at one corner of the room and work your way across until you reach the opposite corner. Make sure that each piece is firmly connected to the previous one by using a rubber mallet to tap them into place.
3. Trim Around Obstacles: If needed, use a utility knife to trim pieces of floating interlocking vinyl flooring around obstacles such as door frames or cabinets. Be sure to wear protective gloves when doing so as the sharp edges could cause injury if handled improperly.
4. Finish Up: Once all pieces have been laid down securely, use a seam sealer around all edges of the room to prevent water or dirt from getting underneath your new floors. Allow the sealer to dry completely before walking on your new floors.
## Conclusion
Floating interlocking vinyl flooring is an attractive yet durable option for both residential and commercial spaces alike. With its easy installation process and waterproof qualities, this type of flooring offers many benefits over traditional hardwood or tile