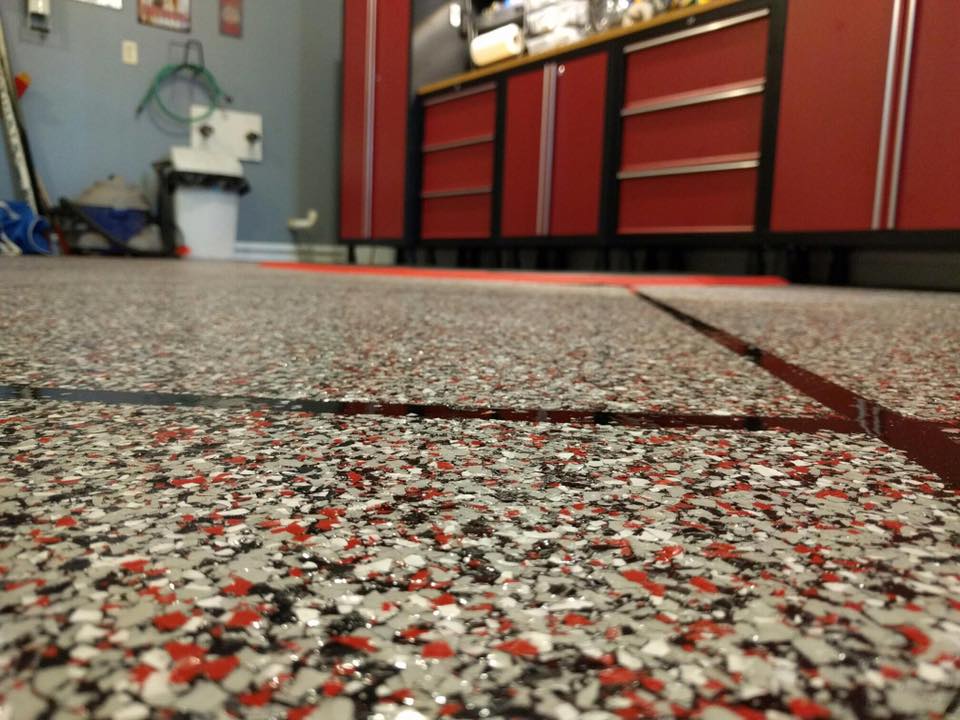
Transform your epoxy floor into a stunning, high-impact surface by applying decorative flakes. Adding flakes to epoxy not only enhances the aesthetic appeal but also increases durability and slip resistance. Start by applying the epoxy base coat, then sprinkle the flakes evenly while it’s still wet. Finish with a clear topcoat for a seamless, professional look. This simple yet effective technique turns ordinary floors into eye-catching, resilient surfaces perfect for any space.
How to Apply the flakes

Pin on EPOXY FLAKE FLOORING


.JPG)


Related Posts:
- Fast Cure Epoxy Floor Coating
- Stone Hard Epoxy Flooring
- How To Epoxy Flooring Garage
- How To Repair Epoxy Floor Coating
- Non Slip Epoxy Flooring
- Solid Epoxy Garage Floor
- Quikrete Floor Epoxy
- Paint Flakes Epoxy Floor
- Cheap Epoxy Floor
- Rock Solid Epoxy Floor
SEO Title: Tips for Applying Flakes to an Epoxy Floor
If you’re looking to beautify the floors in your home or business, applying flakes to an epoxy floor is a great way to achieve a unique look that can last for years. Epoxy floors are made from a mixture of resin and hardener that, when cured, create a tough, protective coating. Adding colorful flakes into the epoxy mix prior to curing gives you the opportunity to customize the floor in any space and create a one-of-a-kind look. But if you’re unfamiliar with this process, how do you get started? Here’s a step-by-step guide on how to apply flakes to your epoxy floor.
What You’ll Need
Before you begin, it’s important to gather all the supplies needed for the job. In addition to the epoxy and hardener, you’ll need to purchase additional materials like mixing buckets, stir sticks, rollers, foam brushes, and of course, flakes. Flakes come in a variety of sizes and colors and can be purchased at most home improvement stores. Don’t forget to pick up the necessary tools such as safety glasses and gloves, as well as a respirator if working in an area with strong fumes.
Step 1: Preparing the Area
The key to getting a successful end result is proper preparation of the workspace. Begin by cleaning and prepping the surface. Make sure the area is free of dirt, grease, dust, and any other debris. If there are chips or cracks in the floor, repair them before applying any epoxy. Once that’s done, lightly sand the floor with 120-grit sandpaper before vacuuming the area and wiping it down with a damp cloth.
Step 2: Applying The Base Coat
Once the surface has been prepped and is ready for application, begin by mixing together the epoxy and hardener according to manufacturer instructions. Pour a small amount of the mixture onto a section of the floor and use a roller to spread it out evenly over the surface. For large areas with multiple sections, use foam brushes along the edges for best results. After rolling out each section, let it cure according to manufacturer instructions prior to moving on to the next section.
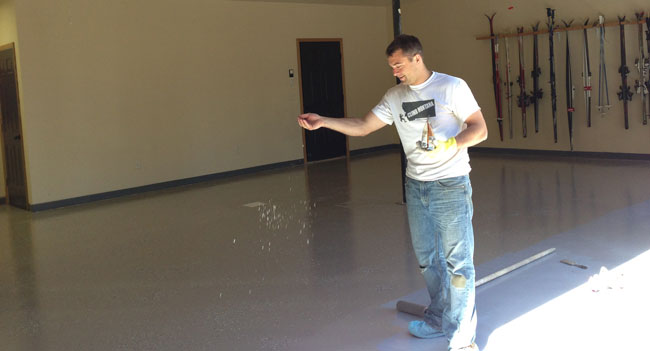
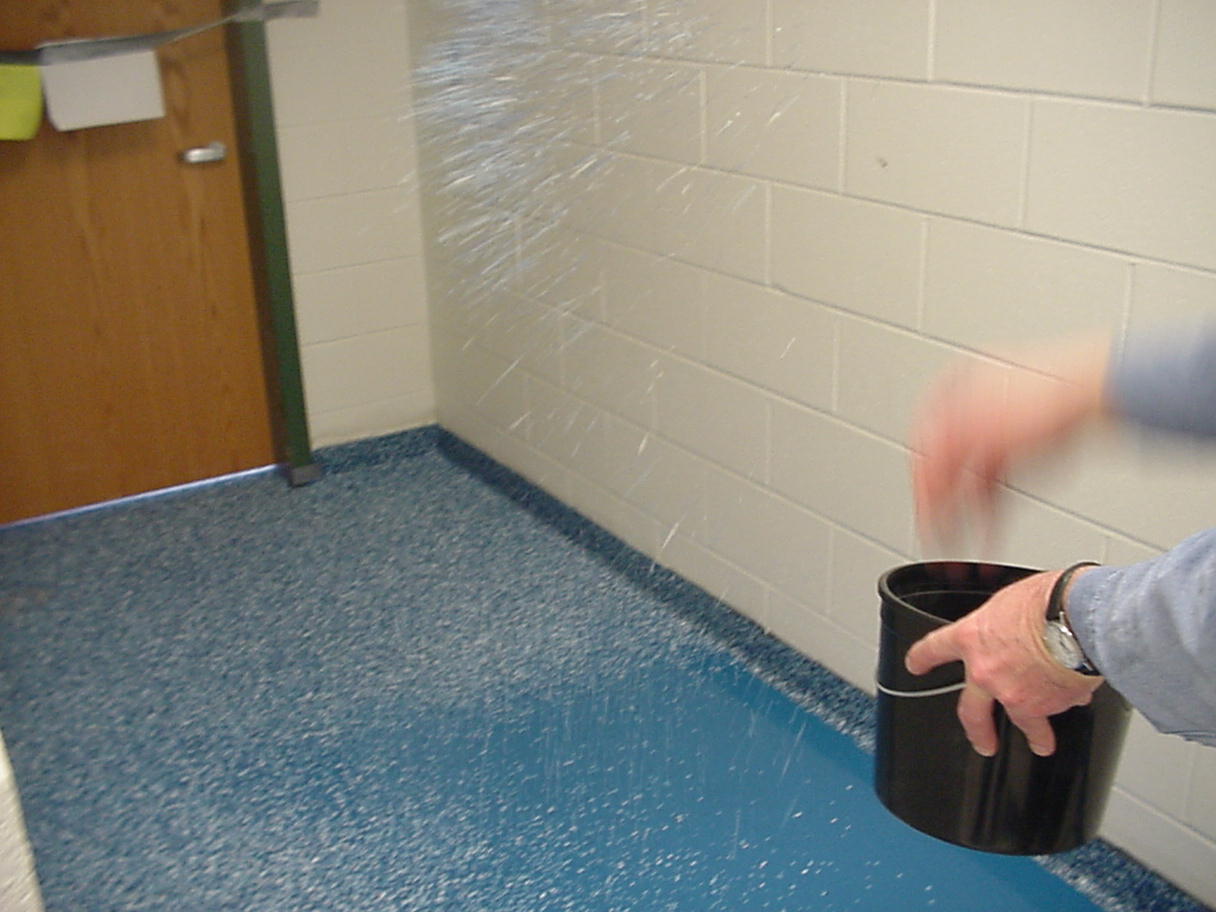
Step 3: Sprinkling On The Flakes
Once all sections have been rolled out and cured properly, it’s time to start sprinkling on the flakes. Begin by pouring out your desired color-blend of flakes onto each section of epoxy. To ensure even coverage throughout each section of floor, lightly sprinkle each color using either your hands or a scoop shovel in sweeping motions until you reach your desired level of coverage.
Step 4: Applying The Clear Coat
After all sections have been given adequate time to dry (usually no more than 1-2 hours) begin applying clear coats directly over all sections that have been infused with flakes. Mix together your preferred clear coat solution according to manufacturer instruction and pour small amounts onto each section at a time before using either a roller or brush to spread it out evenly over the surface. Allow each coat to dry completely before adding additional coats (up to 3 total).
Step 5: Sealing The Floor
Once all coats have been applied and dried properly according to manufacturer instructions, apply an even coat of sealer over all sections for added protection against wear, tear, and UV rays from sunlight. Allow sealer to dry completely before walking on it or moving furniture back into place.
Conclusion
Applying flakes to an epoxy floor is an easy way to add texture and color without having to replace existing floors or tiles. But while it may seem like an easy job — proper preparation is key! By following these steps carefully and allowing proper drying times between each step, you can ensure that your new colorful floor will remain beautiful for years to come.
Q: What type of flakes should I use for an epoxy floor?
For the best results, most people recommend using a non-porous sand or rubber flakes as a top coat for epoxy floors. The rubber flakes will provide the most benefit because they act as an abrasive and help to keep the floor surface from being slippery. Additionally, rubber flakes are easier to clean and maintain than sand, making them a great choice for any epoxy flooring project.
Q: What is the best way to prepare the floor before applying epoxy?
A: It is recommended that you clean and degrease the concrete surface before applying epoxy. To do this, you should use a quality concrete cleaner and degreaser to remove dirt, dust, and any other debris from the surface. Additionally, use a grinder or sander to rough up the surface for better adhesion. Finally, make sure to vacuum up any particles and protect any surrounding walls and fixtures from the epoxy that may splatter during application.
Q: How long does it take to prepare the floor for epoxy?
It depends on the type of floor, the size of the area, and the preparation needed. Generally, it takes at least several hours to prepare a floor for epoxy. If there is extensive preparation, such as grinding or patching, it can take up to several days to get the floor ready. Additionally, you may need to allow for drying time between each coat of epoxy.
Q: What kind of surface preparation is needed for epoxy flooring?
A: For optimal performance, the area where the epoxy will be applied must be clean, dry, and free of dust, grease, or other contaminants. Depending on the type of substrate, this may require power washing the floor, grinding down concrete or other surfaces, filling cracks and joints with joint compound or caulk, or other surface preparation. Additionally, any existing surface coatings such as paint or sealants must be removed before the epoxy can be applied.
Q: How long does epoxy flooring take to install?
The amount of time it takes to install epoxy flooring varies depending on the size and type of the floor, as well as the level of experience of the installer. Generally speaking, a small garage floor that is 300 square feet in size can be installed in one day, while a larger commercial project could take several days or even weeks depending on the complexity.
Q: How long does it take epoxy flooring to dry?
A: The drying time for epoxy flooring depends on a variety of factors including temperature, humidity, and the thickness of the epoxy layer. Generally, epoxy can take several hours to overnight to dry completely. It is important to allow the epoxy to dry completely before walking on it, and before any furniture or other items are placed on the floor.
Q: How long should I wait before walking on freshly epoxy-coated flooring?
As a general rule, you should wait at least 24 hours before walking on a freshly epoxy-coated floor. It’s important to wait until the epoxy has completely cured before putting any weight on it.