How To Etch Concrete Basement Floor
Etching Basement Floor – Flooring Site
Etching Basement Floor – Flooring Guide by Cinvex

How to Etch the Surface of a Concrete Floor for Prepping
Acid Etch Concrete Basement Floor – Clsa Flooring Guide

How To Etch Concrete Floor With Muriatic Acid – Flooring Site
Etching Basement Floor – Flooring Site
Nice Paint For Concrete Basement Floor – Epoxy Basement Floor Paint Epoxy basement floor paint

Acid Etch Concrete Basement Floor – Clsa Flooring Guide

How To Etch Basement Concrete Floor – enganchadaalreciclaje.com

Concrete Floor Samples – Jederr.com

Staining and Etching Concrete Floors Concrete floors, Concrete, Flooring

Related Posts:
- Basement Flooring Ideas
- Basement Floor Heaving Repair
- Basement Flooring Options DIY
- Fixing Basement Floor
- Repainting Basement Floor
- Walkout Basement Flooring
- Brick Basement Flooring
- Budget Basement Flooring
- Waterproofing Your Basement Floor
- Laminate Basement Flooring
SEO Title: Ultimate Guide: How to Etch Your Concrete Basement Floor for a Stunning Finish
Introduction:
Transforming your concrete basement floor into a beautiful, durable, and long-lasting surface is a project worth undertaking. This comprehensive guide will walk you through the step-by-step process of etching your concrete basement floor, allowing you to achieve a stunning finish that will leave you impressed. Discover the secrets to this rejuvenating technique and unlock the full potential of your basement space.
1. Understanding the Benefits of Etching:
Enhancing your concrete basement floor through etching offers numerous advantages. Etching not only improves the appearance of your floor but also increases its resistance to stains, moisture, and wear. By opening up the pores of the concrete, etching allows for better adhesion of coatings and sealants, making it an essential preparatory step for any refinishing project.
2. Gathering the Necessary Tools and Materials:
Before embarking on the etching process, ensure you have all the required tools and materials at hand. Some essential items include protective gear (goggles, gloves, and a mask), an etching solution (such as a mild acid or chemical etcher), scrub brushes, a pressure washer or hose, and a squeegee or wet vacuum for cleanup.
3. Preparing the Area:
Before starting the etching process, it is crucial to thoroughly clean your concrete basement floor. Remove any furniture, debris, or loose particles from the surface. Sweep or vacuum to eliminate dirt and dust. This step ensures optimal adhesion during etching and guarantees a flawless finish.
4. Choosing the Right Etching Solution:
Selecting an appropriate etching solution is vital for achieving optimal results. There are various options available on the market, including muriatic acid, phosphoric acid-based etchers, or commercially available chemical etchers. Consider factors such as safety precautions, surface compatibility, and environmental impact when making your selection. Always follow the manufacturer’s instructions for application and handling.
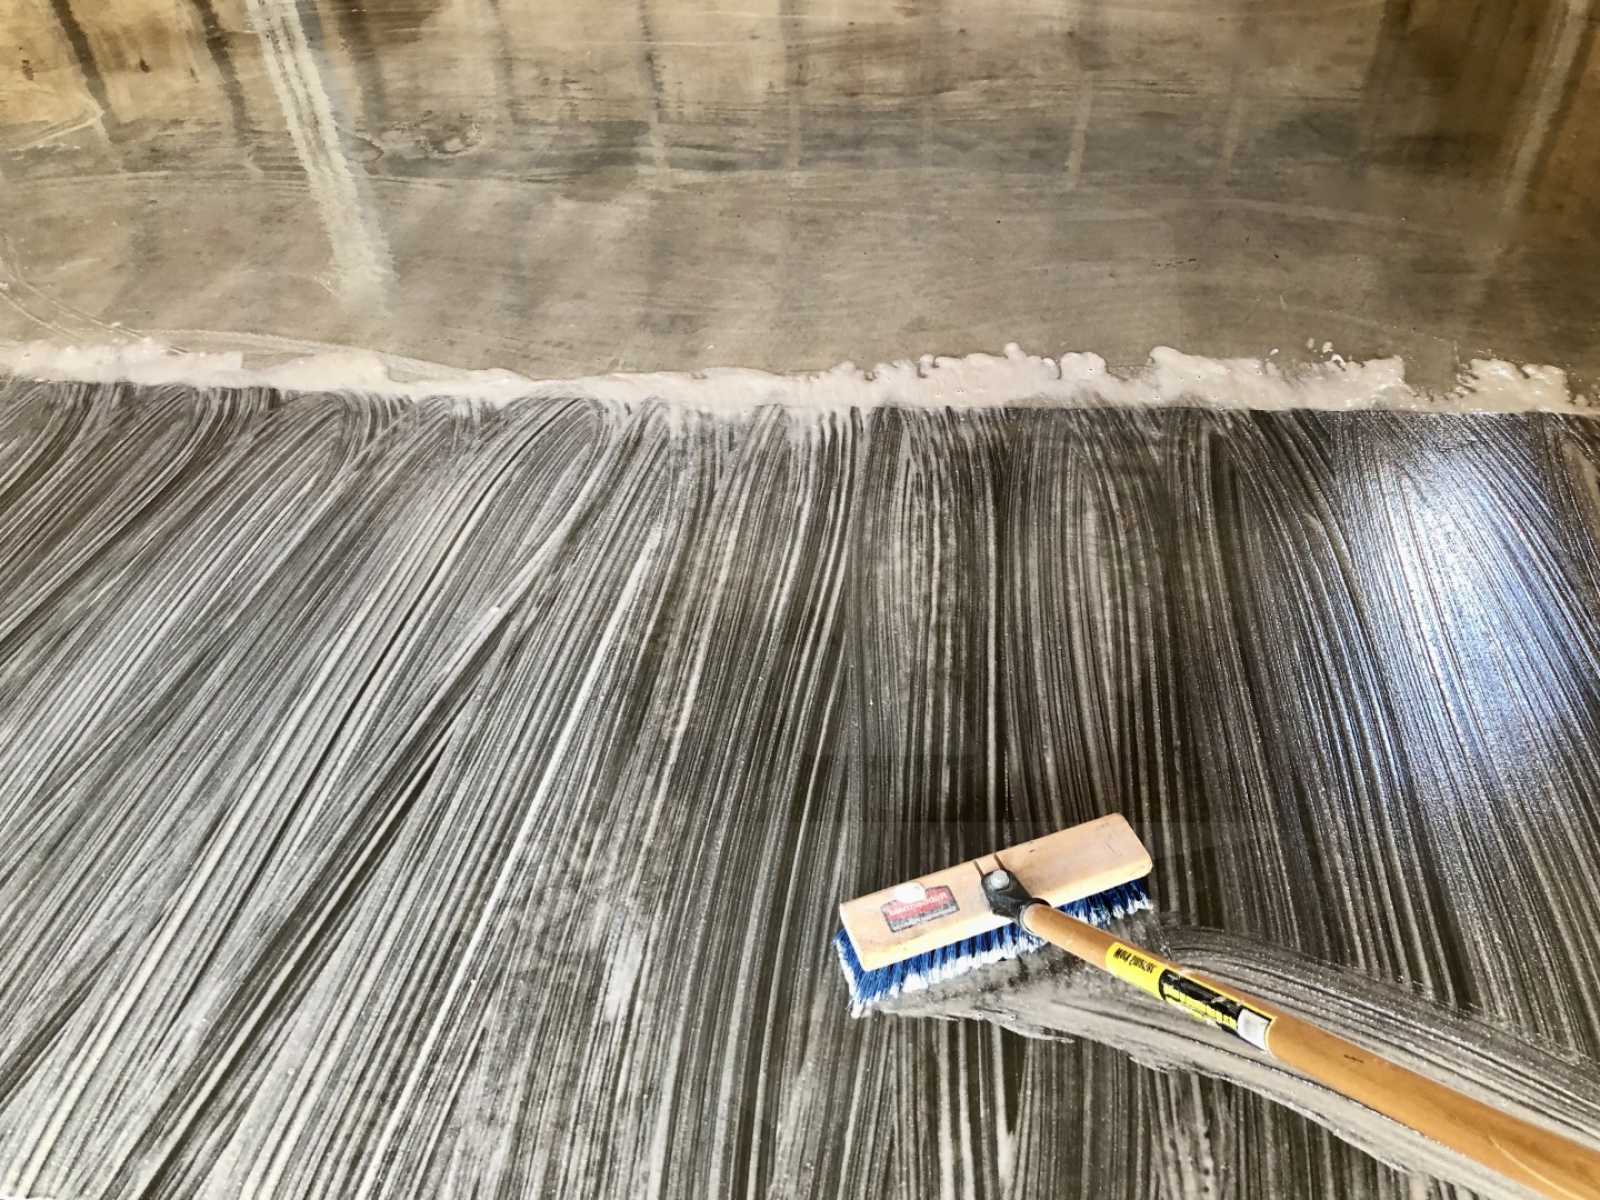
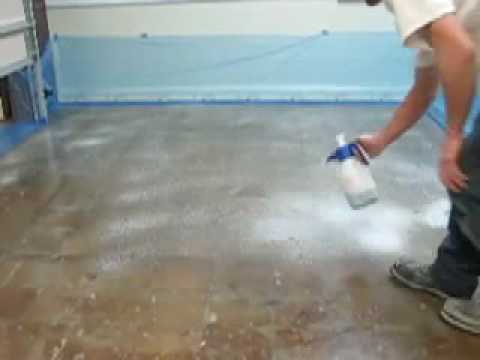
5. Applying the Etching Solution:
Once you have selected your etching solution, it is time to apply it to your concrete basement floor. Dilute the solution according to the manufacturer’s instructions, as different concentrations may be required depending on the surface condition and desired results. Pour the solution onto the floor, spreading it evenly with a scrub brush or mop. Allow the etching solution to work its magic on the concrete for the recommended period, typically around 15-30 minutes.
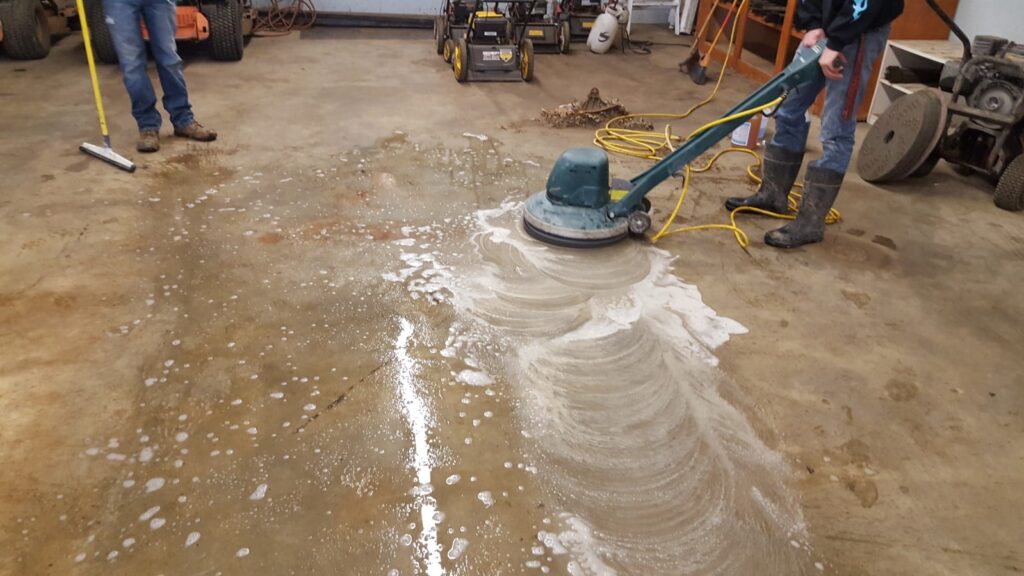
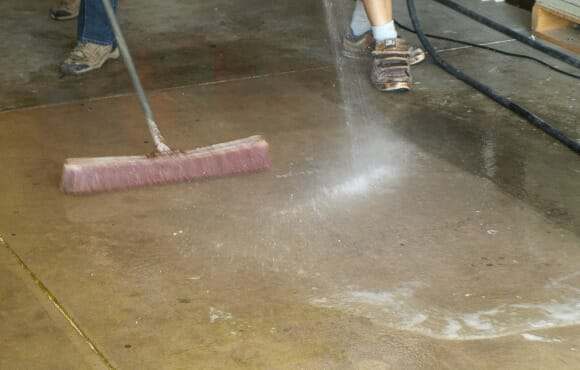
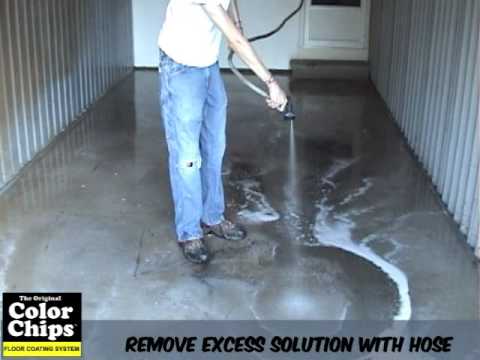
6. Scrubbing and Rinsing:
After the designated time has elapsed, use a scrub brush or broom to agitate the solution gently. This process helps remove any stubborn stains or contaminants from the concrete surface. Once scrubbing is complete, rinse the floor thoroughly using a pressure washer or hose. Ensure all traces of the etching solution are completely removed before proceeding.
7. Drying and Inspecting the Surface:
Allow your concrete basement floor ample time to dry completely before evaluating its condition. Inspect the surface for any remaining stains, blemishes, or unevenness. If necessary, repeat the etching process in specific areas where further improvement is needed.
8. Applying a Protective Sealant or Coating:
To ensure long-lasting beauty and protection for your etched concrete basement floor, applying a suitable sealant or coating is essential. Choose from various options such as epoxy coatings, polyurethane sealers, or acrylic sealants based on your preferences and intended use of the space. Follow the manufacturer’s instructions for proper application techniques and drying times.
Conclusion:
Transforming your dull and lackluster concrete basement floor into an eye-catching masterpiece is within your reach. By following this ultimate guide on how to etch your concrete basement floor, you will unlock its true potential while enjoying its enhanced appearance and durability. Get ready to showcase your beautifully finished basement floor and revel in the satisfaction of a job well done. Etching your concrete basement floor is an essential step for achieving better adhesion of coatings and sealants, making it crucial for any refinishing project. Here is a step-by-step guide on how to etch your concrete basement floor:
1. Understand the Importance of Etching: Etching prepares the surface of the concrete by creating a rough texture, allowing coatings and sealants to adhere better. It is an essential preparatory step for any refinishing project.
2. Gather the Necessary Tools and Materials: Before starting the etching process, make sure you have all the required tools and materials at hand. Some essential items include protective gear (goggles, gloves, and a mask), an etching solution (such as a mild acid or chemical etcher), scrub brushes, a pressure washer or hose, and a squeegee or wet vacuum for cleanup.
3. Prepare the Area: Thoroughly clean your concrete basement floor before starting the etching process. Remove furniture, debris, or loose particles from the surface. Sweep or vacuum to eliminate dirt and dust. This step ensures optimal adhesion during etching and guarantees a flawless finish.
4. Choose the Right Etching Solution: Select an appropriate etching solution based on factors such as safety precautions, surface compatibility, and environmental impact. Options include muriatic acid, phosphoric acid-based etchers, or commercially available chemical etchers. Follow the manufacturer’s instructions for application and handling.
5. Apply the Etching Solution: Dilute the selected etching solution according to the manufacturer’s instructions. Pour it onto the floor and spread it evenly with a scrub brush or mop. Allow the solution to work on the concrete for the recommended period.
6. Scrubbing and Rinsing: After the designated time has passed, gently agitate the solution using a scrub brush or broom to remove stubborn stains or contaminants from the concrete surface. Rinse the floor thoroughly using a pressure washer or hose, making sure to remove all traces of the etching solution before proceeding.
7. Dry and Inspect the Surface: Allow the concrete basement floor to dry completely. Inspect the surface for any remaining stains, blemishes, or unevenness. If needed, repeat the etching process in specific areas that require further improvement.
8. Apply a Protective Sealant or Coating: To enhance the appearance and durability of your etched concrete basement floor, apply a suitable sealant or coating. Options include epoxy coatings, polyurethane sealers, or acrylic sealants. Follow the manufacturer’s instructions for proper application techniques and drying times.
By following these steps, you can transform your dull concrete basement floor into an eye-catching masterpiece while enjoying its enhanced appearance and durability.