How To Install Natural Stone Tile Flooring
How to Install Natural Stone Tile Flooring how-tos DIY
How to Install Natural Stone Tile Flooring Stone tile flooring, Natural stone tile, Natural

How to Install Natural Stone Tile Flooring how-tos DIY

Stone Fabrication & Installation – Scrivanich Natural Stone Stone tile flooring, Flagstone

如何铺设鹅卵石瓷砖地板如何DIY – 188asiabet
Different Types of Natural Stone Flooring Arizona Tile & Grout
The benefits of natural stone flooring – Construction Canada
Natural Stone Tiles For Kitchen Floors – Installing ceramic tile flooring might be achieved by

How to Install Natural Stone Tile Flooring how-tos DIY
How You Maintain Your Natural Stone Flooring

Natural stone floor covering / tile / textured / marble look – CRAZY – Akrolithos S.A.
Related Posts:
- Cuban Tile Floors
- Easy Way To Grout Tile Floor
- Types Of Marble Tile Flooring
- Slate Tile Floor
- Classic Bathroom Tile Floors
- Tile Floor Color Ideas
- Wet Mops For Tile Floors
- Staining Saltillo Tile Floors
- Terrazzo Tile Floor Outdoor
- Tile Flooring For Screened Porch
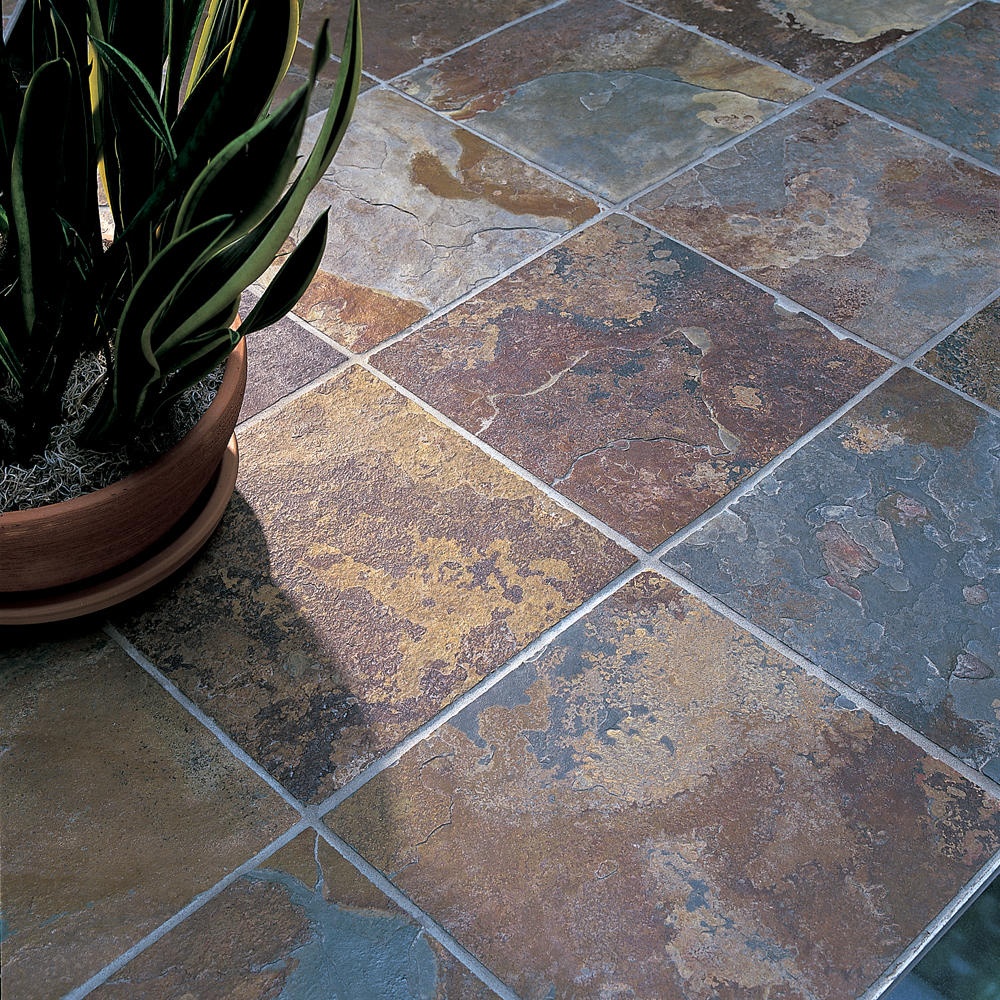
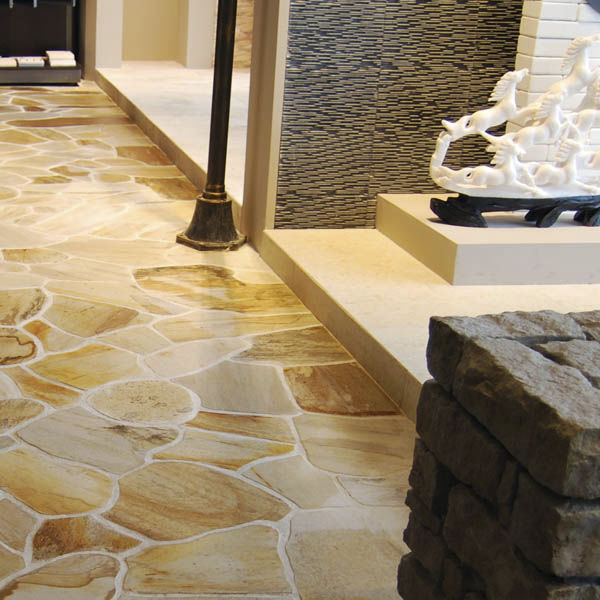
Installing natural stone tile flooring can be a daunting task, but with the right preparation and guidance, you can have beautiful and long-lasting results. Natural stone tile flooring is a great choice for any room in your home, as it provides elegance, durability, and a timeless look. In this article, we’ll discuss the basics of installing natural stone tile flooring, from surface preparation to grouting. So if you’ve been wanting to add a touch of luxury to your home with natural stone tile flooring, read on!
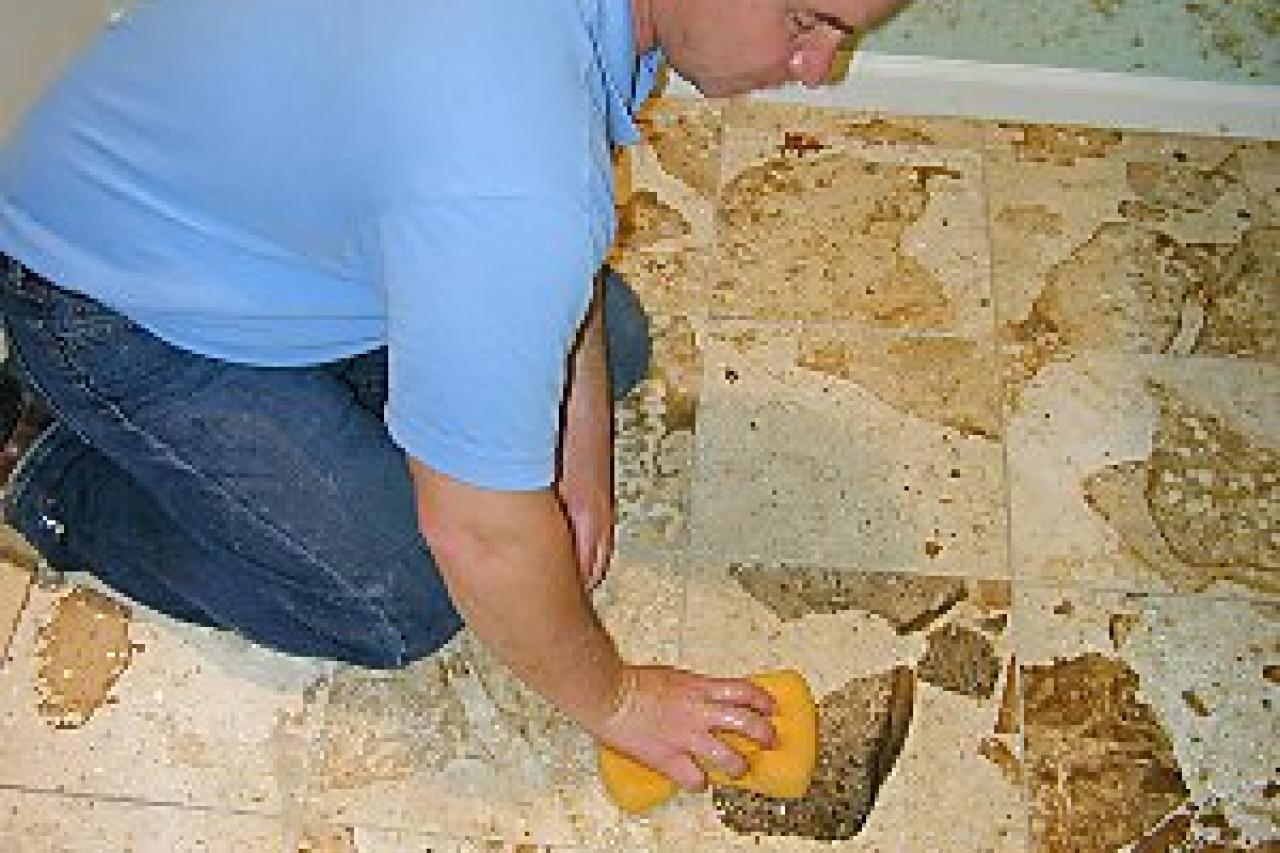
Surface Preparation
The proper surface preparation is essential for installing natural stone tile flooring. This includes cleaning the surface and making sure it is level and free of any debris. First, start by cleaning the area with a mild detergent or cleaner to get rid of any dirt or dust. Next, use a level to make sure the surface is even. If there are any bumps or dips in the area, use a concrete patching compound to level it out. Finally, make sure the surface is completely dry before proceeding.
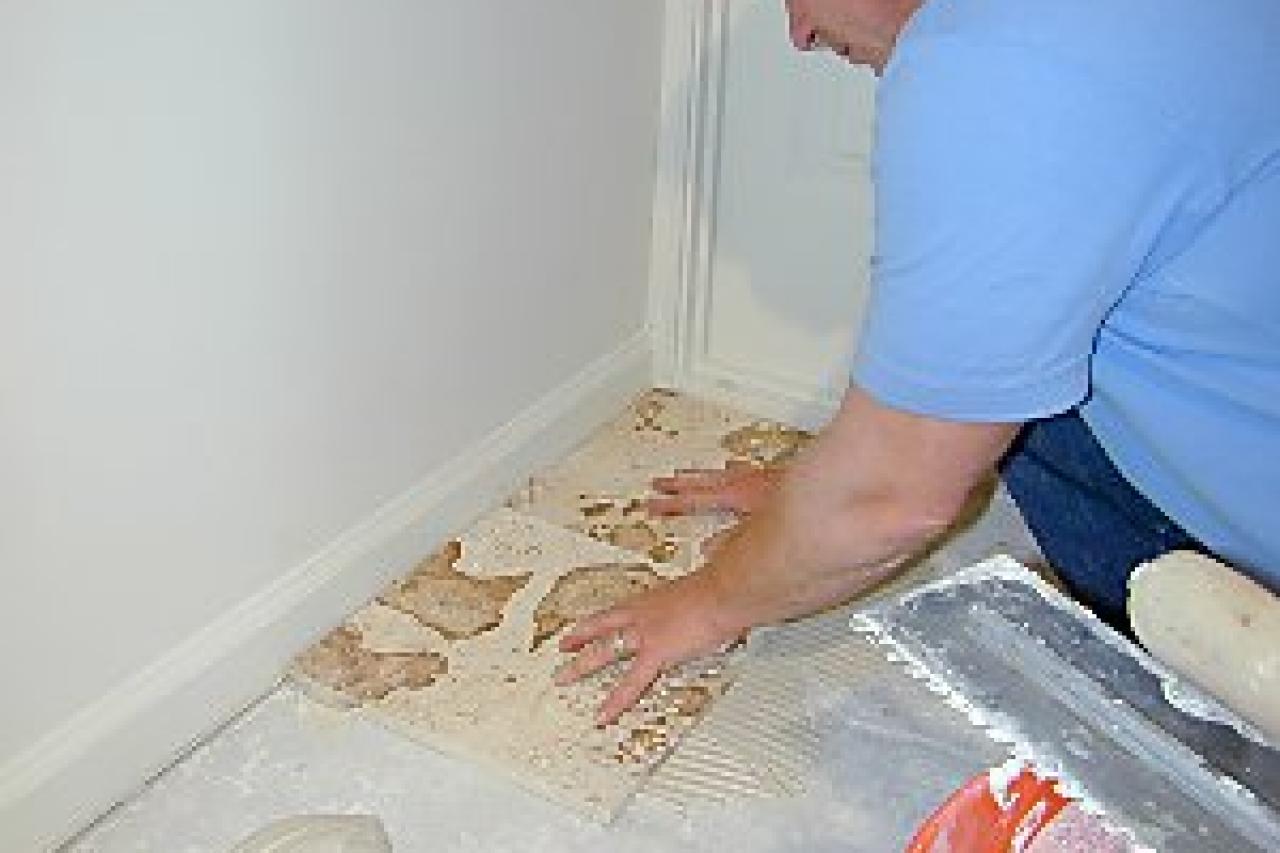
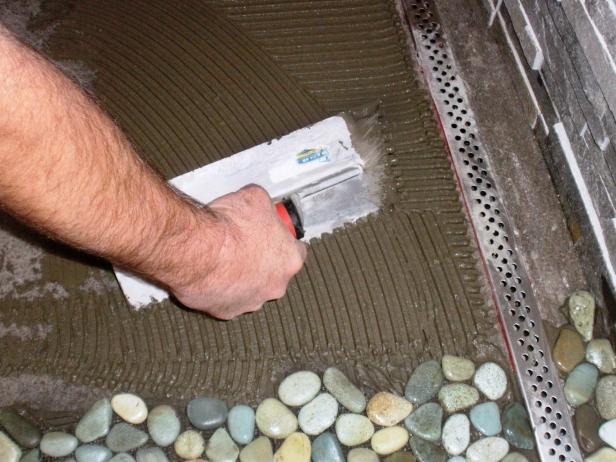
Laying the Tiles
Once the surface is prepared, it’s time to start laying the tiles. Begin by measuring the area where you want to install the tiles and mark off where each tile will go. You can also use a chalk line for straight edges and corners. When laying the tiles, make sure to leave a small gap between each one for expansion and contraction. This gap should be at least 1/8 of an inch wide. Once all the tiles are in place, check them again with a level to ensure they are even and secure them with adhesive or mortar.
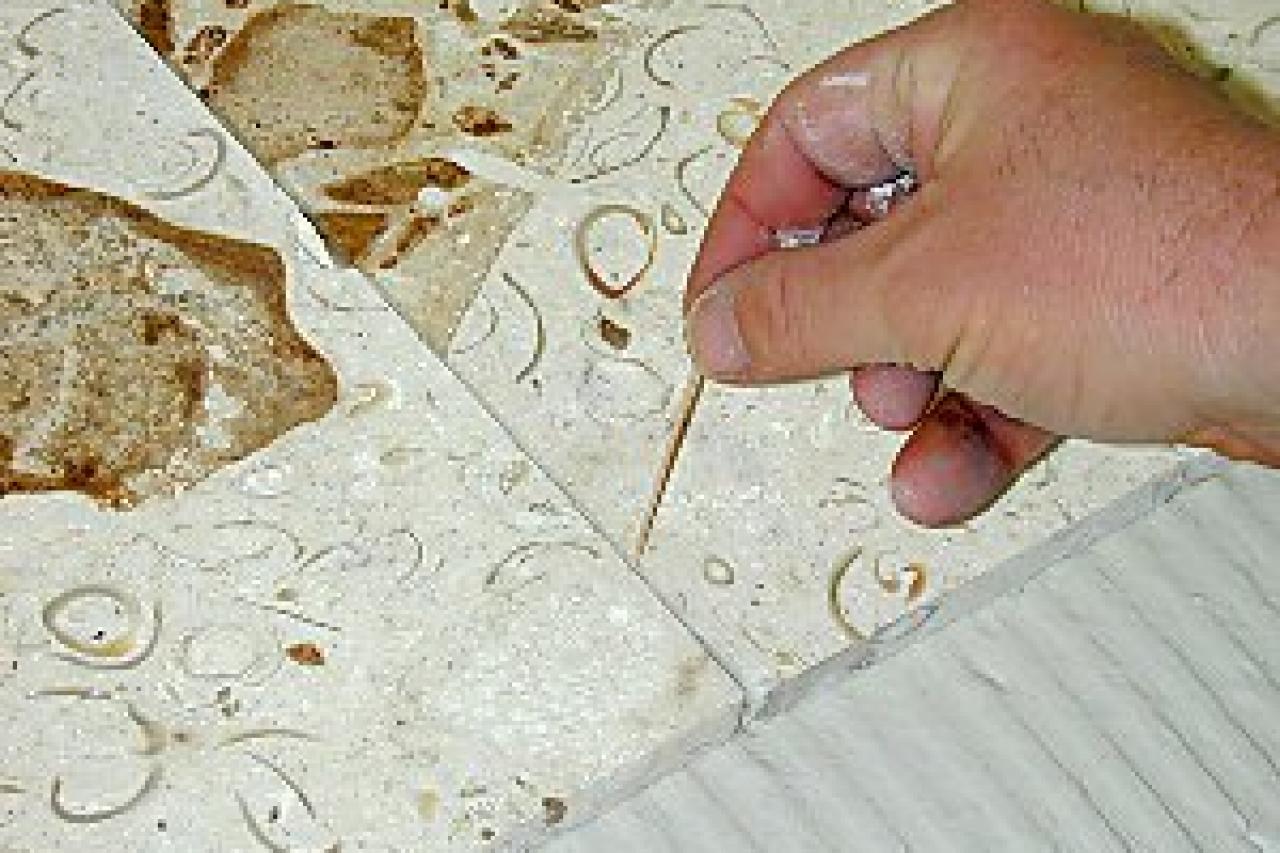
Grouting and Sealing
Once all the tiles are in place, it’s time to grout and seal them. Start by mixing up a batch of grout according to the manufacturer’s instructions and spread it evenly over the tiles with a rubber float. Make sure to work the grout into all of the cracks and crevices to ensure a good bond. Once you’ve finished grouting, clean off any excess grout with a damp sponge. Once the grout has dried completely, it’s time to seal it with a sealant designed for natural stone tile flooring. This will help protect it from dirt, stains and water damage.
Enjoying Your New Natural Stone Tile Flooring
Once all the steps have been completed, you can now enjoy your new natural stone tile flooring! Natural stone tile flooring adds beauty and value to any home, so take pride in knowing that you did it yourself! With proper maintenance and care, your natural stone tile flooring should last for many years to come. Enjoy!