Easy Pergo Wood Flooring Installation
Pergo wood flooring is a popular choice for homeowners seeking a stylish, durable, and easy-to-install flooring option. Known for its high-quality laminate, Pergo offers the look of real wood without the high cost or maintenance. Whether you’re a seasoned DIY enthusiast or a novice, installing Pergo wood flooring can be a rewarding and manageable project. This comprehensive guide will walk you through the entire process, from preparation to finishing touches.
Gathering Materials and Tools
- Essential Materials: Before you begin, gather all the necessary materials for your Pergo flooring installation. You’ll need Pergo wood flooring planks, underlayment, and transition strips. Choose the right underlayment for your subfloor and the specific requirements of your space to ensure optimal performance and comfort.
- Tools Required: Having the right tools on hand is crucial for a smooth installation process. Essential tools include a tape measure, utility knife, saw (such as a jigsaw or circular saw), rubber mallet, tapping block, pull bar, spacers, and a pencil. Additionally, a moisture meter can be helpful if you’re working in an area prone to humidity.
- Safety Gear: Don’t forget to prioritize safety during the installation. Wear safety goggles, gloves, and knee pads to protect yourself from potential hazards. Using proper safety gear will make the process more comfortable and reduce the risk of injury.
- Acclimating the Flooring: To ensure your Pergo wood flooring adapts to the environment, allow the planks to acclimate in the room where they will be installed. Lay the unopened boxes flat on the floor for at least 48 hours before installation. This helps prevent expansion or contraction after installation due to changes in temperature and humidity.
- Preparing the Room: Clear the room of all furniture and debris. Ensure the subfloor is clean, dry, and level. Remove any existing flooring materials, such as carpet or vinyl, and repair any damage to the subfloor. It’s essential to start with a smooth and even surface for a successful installation.

Preparing the Subfloor and Underlayment
Cleaning the Subfloor: Thoroughly clean the subfloor to remove dust, dirt, and any adhesive residue. Sweep or vacuum the area to ensure a clean surface for the underlayment and flooring. A clean subfloor helps the underlayment adhere properly and ensures a smooth installation.
Leveling the Subfloor: Check the subfloor for any uneven areas or high spots. Use a level to identify any discrepancies. If necessary, sand down high spots or fill in low areas with a leveling compound. A level subfloor is crucial for preventing gaps or unevenness in the finished floor.
Installing the Underlayment: Roll out the underlayment across the entire floor, ensuring it covers the subfloor completely. Cut the underlayment to fit around obstacles and edges using a utility knife. Secure the underlayment in place with adhesive or tape, following the manufacturer’s instructions. The underlayment provides cushioning, sound insulation, and moisture protection.
Moisture Barrier: In areas prone to moisture, such as basements or bathrooms, consider installing a moisture barrier beneath the underlayment. A moisture barrier helps prevent water from seeping into the flooring and causing damage. Be sure to overlap the edges of the barrier and tape them securely.
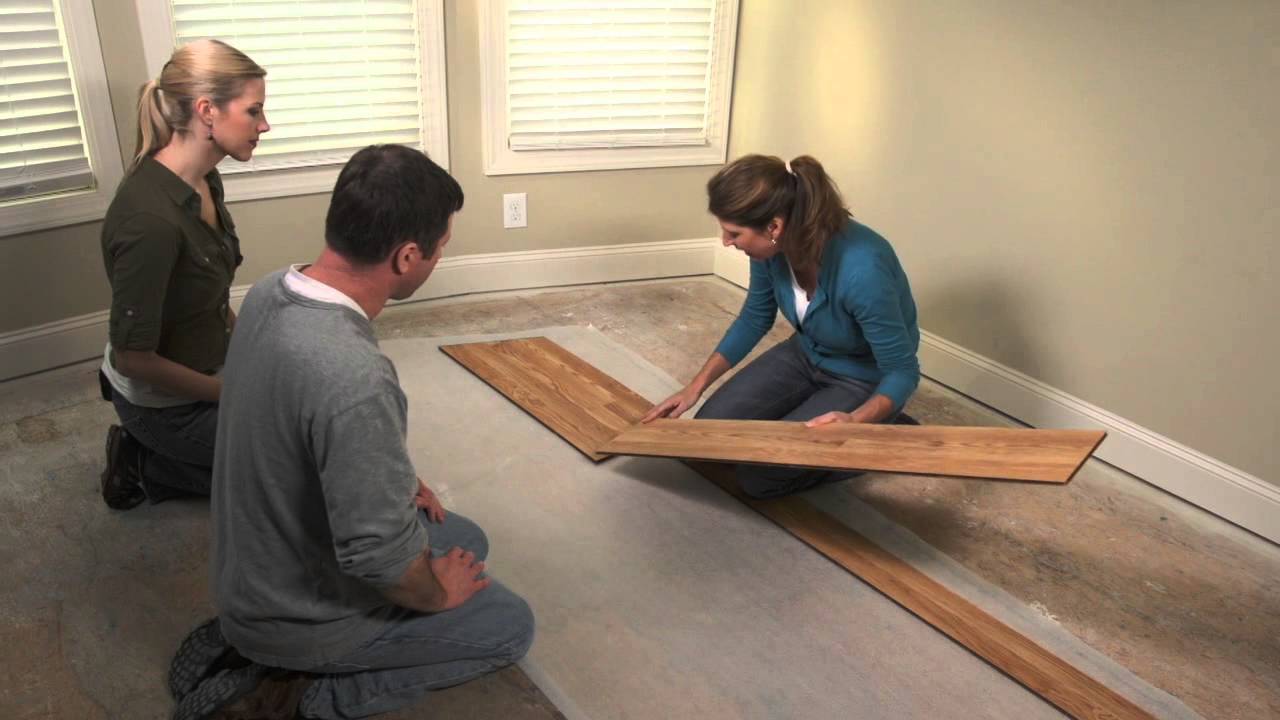
Planning the Layout: Before laying the first plank, plan the layout of the flooring. Measure the room and determine the best starting point, typically along the longest wall. Use spacers to maintain a gap of about 1/4 inch around the perimeter of the room for expansion. This gap allows the flooring to expand and contract with temperature changes.
Laying the Pergo Wood Flooring
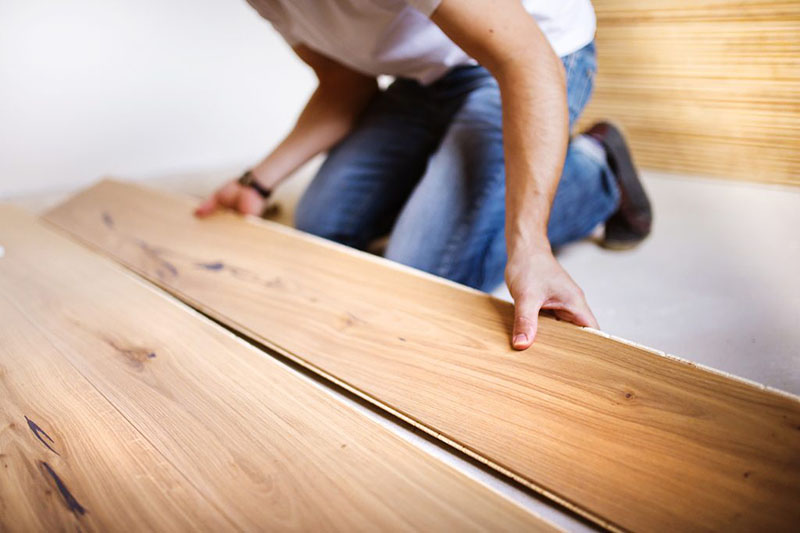
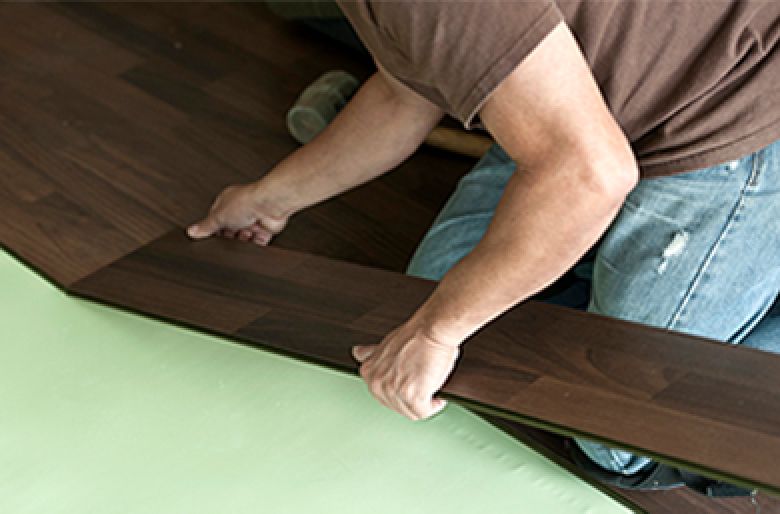
Starting the First Row: Begin by laying the first row of Pergo planks along the starting wall, ensuring the tongues face the wall. Use spacers to maintain the expansion gap. Align the planks end to end and click them together, following the manufacturer’s locking mechanism. Cut the last plank in the row to fit, if necessary.
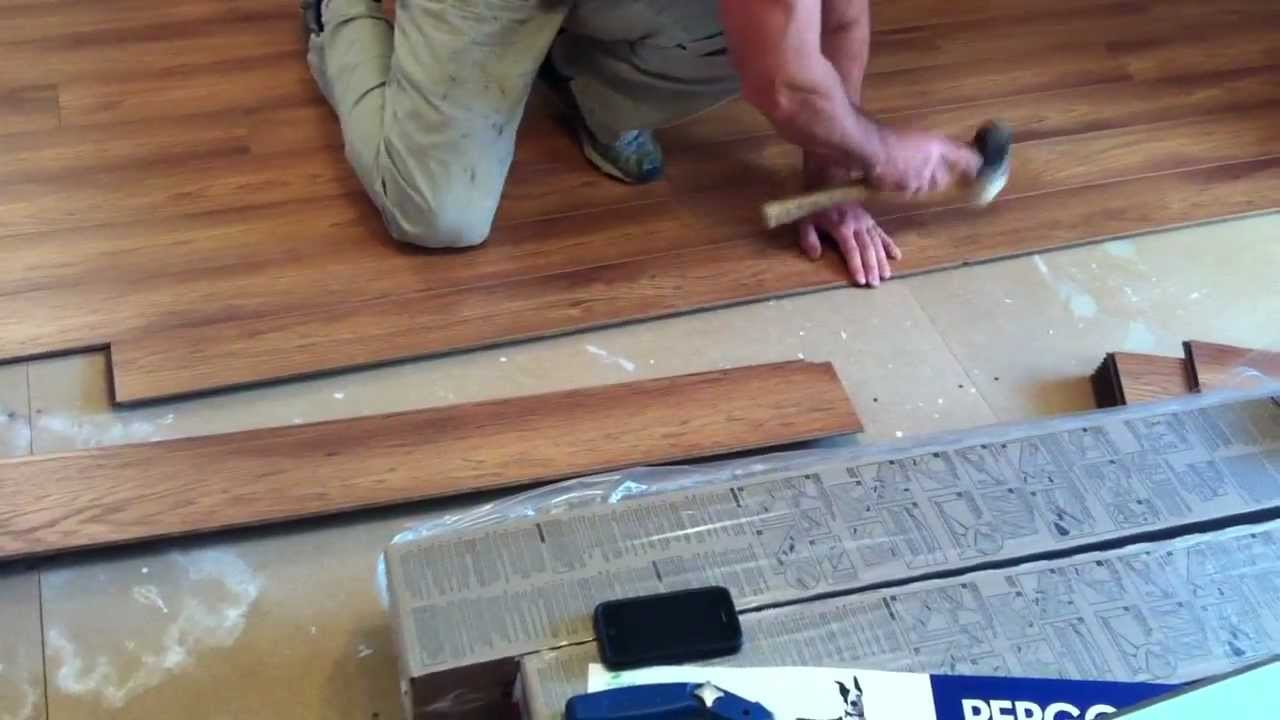
Continuing the Installation: Stagger the seams of the planks in each row to create a natural and aesthetically pleasing pattern. Use a tapping block and rubber mallet to gently tap the planks into place, ensuring a tight fit. Continue laying the planks row by row, maintaining the expansion gap and staggered seams.
Cutting Around Obstacles: As you progress, you’ll need to cut planks to fit around obstacles such as doorways, vents, and corners. Measure and mark the planks accurately before cutting. Use a saw to make precise cuts, ensuring a clean fit around obstacles. Always double-check measurements to avoid mistakes.
Fitting the Last Row: When you reach the final row, measure the remaining space and cut the planks to fit. Remember to maintain the expansion gap along the wall. Use a pull bar to carefully secure the last row of planks in place, ensuring a snug fit. Check for any gaps or loose planks and make necessary adjustments.
Installing Transition Strips: To complete the installation, install transition strips at doorways and between different types of flooring. Transition strips provide a smooth transition and protect the edges of the Pergo flooring. Follow the manufacturer’s instructions for installing transition strips securely.

Finishing Touches
Removing Spacers: Once the flooring is fully installed, remove the spacers around the perimeter of the room. The expansion gap should remain intact to allow for movement. Inspect the floor for any gaps or misaligned planks and make necessary adjustments.
Installing Baseboards and Trim: Install baseboards or trim to cover the expansion gap and give the floor a finished look. Use a miter saw to cut the baseboards to fit corners and edges. Nail or glue the baseboards in place, ensuring they are flush with the wall and floor.
Cleaning the Floor: Thoroughly clean the newly installed Pergo wood flooring to remove any dust, debris, or adhesive residue. Use a damp mop and a mild cleaning solution to wipe down the surface. Avoid using excessive water or harsh chemicals that can damage the flooring.
Final Inspection: Conduct a final inspection of the floor to ensure all planks are securely in place and there are no visible gaps or defects. Check the alignment and appearance of the floor, making any necessary adjustments. Address any issues promptly to ensure a flawless finish.
Enjoying Your New Floor: With the installation complete, take the time to enjoy your new Pergo wood flooring. Admire the transformation it brings to your space and appreciate the durability and beauty of your new floor. Proper maintenance and care will ensure your Pergo flooring remains in excellent condition for years to come.
Maintenance and Care for Pergo Wood Flooring
Regular Cleaning: To keep your Pergo wood flooring looking its best, establish a regular cleaning routine. Sweep or vacuum the floor regularly to remove dust and debris. Use a damp mop with a gentle cleaning solution to maintain the surface. Avoid using excessive water or abrasive cleaners.
Preventing Scratches and Damage: Protect your Pergo flooring from scratches and damage by placing mats or rugs at entryways and high-traffic areas. Use felt pads or coasters under furniture legs to prevent scratches when moving items. Trim your pets’ nails regularly to avoid damage from claws.
Addressing Spills and Stains: In case of spills or stains, it’s important to address them promptly. Wipe up any spills immediately using a clean cloth or paper towel. For stubborn stains, use a Pergo-approved cleaner or a mixture of mild soap and water. Gently scrub the stained area with a soft brush and rinse thoroughly.
Periodic Inspections: Regularly inspect your Pergo wood flooring for any signs of wear, damage, or loose planks. Address any issues promptly to maintain the integrity and appearance of the floor. Periodic inspections will help you identify potential problems before they become more significant issues.
Refinishing and Repairs: While Pergo wood flooring is designed to be durable, it may show signs of wear over time. Consider refinishing the floor to restore its original beauty. Sanding and refinishing can remove scratches and dents, giving your floor a fresh, new look. For deeper damage, consult a professional for repairs to ensure the best results.

Best Way To Lay Pergo Flooring
Pergo Laminate Flooring Installation
How To Install Pergo Flooring On A Wall

Installing Pergo Flooring On Stairs – kitchencor

Pergo Install in Lehi Hardwood Floor Guys Inc.

Related Posts: