How To Install Wood Floor Tiles

How to Install Wood Flooring Vermont Hardwoods

10 Popular How to Install Engineered Hardwood Floors Yourself Unique Flooring Ideas
11 Steps How to Install Laminate Flooring HireRush Blog
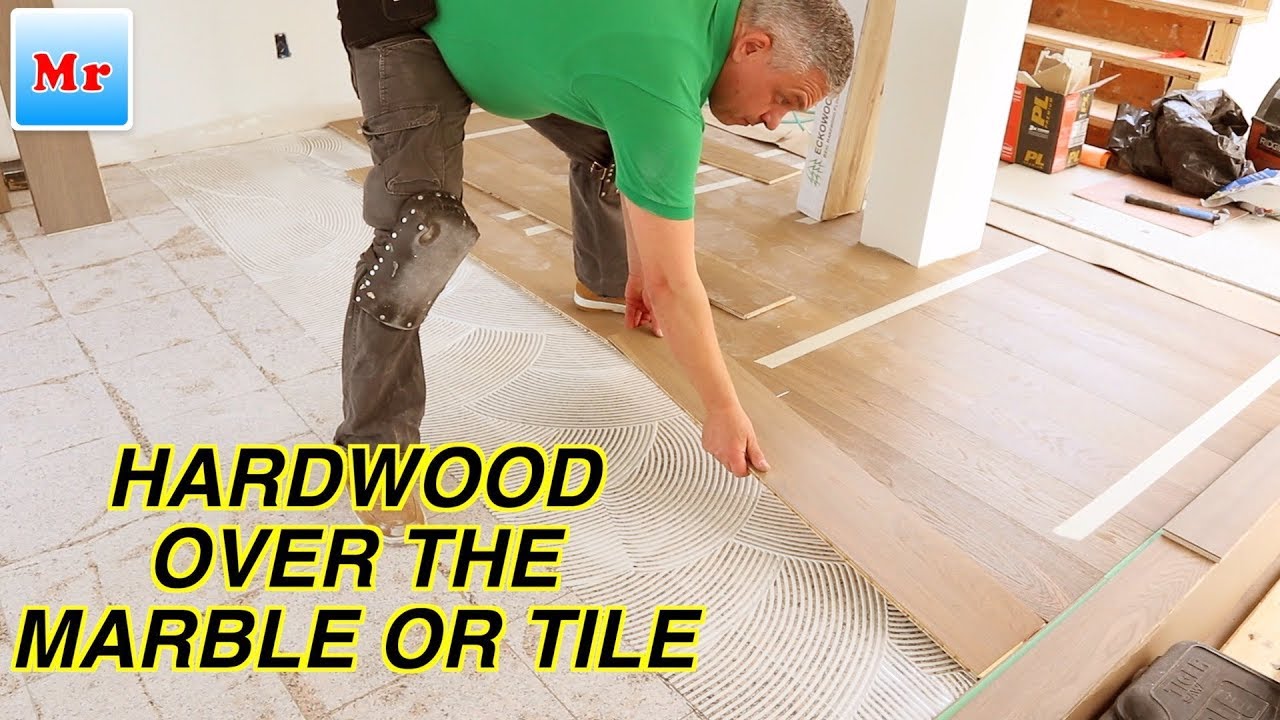
How to Install Hardwood Floor Over the Marble or Tile MrYoucandoityourself – YouTube
Installing Wood Flooring Over Vinyl Flooring – Wood and Beyond Blog

How to Install a Hardwood Floor HGTV

How to Install an Engineered Hardwood Floor Diy flooring, Diy hardwood floors, Engineered wood

Step-by-Step Process for Installing Hardwood Floors – Room For Tuesday

General tips for choosing the best flooring service – AZ Big Media

Flooring Installation – Can I Install over Existing Floor?

Pin on flooring

Related Posts:
- Grey Parquet Wood Flooring
- How To Install Pergo Wood Flooring
- Dark Black Wood Flooring
- Solid Wood Flooring White
- Pallet Wood Flooring Ideas
- Wood Floor Chevron Pattern
- Wood Flooring Home Ideas
- Wood Floor Filler Resin
- Glossy Wood Flooring Ideas
- Pergo Wood Flooring Installation
It’s no secret that wood floor tiles are a popular and stylish way to revamp any space. Whether it’s a bedroom, bathroom, or kitchen, these tiles offer a classic look, warmth, and durability that last for years. But installing them isn’t always easy. To help you out, we’ve put together this step-by-step guide on how to install wood floor tiles.
### Step 1: Prepare the Surface
The first step is to prepare the surface where you’ll be installing the wood floor tiles. Start by clearing away any furniture and objects from the room and ensure that the area is clean and free of dust and debris. You should also make sure the subfloor is level and even. If it isn’t, you can use a self-leveler to even it out before moving on to the next step.
### Step 2: Measure and Cut the Tiles
Once the surface is prepared, measure out the tiles according to your desired design. There are several different types of wood floor tiles available, so make sure to choose one that meets your specific needs. Once you know the measurements, cut the tiles to fit. Be sure to use a tile cutter, as this will ensure that your cuts are precise and straight.
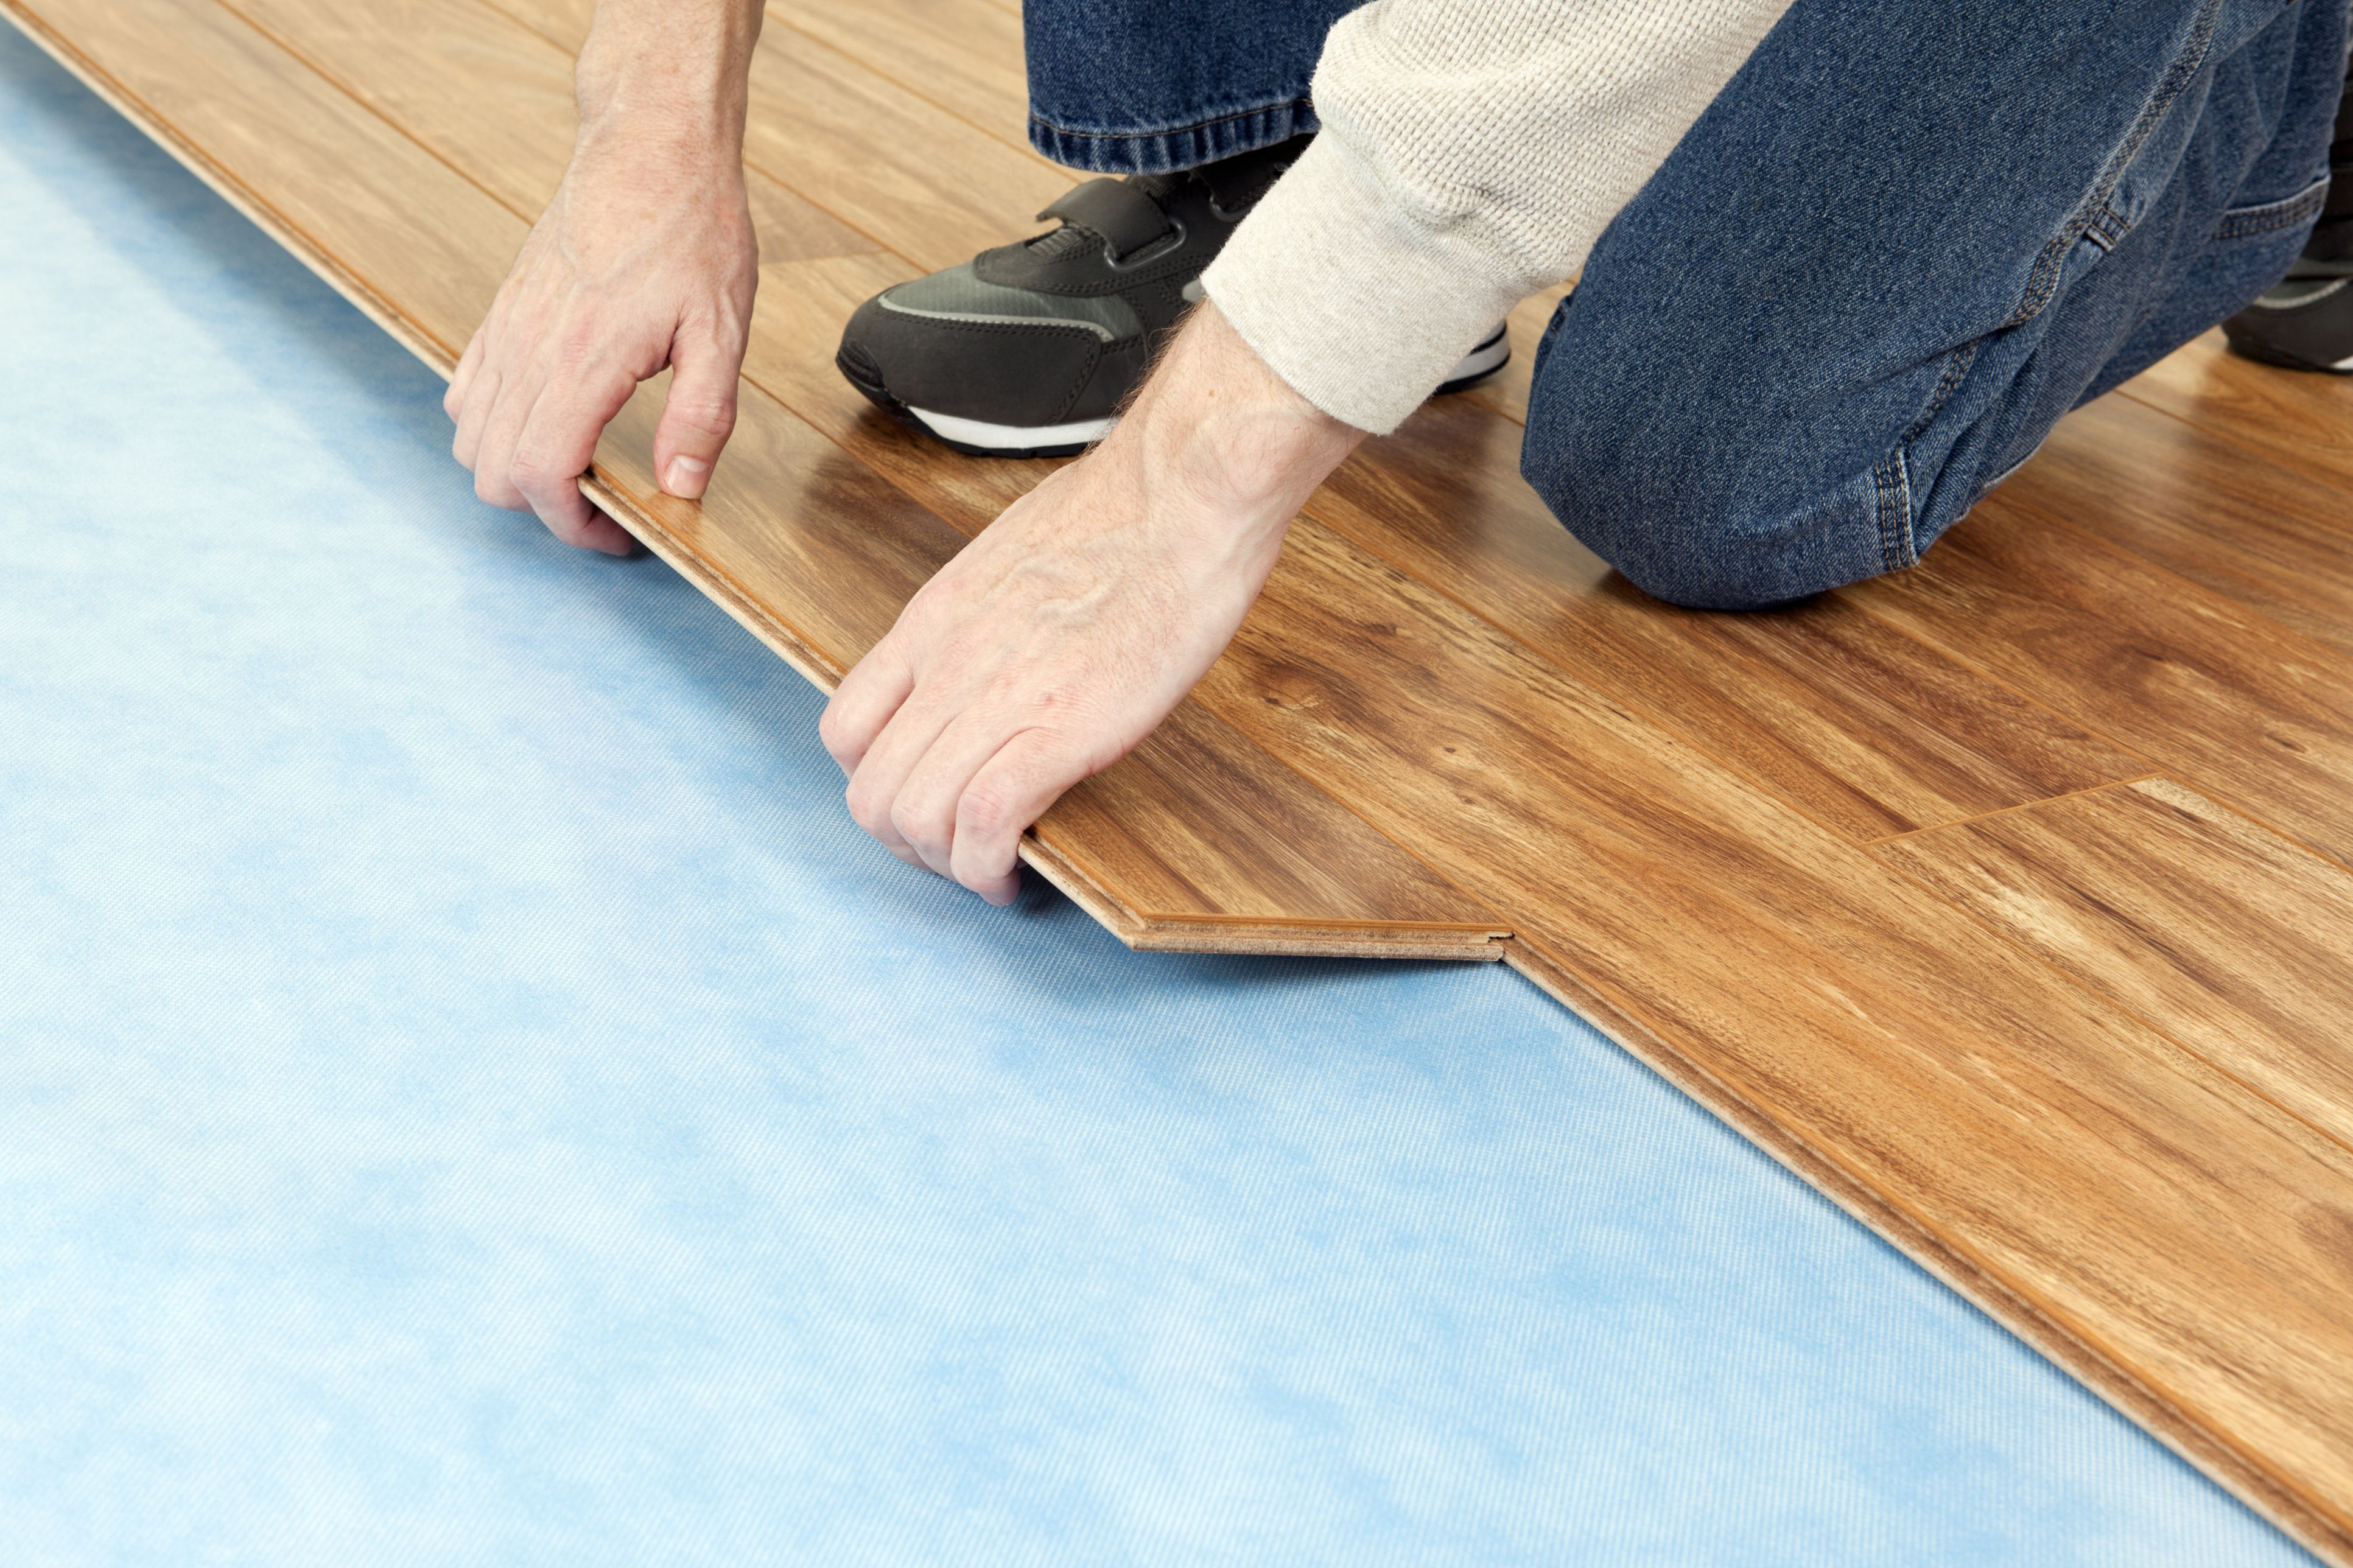
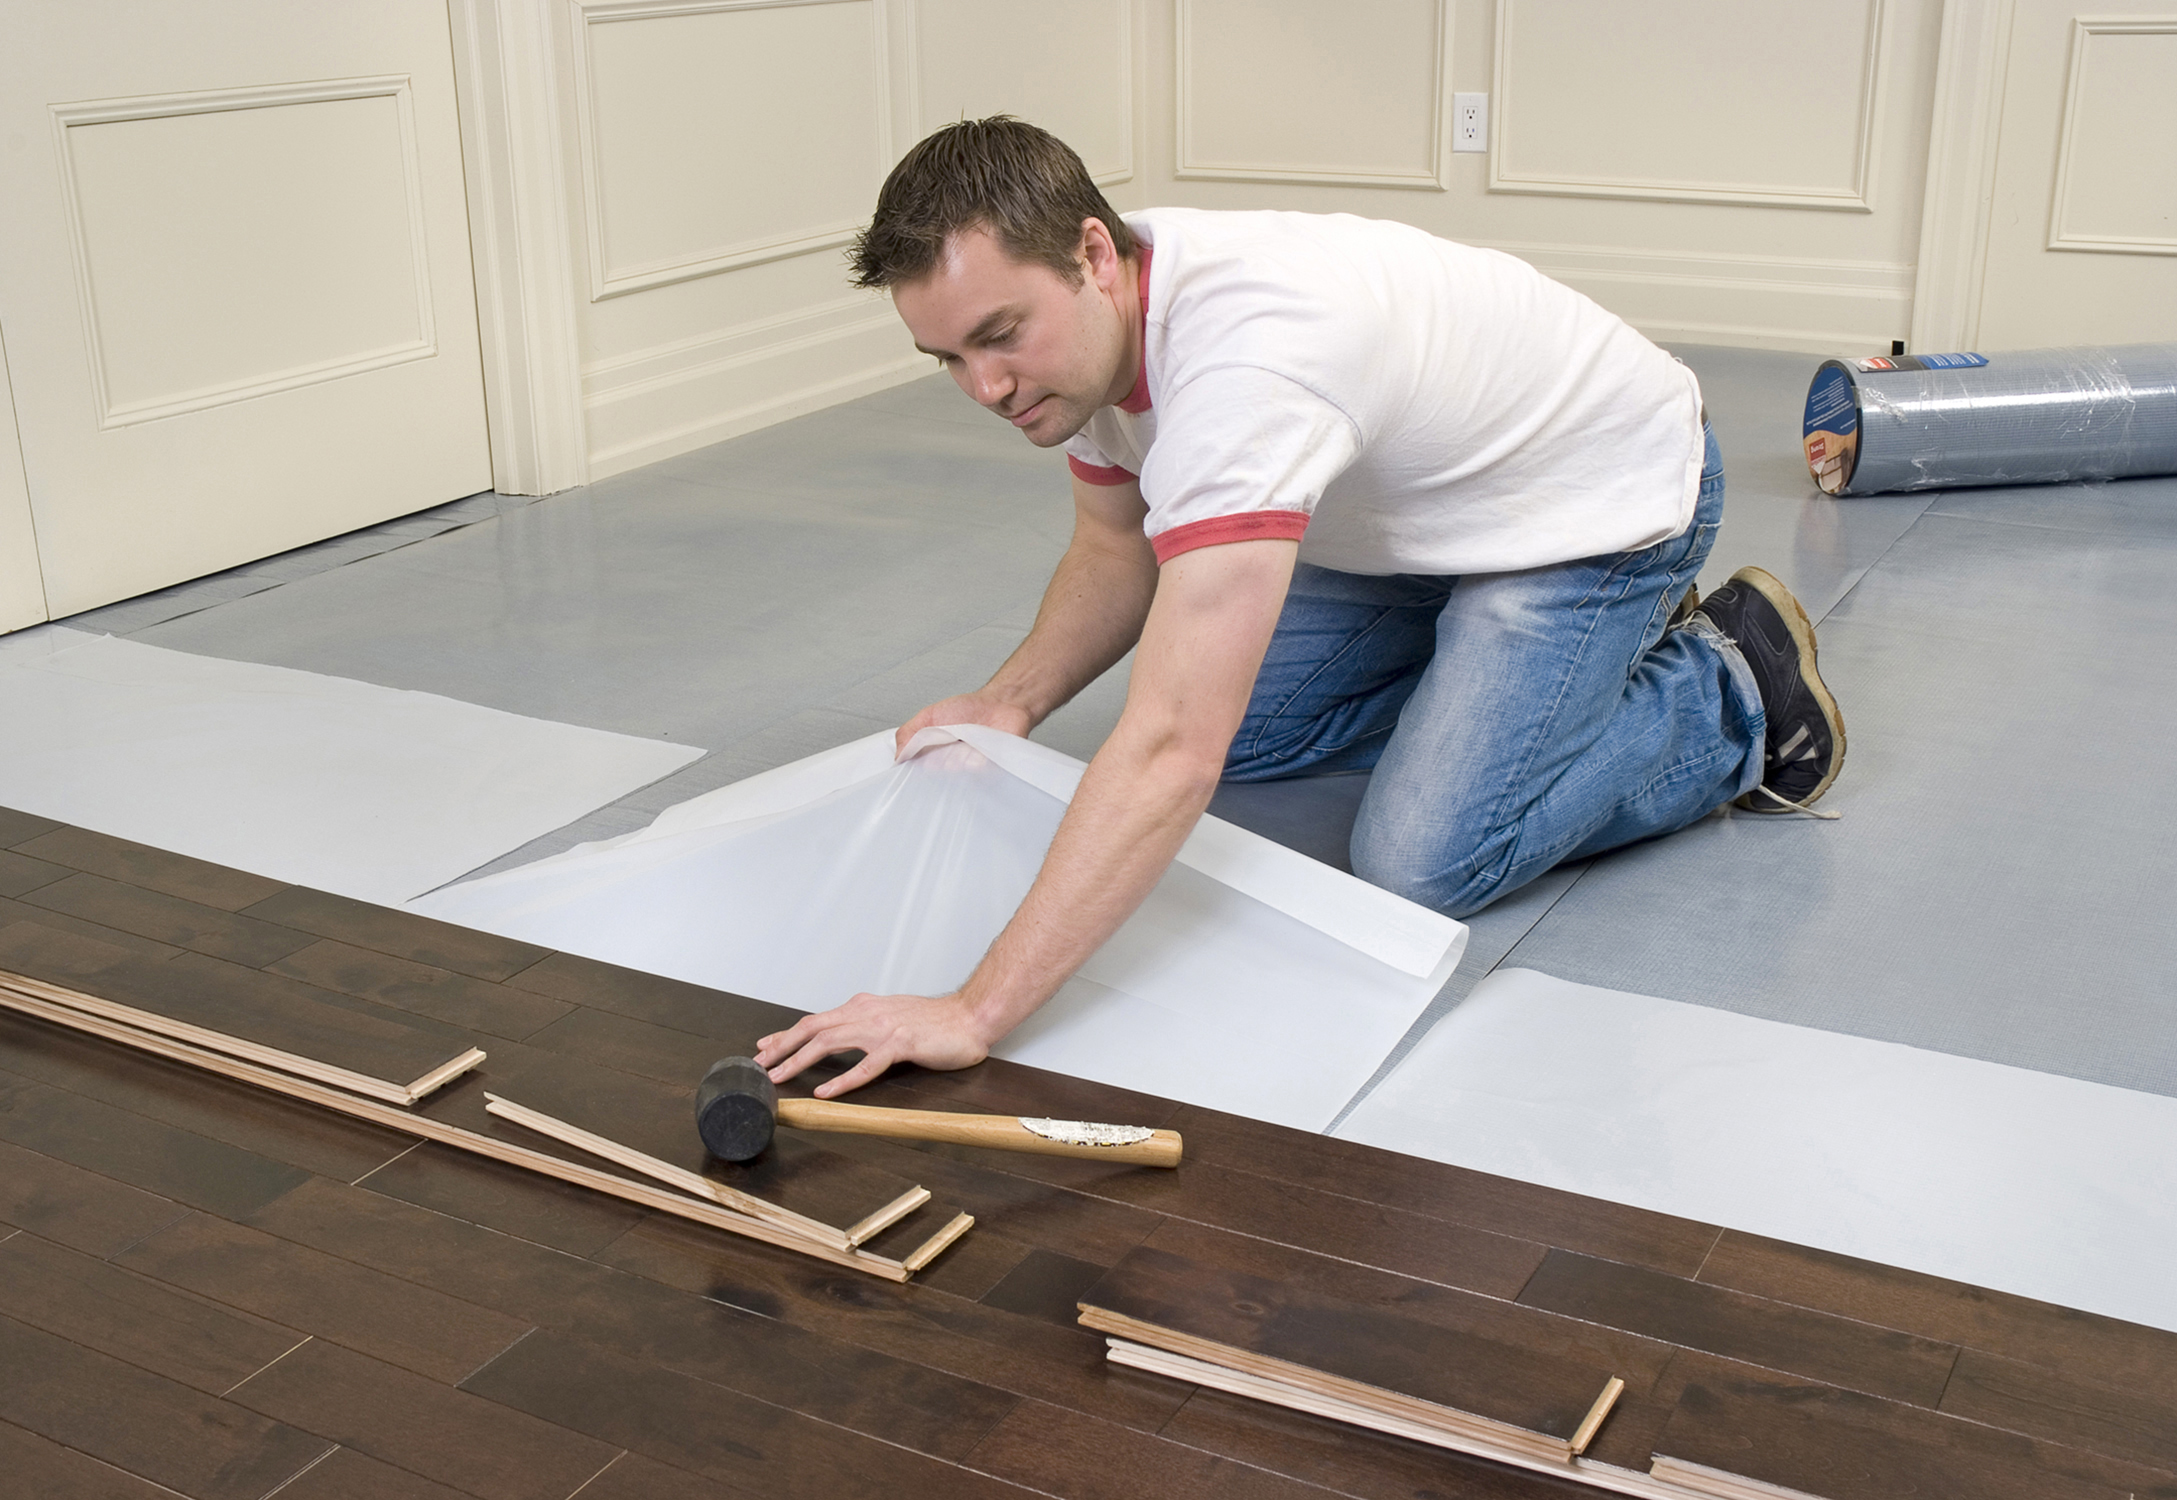
### Step 3: Install the Tiles
Now it’s time to install the wood floor tiles. Start by laying down a foam underlayment or matting on the surface to protect against moisture and provide extra cushioning. Then apply adhesive to the back of each tile and place them in the desired pattern. Make sure to use a notched trowel when applying the adhesive for better coverage and easier installation.
### Step 4: Grout The Tiles
Once all of the tiles have been laid down, it’s time to grout them. Again, there are several types of grout available for this job, so make sure you choose one that’s appropriate for your particular situation. Start by mixing up a batch of grout according to the manufacturer’s instructions. Then spread it over the tiles with a rubber float, being sure to push it into any crevices or cracks between them. Allow it to dry for several hours before wiping away any excess with a damp cloth.
### Step 5: Seal The Tiles
The final step in installing wood floor tiles is to seal them with a sealant or finish product. This will help protect against moisture damage and scratches while also providing a glossy look that will last for years. Choose a sealant that’s appropriate for your type of tile and apply it according to the directions on the label. Allow it to dry completely before walking on it or putting furniture back in place.
Installing wood floor tiles is an easy task that can transform any room in your home into something special. While there are several steps involved in this process, following this guide can help ensure that everything goes smoothly and quickly so you can enjoy your new look in no time!