How To Lay A Diamond Pattern Tile Floor
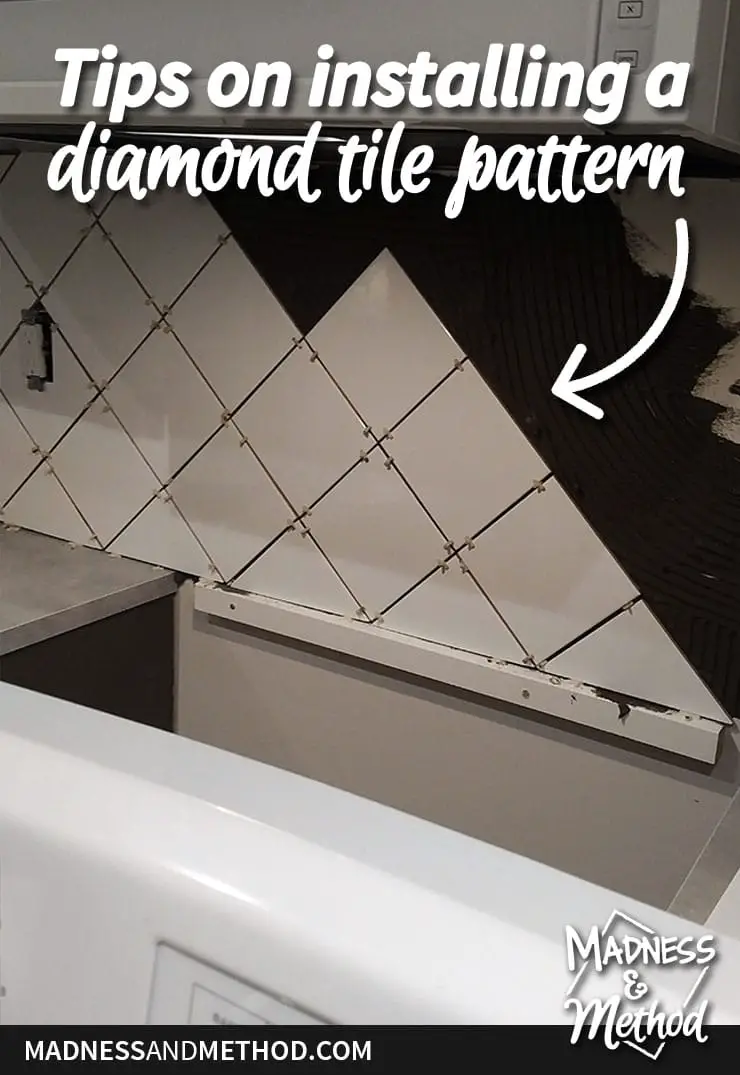
tips-to-install-diamond-tile-pattern-pinterest2 Madness & Method

tips-to-install-diamond-tile-pattern-pinterest2 Madness & Method
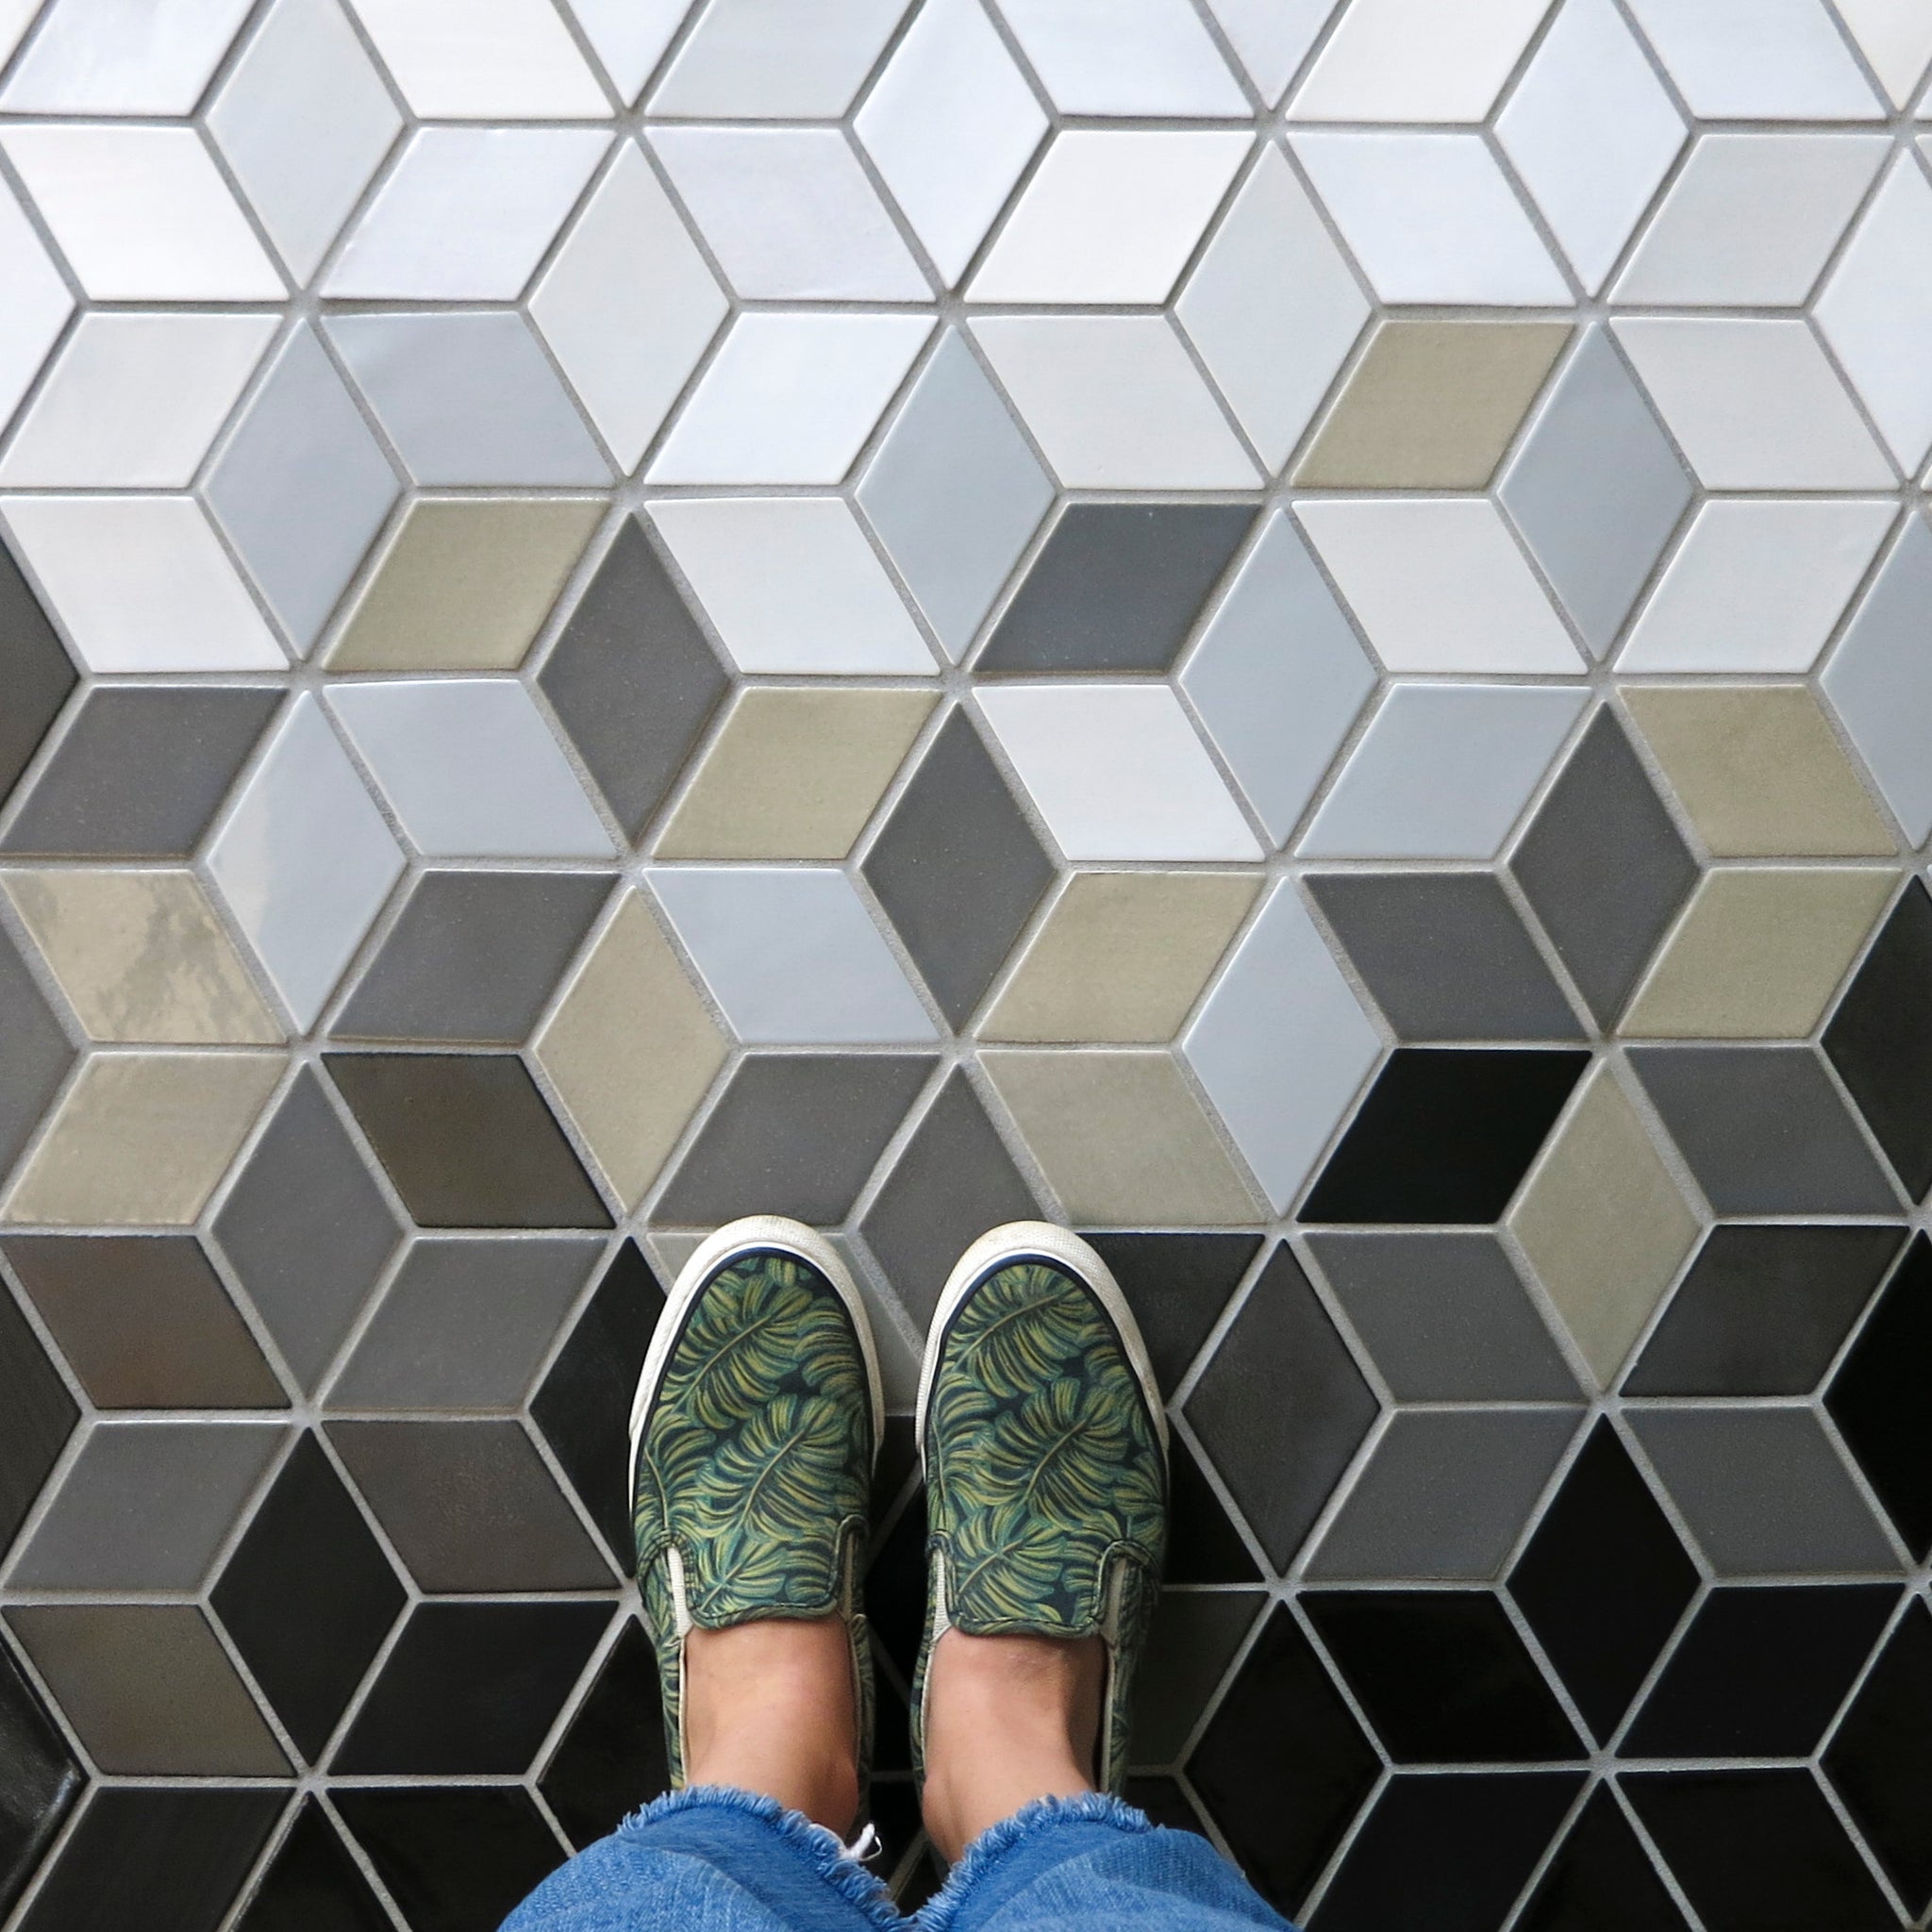
Tile laid out in a Diamond Pattern for bathroom flooring. Bathroom Flooring Pinterest

How to Decide Between a Diamond or Square Tile Layout – Just Needs Paint Tile layout, Diamond

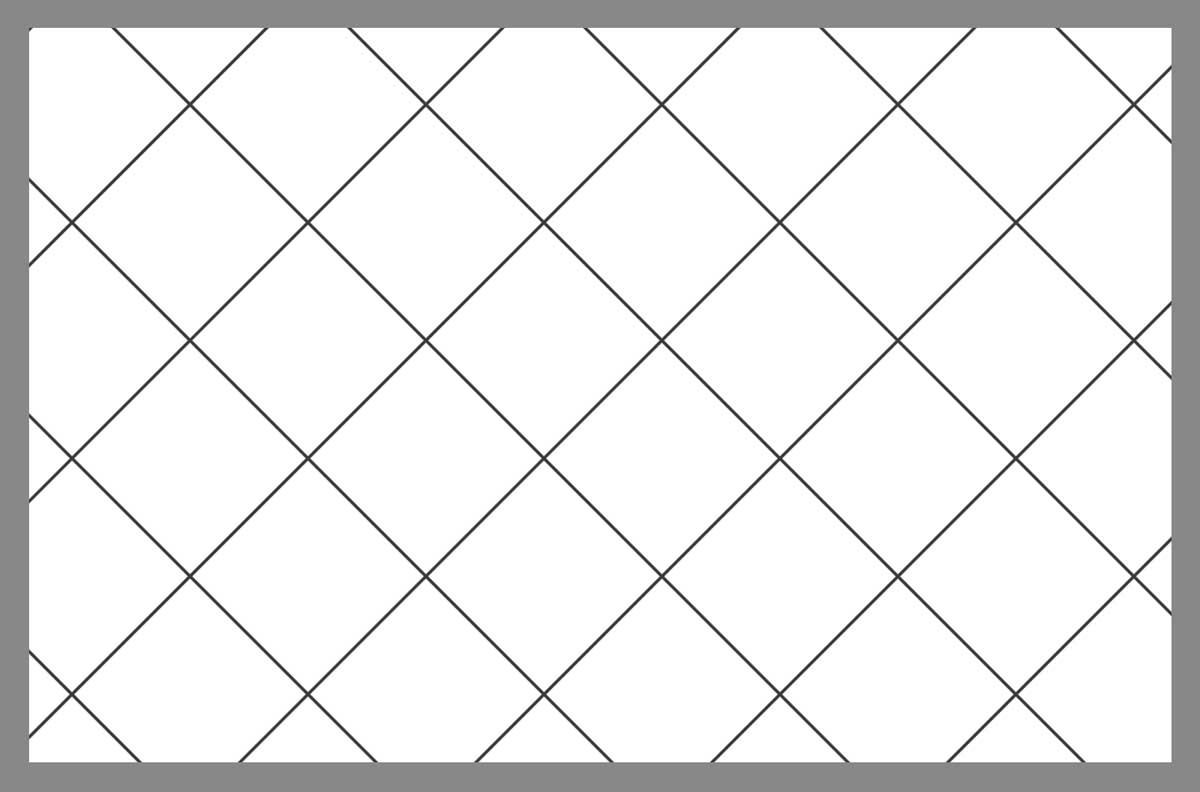
DIAMOND PATTERN TILE LAYOUT FREE PATTERNS

Pin on Concrete Floor Designs

10 New Ways to Lay Wall Tiles and Floor Tiles – Tile Mountain

Diamond Pattern Tile Floor : Vinyl Flooring Floorpride Rangiora : Argyle is a diamond pattern
tile layout diamond pattern Tile layout, Layout design, Tile layout patterns

Center portion only: A nice idea for a ‘diamond pattern layout’ where a large s… Patterned

marble diamond tile floor pattern with corners clipped in 2 places Patterned floor tiles

Related Posts:
- Cuban Tile Floors
- Easy Way To Grout Tile Floor
- Types Of Marble Tile Flooring
- Slate Tile Floor
- Classic Bathroom Tile Floors
- Tile Floor Color Ideas
- Wet Mops For Tile Floors
- Staining Saltillo Tile Floors
- Terrazzo Tile Floor Outdoor
- Tile Flooring For Screened Porch
Are you looking to give your home a new look with a classic, timeless tile pattern? The diamond pattern is a great way to add a stylish touch to any room. Whether you’re laying it in your kitchen, bathroom, or living room, it can create an eye-catching atmosphere that you’ll love.
Laying a diamond pattern tile floor is a great DIY project for anyone looking to add a unique touch to their space. Here’s how to get started:
Step 1: Gather Supplies
Before you begin the project, make sure you have all the necessary supplies. You’ll need the following:
• Tile of your choice
• Tile adhesive
• Grout
• Notched trowel
• Grout float
• Sponge
• Tile cutter or wet saw
Step 2: Prepare the Subfloor
Before you lay your tile, it’s important to make sure the subfloor is ready. Start by sweeping and vacuuming the surface to remove any debris. Then, use a level to make sure the floor is even and flat. If there are any dips or bumps, use self-leveling compound to create an even surface. Once the floor is level, apply primer to the entire surface. Allow the primer to dry completely before continuing.
Step 3: Mark and Measure Your Tile Layout
Now that the subfloor is ready, it’s time to mark out your tile layout. Start by measuring the center of the room and marking it with a pencil or chalk line. This will be used as a guideline for laying your tiles. From this point, measure and mark each row with a chalk line so that they’re all equal in width. This will help ensure that each tile is laid correctly and evenly spaced.
Step 4: Lay Tile
Step 4a: Start at the Center and Work Outwards
Start by laying your tiles from the center of the room outward. This will help ensure that each side of the room is even and symmetrical. Apply tile adhesive to the back of each tile before setting it in place. Make sure that you press firmly when setting each one in its spot so that it adheres securely to the subfloor. Continue on in this manner until your entire layout is complete.
Step 4b: Cut Tiles as Needed
You may need to cut some tiles in order to fit them into place correctly. To do this, use either a wet saw or tile cutter depending on what kind of material you’re using. Make sure to measure twice before cutting each piece so that it fits perfectly into place.
Step 5: Grout Tiles
Once all of your tiles are set in place, it’s time to grout them. Start by mixing up your grout according to package instructions and then using a notched trowel to spread it over the entire area. Use a grout float to push it into all of the joints between tiles and make sure they’re filled completely. Allow the grout to set for about 15 minutes before wiping off any excess with a damp sponge.
Step 6: Seal Tiles
The last step is sealing your tiles with a sealer or grout sealer of your choice. This will help protect your diamond pattern tile floor from water damage and staining over time. Apply two coats of sealer according to package directions and allow each coat plenty of time to dry before moving on to the next one.
Congratulations! You now have a beautiful diamond pattern tile floor that will last for years! With just a few simple steps, you can create an elegant atmosphere in any room of your home.