How To Lower A Basement Floor 101

Podcast 356: Living with Your Own Work, Lowering a Basement Floor, and Hinge-Prepping Doors

How Much Does Lowering a Basement Floor Cost in 2022? Checkatrade
How to DIY Basement Ideas on a Budget Significantly Basement remodel diy, Basement makeover

Basement Floor Lowering Keystone Waterproofing & Restoration

Basement Lowering Process for Homes in Toronto

Can I lower the floor of the basement?

Lowering Basement Floor – Toronto Basement Underpinng Contractor & Basement Lowering : I

How To Lower A Basement Floor / Can I Lower The Floor Of The Basement / You can choose one of

How Much Does Lowering a Basement Floor Cost in 2022? Checkatrade
Basement Floor Lowering Edmonton Abarent Construction
Related Posts:
- Basement Flooring Ideas
- Basement Floor Heaving Repair
- Basement Flooring Options DIY
- Fixing Basement Floor
- Repainting Basement Floor
- Walkout Basement Flooring
- Brick Basement Flooring
- Budget Basement Flooring
- Waterproofing Your Basement Floor
- Laminate Basement Flooring
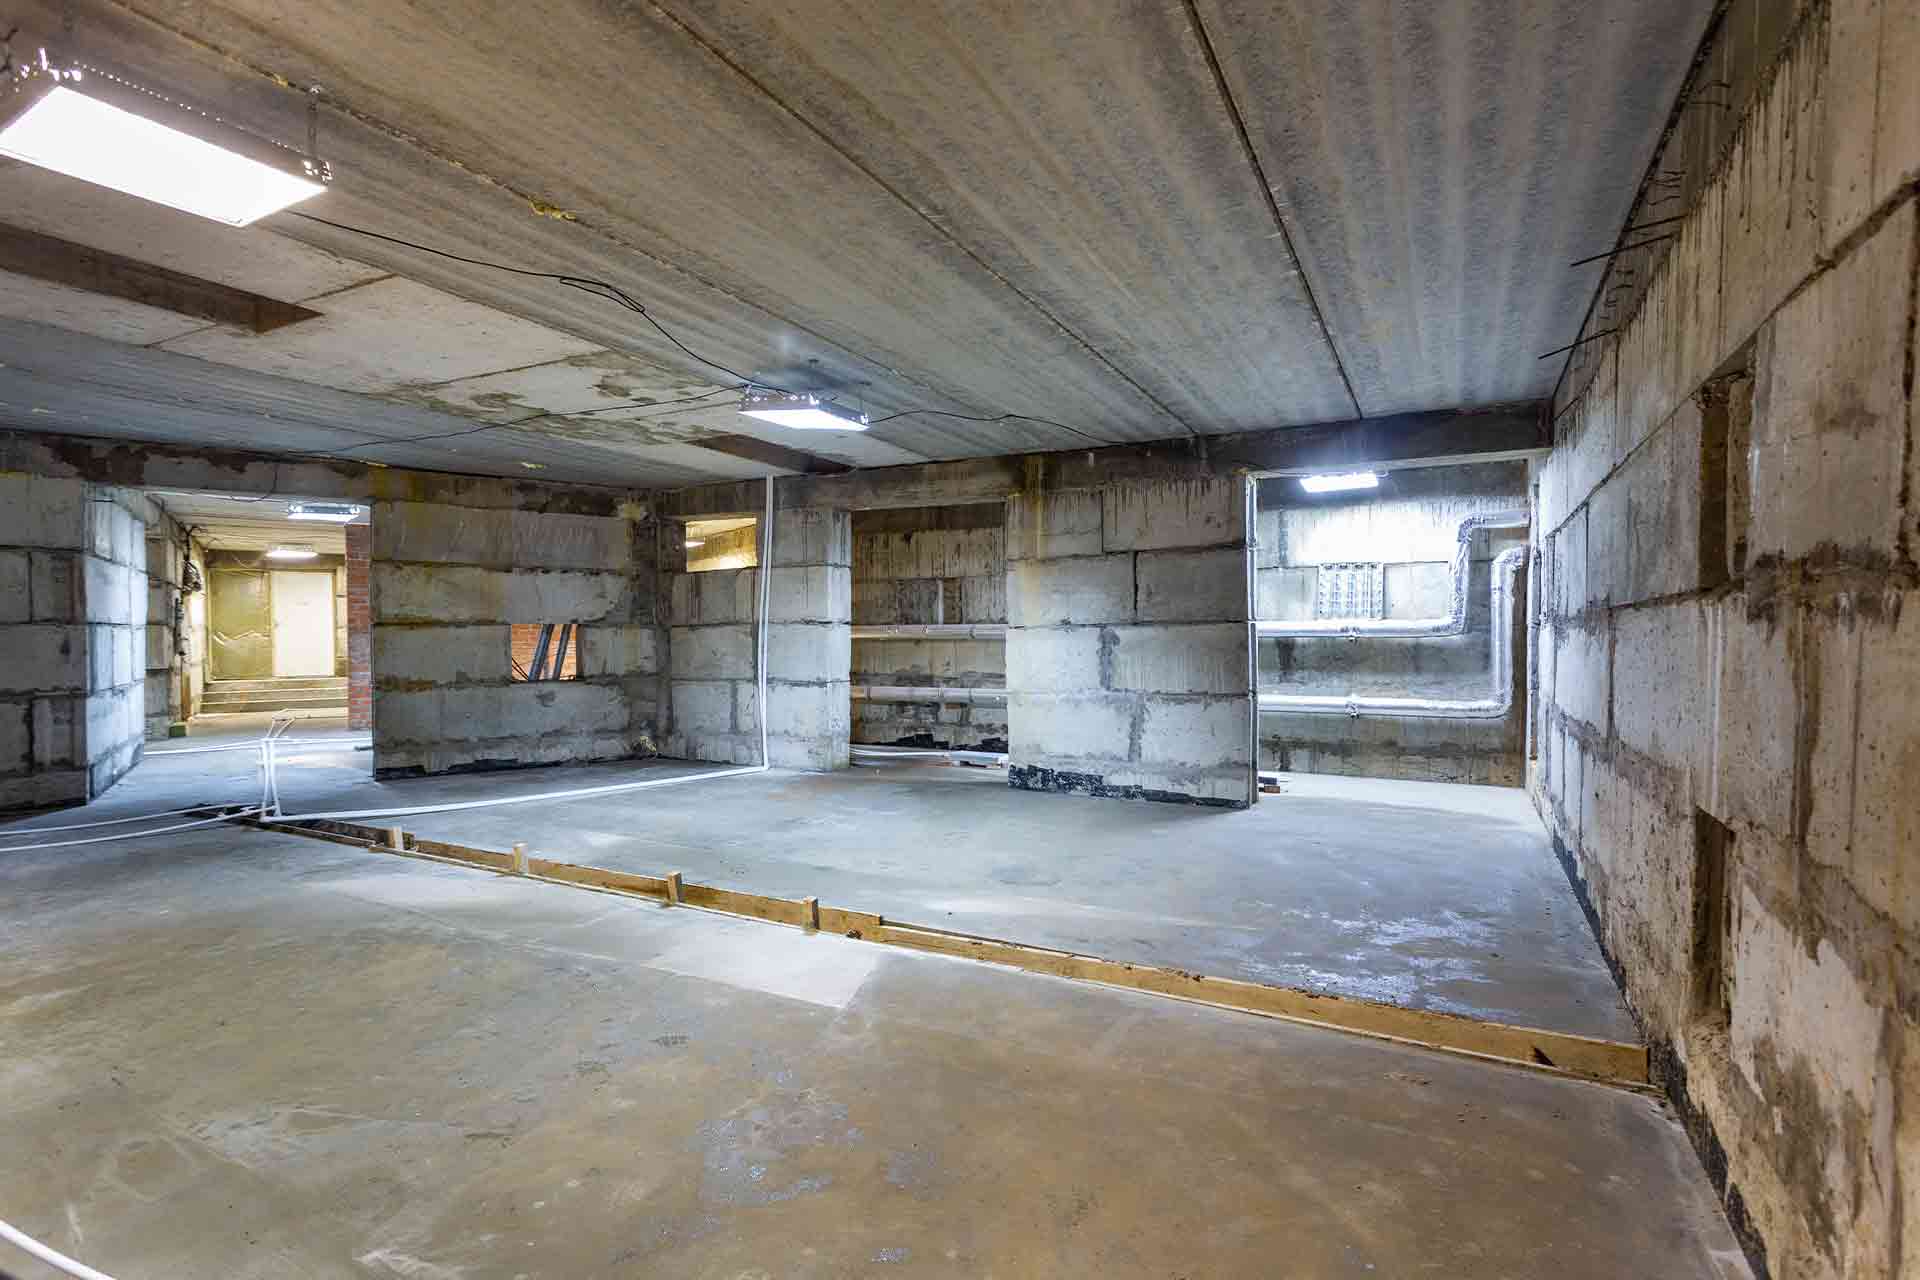
Basements are one of the most versatile areas of a home. They can be used for extra storage, bedrooms, home offices, or entertainment rooms. But if your basement is too high off the ground, you may want to lower the floor to make it more useful. Here’s how to lower a basement floor 101.
## Measure The Height of the Basement Floor
Before you can begin the process of lowering your basement floor, you need to measure the height of the existing floor. Measure from the top of the basement wall down to the highest point of the floor. This will give you an idea of how much material you’ll need to lower the floor.
## Determine How Much Material You Need to Lower The Floor
Once you know how much material it will take to lower the floor, you’ll need to determine what type of material you should use. Some common materials include concrete, plywood, and foam insulation. Each material has its own advantages and disadvantages, so you’ll need to do some research before making your decision.
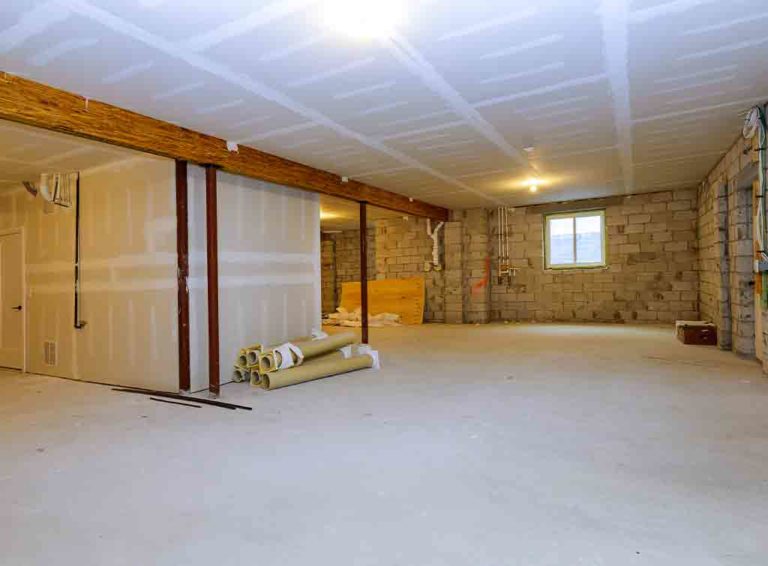
## Prepare The Area For Lowering The Basement Floor
After selecting your material, it’s time to prepare the area for lowering the basement floor. This includes removing any existing furniture and fixtures from the area, as well as taping off any exposed wiring or pipes that could be damaged during the process.
You’ll also need to install waterproofing materials around the perimeter of the room. This is important since lowering a basement floor often involves cutting into existing walls or floors.
## Install The New Floor Joists
Once the area is prepped and ready for installation, it’s time to install the new floor joists. These joists will provide support for your new basement floor and ensure that it doesn’t sag or collapse over time. You’ll need to use special screws or nails designed for this purpose and make sure that they are properly secured into place before continuing with installation.
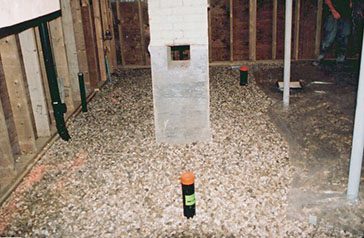
## Cut Out The Old Basement Floor
Once all of the joists are installed, it’s time to cut out the old basement floor. You’ll need a saw and other tools designed for cutting through concrete or other hard materials in order to do this safely and effectively. Make sure you wear protective eyewear and gloves while doing this step.
## Install The New Basement Floor
Once all of the old flooring has been removed, it’s time to install the new basement floor. Depending on what type of material you’ve chosen, this could involve laying down plywood sheets, pouring concrete, or installing foam insulation boards. Be sure to follow all instructions carefully and use appropriate tools in order to ensure a safe and successful installation.
## Finish Up
Finally, once all of the materials have been installed correctly, it’s time to finish up by adding trim and other decorative touches around your newly lowered basement floor. This will help seal up any gaps and make your basement look great!
Lowering a basement floor is a great way to make more use out of your existing space, but it can also be a difficult and dangerous task if done incorrectly. By following these steps carefully and using appropriate tools, however, you can successfully lower your basement floor and make your home even more functional and comfortable!