How To Prep Garage Floor For Epoxy
How To Prep A Garage Floor For Epoxy Coating Floor Shields
Preparing Concrete for a DIY Epoxy Garage Floor Project with PERMAGUARD Products – YouTube

How To Apply Garage Floor Epoxy Like a Pro
/7184880388_7a10367e16_k-587ae00d5f9b584db399e346.jpg)
Get How To Prep Concrete Floor For Epoxy Paint Images – Epoxy Floor Coating
How to Prep Your Garage Floor for Epoxy Epoxy Colorado
Garage Floor Preparation Epoxy Coating – Flooring Blog

Epoxy Flooring Installation Process – Garage Floor Coating Install

Prep Garage Floor For Epoxy Paint – Flooring Guide by Cinvex
1 Part Epoxy Concrete Floor Paint – Flooring Ideas

Can You Use Garage Floor Epoxy Outside – Sundula

Behr Garage Floor Epoxy – Flooring Ideas
Related Posts:
- Marble Garage Floor
- Cheap Garage Floor Covering
- Garage Floor Coating
- Heavy Duty Garage Flooring
- Checkerboard Garage Floor Tiles
- Garage Floor Sealer Paint
- Epoxyshield Garage Floor Paint
- Benefits Of Epoxy Flooring In Garage
- Garage Floor Preparation For Epoxy
- Garage Workshop Flooring
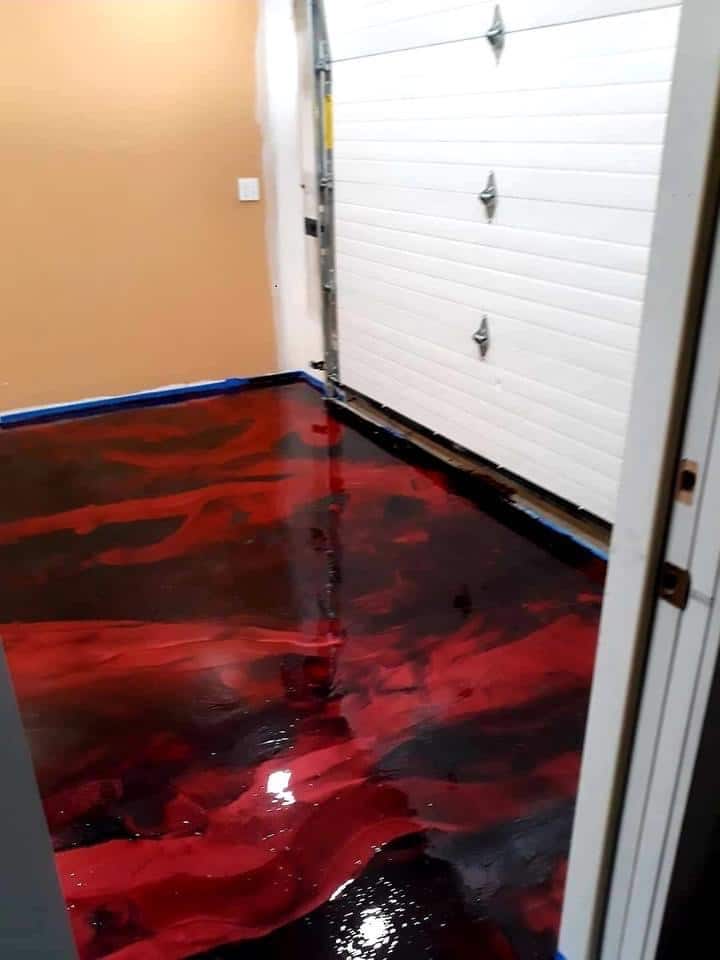
Epoxy floor coating is a great way to protect and enhance the look of your garage floor. When applied correctly, it can provide a durable, long-lasting, and attractive surface that is easy to clean and maintain. However, it’s important to properly prepare the garage floor before applying epoxy. This will ensure that the epoxy adheres correctly to the floor and that it has the best chance of lasting for many years. In this article, we’ll discuss the steps you should take to prepare your garage floor for epoxy.
## Clear The Area
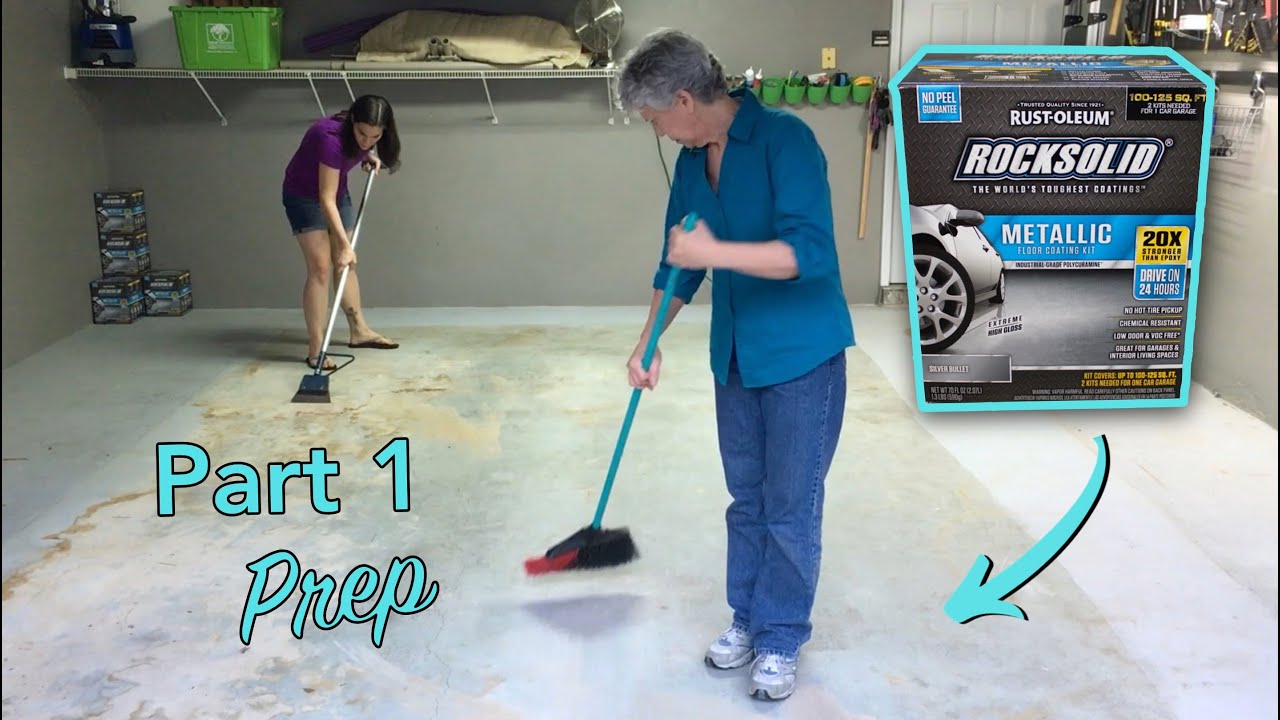
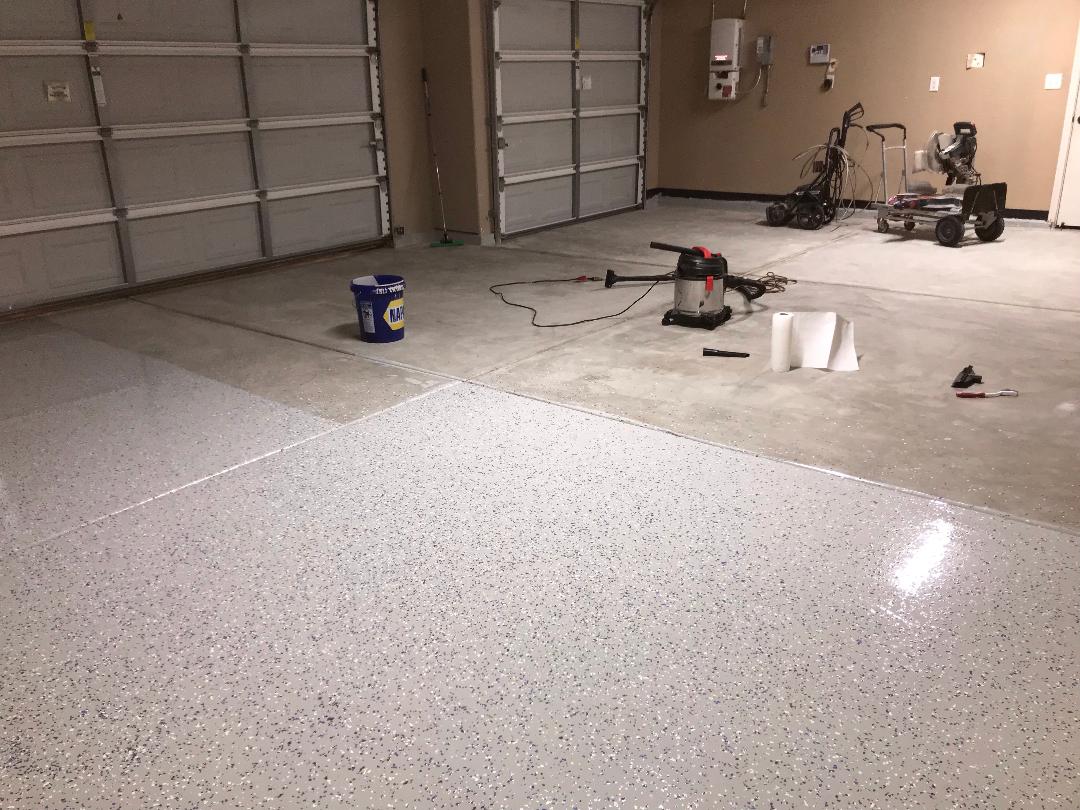
The first step in prepping your garage floor for epoxy is to clear the area. Remove any items or debris from the floor that may interfere with the application of the epoxy. This includes rugs, mats, toys, tools, and other items that could be in the way or prevent the epoxy from adhering to the floor properly. You may also need to temporarily move large items such as cars or bikes to another area of the garage if necessary.
## Clean The Surface
Once all items have been removed from the floor, it’s time to clean it. Use a broom or vacuum cleaner to remove dirt and debris, then follow up with a damp mop to remove any remaining dirt and grime. It’s important that you clean the entire surface thoroughly so that there are no contaminants that could interfere with the adhesion of the epoxy.
## Repair Cracks And Holes
Once the surface is clean, inspect it for any cracks or holes that need to be repaired before applying the epoxy. If you find any cracks or holes, use a concrete patching compound to fill them in and make sure they are level with the rest of the surface. Allow the patching compound to dry completely before continuing with the preparation process.
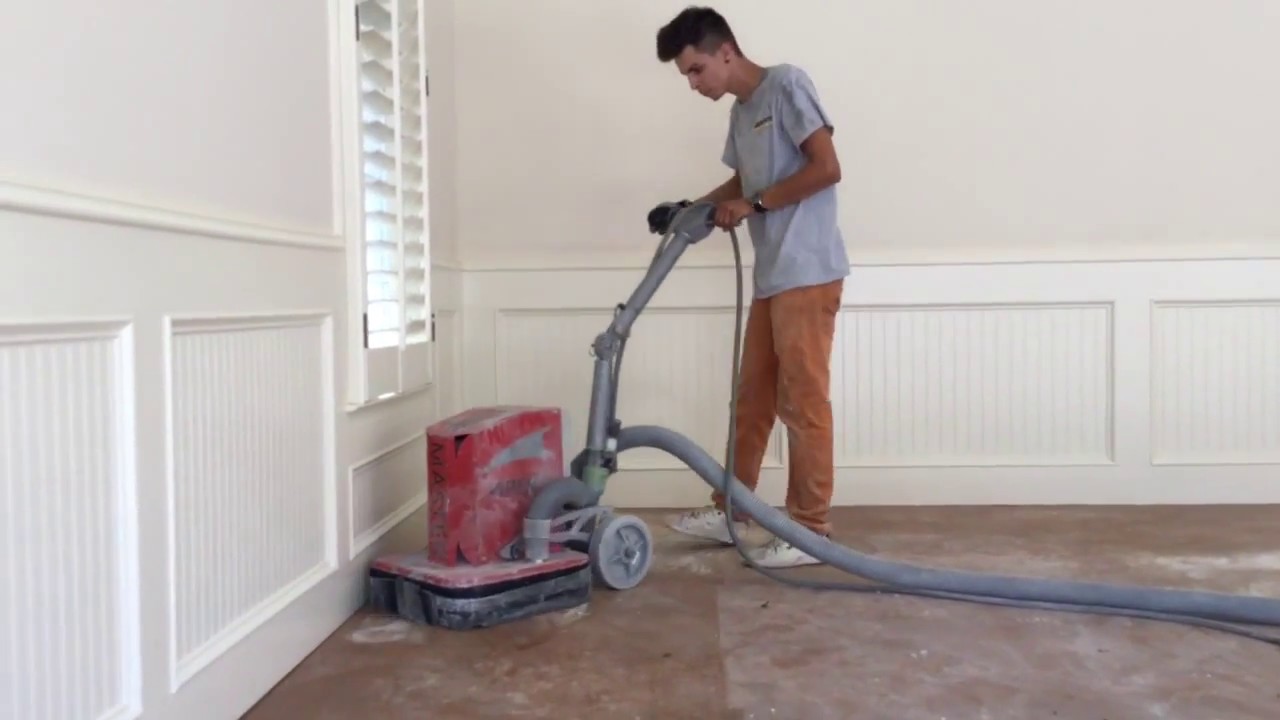
## Etch The Surface
The next step is to etch the surface of your garage floor. This will create a rough surface that will help the epoxy adhere better. You can do this by using an etching solution or an acid wash. Make sure you follow all safety instructions when using these products and wear protective equipment such as gloves and goggles while doing so.
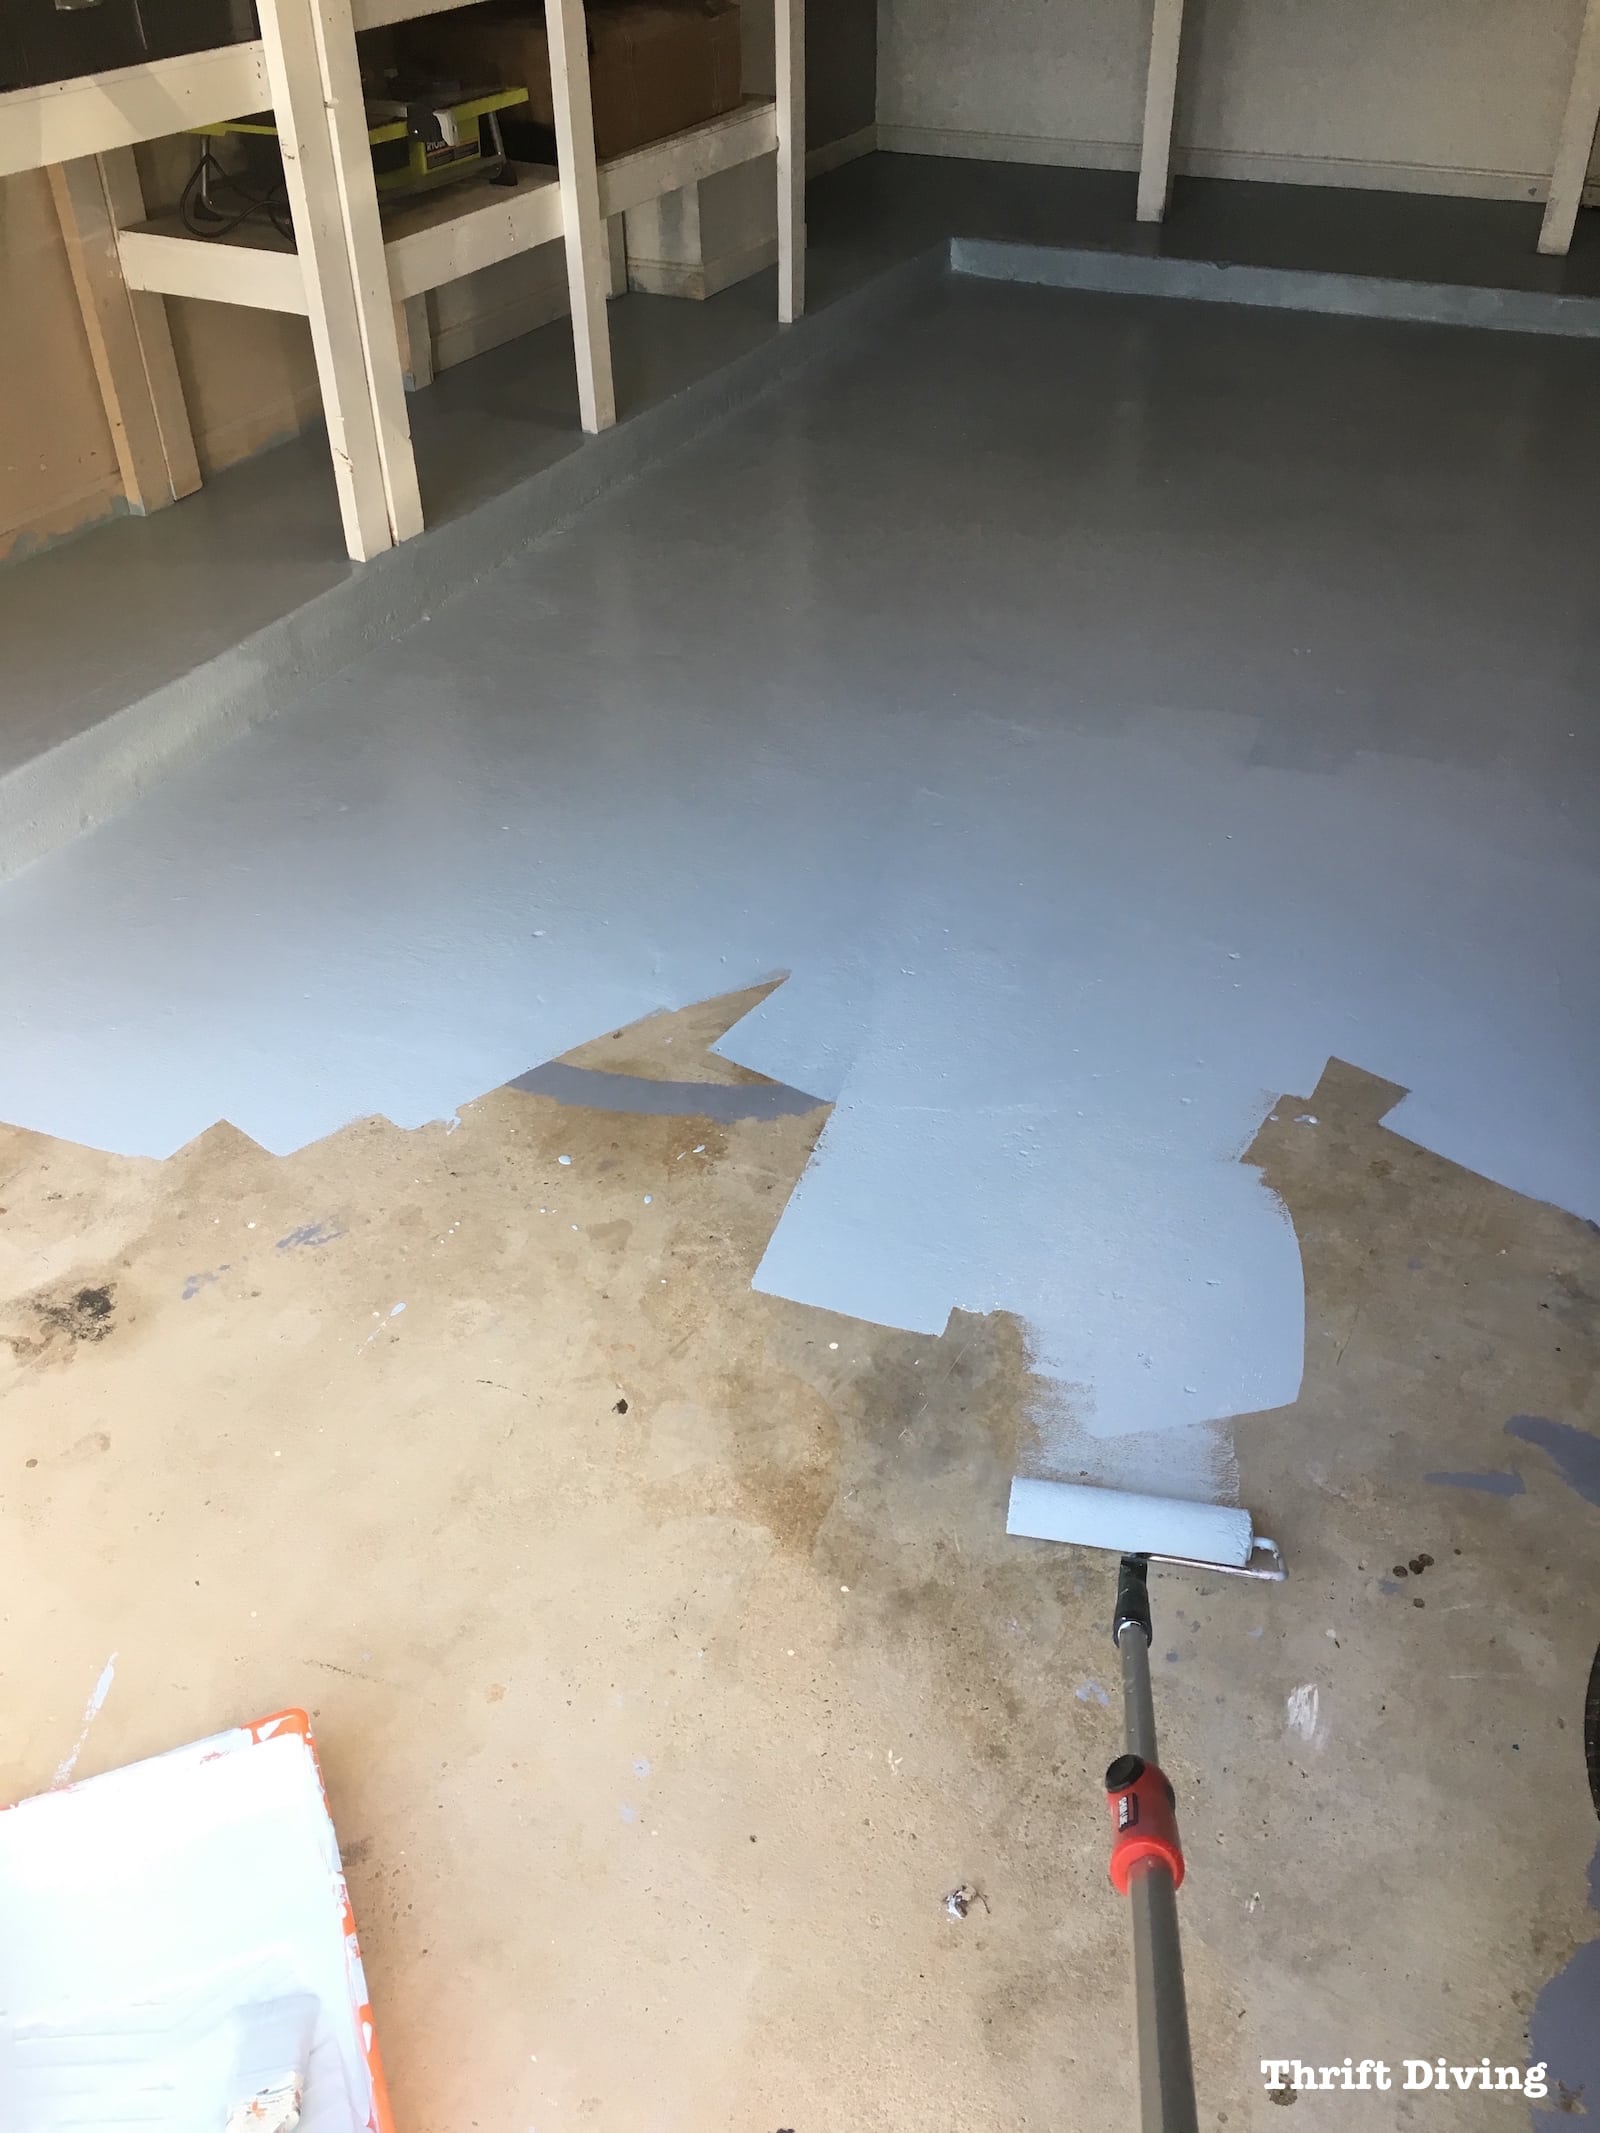
## Apply A Primer
Once you have finished etching and cleaning your garage floor, it’s time to apply a primer. Primer helps create a bond between the surface and epoxy, allowing it to adhere better and last longer. Be sure to use a primer specifically designed for use with epoxy floors and follow all directions on the package for best results.
## Let The Floor Dry
Once you have prepped your garage floor for epoxy application, let it dry completely before actually applying the epoxy. If there is any moisture on the surface, it could cause problems with adhesion and lead to imperfections in your finished product. Allow plenty of time for drying before beginning your project.
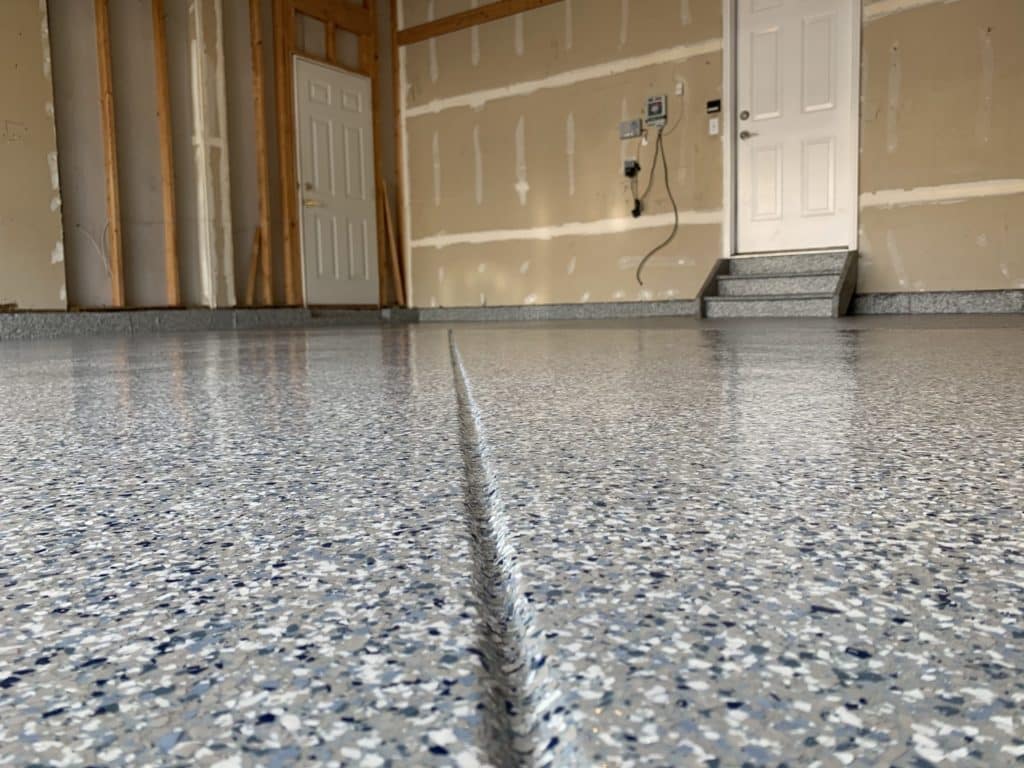
Epoxy floor coatings are an excellent way to protect and enhance your garage floor. However, before you can apply them properly, it’s important to take some time to prepare your floor properly by clearing out any items from the area, cleaning and repairing any cracks or holes in the surface, etching it, applying a primer, and allowing ample drying time before beginning your project. Following these steps will help ensure that your finished product looks great and lasts for many years to come!