How To Repair Epoxy Garage Floor

Garage Floor Crack and Spall Repair Kansas City, MO

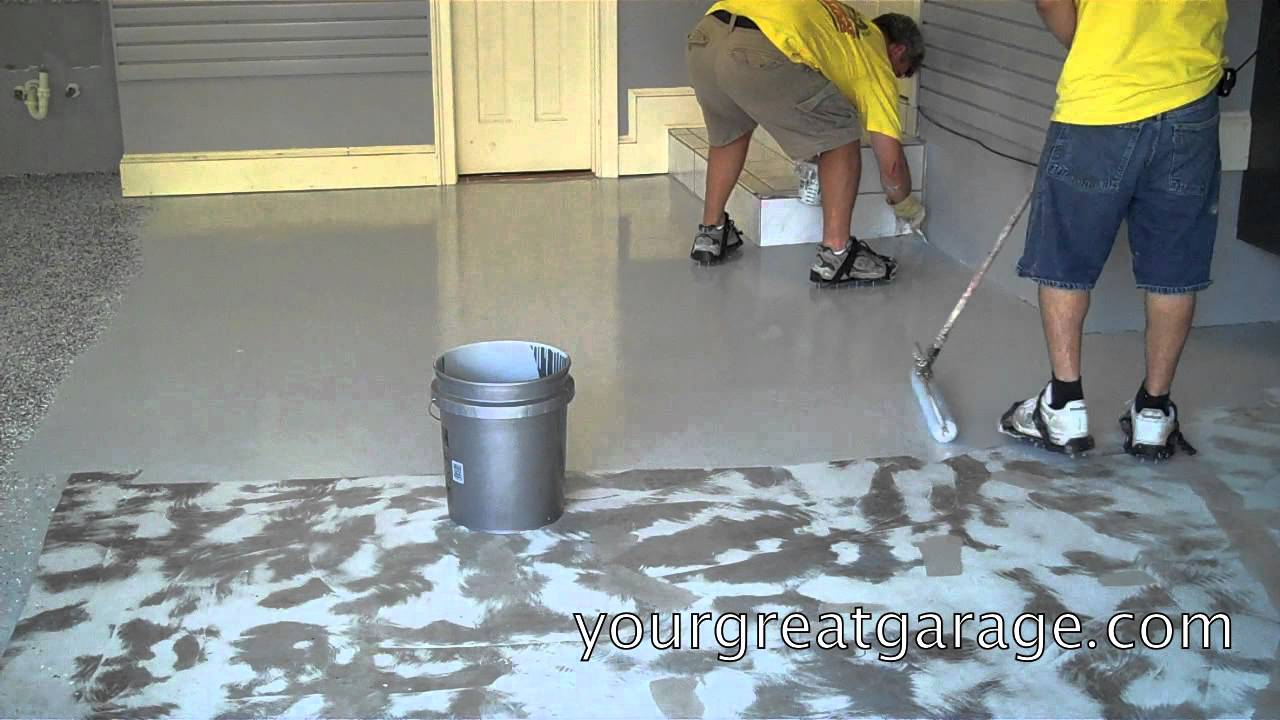
Epoxy Flooring Installation Process – Garage Floor Coating Install

Epoxy Floor Repair Install 1-516-210-4040 Long Island Nassau Suffolk Long Island – YouTube

How to fix and repair a damaged Garage Floor Coating – epoxy paint – polyurea coating – YouTube

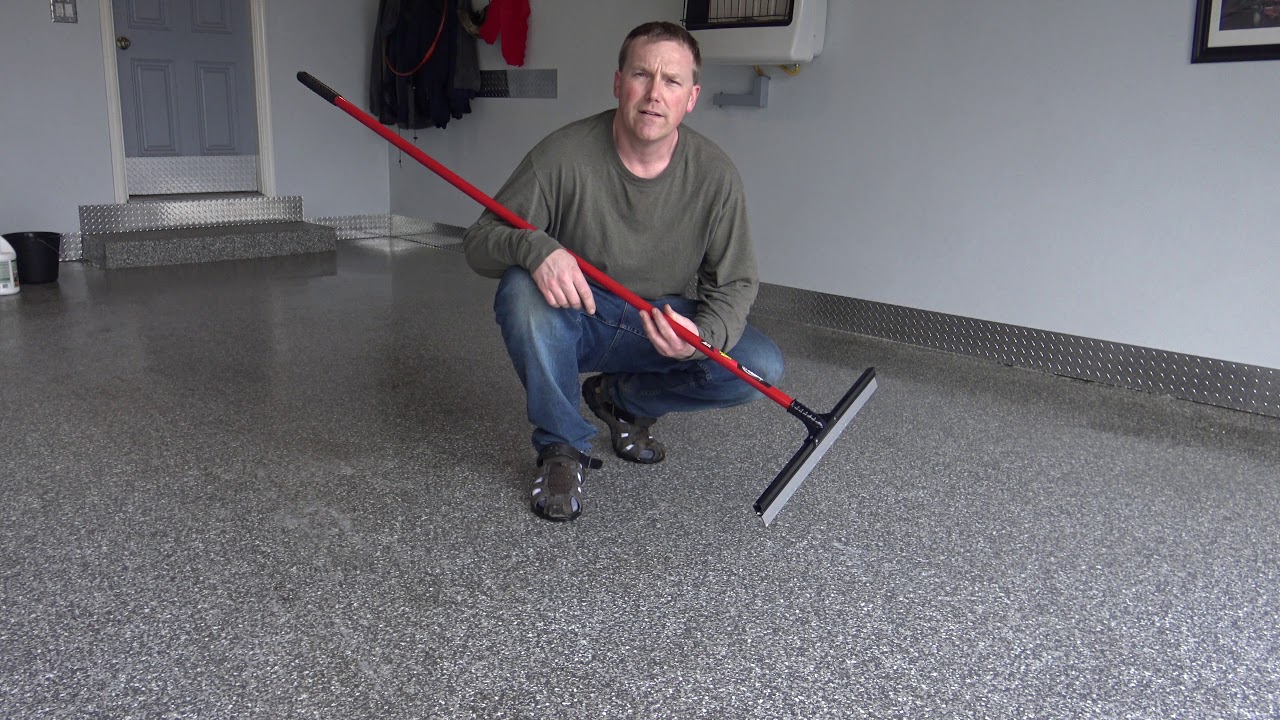
How To Clean Your Epoxy Garage Floor – YouTube
Epoxy Flooring Installation Process – Garage Floor Coating Install

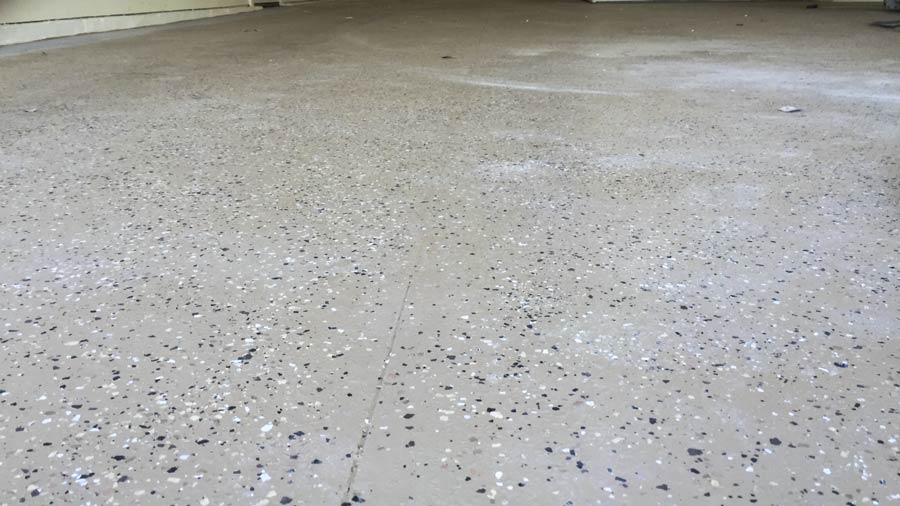
Cracks In Garage Floor Epoxy – Flooring Ideas

How to Repair Your Garage Floor With Epoxy – Epoxy Central

Epoxy Removal St Louis MO Professional Concrete Floor Contractor

2 Part Epoxy For Garage Floor : Blue Pearl Epoxy Stone Coat Countertops in 2020 Epoxy
DIY Epoxy Garage Floor Coating Repair – Casper, WY
Related Posts:
- Fast Cure Epoxy Floor Coating
- Stone Hard Epoxy Flooring
- How To Epoxy Flooring Garage
- How To Repair Epoxy Floor Coating
- Non Slip Epoxy Flooring
- Solid Epoxy Garage Floor
- Quikrete Floor Epoxy
- Paint Flakes Epoxy Floor
- Cheap Epoxy Floor
- Rock Solid Epoxy Floor
# How To Repair Epoxy Garage Floors Easily and Quickly
When it comes to sprucing up a home or business, an epoxy garage floor is an ideal choice for many reasons. Not only does it look great, but it also adds a layer of protection from dirt, dust, and other debris that can accumulate in the garage. Unfortunately, due to its relatively thin nature, epoxy floors can become easily damaged and need repairs. This can be a daunting task for the average homeowner or business owner, so here are some tips on how to repair epoxy garage floors quickly and easily.
## Preparation
Before beginning any repairs on an epoxy garage floor, it’s important to make sure it is properly prepared. This means clearing the area of any furniture or other objects that may be in the way. It also means sweeping away any dirt or debris on the surface of the floor and vacuuming up any particles that remain. Once this is done, it’s time to begin repairs.
## Cleaning
The next step in repairing an epoxy garage floor is to clean the entire surface. Most epoxy surfaces can be cleaned with a mild detergent and warm water. It’s important to make sure that all of the dirt and debris is removed before beginning repairs as any dirt or debris left behind can prevent the repair materials from adhering properly. It’s also important to ensure that the surface is completely dry before moving onto the next step.
## Repairing Cracks
Once the surface has been adequately cleaned, it’s time to repair any cracks or chips in the surface. The easiest way to repair cracks in epoxy floors is with a two-part epoxy filler. This filler comes in a kit which includes both parts of the mixture as well as instructions on how to mix them together and apply them. Most kits will include a mixing stick as well as protective gloves and eyewear as these products can be caustic when mixed together. Once mixed, apply the filler directly into the crack and smooth out with a putty knife or other flat object. Allow the filler to dry for at least 24 hours before continuing with any further repairs.
## Repairing Scratches
Scratches in an epoxy floor can be repaired with a special type of sandpaper designed for use with epoxy floors. This type of sandpaper will have a very fine grit so as not to damage the epoxy coating too much when sanding away scratches. Begin by lightly sanding away at the scratches using circular motions until they are no longer visible. Once all scratches have been removed, use a vacuum cleaner to remove all dust particles from the area and then apply a coat of wax or sealant over the area in order to protect it from further damage.
## Finishing Touches
The last step in repairing an epoxy garage floor is to add some finishing touches such as painting or decals. Painting is an easy way to give your garage floor a new look without having to do much work. Select any type of paint that suits your preferences and apply it according to directions on the paint can. Decals are another great way to customize your epoxy garage floor. Choose from pre-made decals or design your own for a truly unique look!
Repairing an epoxy garage floor doesn’t have to be overly complicated or expensive. With just a few simple steps, you can quickly repair any cracks or scratches and give your garage floor a brand new look! Be sure to follow these steps carefully so that your repairs are done correctly and last for years to come!