Ideas For Bathroom Floor Covering
Selecting the right floor covering for your bathroom is essential for both aesthetics and functionality. Bathrooms are unique environments that require materials resistant to moisture, humidity, and frequent foot traffic. Whether you’re looking to update your bathroom’s look or improve its durability, there are numerous flooring options to consider. Let’s explore popular choices, their benefits and drawbacks, installation tips, and maintenance practices.
Popular Bathroom Floor Covering Options
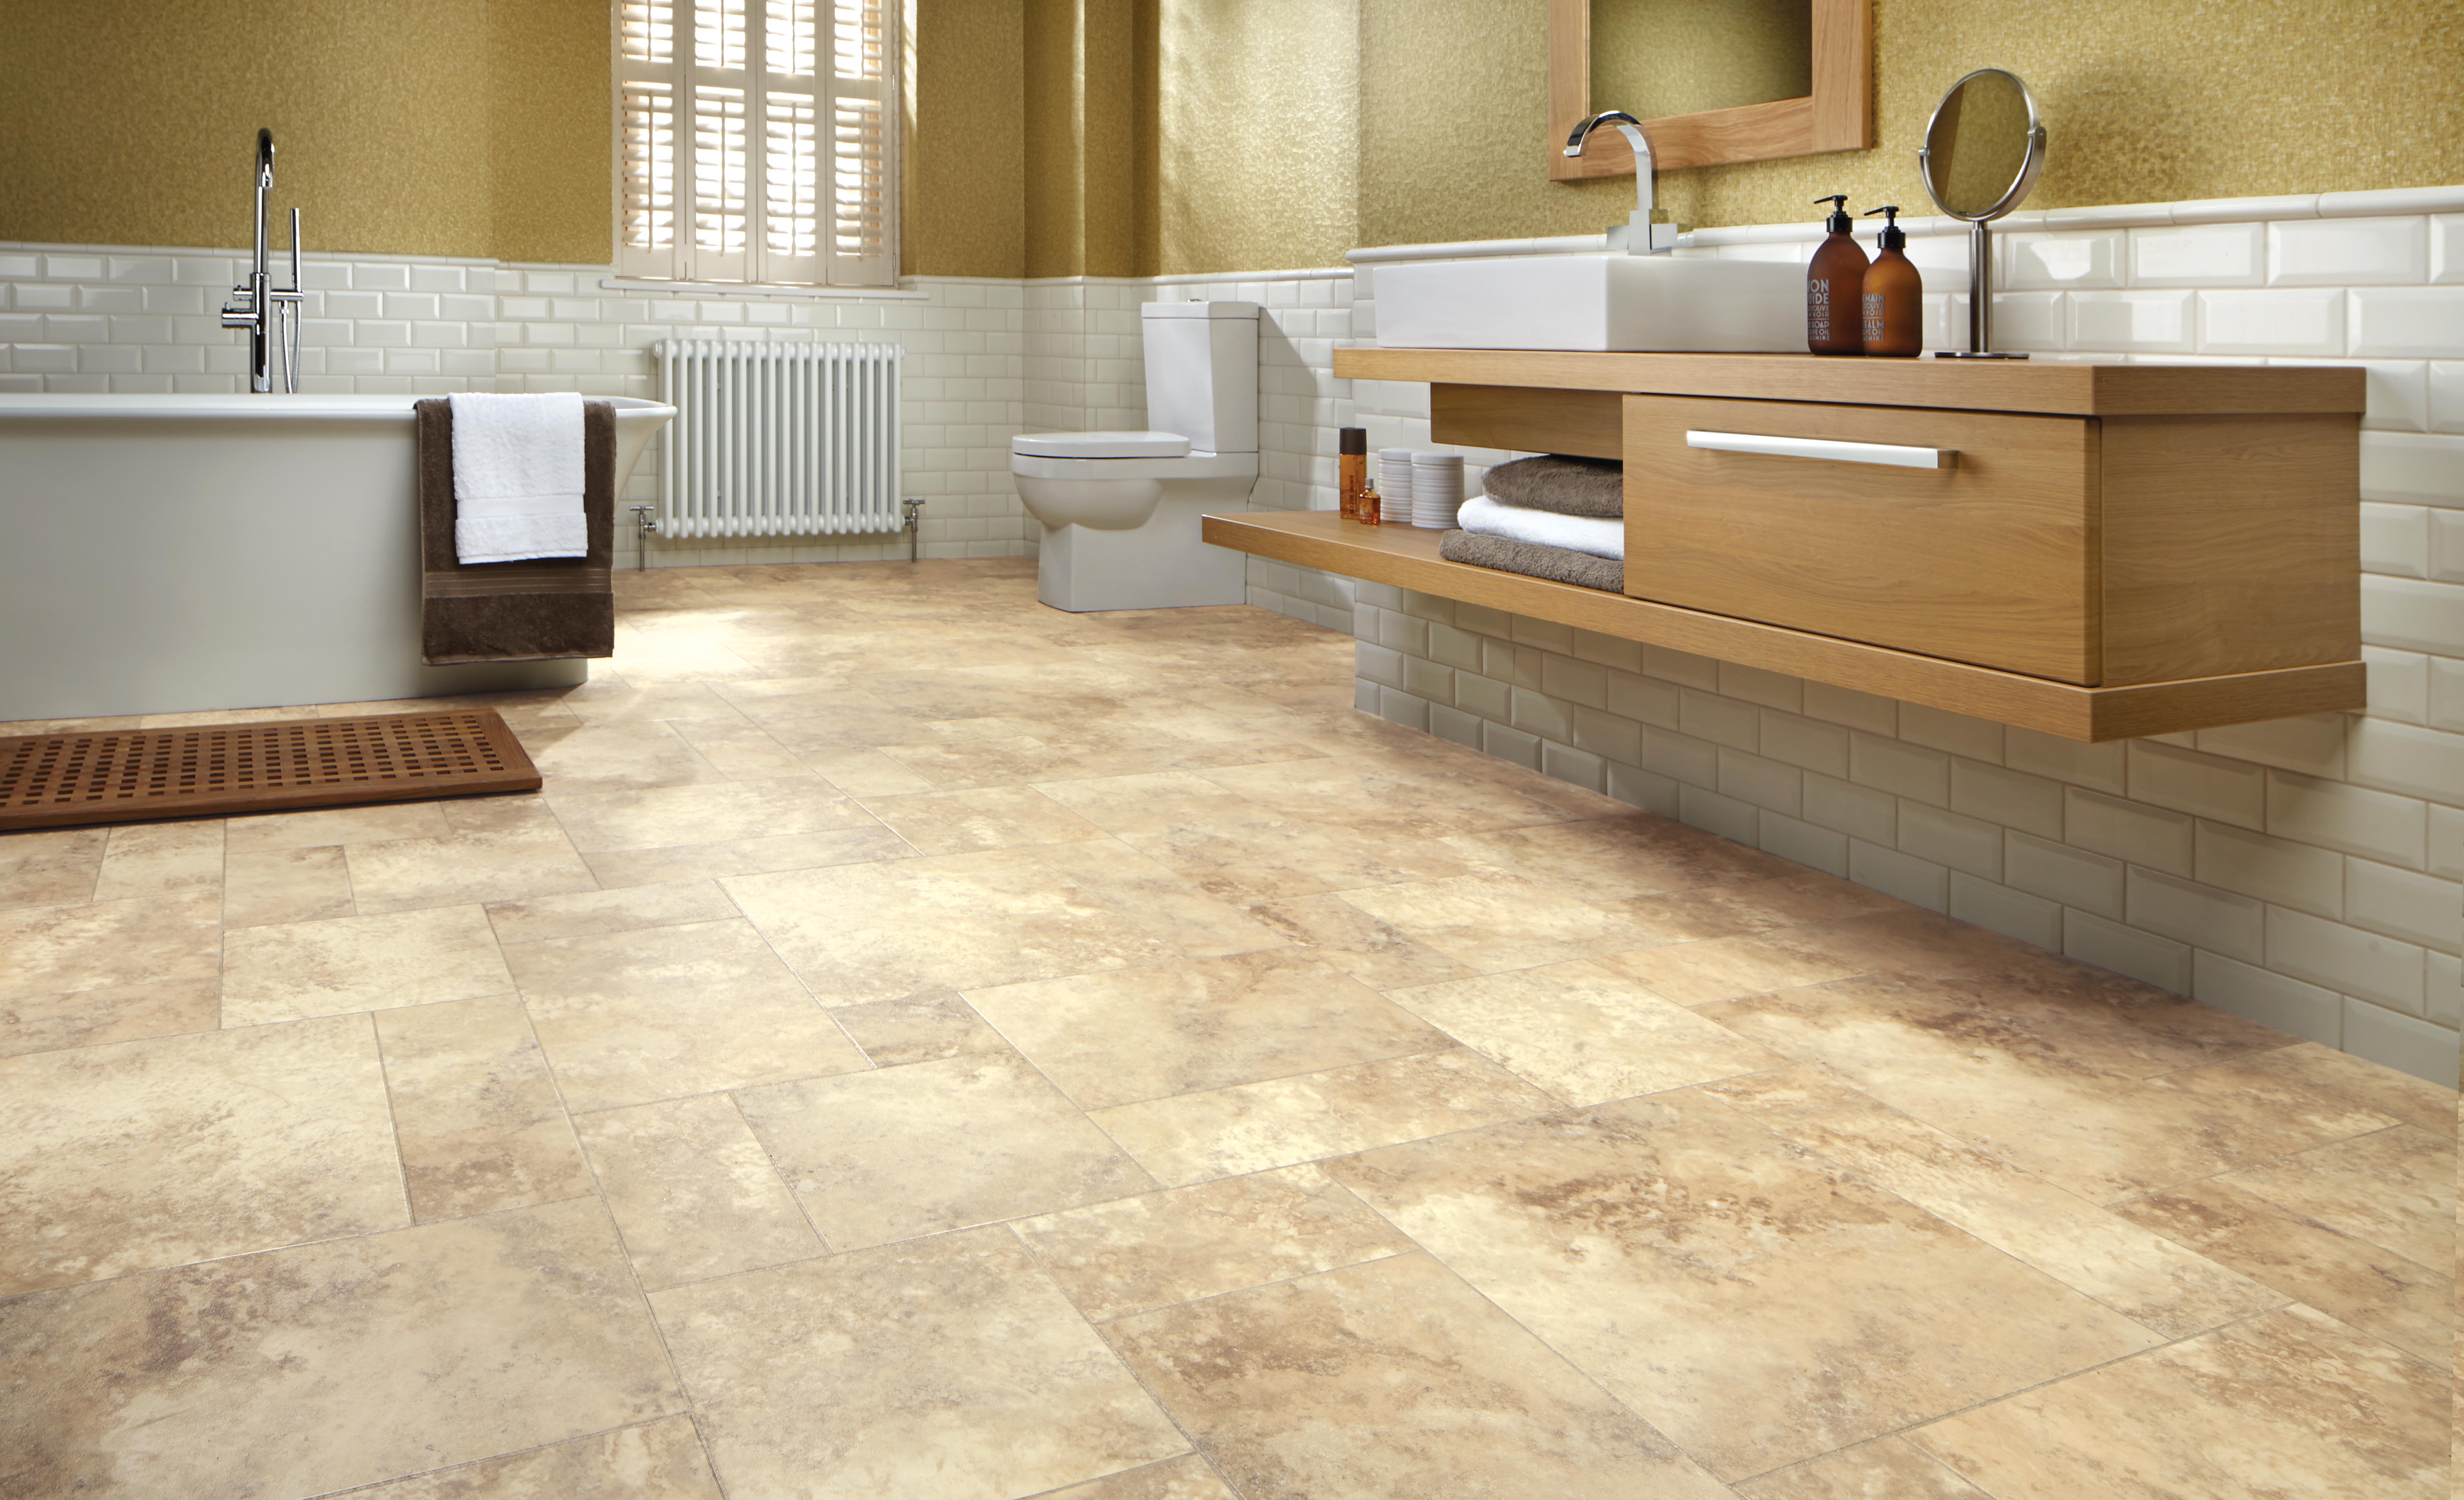
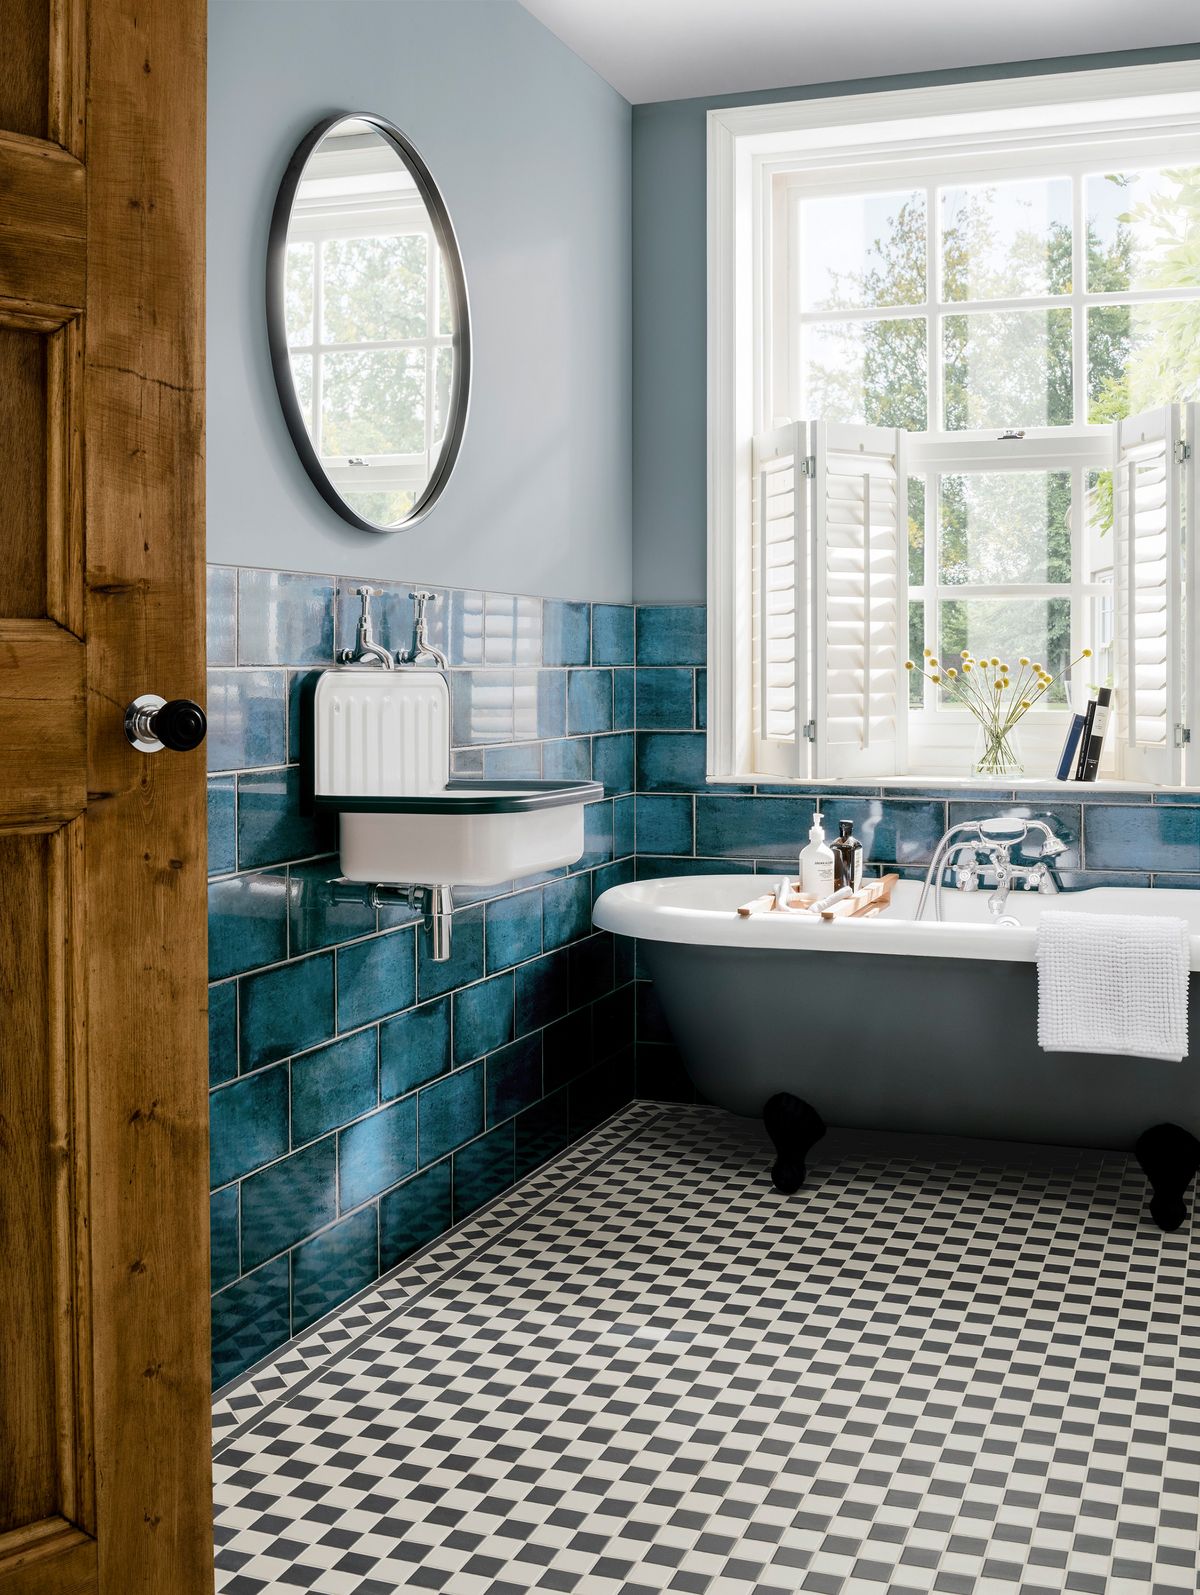
Ceramic and Porcelain Tiles
Ceramic and porcelain tiles are among the most popular choices for bathroom flooring. These materials are highly durable, water-resistant, and available in a vast array of styles, colors, and sizes. Ceramic tiles are made from natural clay, while porcelain tiles are denser and less porous, making them even more resistant to water and stains.
One of the main advantages of ceramic and porcelain tiles is their versatility in design. You can create various patterns, from classic checkerboard layouts to intricate mosaics. They also come in options that mimic natural stone, wood, or other materials, allowing for a customized look that suits your bathroom’s décor.
However, ceramic and porcelain tiles can be cold and hard underfoot, which might not be comfortable in a bathroom setting. To address this, you can install underfloor heating systems beneath the tiles to provide warmth and comfort. Additionally, the grout lines between tiles can attract dirt and require regular maintenance to keep them clean and mildew-free.
Installation of ceramic and porcelain tiles can be complex and typically requires professional help to ensure a waterproof seal and proper alignment. Despite the initial cost and effort, their longevity and aesthetic appeal make them a worthwhile investment for bathroom flooring.

Vinyl Flooring
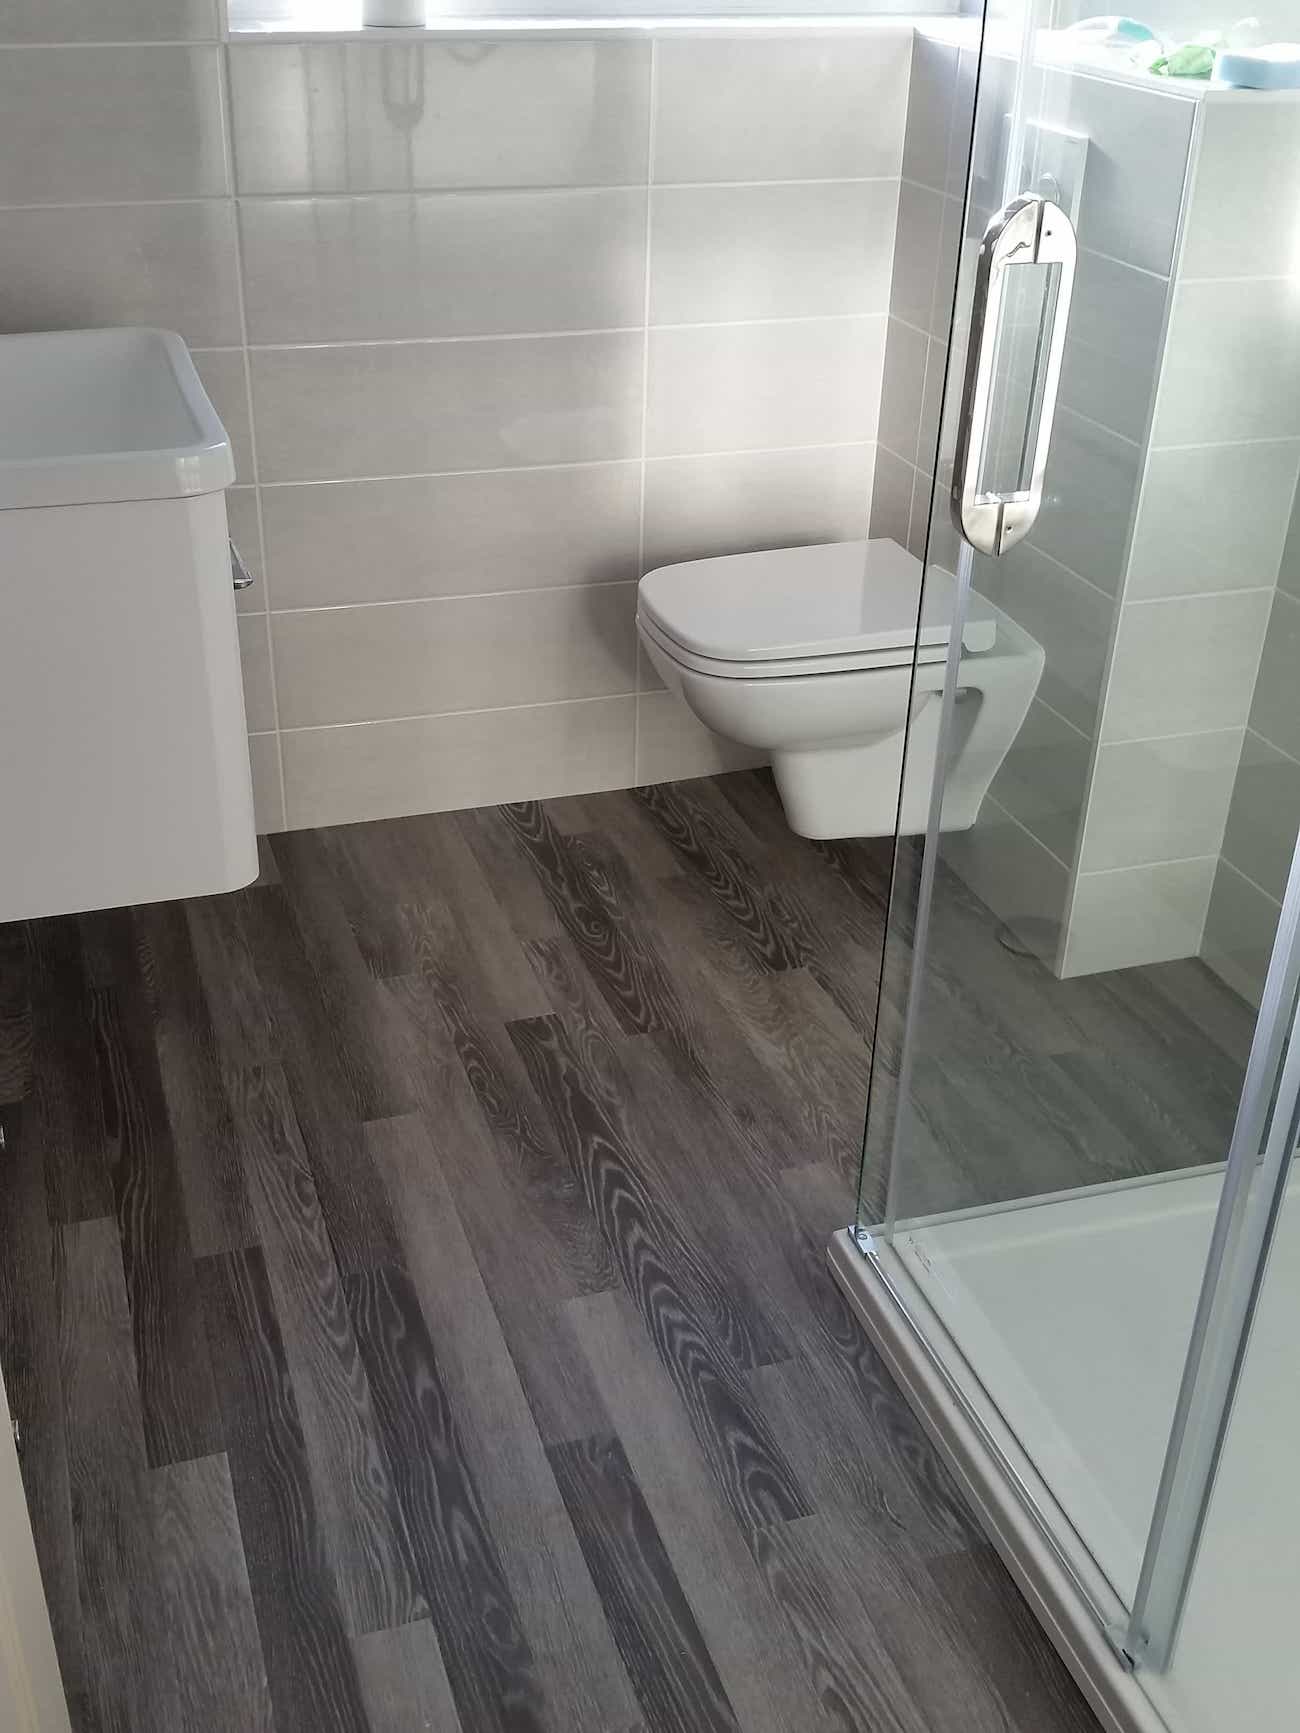
Vinyl flooring has gained popularity as an affordable and versatile option for bathrooms. It comes in various forms, including sheets, tiles, and planks, each offering different installation methods and aesthetic possibilities. Vinyl is known for its water resistance, making it a practical choice for bathrooms.
One of the significant benefits of vinyl flooring is its ease of installation. Many vinyl options come with peel-and-stick backing, allowing for a straightforward DIY project. Vinyl sheets provide a seamless look and are excellent for large bathrooms, while vinyl tiles and planks can mimic the appearance of ceramic tiles or hardwood flooring.
Vinyl flooring is also soft and comfortable underfoot, and it provides a warmer feel compared to ceramic tiles. It’s easy to clean and maintain, requiring only regular sweeping and occasional mopping. Additionally, vinyl is durable and can withstand the moisture and humidity typical of bathroom environments.
However, vinyl flooring can be susceptible to damage from sharp objects or heavy furniture. It’s also important to ensure proper installation to avoid water seepage at the seams, which can lead to mold and mildew growth underneath the flooring. Despite these considerations, vinyl remains a popular and practical choice for bathroom floors.

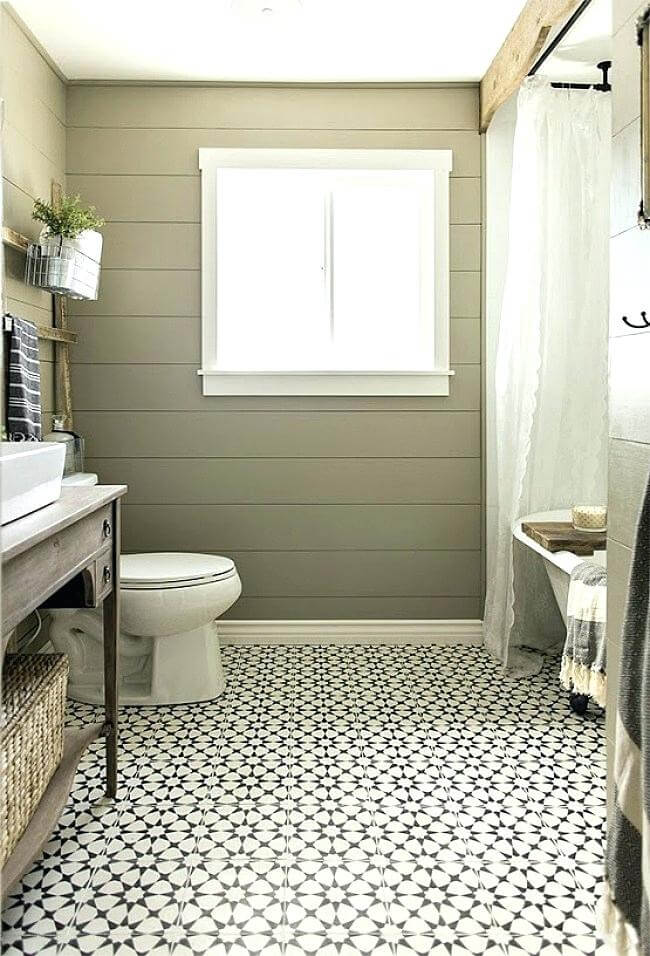
Natural Stone
Natural stone flooring, such as marble, granite, slate, or travertine, brings a luxurious and timeless appeal to any bathroom. These materials are incredibly durable and can add significant value to your home. Each type of stone has unique characteristics, providing a wide range of colors, textures, and finishes to choose from.
Marble is known for its elegant veining and polished finish, making it a popular choice for high-end bathrooms. Granite offers exceptional durability and resistance to scratches and stains. Slate provides a more rustic and textured look, ideal for creating a natural, earthy aesthetic. Travertine, with its warm tones and natural pitting, offers a classic and sophisticated appearance.
Natural stone requires proper sealing to protect against water absorption and stains. It’s also important to consider the slip resistance of the stone, as some finishes can be slippery when wet. Opting for a honed or textured finish can improve traction and safety in the bathroom.
The installation of natural stone flooring is best left to professionals due to the weight and complexity of handling the materials. While natural stone can be more expensive and require regular maintenance, its beauty and durability make it a desirable option for many homeowners.

Engineered Wood
Engineered wood flooring offers the beauty of natural wood with added stability and moisture resistance, making it a viable option for bathroom floors. Unlike solid hardwood, engineered wood consists of multiple layers of wood veneer bonded together, which helps it withstand the fluctuations in humidity and temperature typically found in bathrooms.
One of the main advantages of engineered wood is its aesthetic appeal. It provides the warm, inviting look of real wood, which can enhance the overall design of your bathroom. Engineered wood is available in various species, finishes, and plank sizes, allowing for a customized appearance that complements your style.
To ensure the longevity of engineered wood in a bathroom, it’s crucial to choose products specifically designed for high-moisture environments. Look for options with a durable, water-resistant finish, and ensure proper installation with a moisture barrier to protect against water damage.
Regular maintenance of engineered wood involves sweeping to remove dirt and debris, as well as occasional mopping with a damp cloth. Avoid using excessive water or harsh cleaning agents that can damage the finish. With proper care, engineered wood can provide a beautiful and durable flooring solution for your bathroom.

Installation Tips for Bathroom Floor Coverings
Proper Surface Preparation
Before installing any type of bathroom flooring, it’s essential to prepare the subfloor properly. Ensure the subfloor is clean, dry, and level. Remove any existing flooring materials, adhesive residues, and debris. If the subfloor is uneven, use a leveling compound to create a smooth, even surface.
For tile and stone installations, it’s crucial to apply a waterproof membrane or underlayment to prevent moisture from seeping through to the subfloor. This step is especially important in bathrooms, where water exposure is frequent. For vinyl and engineered wood, make sure to use an appropriate underlayment that provides a moisture barrier and cushioning.
Accurate Measurements
Accurate measurements are vital to ensure a precise fit and minimize waste. Measure the length and width of the bathroom floor, accounting for any fixtures, such as toilets, bathtubs, and vanities. Draw a floor plan to visualize the layout and determine the best starting point for the installation.
When cutting materials to fit around fixtures, use a utility knife, jigsaw, or tile cutter, depending on the type of flooring. Make precise cuts to ensure a clean, professional finish. Dry-lay the flooring materials to check the fit and make any necessary adjustments before final installation.
Adhesive and Grout Application
For tile and stone installations, choosing the right adhesive is crucial for a secure bond. Use a high-quality thin-set mortar for ceramic and porcelain tiles and an adhesive recommended for natural stone. Apply the adhesive with a notched trowel, ensuring even coverage on the back of the tiles or stone.
When grouting tiles, use a waterproof, mildew-resistant grout to fill the gaps between tiles. Apply the grout with a rubber float, pressing it into the joints and wiping off excess with a damp sponge. Allow the grout to cure according to the manufacturer’s instructions, and then seal it with a grout sealer to protect against stains and moisture.
Professional Assistance
While DIY installation can be a rewarding project, some flooring materials, such as natural stone and intricate tile patterns, may require professional assistance. Hiring a skilled installer ensures the job is done correctly, with proper attention to detail and adherence to best practices.
Professional installers have the tools, experience, and knowledge to handle complex installations, providing a high-quality finish that enhances the overall look and durability of your bathroom floor. Investing in professional installation can save you time, effort, and potential issues down the line.

Maintenance Practices for Bathroom Floors
Regular Cleaning
Regular cleaning is essential to maintain the appearance and longevity of your bathroom floor. Sweep or vacuum the floor regularly to remove dirt, dust, and hair. Use a damp mop with a mild, pH-neutral cleaner to wipe the surface. Avoid using excessive water or harsh chemicals that can damage the flooring material.
For tile floors, pay special attention to the grout lines, as they can accumulate dirt and mildew over time. Use a grout cleaner or a mixture of baking soda and water to scrub the grout lines periodically. For vinyl and engineered wood, avoid using abrasive cleaning tools that can scratch the surface.
Addressing Spills and Stains
Promptly addressing spills and stains can prevent long-term damage to your bathroom floor. Wipe up any liquid spills immediately with a dry cloth to prevent water from seeping into the flooring material. For stubborn stains, use a cleaner recommended for your specific flooring type and follow the manufacturer’s instructions.
For natural stone floors, avoid acidic or abrasive cleaners that can etch or dull the surface. Use a stone-specific cleaner or a mixture of mild soap and water. Engineered wood floors should be cleaned with a damp cloth and a cleaner designed for wood surfaces, to avoid excessive moisture.
Protecting the Floor
Protecting your bathroom floor from potential damage can extend its lifespan and maintain its appearance. Use rugs or mats in high-traffic areas and near sinks, bathtubs, and showers to catch water and prevent slipping. Ensure these rugs have a non-slip backing to prevent accidents and avoid trapping moisture underneath.
Install felt pads or protective glides on the bottom of furniture and fixtures to prevent scratches and dents. When moving heavy items, lift them instead of dragging them to avoid damaging the floor surface. Regularly inspect the floor for signs of wear or damage and address any issues promptly.
Sealing and Refinishing
Sealing and refinishing can enhance the durability and appearance of certain bathroom flooring materials. Natural stone and tile floors benefit from periodic sealing to protect against stains and moisture. Follow the manufacturer’s recommendations for sealing frequency and use a high-quality sealer designed for your specific flooring type.
Engineered wood floors may require refinishing if the protective finish becomes worn or damaged. Light sanding and applying a new coat of finish can restore the floor’s appearance and protect it from moisture and wear. Consult a professional if you’re unsure about the refinishing process or the type of finish to use.
What is the best flooring option for a bathroom?
The best flooring option for a bathroom depends on your needs and preferences. Ceramic and porcelain tiles are popular for their durability and water resistance. Vinyl flooring is affordable and easy to install, making it a practical choice. Natural stone offers a luxurious look but requires more maintenance. Engineered wood provides the warmth of real wood with added moisture resistance. Consider factors such as durability, moisture resistance, maintenance, and aesthetic appeal when choosing the best flooring for your bathroom.
Can I install bathroom flooring myself?
Yes, many types of bathroom flooring can be installed as a DIY project, especially vinyl tiles and planks, which often come with peel-and-stick backing. However, some materials, like natural stone and ceramic tiles, require more skill and precision, making professional installation a better option. If you’re confident in your DIY skills and follow proper preparation and installation steps, you can successfully install bathroom flooring yourself.
How do I maintain my bathroom floor?
Maintaining your bathroom floor involves regular cleaning and addressing spills promptly. Sweep or vacuum the floor regularly to remove dirt and debris. Use a damp mop with a mild, pH-neutral cleaner for mopping. For tiles, clean grout lines periodically to prevent mildew. Avoid harsh chemicals and excessive water on all flooring types. Use rugs or mats in high-traffic areas and near water sources to protect the floor, and ensure they have non-slip backing.
How often should I seal my bathroom floor?
The frequency of sealing your bathroom floor depends on the type of material. Natural stone and tiles should be sealed periodically to protect against stains and moisture. The recommended sealing frequency varies, with some materials requiring sealing annually and others less frequently. Follow the manufacturer’s guidelines or consult a flooring specialist to determine the appropriate sealing schedule for your specific flooring type.
What should I do if my bathroom floor gets damaged?
If your bathroom floor gets damaged, address the issue promptly to prevent further problems. For minor damage, such as scratches or small chips, you can often repair the area with touch-up kits or fillers designed for your specific flooring material. For more significant damage, such as cracked tiles or water-damaged sections, consider replacing the affected area. Consult a professional if you’re unsure about the extent of the damage or the best repair approach. Regular maintenance and addressing issues quickly can help prolong the life of your bathroom floor.
Light and airy Bathroom Lino Floor, Vinyl Tile Flooring Bathroom

Bathroom Vinyl Flooring Ideas

Best Bathroom Flooring Ideas and Designs for 2024
Bathroom Floor Tile Ideas for Small Spaces
/amy.bartlam-00839dd16fd4434d99e4c04c89996513.png)
How to tiling a bathroom floor – right tips – Interior Design Inspirations

Ideas of vinyl flooring bathroom tile effect
Bathroom Vinyl Flooring Ideas

Bathroom floor tiles: beautiful ideas to update your space
Related Posts: