Revamping your home’s appearance is easy with the installation of a cork floor, and using glue-down cork flooring is a popular option. The process is simple and can be accomplished by anyone with basic DIY skills, requiring no special tools or materials and taking relatively little time. Here’s a comprehensive guide to installing glue-down cork flooring.
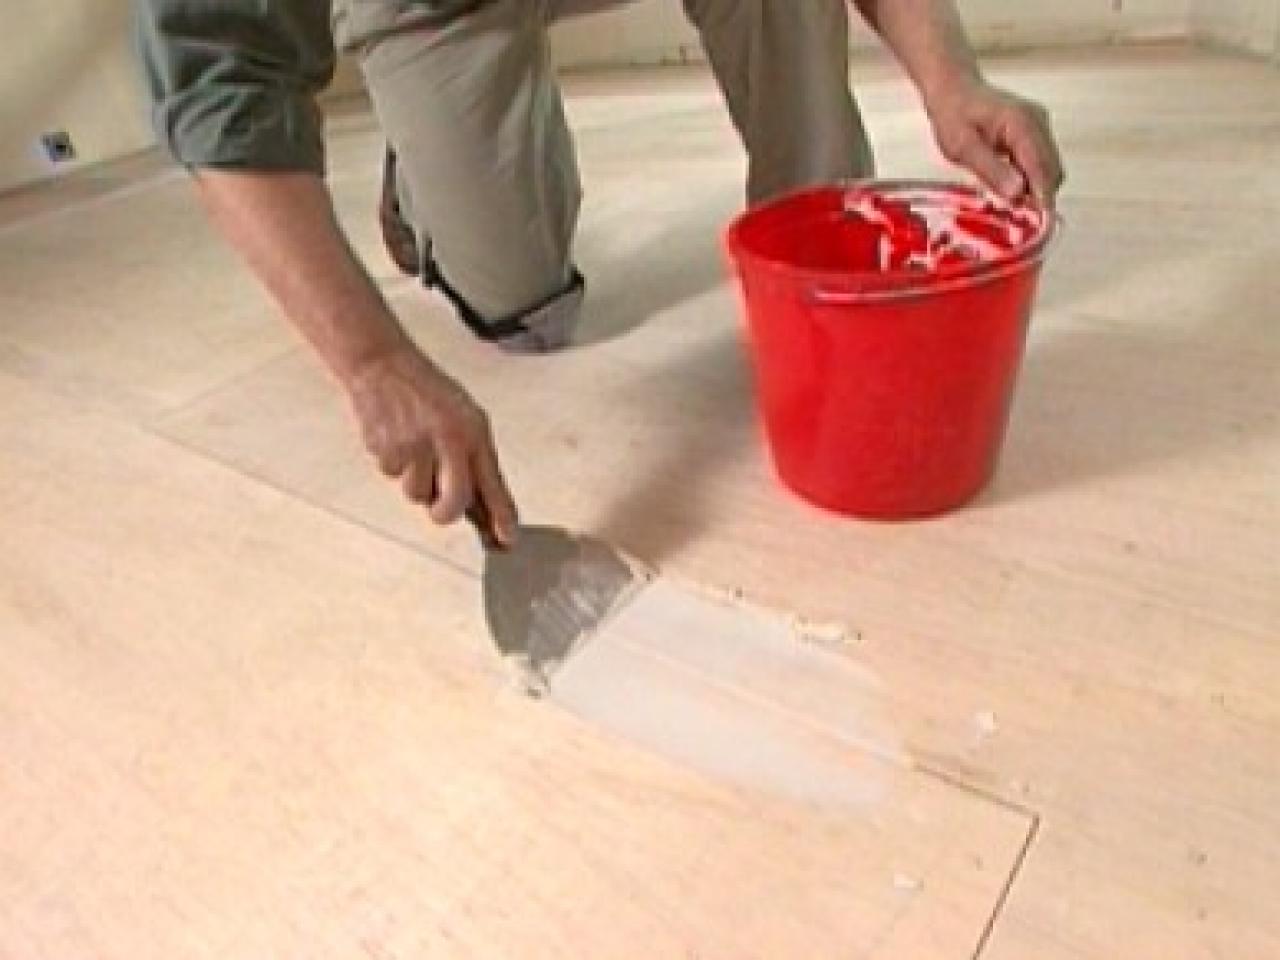
The initial step in installing glue-down cork flooring is to prepare the space by removing all furniture, rugs, and existing flooring. Next, ensure that the subfloor is spotless, filling any cracks or holes, and leveling the surface.
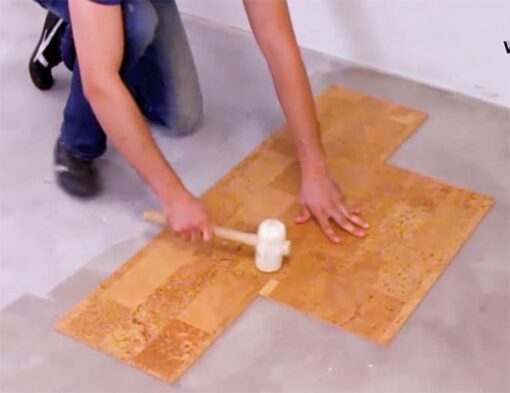
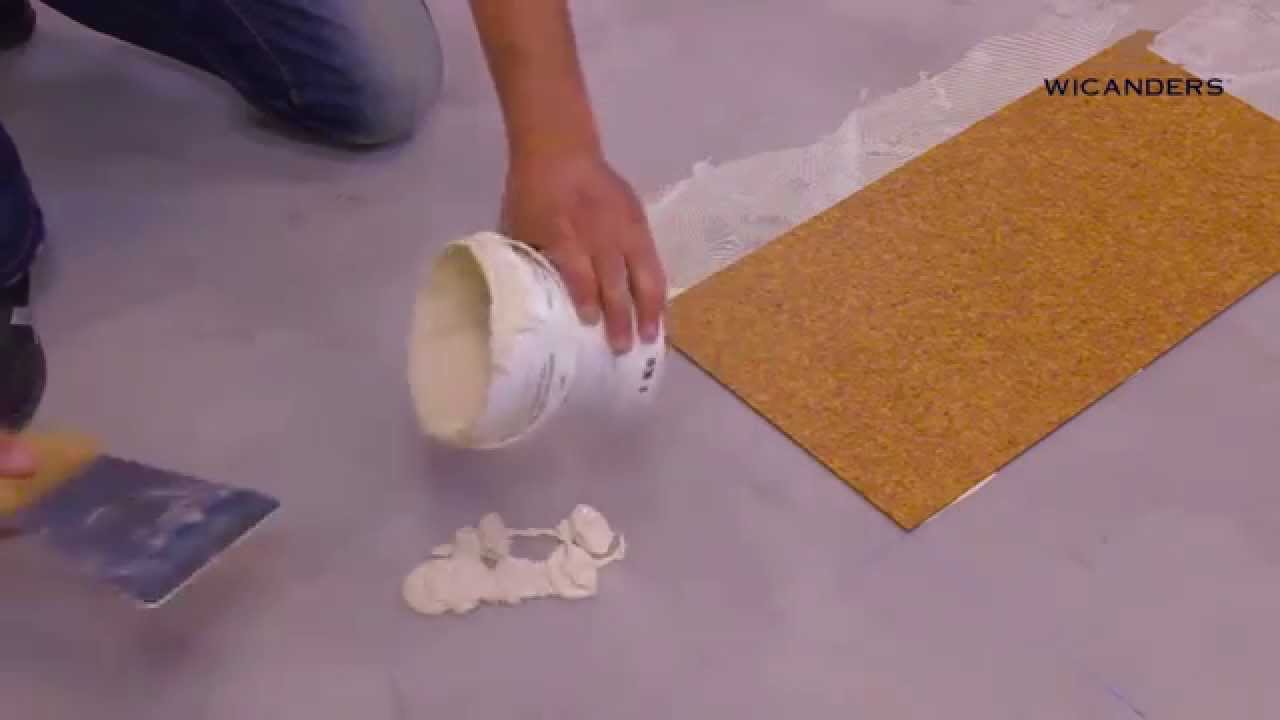
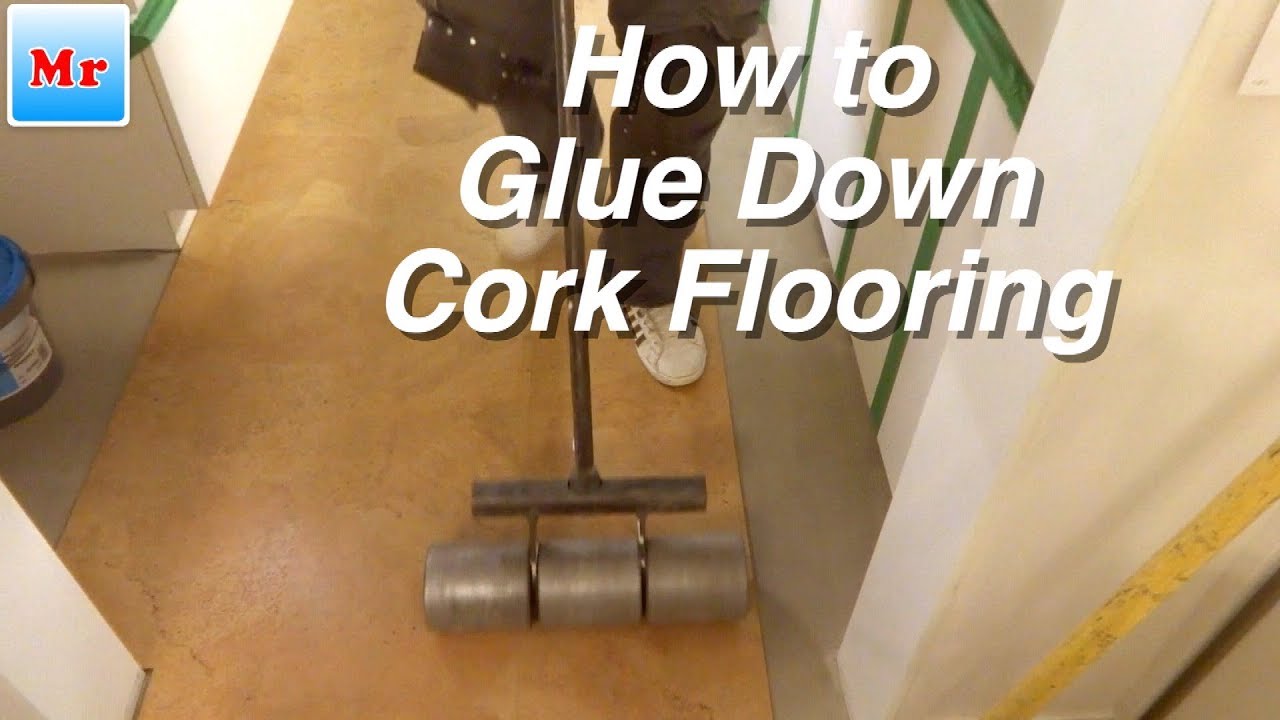
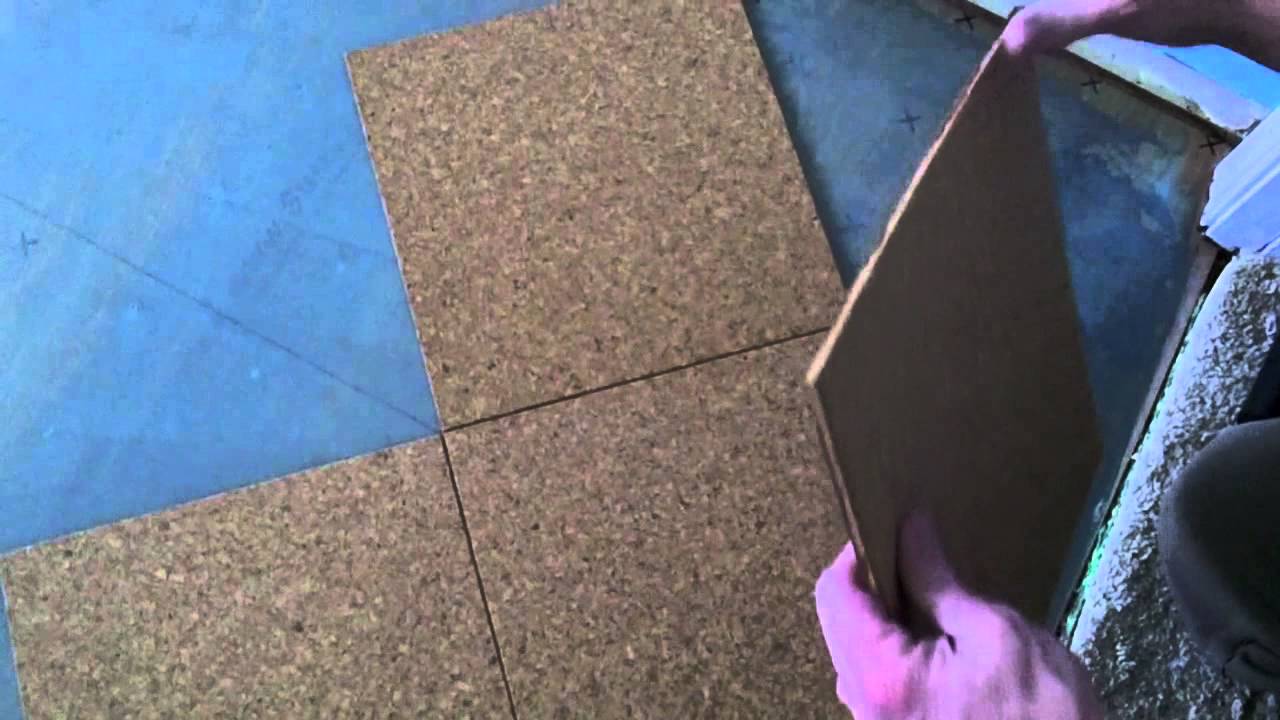
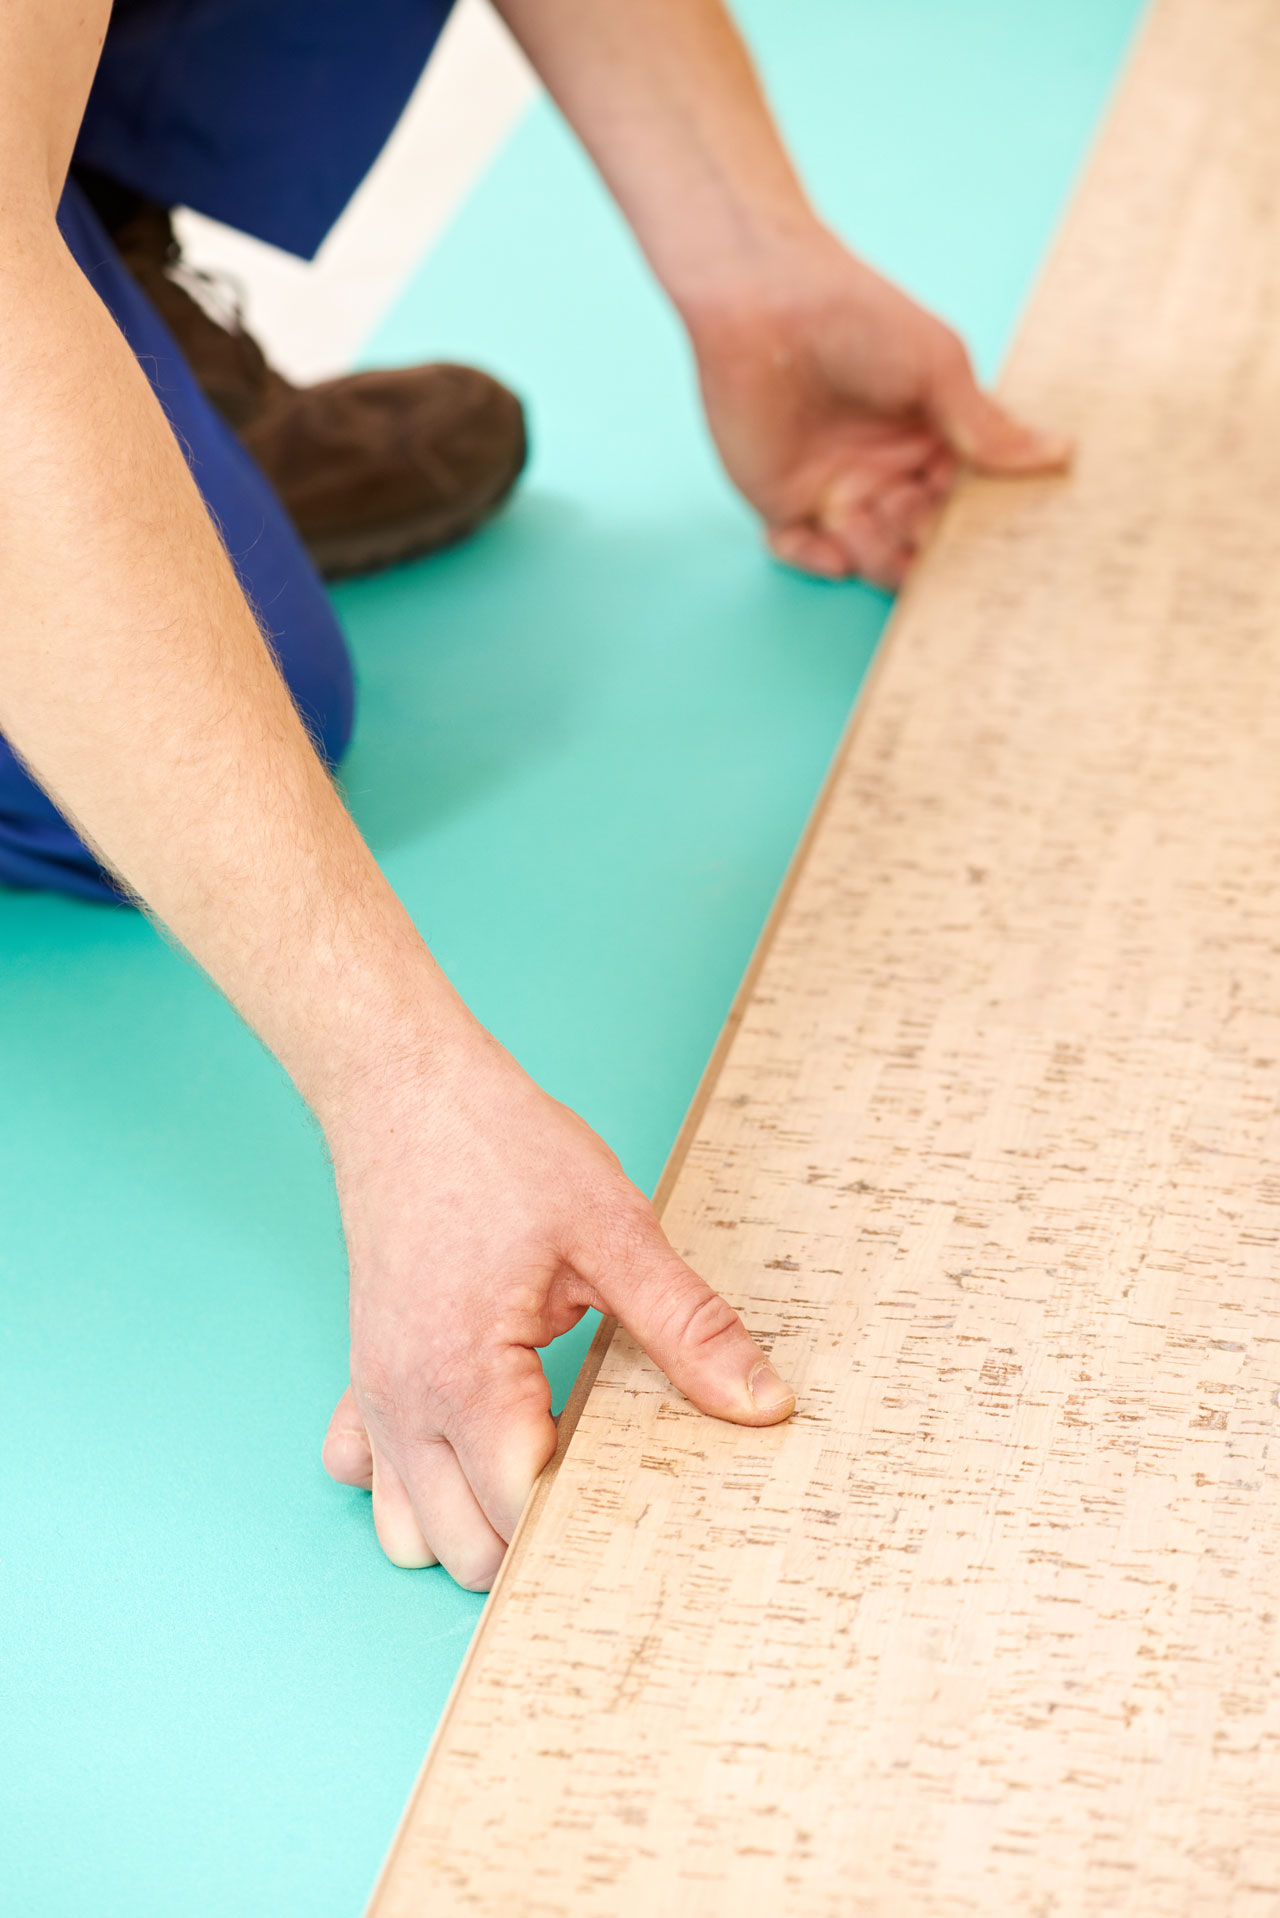
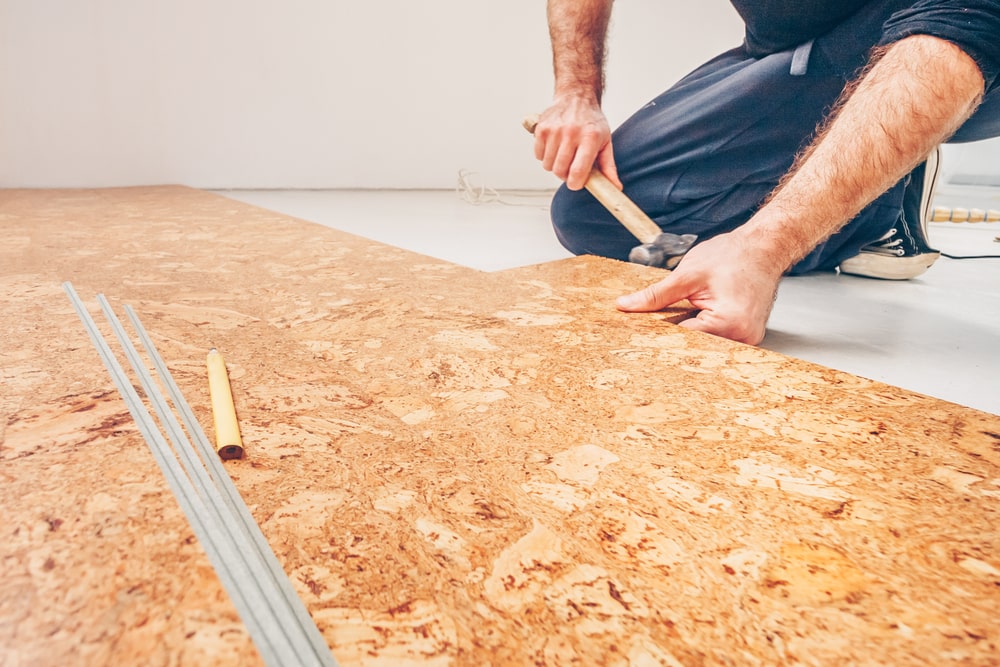
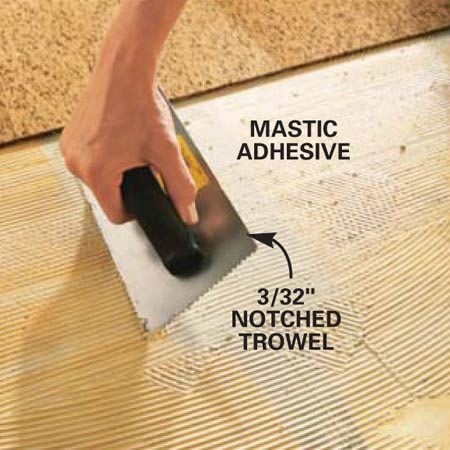
Apply the adhesive to the subfloor according to the manufacturer’s instructions, then start laying down the cork planks, beginning in one corner of the room and working your way out. Press each plank firmly into place to guarantee proper adhesion.
Allow the planks to sit untouched for 24 hours to allow for proper adhesion and to ensure they remain in place for an extended period. Once the waiting period is over, you can walk on your new cork flooring, enjoying its updated look without breaking the bank.
With a bit of patience and effort, you can easily complete this DIY project and enjoy your new flooring for years to come.
Installing Glue Down Cork Flooring
How to install Wicanders glue down cork flooring – YouTube
How to Install Glue Down Cork Flooring Over Concrete Subfloor in Bathroom and Kitchen – YouTube
Cork Floor Install – How to install a cork glue down floor. – YouTube
APC Cork Facebook Cork flooring, Flooring, Tiles

Cork Tiles Installation Forna Glue Down Cork Flooring – Cancork

Cork Installation
Complete Guide To Cork Flooring Installation Deerfoot Carpet & Flooring
Globus Cork -Video Instructions for Cork Flooring tile installation instructions – Colored Cork

How to Install Cork Flooring how-tos DIY
How to Install Cork Tile Flooring The Family Handyman
Related Posts: