Unfinished hardwood flooring is a popular choice for homeowners looking to achieve a customized and seamless look in their homes. Unlike prefinished flooring, unfinished hardwood allows for on-site sanding and finishing, which can be tailored to the specific needs and aesthetics of the space. This type of flooring offers a level of versatility and personalization that prefinished options simply cannot match.
Benefits of Installing Unfinished Hardwood Flooring
Customization Options
Unfinished hardwood flooring provides an unparalleled level of customization, allowing homeowners to select from a wide variety of wood species, stains, and finishes. This means you can match the flooring perfectly to your existing decor or create a completely new look. The flexibility in color and finish options ensures that you can achieve the exact aesthetic you desire.
Seamless Finish
One of the standout benefits of unfinished hardwood flooring is the seamless finish it offers. Since the flooring is sanded and finished on-site, there are no beveled edges between the planks. This creates a smooth, uniform surface that is particularly appealing in high-end and formal settings. The absence of grooves between the boards also makes cleaning and maintenance easier.
Easier Repairs
Unfinished hardwood floors are easier to repair compared to their prefinished counterparts. If a section of the floor gets scratched or damaged, it can be sanded down and refinished to restore its original appearance. This is a significant advantage over prefinished flooring, which often requires the replacement of entire planks if they become damaged.
Cost-Effectiveness
While the installation process for unfinished hardwood flooring is more labor-intensive, the initial cost of the materials is often lower than prefinished options. This makes unfinished hardwood an attractive choice for budget-conscious homeowners. Additionally, the long-term durability and ease of repair can further enhance the cost-effectiveness of this flooring option.
Environmentally Friendly
Choosing unfinished hardwood flooring can be a more environmentally friendly option. Many prefinished floors are treated with finishes that emit volatile organic compounds (VOCs). By selecting unfinished hardwood and applying low-VOC finishes on-site, homeowners can reduce their exposure to these harmful chemicals. This is particularly important for those with allergies or respiratory issues.
Increased Home Value
Installing unfinished hardwood flooring can significantly increase the value of your home. Hardwood floors are highly sought after by homebuyers due to their durability, timeless appeal, and the ability to customize the finish. A beautifully finished hardwood floor can enhance the overall aesthetic of your home, making it more attractive to potential buyers and potentially increasing its market value.
Choosing the Right Wood Species
Oak
Oak is one of the most popular choices for unfinished hardwood flooring due to its durability and timeless appeal. It comes in two main varieties: red oak and white oak. Red oak has a warm, reddish hue and a prominent grain pattern, making it a classic choice for traditional homes. White oak, on the other hand, has a more neutral color and a finer grain, making it suitable for both traditional and modern interiors.
Maple
Maple is another excellent choice for unfinished hardwood flooring. It has a smooth, consistent grain pattern and a light, natural color that can be easily stained to achieve a variety of looks. Maple is also known for its hardness, making it a durable option for high-traffic areas. Its versatility in staining and finishing makes it a favorite among homeowners looking for a contemporary or minimalist aesthetic.
Walnut
Walnut is prized for its rich, dark color and striking grain patterns. It is a softer wood compared to oak and maple, which means it may show scratches and dents more easily. However, its deep, luxurious appearance makes it a popular choice for high-end homes and formal settings. Walnut flooring can add a touch of elegance and sophistication to any space.

Hickory
Hickory is known for its distinctive grain patterns and wide color variations. It is one of the hardest domestic wood species, making it an excellent choice for areas with heavy foot traffic. Hickory’s unique appearance can add character and rustic charm to a home. Its durability and resistance to wear make it a practical and stylish option for busy households.
Cherry
Cherry wood is valued for its beautiful, rich color that deepens with age. It has a fine, straight grain and a smooth texture, making it a favorite for those looking for a luxurious and elegant finish. Cherry is a relatively soft wood, so it may not be the best choice for high-traffic areas. However, its stunning appearance makes it a popular choice for formal living spaces and bedrooms.
Exotic Woods
For those looking to make a bold statement, exotic wood species such as Brazilian cherry, tigerwood, and mahogany offer unique colors and grain patterns that can create a striking look. These woods are typically harder and more durable than domestic species, making them suitable for a variety of applications. However, they can be more expensive and may require special care and maintenance.
Preparing for Installation
Measuring and Planning
Before starting the installation process, it’s crucial to measure the area accurately and plan the layout. Begin by measuring the length and width of the room to determine the square footage. Take into account any irregularities or obstacles, such as doorways or built-in furniture. Proper planning ensures that you purchase the right amount of materials and reduces waste.
Acclimating the Wood
Unfinished hardwood flooring needs to acclimate to the environment where it will be installed. This process involves storing the wood in the installation area for several days to allow it to adjust to the temperature and humidity levels. Acclimation helps prevent issues such as warping or gapping after installation. Follow the manufacturer’s guidelines for the recommended acclimation period.
Preparing the Subfloor
A properly prepared subfloor is essential for a successful installation. Ensure that the subfloor is clean, dry, and level. Remove any debris, nails, or old adhesive that could interfere with the installation. If necessary, use a leveling compound to address any uneven areas. A well-prepared subfloor provides a stable foundation for the hardwood flooring.
Gathering Tools and Materials
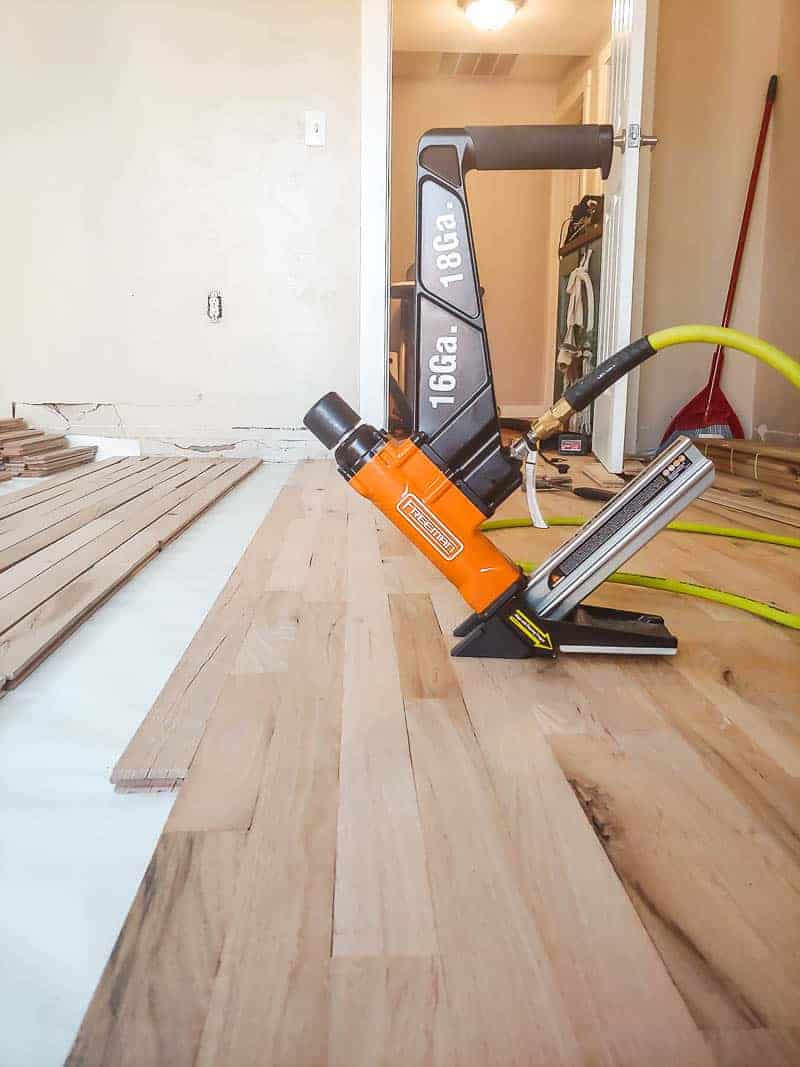
Having the right tools and materials on hand will make the installation process smoother and more efficient. Essential tools include a tape measure, chalk line, hammer, nails or staples, saw, and a flooring nailer or stapler. You will also need underlayment material, wood adhesive, and the unfinished hardwood planks. Gather all necessary supplies before starting the installation.
Creating a Layout Plan
Creating a layout plan helps ensure that the installation proceeds smoothly and that the final result is aesthetically pleasing. Start by determining the direction in which the flooring will be installed. Generally, running the planks parallel to the longest wall or the main source of natural light creates the most visually appealing effect. Use a chalk line to mark a starting point and create guidelines for laying the planks.
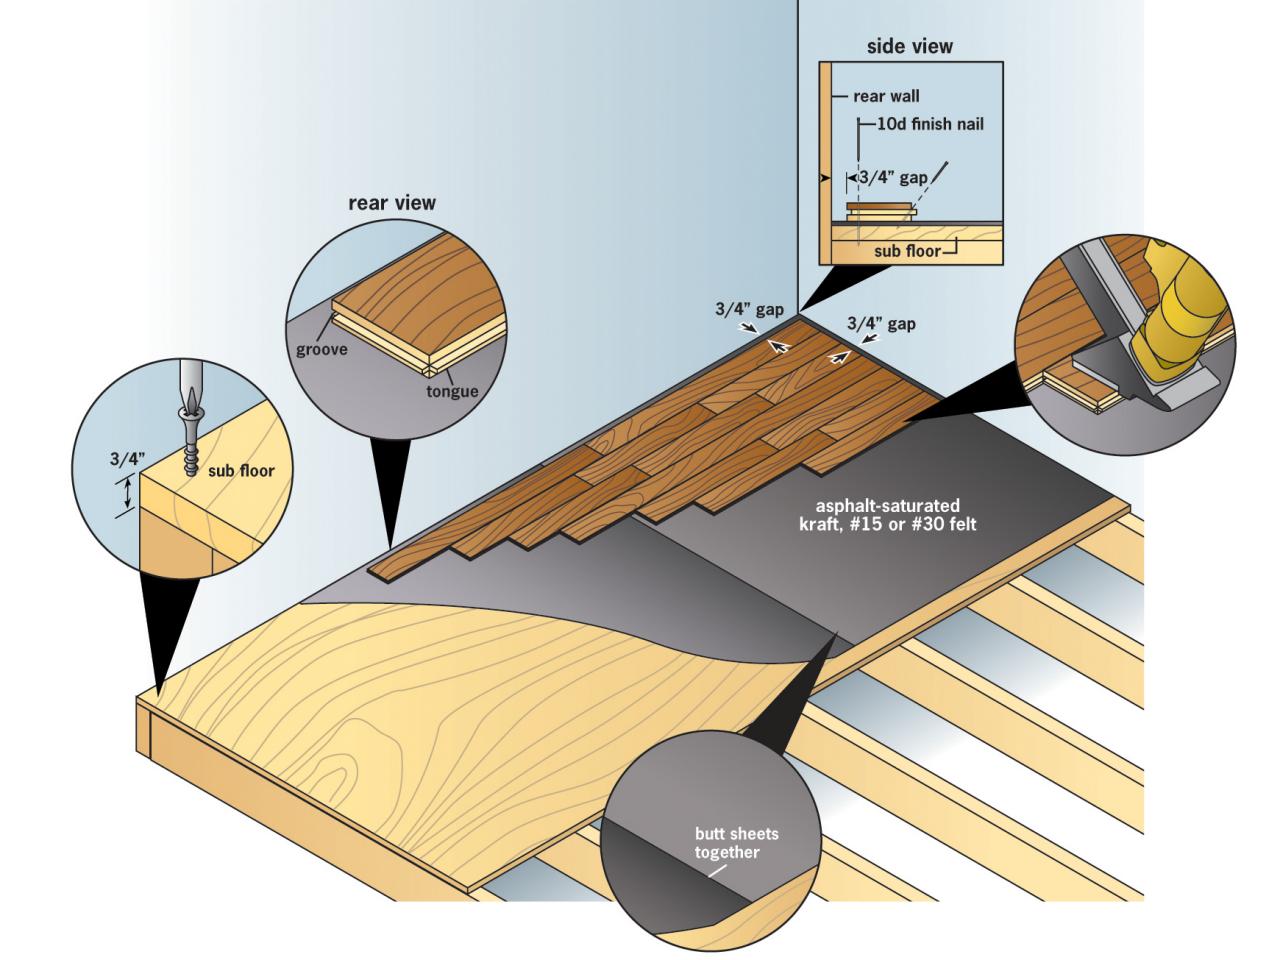
Installing Underlayment
Underlayment is a critical component of hardwood flooring installation. It provides a moisture barrier, reduces noise, and helps smooth out minor imperfections in the subfloor. Roll out the underlayment across the entire floor, overlapping the edges by a few inches and securing them with tape. Trim any excess material along the walls. Proper underlayment installation sets the stage for a successful hardwood flooring project.
Installation Process
Laying the First Rows
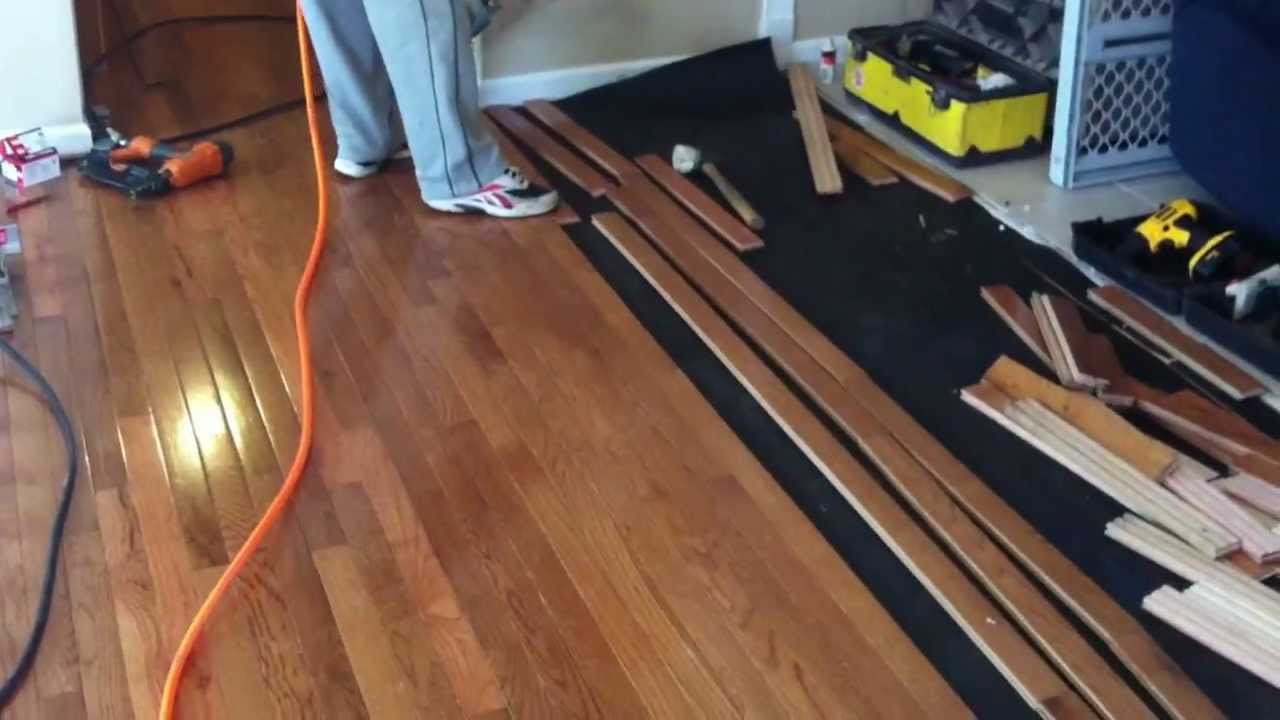
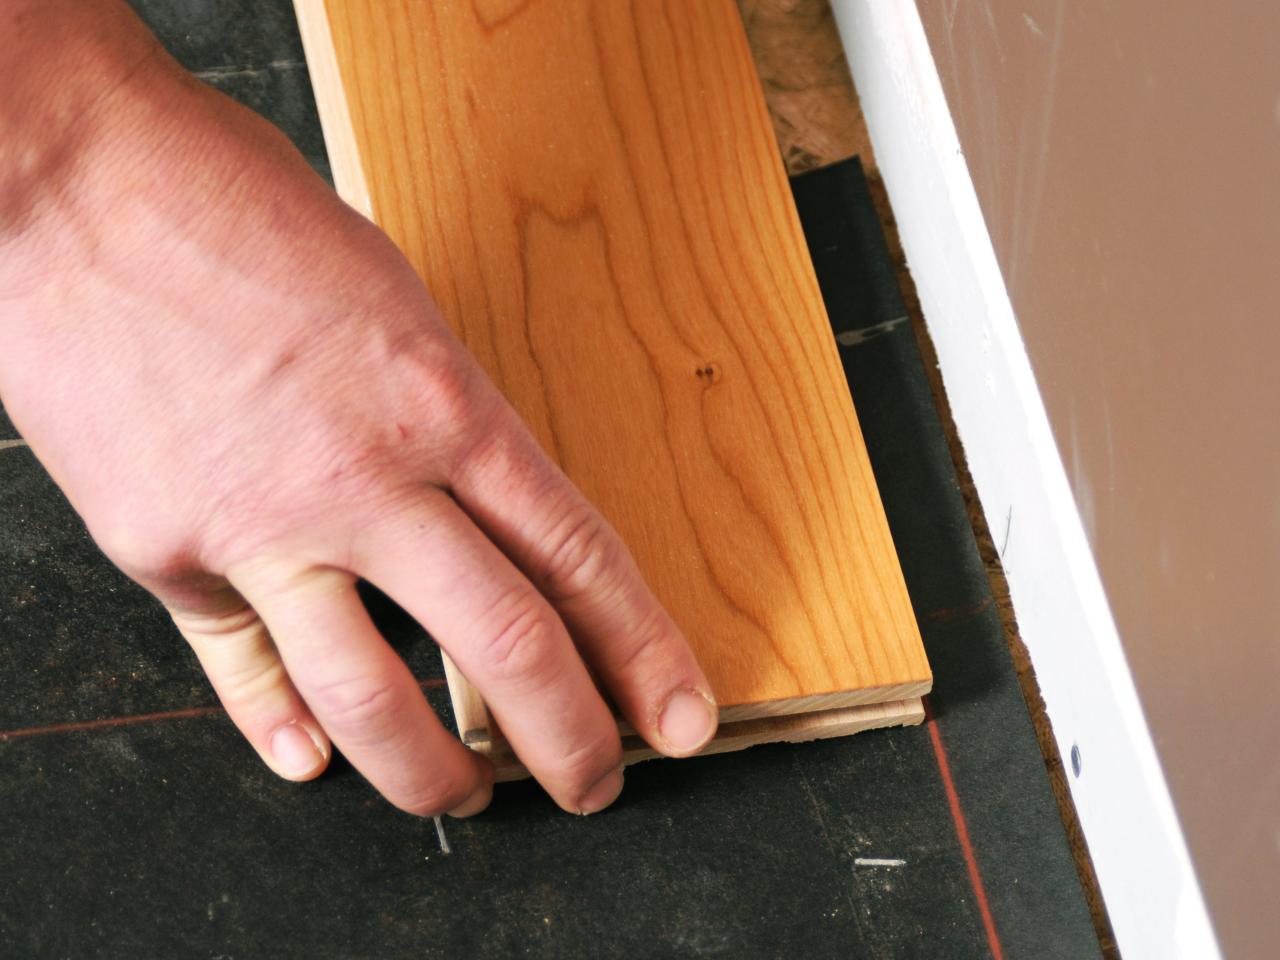
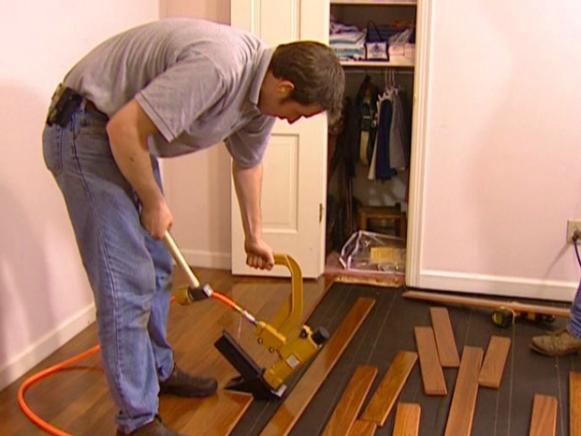
Begin the installation by laying the first row of planks along the longest wall or the chalk line you created. Place spacers between the planks and the wall to allow for expansion. Nail or staple the planks in place, ensuring they are secure. Double-check the alignment of the first row, as any misalignment will affect the entire installation.
Installing Subsequent Rows
Continue installing subsequent rows, staggering the end joints to create a natural and aesthetically pleasing pattern. Use a tapping block and a hammer to snugly fit the planks together. Ensure that each row is aligned with the previous one and that the joints are tight. Periodically check for any gaps or misalignments and make adjustments as needed.
Cutting Planks to Fit
As you reach the edges of the room or encounter obstacles, you will need to cut planks to fit. Measure the required length and width and mark the plank accordingly. Use a saw to make precise cuts. Always leave a small gap between the planks and the walls or obstacles to allow for expansion. This gap will be covered by baseboards or moldings later.
Sanding the Floor
Once all the planks are installed, the next step is to sand the floor. Sanding removes any imperfections and creates a smooth, even surface. Start with a coarse-grit sandpaper and gradually progress to finer grits. Use a floor sander for the main areas and an edge sander for the perimeter. Sanding is a critical step that prepares the floor for staining and finishing.
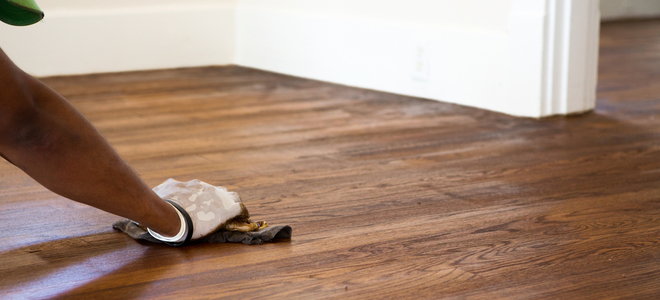
Applying Stain
After sanding, the floor is ready for staining. Choose a stain color that complements your decor and apply it evenly using a brush or rag. Work in small sections and wipe off any excess stain to ensure a uniform color. Allow the stain to dry completely before proceeding to the next step. Applying stain enhances the natural beauty of the wood and provides the desired color.
Finishing the Floor
The final step in the installation process is applying the finish. Choose a finish that provides the desired level of protection and sheen. Apply the finish evenly using a brush, roller, or applicator. Allow each coat to dry thoroughly before applying additional coats. Typically, two to three coats of finish are recommended for optimal protection and appearance. Once the finish is dry, remove the spacers and install baseboards or moldings to complete the project.
Common Mistakes to Avoid
Skipping the Acclimation Process
One common mistake is skipping the acclimation process. Failing to allow the hardwood planks to acclimate to the environment can lead to issues such as warping, cupping, or gapping after installation. Always follow the manufacturer’s guidelines for acclimation to ensure the wood adjusts properly to the room’s temperature and humidity levels.
Inadequate Subfloor Preparation
Inadequate subfloor preparation is another frequent mistake. A clean, dry, and level subfloor is essential for a successful installation. Failing to remove debris, old adhesive, or addressing uneven areas can result in an unstable foundation for the hardwood flooring. Take the time to thoroughly prepare the subfloor to prevent future problems.
Incorrect Nailing or Stapling
Incorrect nailing or stapling can lead to loose planks, squeaks, and other issues. Ensure that the nails or staples are placed correctly and at the proper angle. Avoid driving them too deeply or too shallowly. Using the right tools and following proper techniques is crucial for securing the planks effectively.

Ignoring Expansion Gaps
Failing to leave adequate expansion gaps between the flooring and the walls or obstacles is a common mistake. Wood expands and contracts with changes in temperature and humidity, and these gaps allow for this movement. Without proper expansion gaps, the flooring can buckle or warp. Always use spacers to maintain the necessary gaps during installation.
Rushing the Sanding Process
Rushing the sanding process can result in an uneven surface and a poor finish. Take the time to sand the floor thoroughly, starting with coarse-grit sandpaper and progressing to finer grits. Pay attention to edges and corners, and ensure that the entire floor is smooth and even before applying stain or finish.
Applying Stain or Finish Incorrectly
Incorrect application of stain or finish can lead to streaks, blotches, or an uneven appearance. Follow the manufacturer’s instructions for applying stain and finish, and work in small sections to ensure even coverage. Wipe off excess stain promptly and allow each coat of finish to dry thoroughly before applying additional coats.
What is the difference between unfinished and prefinished hardwood flooring?
Unfinished hardwood flooring is installed and finished on-site, allowing for customization of the stain and finish. Prefinished hardwood comes with the finish already applied, which speeds up the installation process but limits customization options. Unfinished flooring provides a seamless look and easier repairs, while prefinished flooring offers convenience and a faster installation.
How long does it take to install unfinished hardwood flooring?
The installation process for unfinished hardwood flooring typically takes longer than prefinished options due to the additional steps of sanding and finishing on-site. On average, the process can take anywhere from several days to a week or more, depending on the size of the area and the complexity of the installation. Proper preparation and planning can help streamline the process.
Can I install unfinished hardwood flooring myself?
While it is possible to install unfinished hardwood flooring as a DIY project, it requires a significant amount of skill, tools, and patience. The process involves precise measurements, proper subfloor preparation, and detailed sanding and finishing. For the best results, many homeowners choose to hire professional installers who have the experience and equipment needed for a flawless installation.

How do I maintain unfinished hardwood flooring?
Maintaining unfinished hardwood flooring involves regular cleaning, such as sweeping or vacuuming to remove dirt and debris. Periodically, the floor should be mopped with a damp mop and a mild wood floor cleaner. Avoid using harsh chemicals or excessive water. Over time, the floor may need to be refinished to restore its original beauty and protect it from wear.
What are the costs associated with unfinished hardwood flooring?
The cost of unfinished hardwood flooring can vary widely depending on the wood species, quality, and the size of the area being covered. Generally, unfinished hardwood is less expensive upfront compared to prefinished options, but the additional labor and materials required for on-site finishing can increase the overall cost. Budgeting for both materials and professional installation is essential.
How do I choose the right finish for my unfinished hardwood flooring?
Choosing the right finish for your unfinished hardwood flooring depends on your aesthetic preferences and lifestyle. Options include oil-based polyurethane, water-based polyurethane, and natural oils. Oil-based finishes provide a rich, warm look and are highly durable, while water-based finishes are more environmentally friendly and dry faster. Natural oils offer a more natural appearance but may require more frequent maintenance. Consider factors such as durability, maintenance, and the desired look when selecting a finish.

How to Install a Hardwood Floor
Related Posts:
- Hardwood Floor Stain Colors
- Hardwood Floor Repair DIY
- Dark Hardwood Flooring Ideas
- Hardwood Floor Installation DIY
- Hardwood Floor Repair
- Brazilian Cherry Hardwood Flooring
- Dark Hardwood Floors Decorating Ideas
- Hardwood Floor Cleaner Recipe
- Installing Unfinished Hardwood Flooring
- Hardwood Floor Maintenance Coat