Knight Tile Flooring

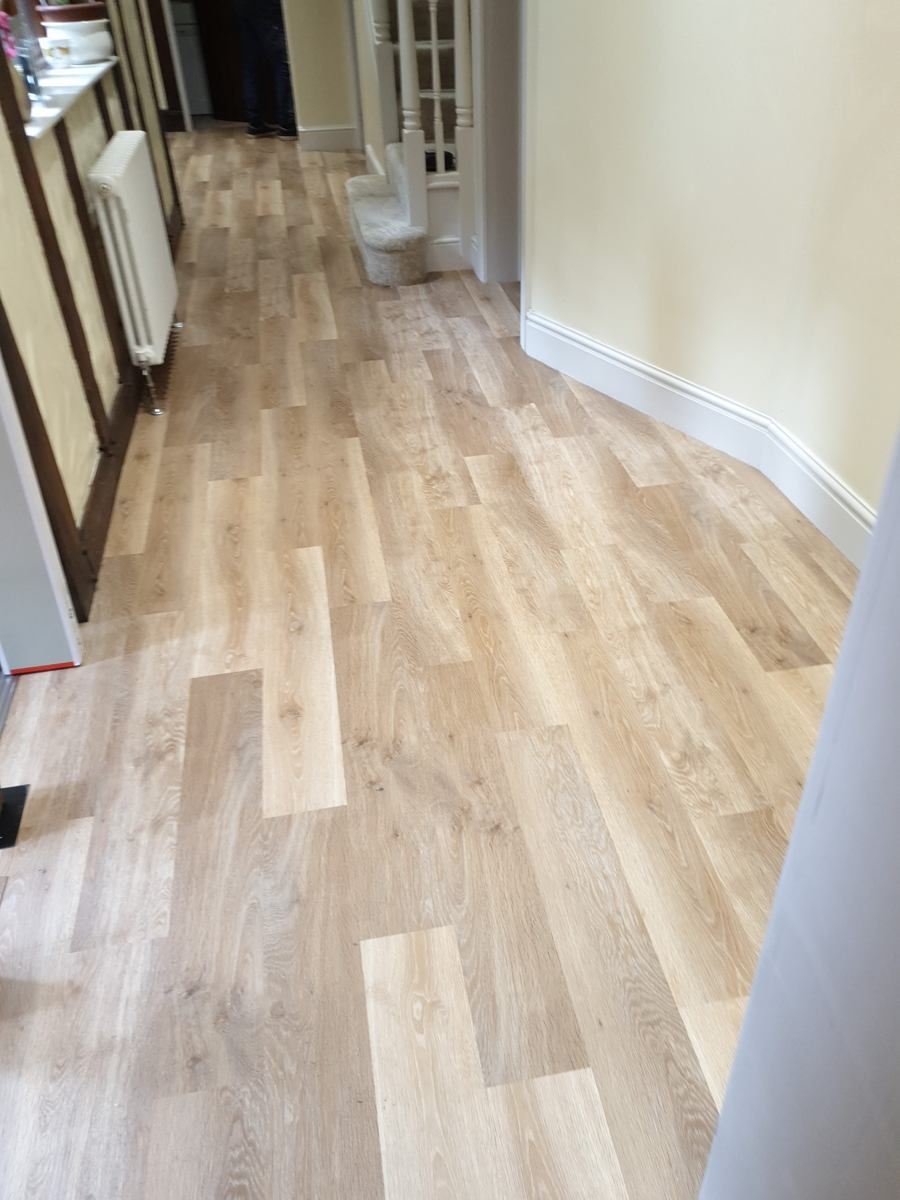
Karndean Vinyl Flooring – Knight Tile KP94 Pale Limed Oak – 10.02 sqm New eBay

Karndean Knight Tile Pale Limed Oak KP94 Vinyl Flooring
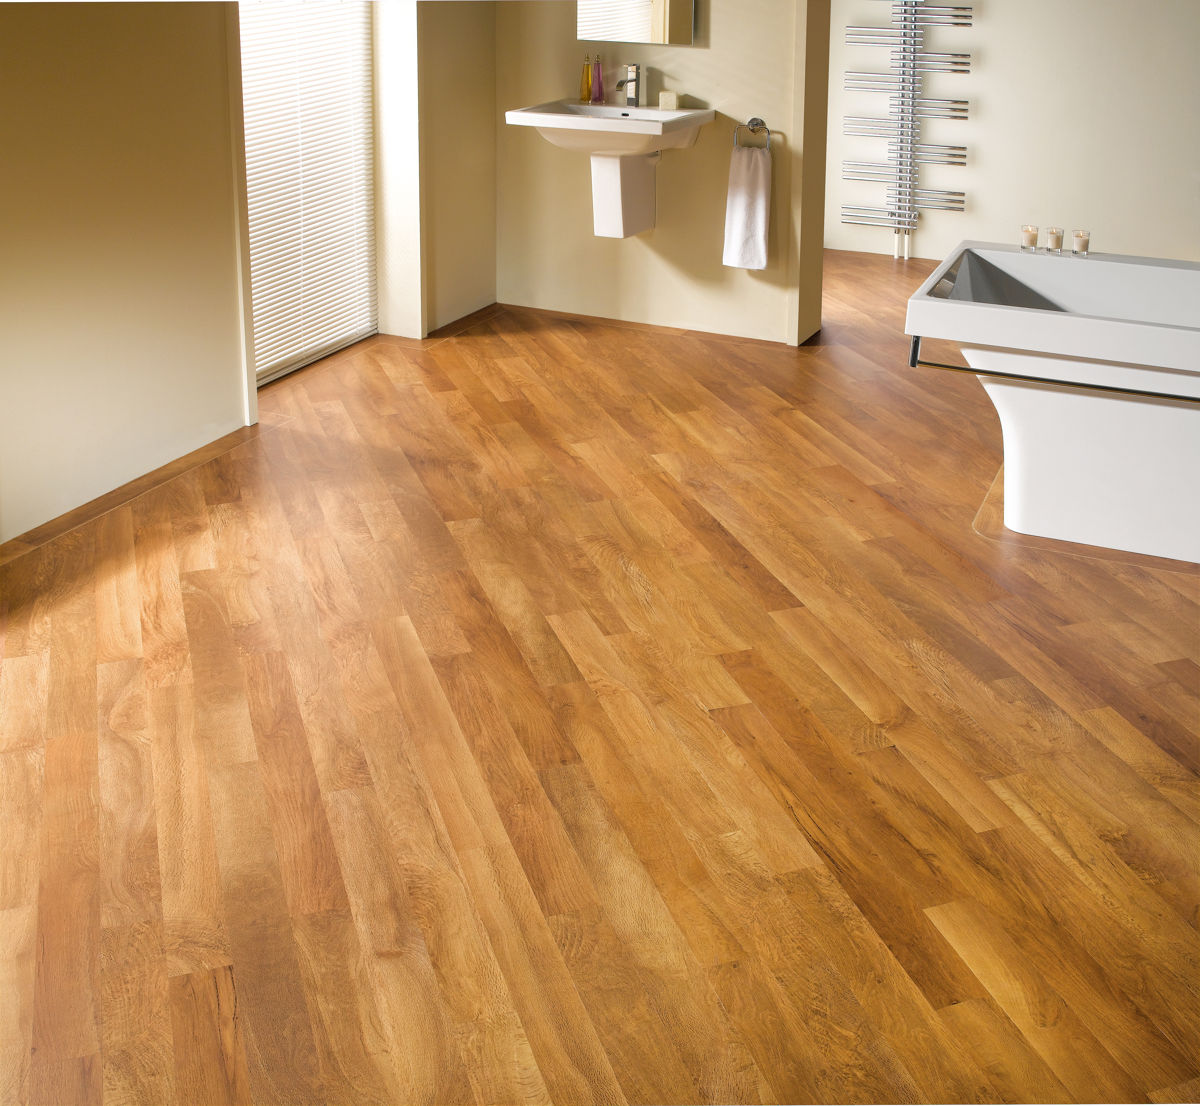
Karndean Knight Tile Aran Oak Flooringsupplies.co.uk
Karndean Knight Tile Cumbrian Stone ST14 Vinyl Flooring

Buy Karndean knight tile Pale Limed Oak KP94 Vinyl Flooring Room H2o
Karndean Knight Tile Flooring: Luxury Rona Vinyl Tile T99

Karndean Knight Tile Edwardian Oak Flooringsupplies.co.uk

Karndean Knight Tile Flooring: Luxury Victorian Oak Vinyl KP91

Karndean Knight Tile Shannon Oak KP68 Vinyl Flooring

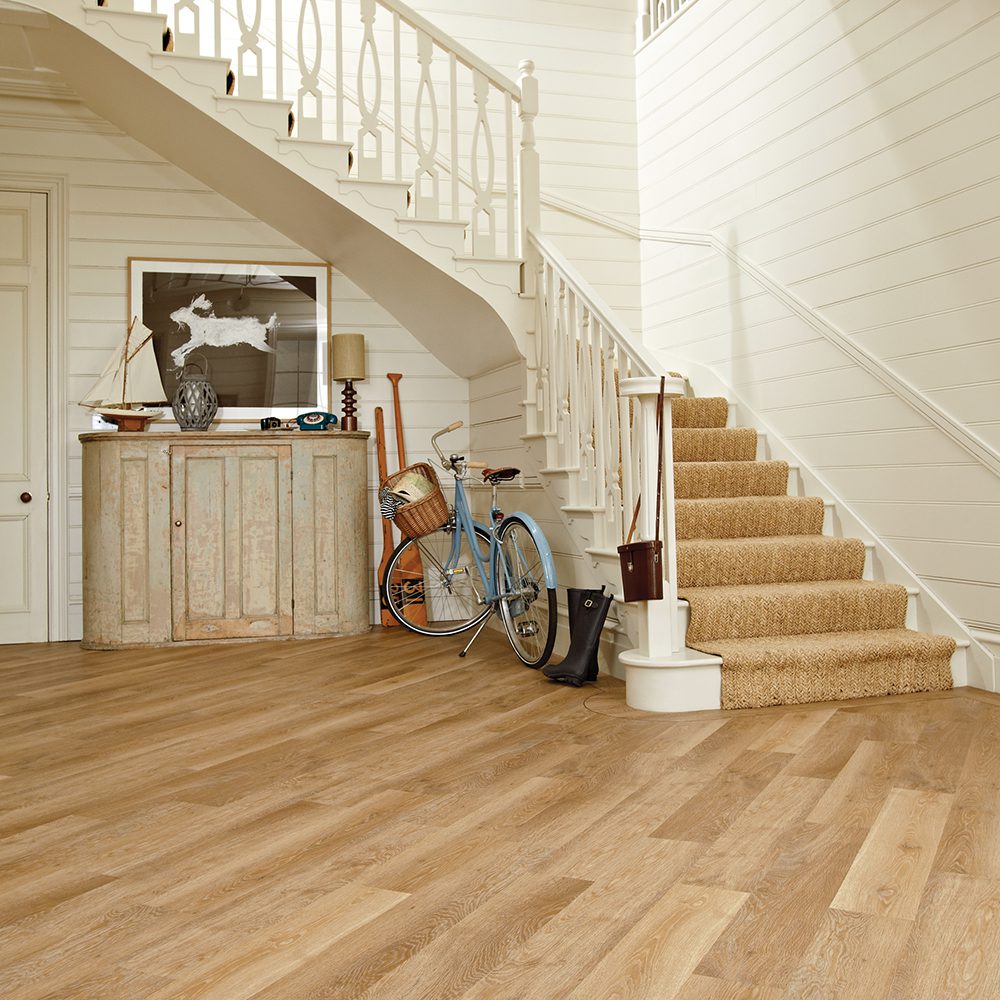
Karndean Knight Tile Classic Limed Oak KP97 Vinyl Flooring

Soapstone Knight Tile Vinyl Flooring from Karndean: ST5

Related Posts:
- Cuban Tile Floors
- Easy Way To Grout Tile Floor
- Types Of Marble Tile Flooring
- Slate Tile Floor
- Classic Bathroom Tile Floors
- Tile Floor Color Ideas
- Wet Mops For Tile Floors
- Staining Saltillo Tile Floors
- Terrazzo Tile Floor Outdoor
- Tile Flooring For Screened Porch
Knight Tile Flooring: Elevate Your Space with Style and Durability
Introduction:
When it comes to flooring options, Knight Tile Flooring stands out as a versatile and highly durable choice. With its wide range of designs and colors, this luxury vinyl flooring solution offers the perfect blend of aesthetics and practicality. Whether you are looking to enhance the beauty of your home or create a stylish commercial space, Knight Tile Flooring is an excellent investment. In this article, we will explore the various aspects of Knight Tile Flooring, including its benefits, installation process, maintenance tips, and frequently asked questions.
Benefits of Knight Tile Flooring:
1. Durability:
Knight Tile Flooring is known for its exceptional durability, making it suitable for high-traffic areas in both residential and commercial settings. This flooring option features a protective wear layer that resists scratches, scuffs, and stains, ensuring longevity even in the busiest of spaces. It is also water-resistant, making it an ideal choice for kitchens, bathrooms, and other areas prone to moisture.
2. Versatility:
One of the standout features of Knight Tile Flooring is its versatility in design options. Whether you prefer the timeless elegance of natural stone or the warmth of authentic wood textures, Knight Tile Flooring offers an extensive range of styles to suit every taste and interior theme. From classic oak to contemporary concrete looks, there is a design to complement any décor.
3. Easy Installation:
Knight Tile Flooring employs a simple installation process that can be completed by an experienced DIY enthusiast or a professional installer. The tiles or planks come with innovative click-lock systems that allow for easy interlocking without the need for adhesives or nails. This not only saves time and effort but also ensures a seamless finish.
4. Low Maintenance:
Another advantage of Knight Tile Flooring is its low maintenance requirements. Regular sweeping or vacuuming followed by damp mopping is sufficient to keep the floor clean and free from dirt and debris. Unlike hardwood flooring, Knight Tile Flooring does not require refinishing or resealing, saving you both time and money in the long run.
5. Comfort and Sound Reduction:
Knight Tile Flooring is not only visually appealing but also offers a comfortable underfoot experience. Its cushioned vinyl construction provides a softer surface compared to hardwood or ceramic tiles, making it more pleasant to walk on for extended periods. Additionally, the acoustic properties of Knight Tile Flooring help reduce noise transmission, creating a quieter and more peaceful environment.
Installation Process:
Installing Knight Tile Flooring is a straightforward process that can be completed in a few steps:
1. Preparation:
Start by preparing the subfloor, ensuring it is clean, level, and smooth. Remove any existing flooring, fill in gaps or cracks, and thoroughly clean the surface.
2. Underlayment:
In some cases, an underlayment may be required to provide additional cushioning or moisture resistance. Consult the manufacturer’s guidelines to determine if an underlayment is necessary for your specific installation.
3. Layout and Marking:
Plan the layout of your flooring, taking into consideration the direction of natural light and the shape of the room. Begin laying the tiles or planks in the corner farthest from the entrance, leaving a small expansion gap around the perimeter.
4. Cutting:
Use a utility knife or a vinyl cutter to trim the tiles or planks to fit along walls and other obstacles. Ensure each piece fits snugly without causing tension or overlapping.
5. Installation:
Starting with the first row, interlock the tiles or planks by angling and pressing them together. Work your way across the room, using a tapping block and rubber mallet to ensure a tight fit. Use spacers to maintain consistent expansion gaps between the flooring and walls.
6. Finishing Touches:
After installing all the tiles or planks, remove spacers and install baseboards or trims to cover the expansion gaps. Use transition strips in doorways or between different flooring materials for a seamless transition.
Maintenance and Care:
Knight Tile Flooring is designed to be low maintenance, but regular care will help preserve its appearance and extend its lifespan:
1. Sweeping or Vacuuming:
Remove loose dirt, dust, and debris by regularly sweeping or vacuuming the floor. Avoid using vacuums with a beater bar attachment, as it may cause scratches.
2. Damp Mopping:
Use a damp mop or microfiber cloth with a mild vinyl floor cleaner to remove stubborn stains or spills. Avoid using excessive water or harsh cleaning agents, as They may damage the flooring. Do not use abrasive cleaners or scrub brushes, as they can cause scratches.
3. Immediate Cleanup:
Clean up spills immediately to prevent staining. Use a soft cloth or sponge to blot the spill, and then clean the area with a vinyl floor cleaner.
4. Furniture Pads:
Place felt or rubber pads on the bottom of furniture legs to prevent scratches and indentations on the flooring. Avoid dragging heavy furniture across the floor.
5. Avoid Direct Sunlight:
Direct sunlight can fade the color of Knight Tile Flooring over time. Use curtains, blinds, or UV-resistant window films to protect the flooring from excessive sunlight exposure.
6. Preventive Measures:
Place doormats at entrances to trap dirt and prevent it from being tracked onto the flooring. Use protective mats or rugs in high-traffic areas or under chairs and tables to prevent wear and tear.
By following these installation and maintenance guidelines, you can ensure that your Knight Tile Flooring remains beautiful and durable for years to come. Whether you choose to install it yourself or hire a professional, Knight Tile Flooring provides a hassle-free and stylish flooring solution for any space. To summarize, here are the steps for installing Knight Tile Flooring:
1. Prepare the surface by ensuring it is clean and level.
2. Determine if an underlayment is necessary.
3. Plan the layout and mark the starting point.
4. Cut the tiles or planks to fit along walls and obstacles.
5. Install the flooring by interlocking the tiles or planks and using a tapping block and rubber mallet.
6. Finish the installation by removing spacers and installing baseboards or trims.
7. For maintenance and care:
a. Regularly sweep or vacuum the floor to remove dirt and debris.
b. Damp mop with a mild vinyl floor cleaner for stubborn stains or spills.
c. Clean up spills immediately to prevent staining.
d. Use furniture pads to prevent scratches from furniture legs.
e. Protect the flooring from direct sunlight with curtains, blinds, or UV-resistant window films.
f. Use doormats and protective mats or rugs to prevent dirt and wear in high-traffic areas.
By following these guidelines, you can ensure that your Knight Tile Flooring remains beautiful and durable for years to come.