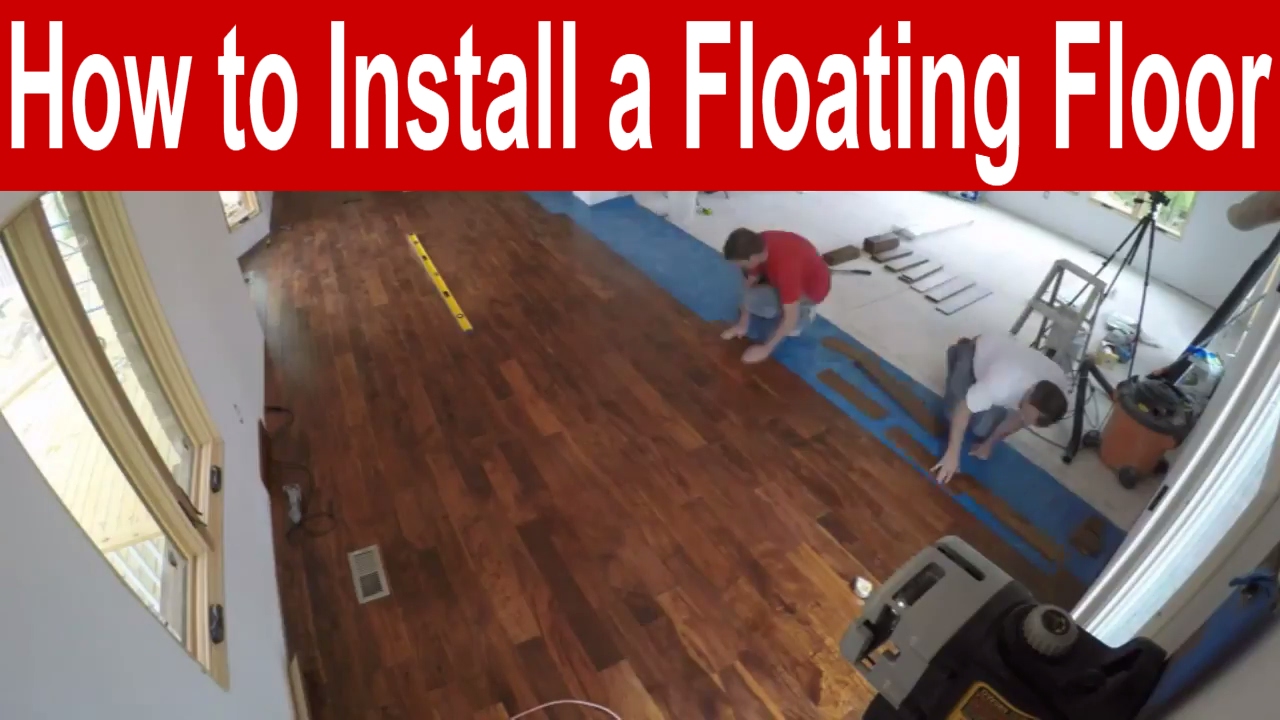
Laying Engineered Wood Flooring Floating.

How To Lay Engineered Wood Flooring A DIY Guide For Everyone.

How To Install Engineered Wood Flooring Floating – Flooring Blog.

Engineered Wood Flooring Installation Floating Over Concrete – Flooring Guide by Cinvex.
How to Install Floating Engineered Hardwood Floors Yourself.

How To Install Click Lock Engineered Hardwood Flooring Engineered hardwood flooring .

How to Install Engineered Hardwood Floors – A Taste of Koko.
10 Popular How to Install Engineered Hardwood Floors Yourself Unique Flooring Ideas.
Can Parquet Floor Adhesive Be Used For Engineered Hardwood Floors? : Floating Vs Glue Down Wood .

How To Install Engineered Wood Flooring Floating – Flooring Blog.
How To Lay Engineered Hardwood Floors LaptrinhX / News.
Installing A Floating Hardwood Floor Flooring Ideas : Flooring Ideas.
Related Posts:.
- Grey Parquet Wood Flooring
- How To Install Pergo Wood Flooring
- Dark Black Wood Flooring
- Solid Wood Flooring White
- Pallet Wood Flooring Ideas
- Wood Floor Chevron Pattern
- Wood Flooring Home Ideas
- Wood Floor Filler Resin
- Glossy Wood Flooring Ideas
- Pergo Wood Flooring Installation
When installing a wood floor, there are many options available. One of the most popular and cost-effective options is to use engineered wood flooring and float it, rather than glue it or nail it down. By floating the floor, the homeowner is able to save time and money while still enjoying the beauty of real wood flooring. This article will provide a step-by-step guide on how to lay engineered wood flooring floating.
## 1. Start with a Level Subfloor
Before any installation can take place, the subfloor must be level. If it is not level, then use self-leveling compound to level out any dips and bumps in the subflooring. Make sure that any existing cracks are also filled in with patching compound before starting the installation process.
## 2. Choose Your Underlayment
The next step is to choose an underlayment for your engineered wood flooring. This will provide a layer of cushioning between the subfloor and the engineered wood planks, and will also help to reduce noise and add insulation to your floor. When choosing an underlayment, make sure that it is compatible with the type of engineered wood you are using, and that it offers adequate soundproofing and insulation for your needs.
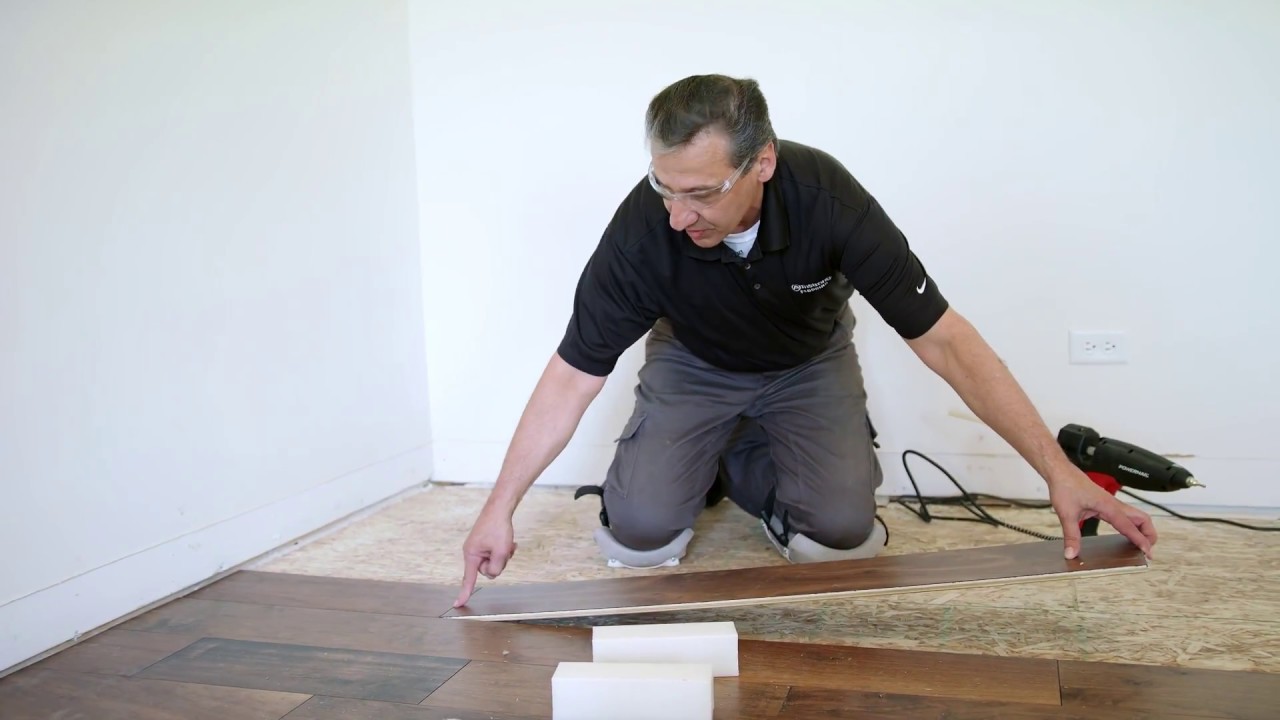
## 3. Measure and Cut Your Planks
Once you have chosen your underlayment, you can start to measure and cut your planks to fit the space you are covering. Make sure to measure twice before cutting, as any mistakes could lead to wasted material and time spent redoing the installation process.
## 4. Secure the Underlayment
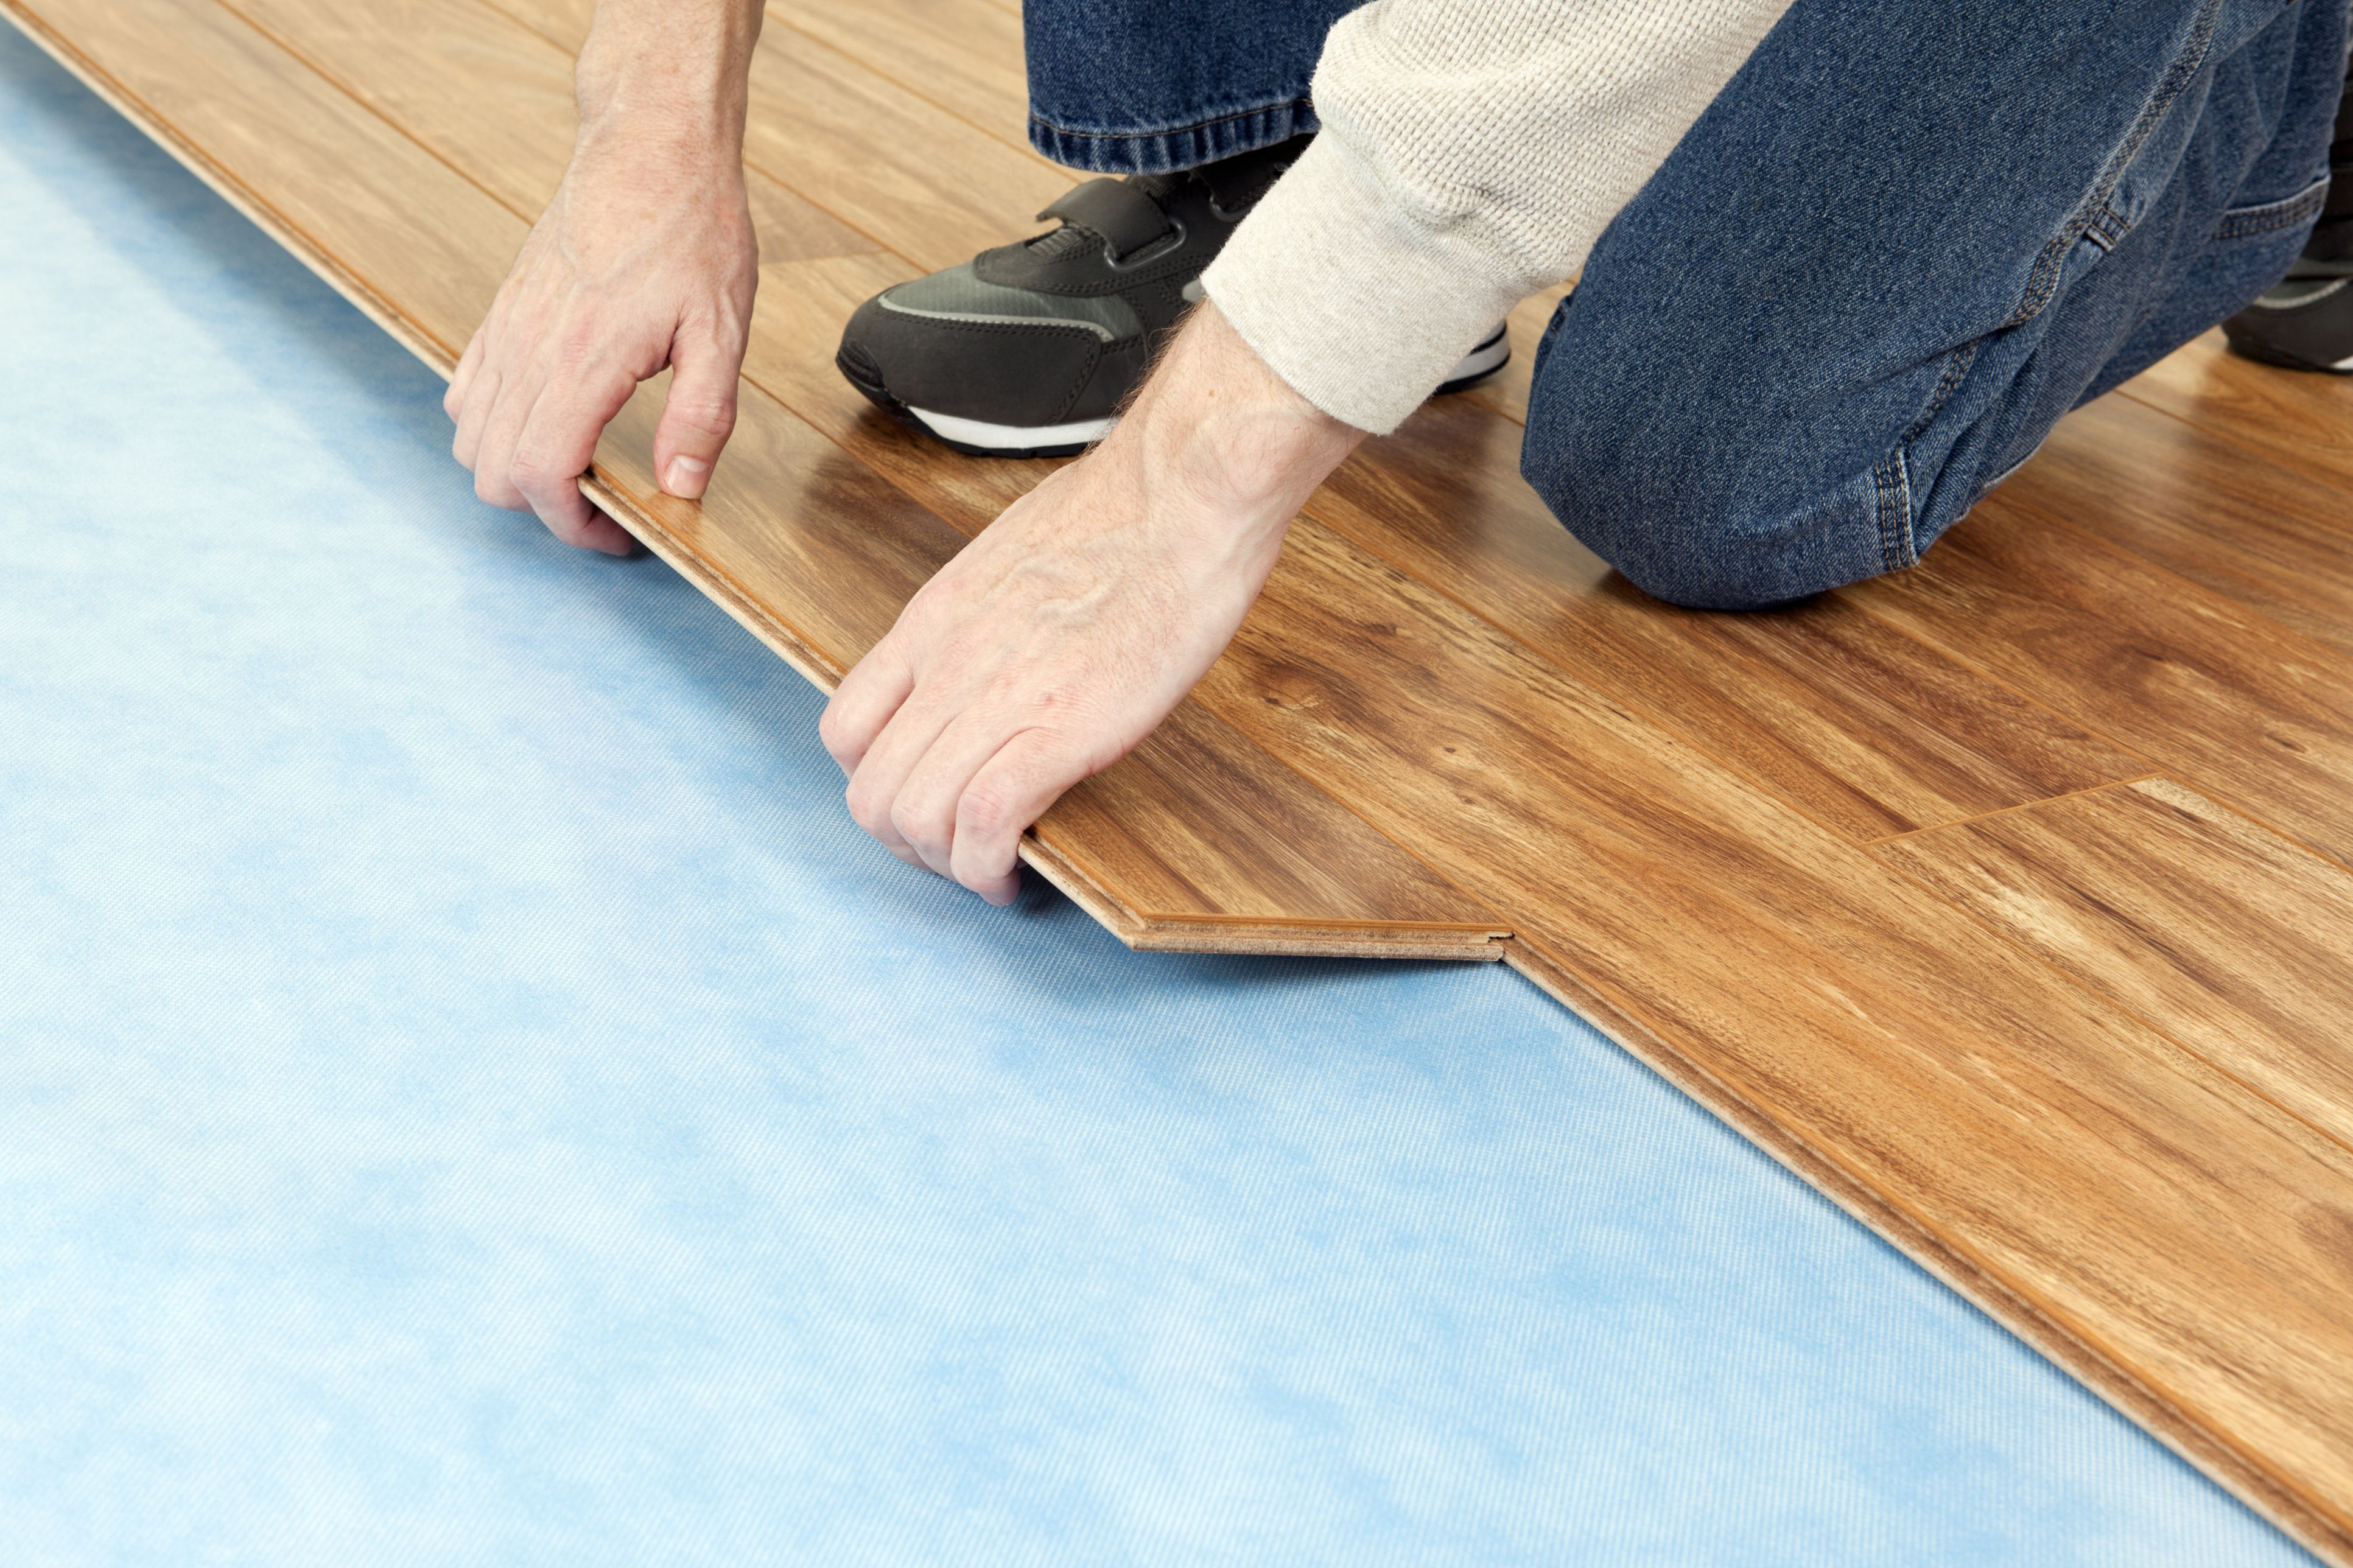
With your planks cut, you can now start laying down the underlayment. Secure it in place with tape or staples depending on what type of underlayment you have chosen, making sure that it is flat and even across the entire area you are covering.
## 5. Lay Down the Planks
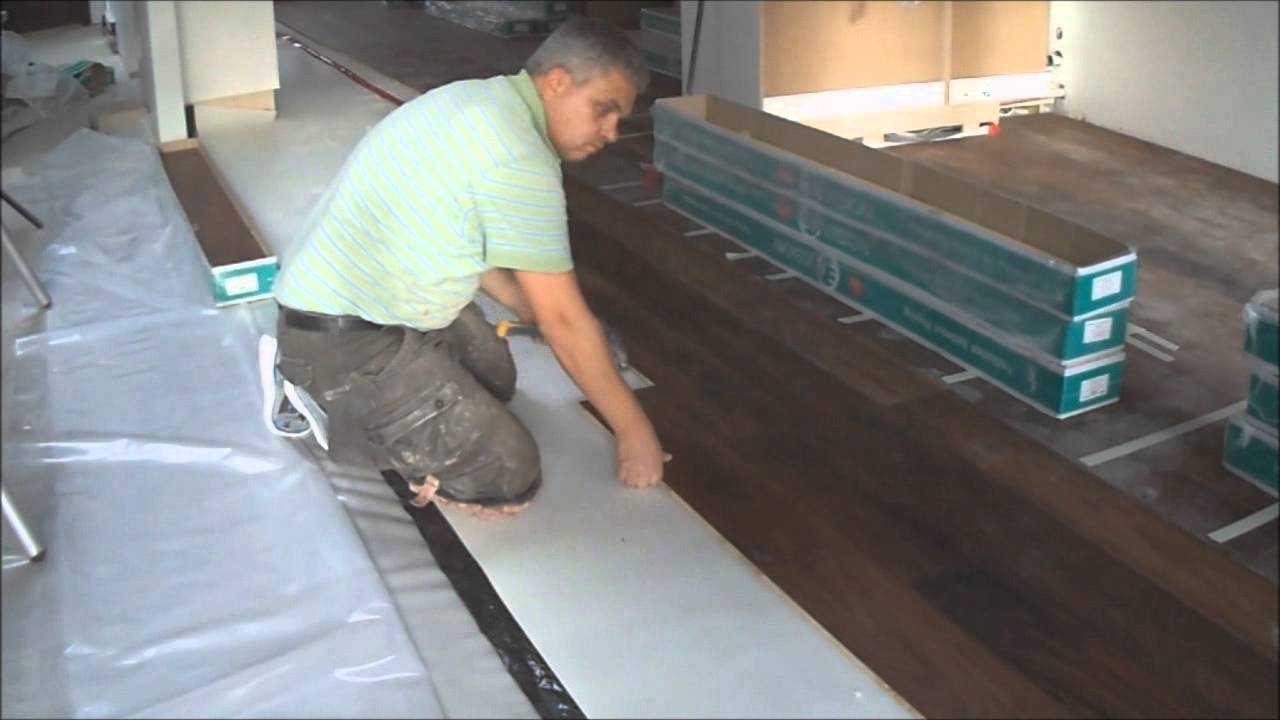
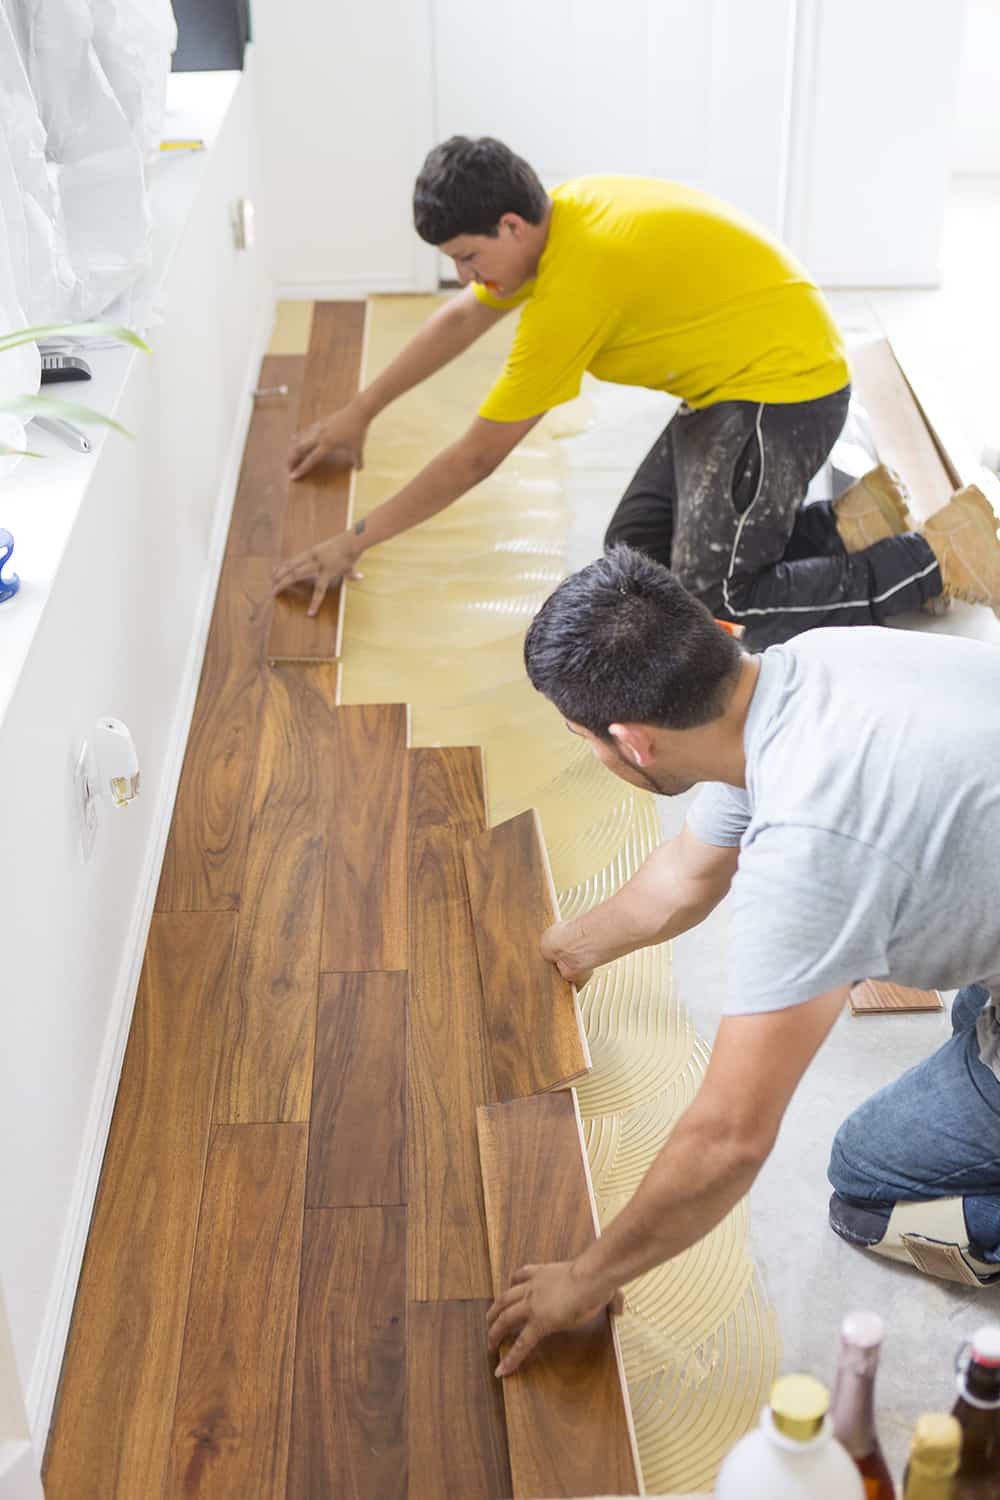
Now that your underlayment is in place, you can begin laying down your engineered wood planks one by one. Start in a corner of the room and work your way outwards, making sure to check each plank for proper fit before securing it in place with staples or nails depending on what type of installation method you are using.
## 6. Trim Around Edges
Once all of your planks are laid down, trim around edges using a jigsaw or circular saw if necessary. This will ensure that your floor is flush with doorways or other features that may be present in your room.
## 7. Add Finishing Touches
Finally, add any finishing touches that may be necessary for your particular installation such as trim moldings or baseboards. You may also want to apply sealant or other finishing products such as wood wax or polish depending on what type of look you are going for with your new engineered wood flooring floating installation.
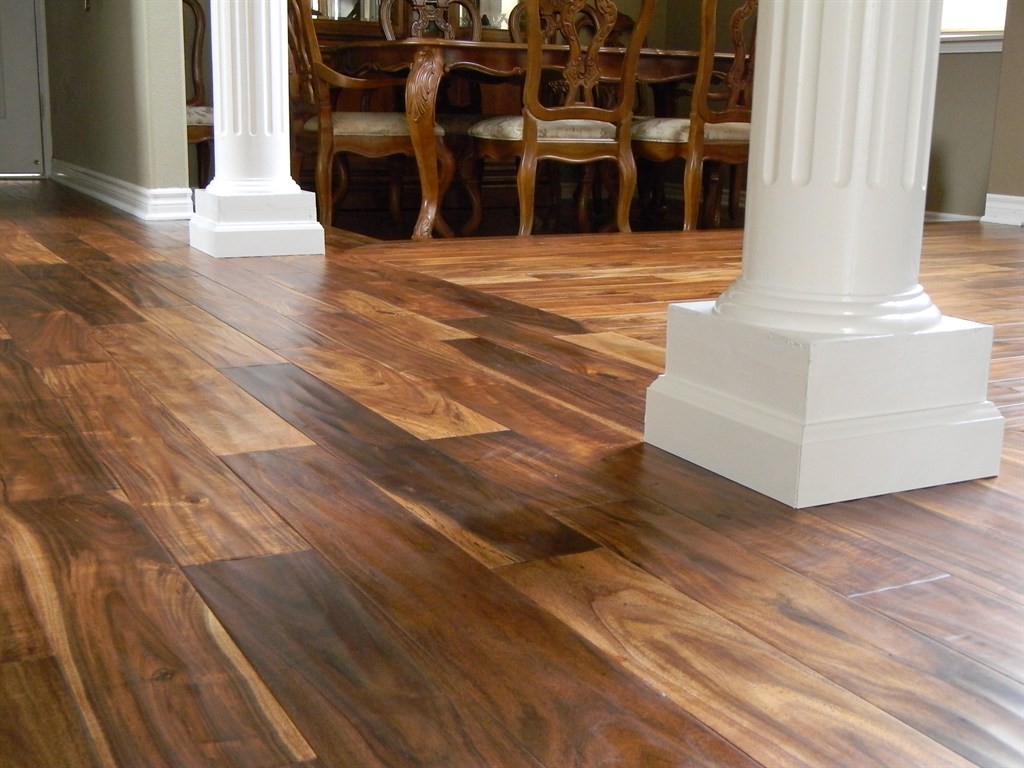
Laying engineered wood flooring floating is an easy and cost-effective way to add the beauty of real wood flooring to any room in your home without having to glue or nail it down. By following these simple steps, you can quickly create a beautiful new floor that will last for many years to come!