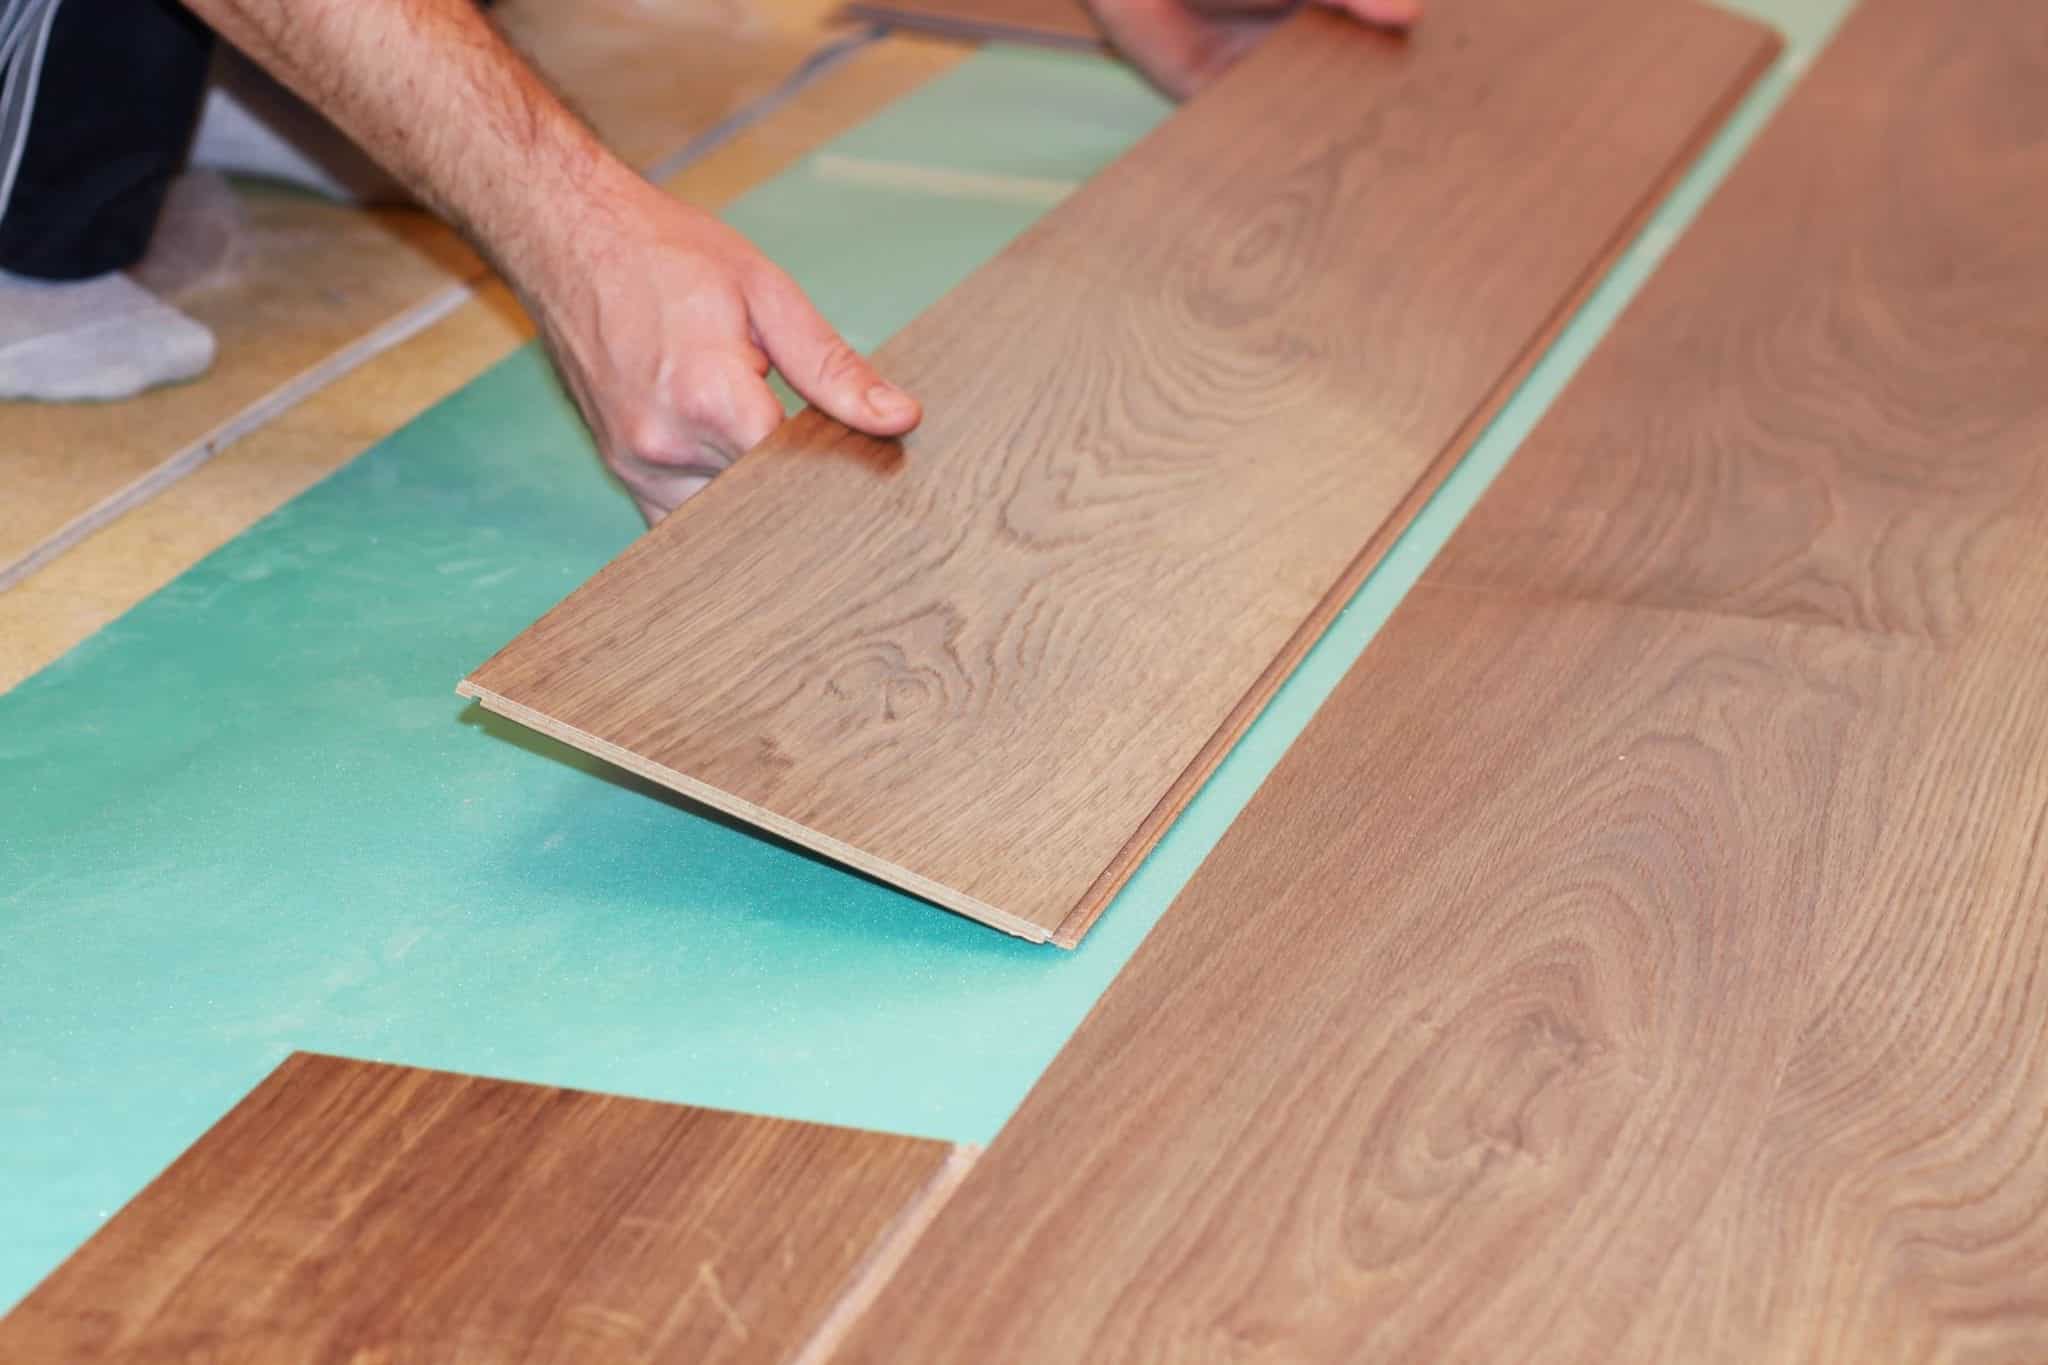
Laying vinyl floor tiles over existing tiles can be a practical and cost-effective way to update your flooring. Start by ensuring the existing tiles are in good condition, clean, and level. Use a floor patch or self-leveling compound to smooth out any uneven areas. Next, apply a primer to the tiles to improve adhesion. Lay the new vinyl tiles in a staggered pattern, using the adhesive recommended by the manufacturer. Press the tiles firmly to ensure a secure bond. Finish by sealing the edges with caulk for a professional finish. This method saves time and labor compared to removing old tiles and provides a fresh new look to your space.
Laying Vinyl Floor Tiles Over Existing Tiles
How to Lay Tile Over an Existing Vinyl Floor – Today’s Homeowner
LVT Flooring Over Existing Tile the Easy Way – Vinyl Floor Installation DIY

Can Vinyl Flooring Install Over Ceramic Tile? Hanflor News
How to Install Sheet Vinyl Flooring Over Tile – Bless’er House

Can You Install Vinyl Plank Flooring Over Existing Ceramic Tile – Home Alqu

Installing Luxury Vinyl Over Existing Tile • Our Storied Home
Can Be Lay Laminate Flooring Over Existing Vinyl Tile – can you install vinyl flooring on walls

Can You Install Vinyl Flooring Over Tile – Atkinson Inspection Services
How to Lay a Vinyl Tile Floor Vinyl tile flooring, Vinyl tile, Laying vinyl flooring

Related Posts:
- Pine Vinyl Flooring
- Vinyl Floor Laying DIY
- Cortex Vinyl Flooring
- Grey Slate Effect Vinyl Floor Tiles
- Dark Oak Vinyl Flooring
- Limestone Effect Vinyl Flooring
- Vinyl Floor With Border
- Adhesive For Vinyl Flooring To Concrete
- Teak Wood Vinyl Flooring
- Cheap Vinyl Flooring
A Step-by-Step Guide to Get a Fresh Look
If you’re looking for an easy way to give your home an updated look, laying vinyl floor tiles over existing tiles is a great and cost-effective solution. Vinyl floor tile can be laid on top of almost any existing surface, making it a great DIY project for any homeowner. In this guide, we’ll walk you through the process of laying vinyl floor tiles over existing tiles, from prepping the surface to cutting and laying the tiles.
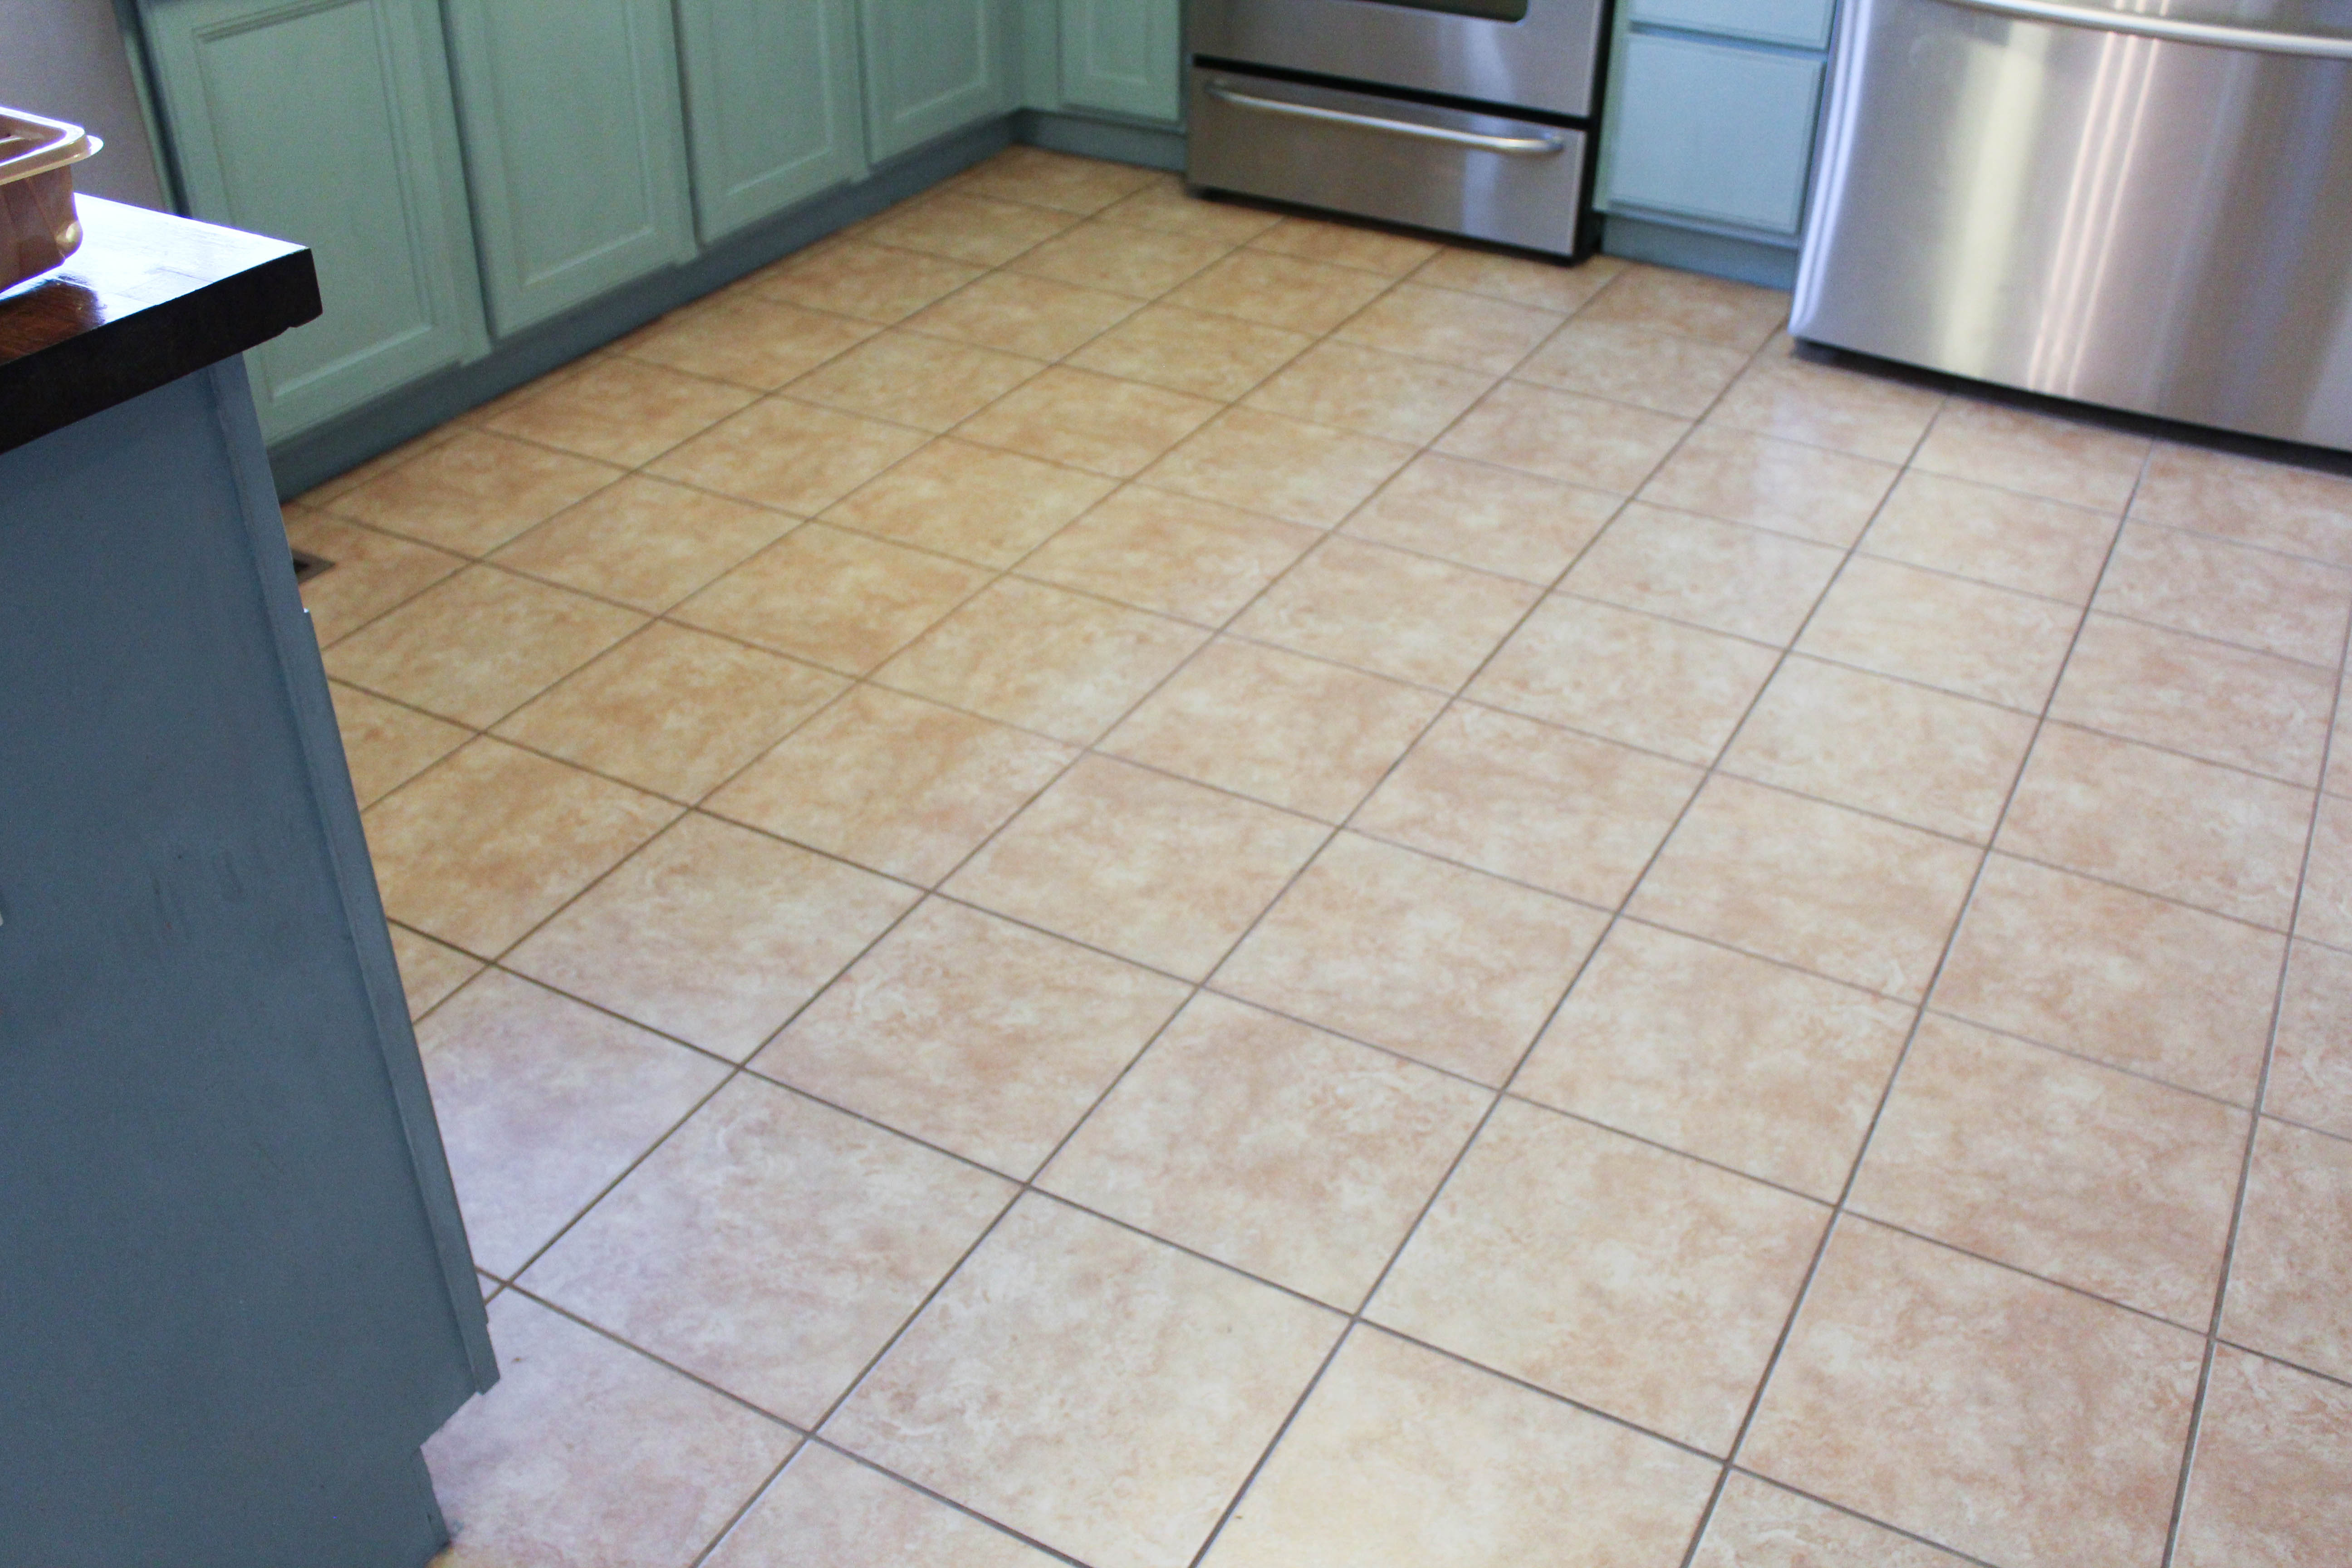
## Preparing the Surface
The first step in any tiling project is to prepare the surface. You’ll want to make sure that the surface is clean and free of debris, as any dirt or debris could create bumps or lumps under the new tiles. Start by sweeping the surface with a broom and then use a vacuum cleaner to remove any remaining dirt or dust. Next, use a damp cloth and mild detergent to clean the surface and then let it dry completely before moving on.
## Measuring and Marking
Once the surface is prepped, it’s time to measure and mark where you’ll be laying the new vinyl tiles. Start by measuring the length and width of each tile that you plan on covering with vinyl tile. Then, draw a light pencil line around each tile so that you know where to lay each one. This will help ensure that all of your tiles are laid evenly and symmetrically.
## Applying Adhesive
Now that you have your measurements and marks, it’s time to apply adhesive. Make sure to use an adhesive specifically designed for vinyl floor tiles as this will ensure that your tiles stay secure. Follow the manufacturer’s instructions when applying the adhesive, taking care to spread it evenly across the surface. Once applied, let the adhesive sit for at least 15 minutes before moving on.
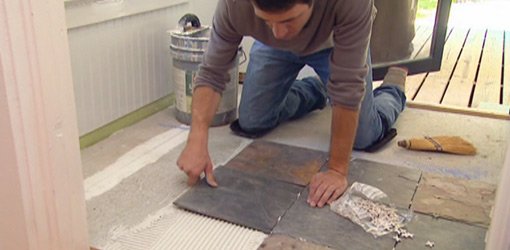
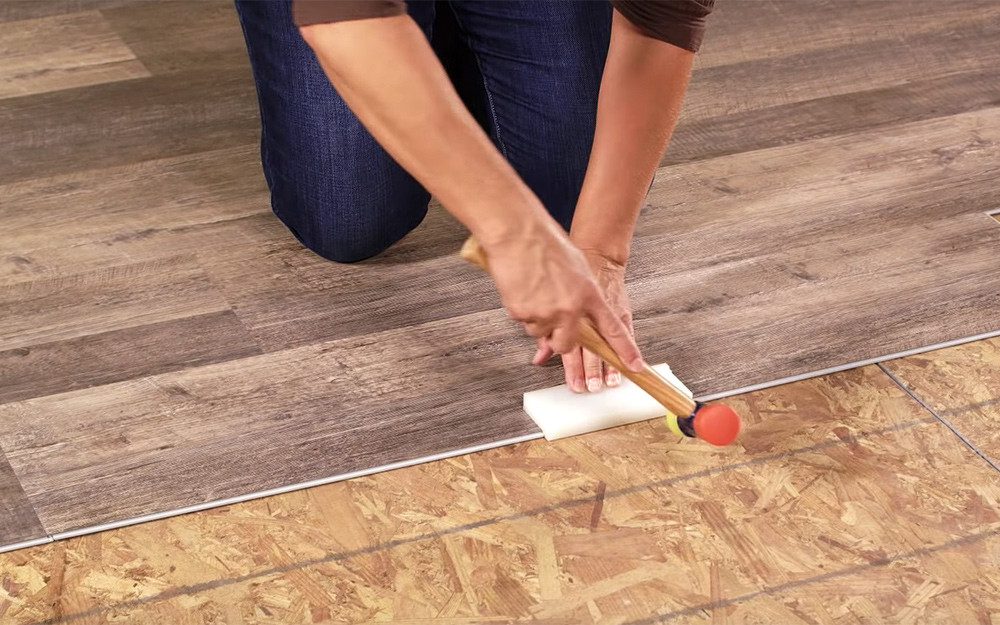
## Cutting and Laying Tiles
When it comes time to cut and lay your tiles, you’ll need to use a sharp utility knife or tile cutter. Start by cutting each tile to fit along your marked lines and then lay them down one by one into position from corner to corner. Make sure that each tile is firmly pressed into place before moving onto the next one. When you’re done laying all of your tiles, press down firmly on each one using a flat object like a rolling pin or rubber mallet.
## Grouting
Once all of your vinyl floor tiles are in place, it’s time to grout them. Grouting helps seal in the edges of your tiles and prevents water from seeping into the space between them. Use a grout specifically designed for vinyl flooring and follow the manufacturer’s instructions when mixing it up and applying it between your tiles. Once dry, seal off the grout with a sealant specifically designed for vinyl flooring.
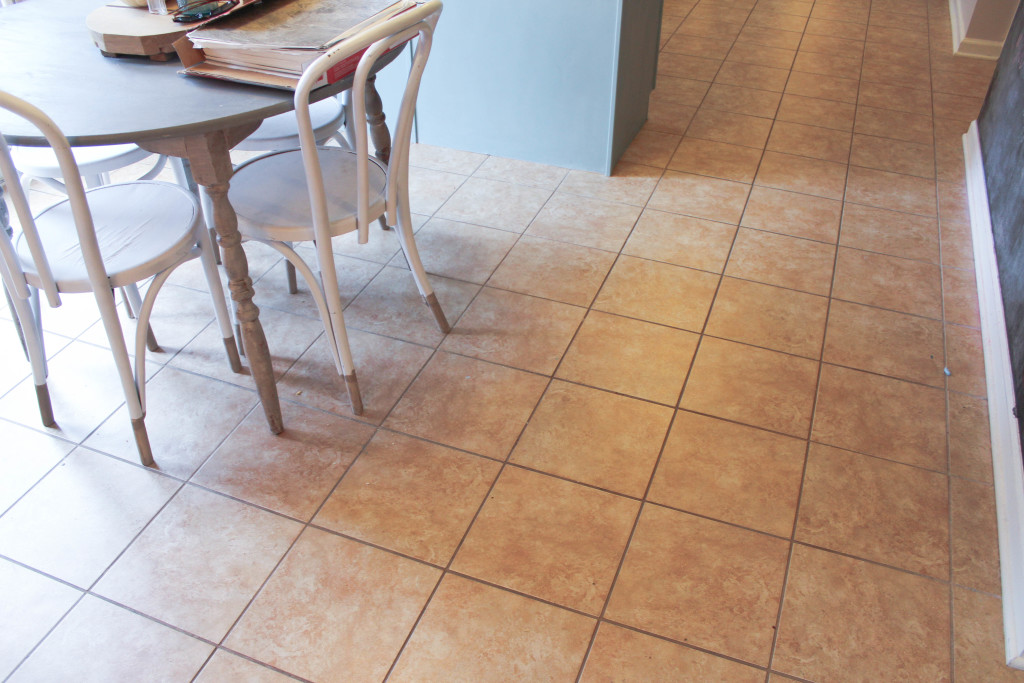
Laying vinyl floor tiles over existing tiles is an easy DIY project that can give your home an updated look without breaking the bank. Just remember to prep your surface, measure and mark where you’ll be laying your tiles, apply adhesive, cut and lay them, and grout when finished. With this step-by-step guide, you’re sure to have beautiful new vinyl flooring in no time!