Leveling Concrete Garage Floor
Garage Floor Self Leveling Epoxy Dandk Organizer

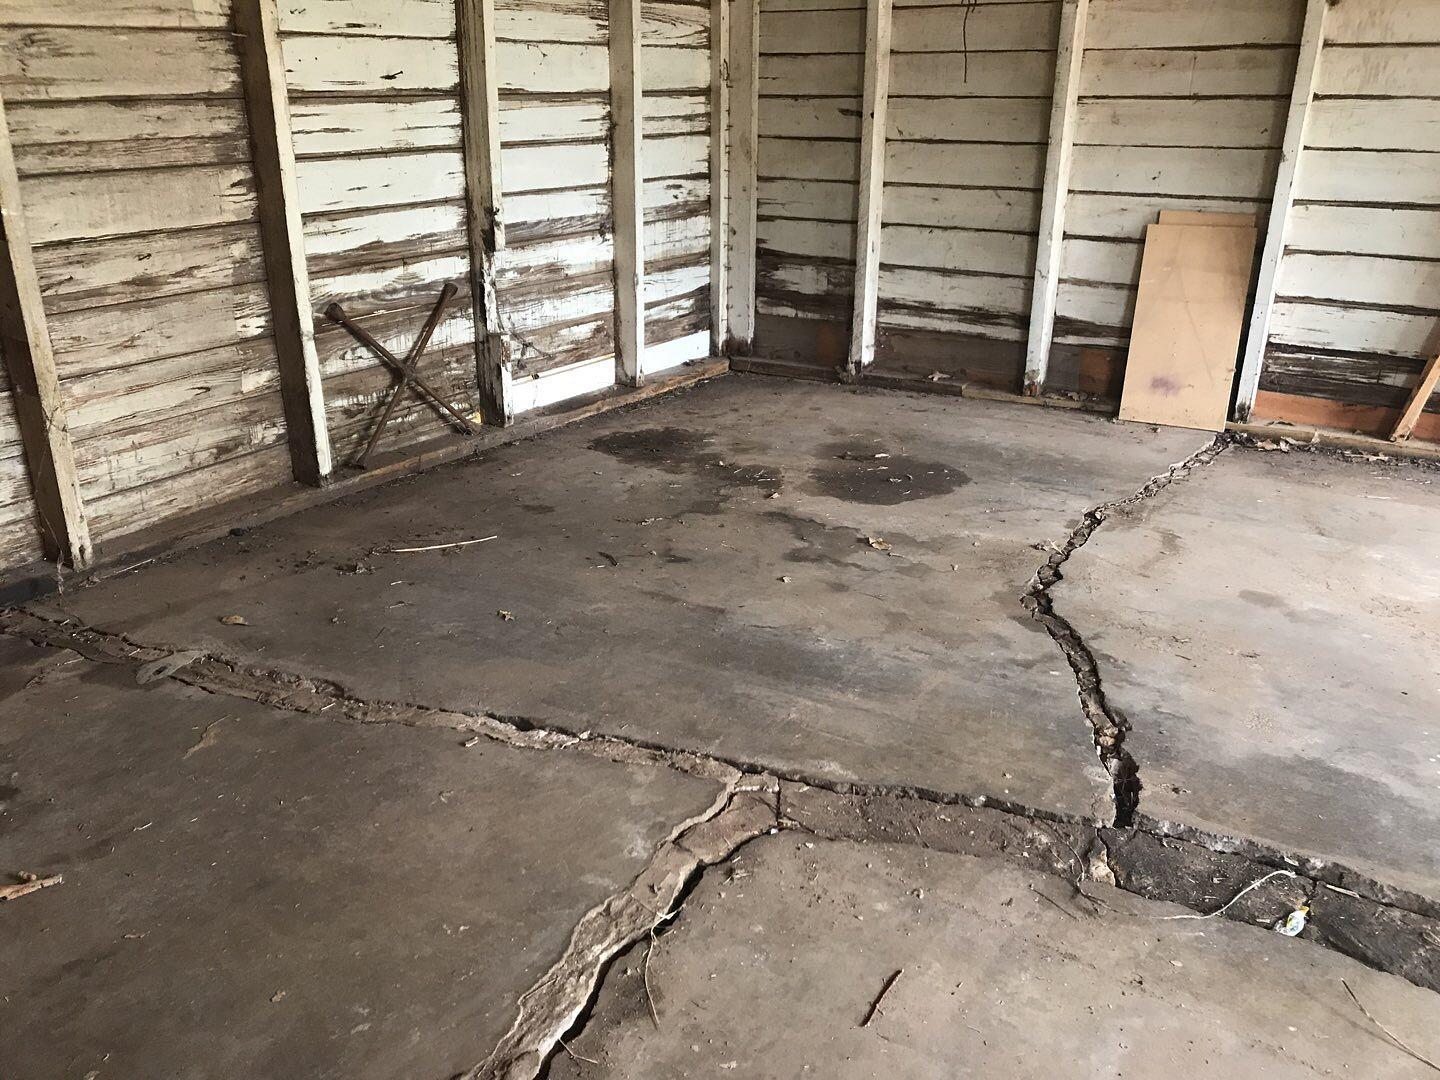
Concrete Leveling – Garage Concrete Repair in Oklahoma City, Ok – Cracked Garage Floor in
American_Concrete_Leveling_Garage_Floor_Steps_Uneven American Concrete Leveling

Concrete Garage Floor Repair and Leveling Services Garage Floor Leveling

Levelling Cracked Concrete Garage Floor – Concrete, Stone & Masonry – DIY Chatroom Home

Levelling Cracked Concrete Garage Floor – Concrete, Stone & Masonry – DIY Chatroom Home

Levelling Cracked Concrete Garage Floor – Concrete, Stone & Masonry – DIY Chatroom Home

Garage Floor Self Leveling Compound – Flooring : Home Design Ideas #5zPevEOZn999641

The Basement Doctor of Cincinnati – Concrete Lifting and Leveling Photo Album – Garage Floor

Concrete Leveling – Garage Floor Repair in Bartlesville, Ok – Garage door not closing properly

Related Posts:
- Basement Flooring Ideas
- Basement Floor Heaving Repair
- Basement Flooring Options DIY
- Fixing Basement Floor
- Repainting Basement Floor
- Walkout Basement Flooring
- Brick Basement Flooring
- Budget Basement Flooring
- Waterproofing Your Basement Floor
- Laminate Basement Flooring
Leveling a concrete garage floor is an important part of maintaining your home’s structure, and not just for aesthetics. Uneven and cracked concrete can be uncomfortable to walk on and also creates an opportunity for moisture to seep in, leading to further damage down the line.
Fortunately, leveling a concrete garage floor is easier than you may think. Read on for step-by-step instructions on achieving the perfect even surface in your garage.
Preparation
Before attempting to level your concrete garage floor, you’ll need to take some preparatory steps. The first step is to collect any items scattered around the floor like tools, toys, or boxes, and move them to a different storage area. You’ll also need to sweep and mop the floor thoroughly to make sure all debris has been removed.
Next, you’ll need to check the surface of the concrete for any cracks or chips that need repair. Utilizing a drill with a masonry bit, you’ll need to chip away any surrounding cracked concrete and fill the vacated space with concrete repair caulk – make sure the caulk is meant for outdoor use! If you see any large cracks, consider filling them with a concrete patch material before moving onto the next step.
Leveling the Concrete
Now that your work space is ready, you can begin leveling your concrete floor. To start, you’ll need to measure the depth of your highest and lowest points around the edges of the area with a tape measure. This will give you an idea of how much leveling compound you’ll need.
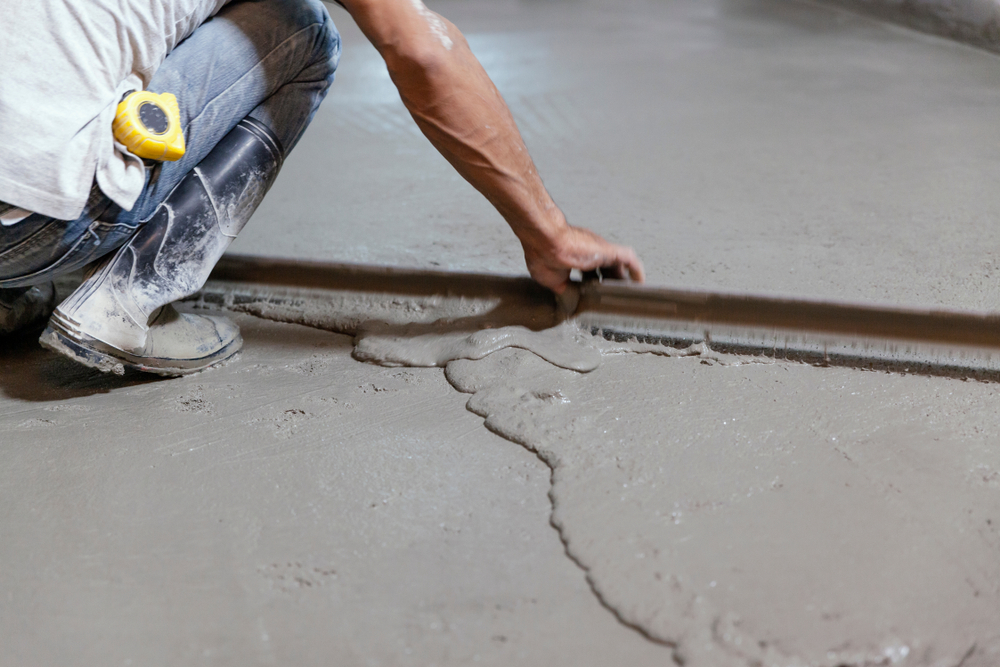
After measuring your areas, it’s time to rent a power trowel from your local hardware store. You’ll likely need assistance transporting this heavy piece of equipment back home; as once in position, you can begin spreading your leveling compound across the floor in small sections using your trowel’s blades. It may take several passes in each section before reaching a flat surface – don’t worry about achieving perfection yet! After spreading the compound over all areas, allow it time to dry overnight before executing the following steps.
Smoothing and Finishing
The final steps involve smoothing and finishing your leveled concrete so it’s safe and comfortable to walk on. Start off by using a grinder with a 30-grit diamond disk attachment on your renovated areas – this will create an even surface across all areas of your garage floor.
After grinding, attach a 120-grit diamond disk attachment and repeat this process over every area except for those closest to walls or other stationary objects. This step will yield nearly perfect results but won’t go deep enough into cracks and chips around these areas; for those spots, use a hand grinder with similar attachments.
To finish off your leveled concrete garage floor, select a sealant better suited for outdoor use and apply it liberally across all sections of the newly renovated surface. You might want to consider using two coats of sealant depending on your preferred protection level; once satisfied with the number of coats applied, allow 24-48 hours for full drying before heading back into your newly leveled garage!
SEO Title: How to Level a Concrete Garage Floor – Step-by-Step Guide
What is the best way to level a concrete garage floor?
The best way to level a concrete garage floor is to first install a layer of self-leveling concrete compound and then use grinding equipment to smooth it out. Self-leveling compound can be poured on the floor or pumped into place. Once it has set, grinding the surface will help make it even and smooth. Additionally, using a floor patch product to fill in any cracks or imperfections can help improve the look of your garage floor. Finally, applying a sealant designed for outdoor use will help protect the newly leveled concrete surface.What tools do I need to level a concrete garage floor?
To level a concrete garage floor, you will need a straightedge, a masonry hand float, a plumb bob, and a drill with a mixing paddle attachment. You may also need a concrete sander or grinder if the floor is severely uneven. Additionally, you will need a concrete self-leveling compound, a patching product for any cracks or chips, and a sealant designed for outdoor use. Finally, you will need a power trowel to apply the leveling compound.What type of material should I use to patch a concrete garage floor?
The best type of material to use to patch a concrete garage floor is an epoxy-based concrete repair product. Epoxy products provide a durable and long-lasting repair that can resist the wear and tear of heavy equipment. Before applying the repair product, make sure to thoroughly clean and dry the area, and then follow the manufacturer’s instructions for installation and curing times.What tools do I need to patch a concrete garage floor?
You will need a concrete patching compound, a putty knife, a stiff-bristle brush, sandpaper, a base coat of concrete sealer and primer, and a top coat of paint. You may also need a powered sander for the larger patches. Additionally, a good quality epoxy-based concrete repair product is recommended for larger patches or areas that require more strength. Be sure to read the instructions and follow the manufacturer’s directions for proper installation and curing time.What is the best material to use to patch a concrete garage floor?
The best material to use to patch a concrete garage floor is concrete patching compound. This compound is available in a variety of sizes and types, and can be applied with a trowel or putty knife. It is important to make sure that the patching compound used matches the color and texture of the existing concrete. Additionally, make sure to follow the manufacturer’s instructions for installation and curing times.What materials do I need to patch a concrete garage floor?
To patch a concrete garage floor, you will need:-A concrete patch or a liquid crack sealer
-A putty knife
-Concrete bonding adhesive
-A small trowel
-Masonry sand
-Cement or mortar mix
-Broom or shop vacuum for any loose debris
-A hand tamper to pack the area tightly
-A clean cloth
-Masonry sealant (optional)
Once you have gathered your materials, you can begin patching the floor. Be sure to follow the manufacturer’s instructions for installation and curing times.
How do I seal a concrete garage floor?
To seal a concrete garage floor, begin by cleaning the surface with a power washer or degreasing agent. Allow the surface to dry before proceeding. Next, select a sealant better suited for outdoor use and apply it liberally across all sections of the newly renovated surface. You might want to consider using two coats of sealant depending on your preferred protection level; once satisfied with the number of coats applied, allow 24-48 hours for full drying before heading back into your newly leveled garage!