Why Choose Pergo Wood Flooring for Your Home?
When it comes to flooring options, Pergo wood flooring stands out for several reasons. If you’re like me, you want something that looks great but can also stand up to daily wear and tear. Pergo offers that perfect balance between beauty and durability. Here’s why I think Pergo wood flooring is an excellent choice for your home.
- Durability and Scratch Resistance: Pergo’s reputation for durability is one of the first things that attracted me to it. The wood flooring is designed to withstand high traffic, making it perfect for busy households with kids, pets, or constant activity. Its scratch-resistant technology ensures that it remains beautiful for years, even in the most used areas of your home.
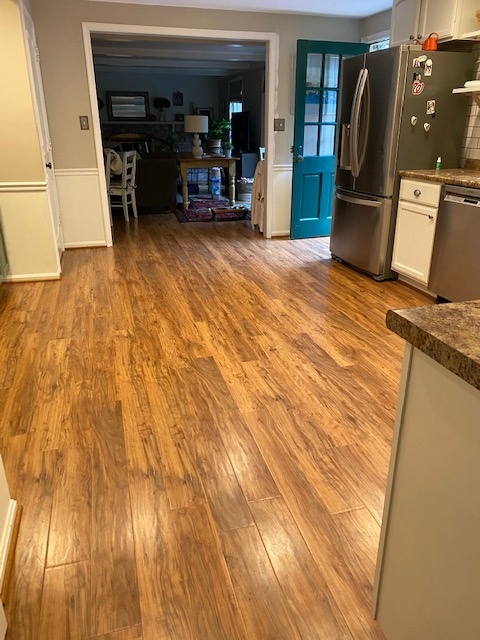
- Authentic Wood Look and Feel: Pergo wood flooring offers the rich texture and appearance of real hardwood, without some of the downsides like susceptibility to moisture or dents. I love how it adds warmth and character to a space, making any room feel more inviting. It comes in a variety of wood species and finishes, so you can find something that complements your home’s decor.
- Easy Maintenance: If you’re not a fan of spending hours cleaning and maintaining your floors, Pergo is a great option. Unlike traditional hardwood, it doesn’t require refinishing or polishing. A simple sweep and occasional mop are all that’s needed to keep it looking pristine.
- Water-Resistant Options: Pergo also offers water-resistant varieties, which is a game-changer for areas like kitchens, bathrooms, or basements. You get the natural beauty of wood with the added benefit of water protection, which is something I found particularly useful in high-moisture areas of my home.
- Affordability: Compared to solid hardwood flooring, Pergo wood floors are far more affordable. You get the look and feel of real wood at a fraction of the cost, making it an excellent choice for budget-conscious homeowners like myself.
- Eco-Friendly Choice: Another reason I chose Pergo is its eco-friendly manufacturing process. The wood used in Pergo flooring is often sourced from sustainable forests, and the production process has minimal impact on the environment. For those who are environmentally conscious, this is a big plus.
Essential Tools and Materials Needed for Pergo Flooring Installation
Before diving into the installation process of Pergo wood flooring, it’s important to have all the necessary tools and materials on hand. Proper preparation will not only make the job easier but also help ensure a smooth, professional finish. I’ve compiled a list of must-haves based on my own experience with installing Pergo flooring.
Pergo Wood Flooring: Of course, the first thing you’ll need is the Pergo flooring itself. Make sure you measure your room accurately and purchase 10-15% more material to account for any mistakes or waste during installation. Having extra on hand is crucial, especially for larger rooms with irregular shapes.
Underlayment: If your Pergo flooring doesn’t come with a pre-attached underlayment, you’ll need to purchase a separate one. The underlayment provides a cushion between the flooring and the subfloor, improving sound insulation and comfort underfoot. It also acts as a moisture barrier in some cases, which is especially important if you’re installing in a basement or over concrete.
Measuring Tape and Pencil: Accurate measurements are key to a successful installation. You’ll want a sturdy measuring tape and a pencil to mark cuts or make adjustments. In my experience, measuring twice before making any cuts saves a lot of hassle.
Utility Knife or Flooring Cutter: You’ll need a utility knife or flooring cutter to trim planks to fit around corners, walls, or other obstacles. A sharp, clean cut is crucial for ensuring a seamless finish. I’ve found that investing in a good flooring cutter can save time and effort in the long run.
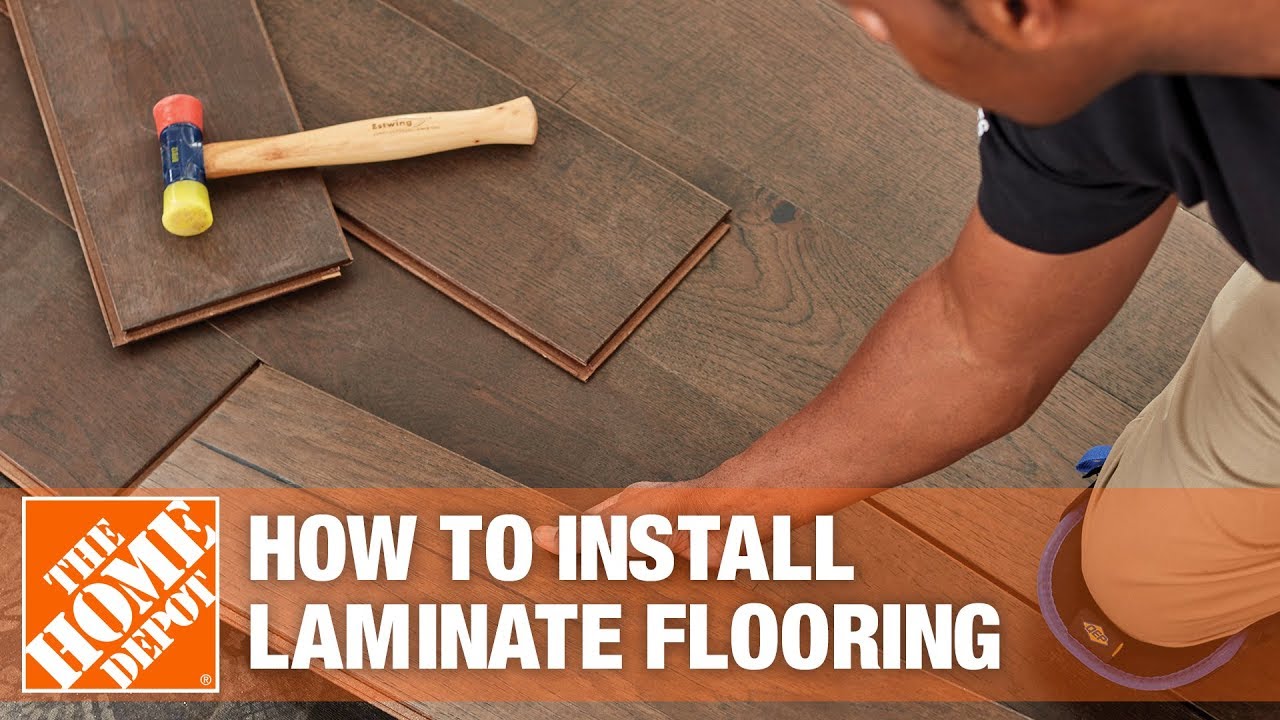
Rubber Mallet and Tapping Block: To properly lock the Pergo planks into place, you’ll need a rubber mallet and tapping block. These tools help you click the boards together without damaging the edges. A gentle tap usually does the trick, but don’t skip these tools—they make all the difference.
Spacers and Transition Strips: Spacers are used to create expansion gaps around the edges of the room, which allow the flooring to expand and contract with temperature changes. Transition strips help blend the Pergo flooring with other types of flooring in adjacent rooms. Both are small but essential details that contribute to a professional-looking installation.

Preparing Your Subfloor for a Smooth Pergo Installation
One of the most critical steps in installing Pergo wood flooring is ensuring that your subfloor is properly prepared. I can’t emphasize enough how much easier the installation process becomes when the subfloor is clean, level, and dry. Here’s a guide to prepping your subfloor for Pergo installation.
Clean the Subfloor Thoroughly: Start by cleaning the subfloor. Sweep or vacuum up any dust, debris, or dirt. Any particles left on the floor can cause imperfections or make it harder for the Pergo planks to lock together. I recommend going over the area twice to make sure it’s spotless.
Check for Levelness: The subfloor must be level to ensure a smooth installation. Uneven surfaces can lead to gaps or cause the flooring to buckle over time. You can check for levelness by placing a long spirit level across various sections of the room. If you notice dips or high spots, you’ll need to either sand down the high points or fill in the low areas with a leveling compound.
Repair Any Damaged Areas: Look for cracks, holes, or other damage in the subfloor. Any imperfections need to be fixed before laying the Pergo planks. If you’re working with a plywood subfloor, fill in any gaps with wood filler. For concrete subfloors, you’ll need a patching compound to repair cracks or holes.
Moisture Test: Moisture is the enemy of any wood-based flooring, and Pergo is no exception. Perform a moisture test by using a moisture meter or taping a piece of plastic to the subfloor and checking for condensation after 24 hours. If moisture is present, you may need to install a vapor barrier or correct the source of the moisture before proceeding.
Install Underlayment: Depending on your flooring choice, you may need to install an underlayment. This acts as a moisture barrier, sound insulator, and cushioning layer for your Pergo wood flooring. Lay it out flat, ensuring there are no wrinkles or gaps. You can use tape to secure the seams between the underlayment sheets.
Acclimate Your Pergo Flooring: Before you start installing, make sure the Pergo planks acclimate to the room’s temperature and humidity. Lay the unopened boxes in the room where the flooring will be installed for at least 48 hours. This step helps prevent the planks from expanding or contracting once they’re installed.
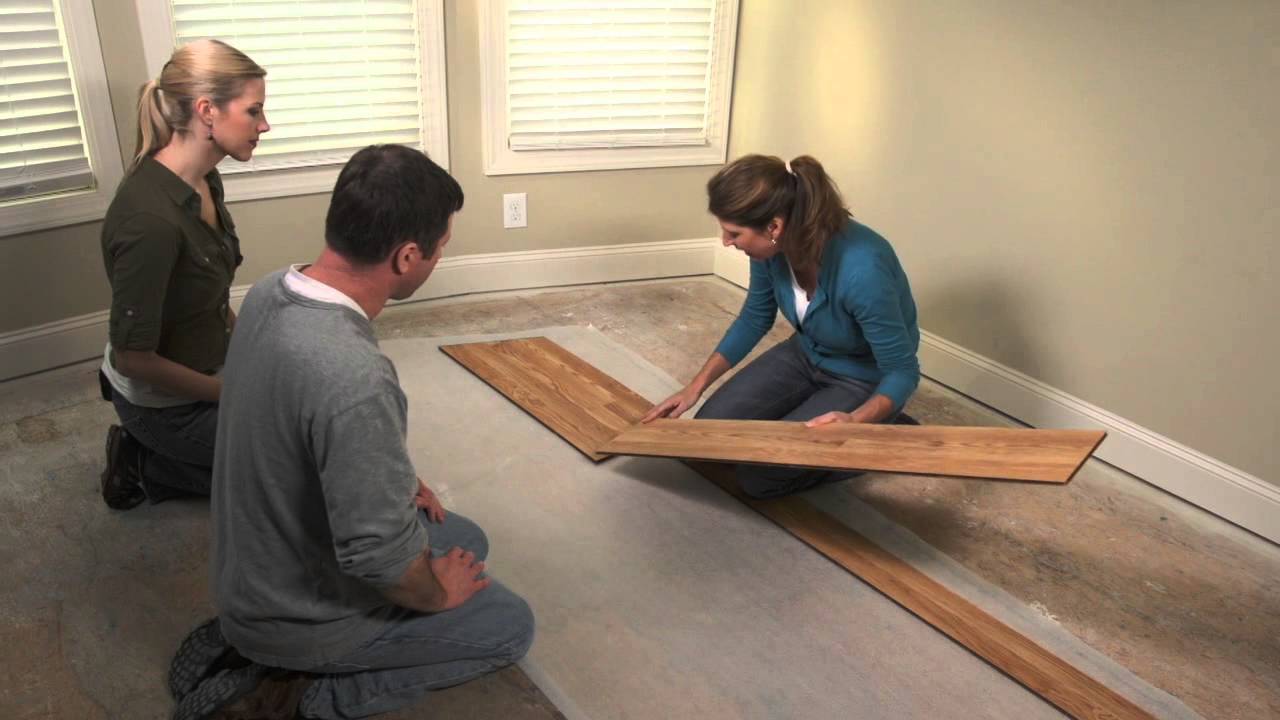
Step-by-Step Guide to Installing Pergo Wood Flooring
Installing Pergo wood flooring can seem intimidating at first, but with the right approach and some patience, it’s a project that many homeowners can tackle themselves. I’ve broken down the process into simple, easy-to-follow steps to help you achieve a professional-looking finish.
Lay the Underlayment: If your Pergo flooring doesn’t have an attached underlayment, your first step is to lay it out on the prepared subfloor. Roll it out from wall to wall, making sure there are no gaps between sheets. Tape the seams together for a secure fit. This layer will help with soundproofing and moisture control, and it adds a slight cushion underfoot.
Plan Your Layout: Before you start clicking planks together, it’s essential to plan your layout. Measure the room and calculate how many rows of planks you’ll need. Make sure you stagger the seams in each row by at least 12 inches to create a more natural look. I always like to start with the longest, straightest wall in the room for my first row.
Start with the First Row: Begin by laying the first plank with the groove side facing the wall. Use spacers along the edges to maintain an expansion gap (usually 1/4 inch) between the flooring and the wall. This gap allows the flooring to expand and contract with temperature changes.
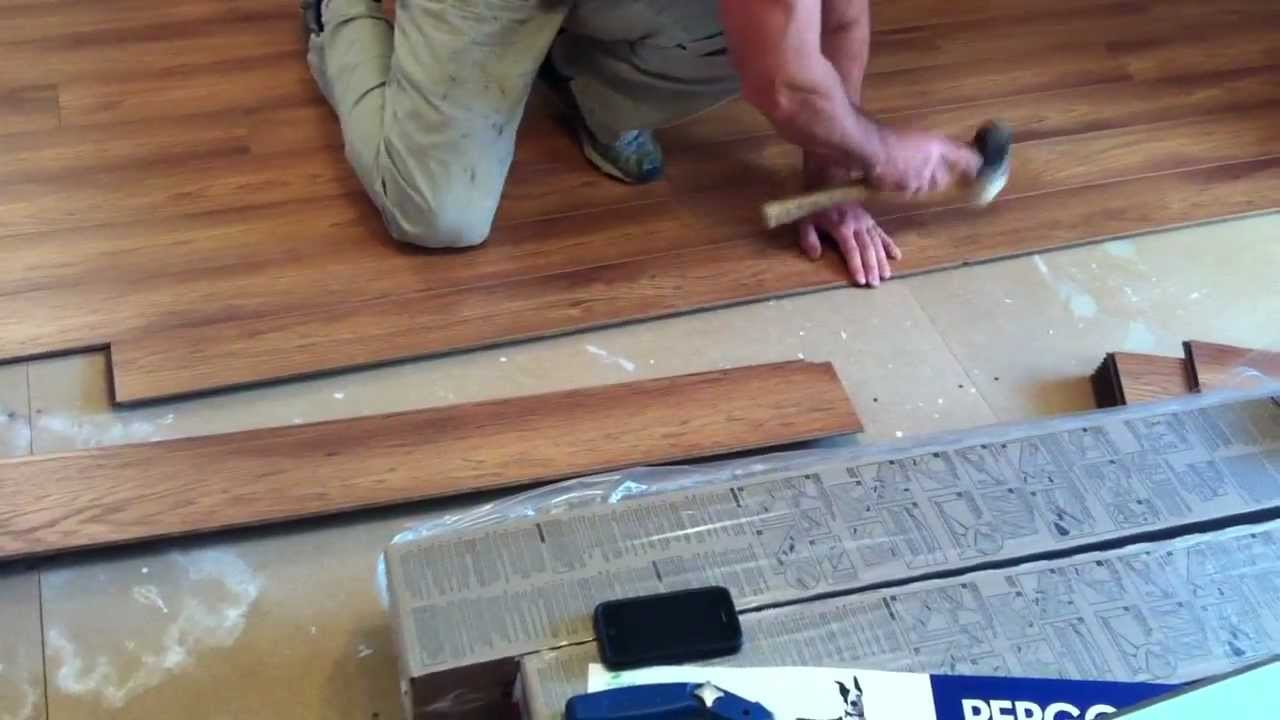
Click and Lock the Planks: Once the first plank is in place, click the second plank into the groove of the first one. Use a tapping block and rubber mallet to gently tap the planks together for a tight fit. Continue this process for the entire first row, trimming the last plank as needed to fit.
Install Subsequent Rows: For the second row and beyond, stagger the planks so that the seams don’t line up. This will give your floor a more natural, balanced appearance. Click each plank into place, starting with the tongue side and locking it into the groove of the row above. Repeat until you’ve covered the entire floor.
Trim the Edges and Install Transitions: Once all the planks are installed, remove the spacers and install any necessary transition strips between your new Pergo flooring and other types of flooring in adjacent rooms. You can also trim baseboards or add quarter-round molding to cover the expansion gaps along the walls.

Finishing Touches: Trimming and Sealing Your Pergo Floors
After you’ve installed your Pergo wood flooring, it’s time to focus on the finishing touches. Proper trimming and sealing will give your floors a polished, professional appearance and protect them from wear and tear. Here’s how to tackle the final steps in your Pergo flooring installation.
Remove Spacers and Inspect Expansion Gaps: Once the flooring is fully installed, remove the spacers that you used to create expansion gaps around the perimeter of the room. Check the gaps to ensure they are consistent and wide enough to allow for natural expansion and contraction of the flooring.
Install Baseboards or Quarter-Round Molding: To cover the expansion gaps, you’ll need to install baseboards or quarter-round molding along the edges of the room. I recommend using a nail gun or finishing nails to secure the trim to the wall, not the floor itself. This way, the flooring can still move as needed without being restricted.
Trim Around Doorways and Obstacles: If you haven’t done so already, trim the flooring around doorways or any obstacles like pipes or vents. Use a jigsaw or coping saw to carefully cut the planks to fit around these areas. It’s important to leave a small gap around these obstacles for expansion, which can be covered with trim or caulking.
Seal Expansion Gaps with Caulking: For areas where molding isn’t an option, such as around kitchen islands or fireplace hearths, you can use flexible caulking to seal the expansion gaps. Choose a color that matches your flooring for a seamless look. This step helps protect the edges of your flooring from moisture and debris.
Install Transition Strips: If your Pergo flooring meets another type of flooring in an adjacent room, you’ll need to install transition strips. These strips create a smooth transition between different flooring types and help prevent tripping hazards. I’ve found that transition strips are easy to install using a few screws or adhesives, depending on the type.
Final Cleaning and Inspection: Before you officially call the project complete, give your new Pergo floor a thorough cleaning. Sweep up any dust or debris from the installation process and lightly mop the floor to remove any remaining residue. Finally, walk around the room and inspect the floor for any gaps, loose planks, or areas that may need adjustment.

Common Installation Mistakes and How to Avoid Them
Installing Pergo wood flooring can be a straightforward process, but there are a few common mistakes that can lead to problems down the line. Based on my own experience, here are some common pitfalls to avoid and tips to ensure a successful installation.
Skipping Subfloor Preparation: One of the biggest mistakes you can make is not properly preparing the subfloor. If the subfloor is dirty, uneven, or damaged, it can affect how the Pergo planks lock together and may cause issues like creaking or gaps. Always clean, level, and repair the subfloor before beginning installation.
Not Acclimating the Flooring: Another common error is skipping the acclimation process. Pergo wood flooring needs time to adjust to the room’s temperature and humidity levels before installation. Failing to acclimate the planks can lead to expansion or contraction after they’re installed, resulting in gaps or buckling.
Forgetting the Expansion Gaps: Pergo flooring needs room to expand and contract with temperature changes. If you install the flooring too tightly against the walls, it can buckle or warp over time. Always use spacers to create an expansion gap of at least 1/4 inch around the room’s perimeter.
Incorrect Staggering of Planks: It’s important to stagger the seams of your planks in each row. If the seams line up too closely, it can weaken the floor’s structure and create an unbalanced appearance. I always recommend staggering the seams by at least 12 inches to ensure a strong, natural-looking floor.
Improper Use of Adhesive: Some types of Pergo flooring require adhesive, while others use a click-lock system. Using the wrong adhesive or too much of it can lead to a messy installation or damage the planks. Always follow the manufacturer’s instructions regarding adhesives.
Neglecting Transition Strips and Molding: Transition strips and molding are often overlooked during installation, but they’re essential for creating a finished look and protecting your floors. Skipping these details can leave your flooring vulnerable to damage and make the room look incomplete.

Caring for Your Pergo Wood Floors After Installation
Once your Pergo wood flooring is installed, you’ll want to keep it looking beautiful for years to come. Fortunately, Pergo floors are relatively easy to care for, but some best practices can help maintain their appearance and durability. Here’s how I recommend caring for your new Pergo floors.
Regular Sweeping or Vacuuming: Dust and debris can accumulate on your floors, leading to scratches or dulling the surface. I recommend sweeping or vacuuming your Pergo floors regularly to keep them clean. Be sure to use a vacuum attachment suitable for hard floors to avoid causing damage.
Use a Damp Mop for Deeper Cleaning: For a deeper clean, use a damp mop and a cleaner specifically designed for Pergo or laminate flooring. Avoid soaking the floor with water, as excess moisture can seep into the seams and cause damage over time. I usually stick to a microfiber mop to avoid scratching the surface.
Avoid Harsh Chemicals: While Pergo floors are durable, they can still be damaged by harsh chemicals or abrasive cleaning tools. Stick to gentle, pH-neutral cleaners, and avoid using products like bleach or ammonia. These can break down the protective surface and dull the finish.
Use Furniture Pads: Heavy furniture can cause dents or scratches on your floors over time. To prevent this, I recommend placing felt pads under the legs of your furniture. This will allow you to move pieces around without damaging the floor.
Protect from Sunlight: Prolonged exposure to direct sunlight can cause fading or discoloration on any type of flooring, including Pergo. If your floors are in a sun-filled room, consider using window treatments like curtains or blinds to reduce UV exposure. You can also rearrange rugs and furniture periodically to even out wear.
Tackle Spills and Stains Quickly: If you spill something on your Pergo floor, clean it up right away. While Pergo is water-resistant, allowing liquids to sit for long periods can still cause damage. I always keep a soft cloth on hand to wipe up spills immediately, preventing stains and moisture from seeping into the seams.

Pergo Install in Lehi Hardwood Floor Guys Inc.

Pergo Install in Lehi Hardwood Floor Guys

Installing the Pergo Floor…Again!
Pergo Flooring Installation Kit
Installing Pergo Flooring – Domestically Speaking
Related Posts: