Preparing Subfloor For Vinyl Flooring

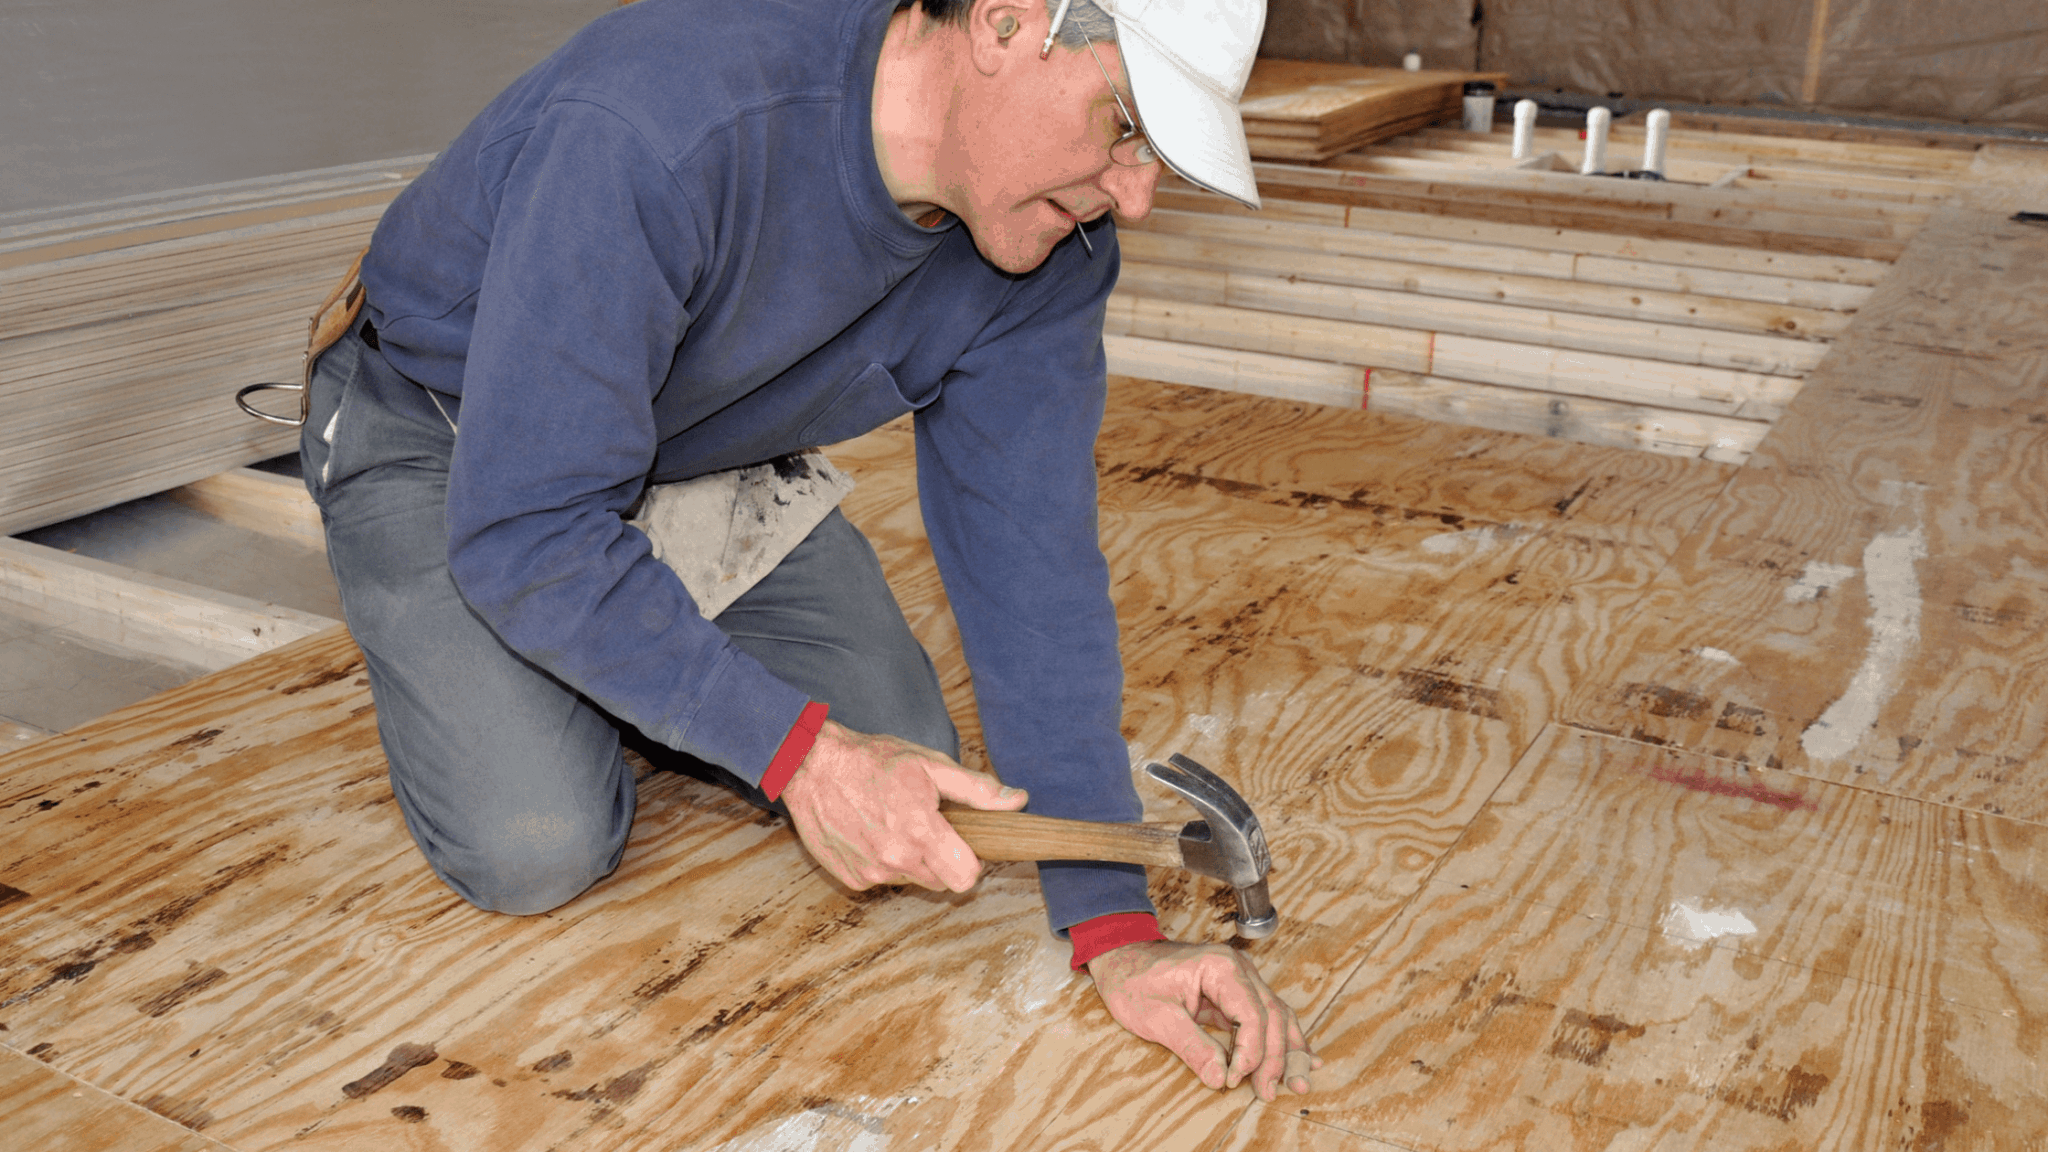
How to Install Plywood Flooring (5 Mistakes to Avoid)
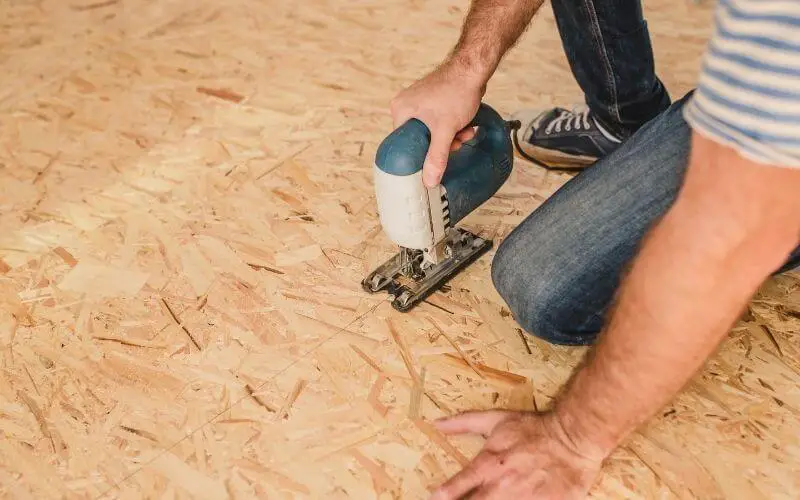
How To Install Floating Vinyl Plank Flooring Subfloor – healthy nutrition vegetarian diet
Subfloor Conditions Wood Floor Installation Guide

11 Steps to Install Floating Vinyl Plank Flooring In a Bathroom
How To Prepare Laminate Floor Subfloor And Then Put Vinyl On Top?
Can/Should You and How to Install Vinyl Plank on Plywood – Ready To DIY

Preparing Subfloor for Laminate Flooring Wood and Concrete Subfloors Faux wood flooring

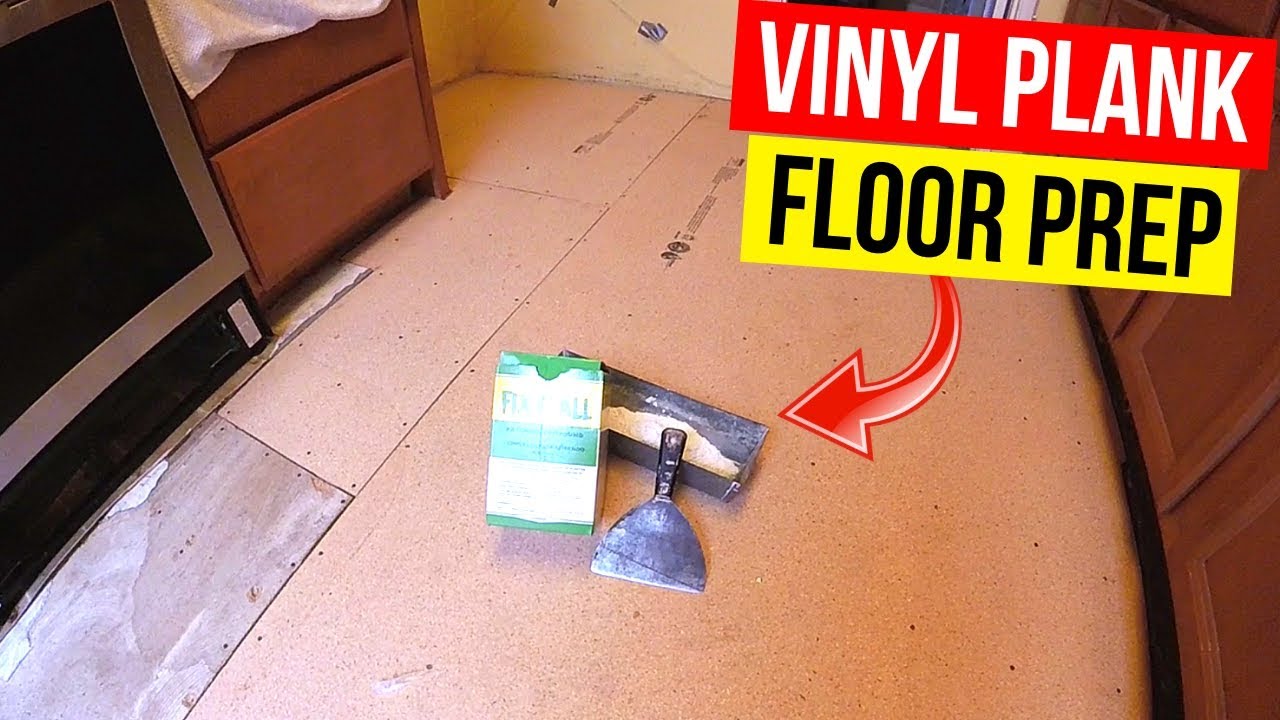
Luxury Vinyl Tile Installation Step 1: Preparing the Floor – YouTube in 2020 Luxury vinyl tile

How to Lay a Vinyl Tile Floor in 2020 Vinyl tile flooring, Vinyl tile, Laying vinyl flooring

How to prepare your subfloor for vinyl flooring – WJD Flooring

Can Vinyl Flooring Be Installed Over Original Plywood Floor – clean vinyl flooring with steamer

Related Posts:
- Pine Vinyl Flooring
- Vinyl Floor Laying DIY
- Cortex Vinyl Flooring
- Grey Slate Effect Vinyl Floor Tiles
- Dark Oak Vinyl Flooring
- Limestone Effect Vinyl Flooring
- Vinyl Floor With Border
- Adhesive For Vinyl Flooring To Concrete
- Teak Wood Vinyl Flooring
- Cheap Vinyl Flooring
Vinyl flooring is becoming increasingly popular due to its versatility, affordability and ease of installation. While vinyl flooring is relatively easy to install, it is important to prepare the subfloor properly to ensure a successful installation. Preparing the subfloor is the key to a long-lasting vinyl floor that looks great for years to come. This guide will walk you through the steps of preparing the subfloor for vinyl flooring.
## Step 1: Inspection
The first step in preparing the subfloor for vinyl flooring is to inspect the existing subfloor. Check for any damage such as cracks, loose or uneven boards, or signs of water damage. If any damage is found, it should be repaired before proceeding with the installation of vinyl flooring.
## Step 2: Cleaning
The next step is to clean the subfloor thoroughly. Use a vacuum cleaner to remove any dust and dirt. Be sure to get into all of the corners and crevices of the subfloor. If there are any stains, use a mild detergent and warm water to remove them. Once the subfloor is clean, let it dry completely before proceeding with the next steps.
## Step 3: Leveling
The third step in preparing the subfloor for vinyl flooring is to level it out. An uneven subfloor can cause problems with installation and can also result in an uneven finished surface. Use a long level and check for dips or bumps in the subfloor. If any are found, use a self-leveling compound or floor patch material to level it out.
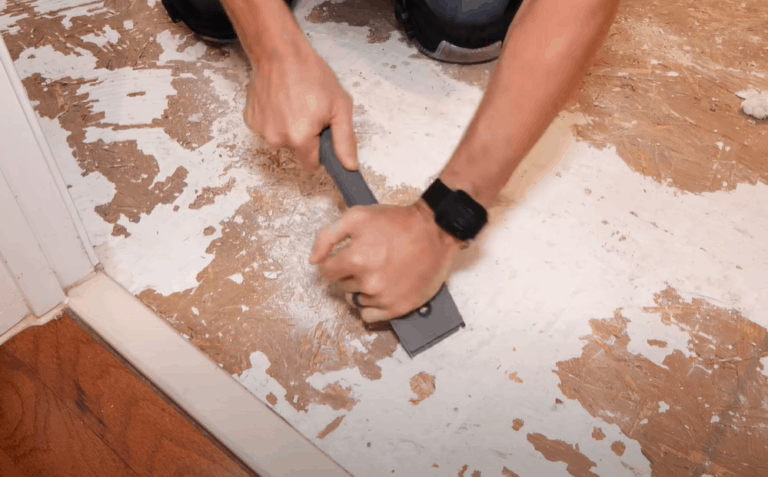
## Step 4: Fill In Gaps
The fourth step is to fill in any gaps between boards or seams in the subfloor. Use a wood filler or caulk specifically designed for wood floors to fill in any gaps or seams in the subfloor. Allow the filler or caulk to dry completely before continuing with the installation process.
## Step 5: Sanding
The fifth step is sanding the subfloor with a fine grit sandpaper to smooth out any rough spots or ridges in the surface of the subfloor. Sand until the entire surface is even and smooth before proceeding with installation of vinyl flooring.
## Step 6: Sealing
The final step in preparing the subfloor for vinyl flooring is sealing it with a sealant specifically designed for wood floors. This will help protect the wood from moisture and provide an extra layer of protection against wear and tear from foot traffic. Allow the sealant to dry completely before installing your new vinyl flooring.
Preparing the subfloor correctly is essential for achieving a successful installation of vinyl flooring. Following these six steps will ensure that your vinyl flooring lasts for many years without any issues due to improper preparation of the underlying surface. With proper preparation, you will be able to enjoy your new vinyl floor for years to come!