Prepping Garage Floor For Epoxy
How To Apply Commercial & Garage Epoxy Floor Paint Coatings
Epoxy Garage Floor Coating Preparation – Madison Art Center Design

Preparing concrete garage floor for epoxy paint – YouTube

Prepping_Garage Floors for Expoxy – Cheapest House on the Block
How to Prep a Garage Floor For Epoxy – Home Stratosphere

How to Epoxy a Garage Floor: A Helpful DIY Guide – Dallas Epoxy Pros

Handyman Hints: Prepping the basement floor, before finishing it Epoxy floor coating, Floor

Prepping Garage Floors for Expoxy – Cheapest House on the Block
epoxy garage flooring – Google Search Garage floor epoxy, Garage floor, Epoxy floor

How To Apply Garage Floor Epoxy Like a Pro
:max_bytes(150000):strip_icc()/7184880388_7a10367e16_k-587ae00d5f9b584db399e346.jpg)
How to Prep Your Garage Floor for an Epoxy Coating
Related Posts:
- Fast Cure Epoxy Floor Coating
- Stone Hard Epoxy Flooring
- How To Epoxy Flooring Garage
- How To Repair Epoxy Floor Coating
- Non Slip Epoxy Flooring
- Solid Epoxy Garage Floor
- Quikrete Floor Epoxy
- Paint Flakes Epoxy Floor
- Cheap Epoxy Floor
- Rock Solid Epoxy Floor
If you’re considering sprucing up your garage floor with an epoxy finish, you’re making a great decision. Epoxy flooring is durable, attractive, and relatively easy to apply. However, before you can enjoy the beauty of a well-finished garage floor, you’ll need to do a bit of prepping. Here’s how to get your garage ready for a beautiful epoxy finish.
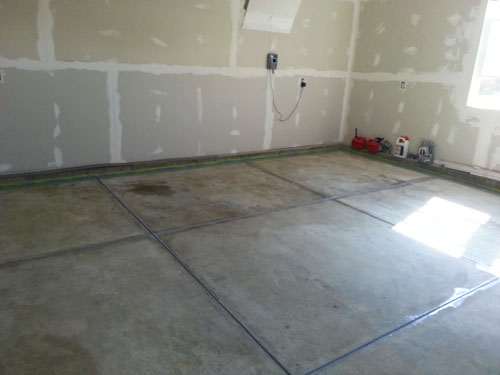
## Cleanliness is Key
The first step in prepping your garage floor for an epoxy finish is to make sure it’s clean. To do this, start by sweeping the floor thoroughly and removing any debris that has accumulated. Once the floor is clear of large debris, use a pressure washer to give it a deep clean. If you don’t have access to a pressure washer, you can use a strong cleaning solution with a stiff bristled brush. Once the floor is dry, you’re ready to move on to the next step.
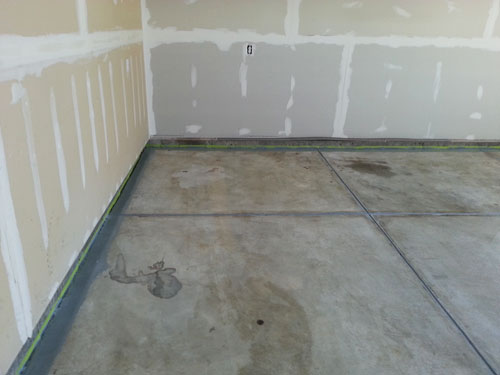
## Repair Any Damage
Once your garage floor is clean, carefully inspect it for any cracks or chips. If you find any damage, use an epoxy filler to patch it up and make sure it is completely dry before continuing. If there are any deep cracks or chips that need more than filler, consider using concrete repair caulk instead. Both products are available at most home improvement stores and come with easy-to-follow instructions.
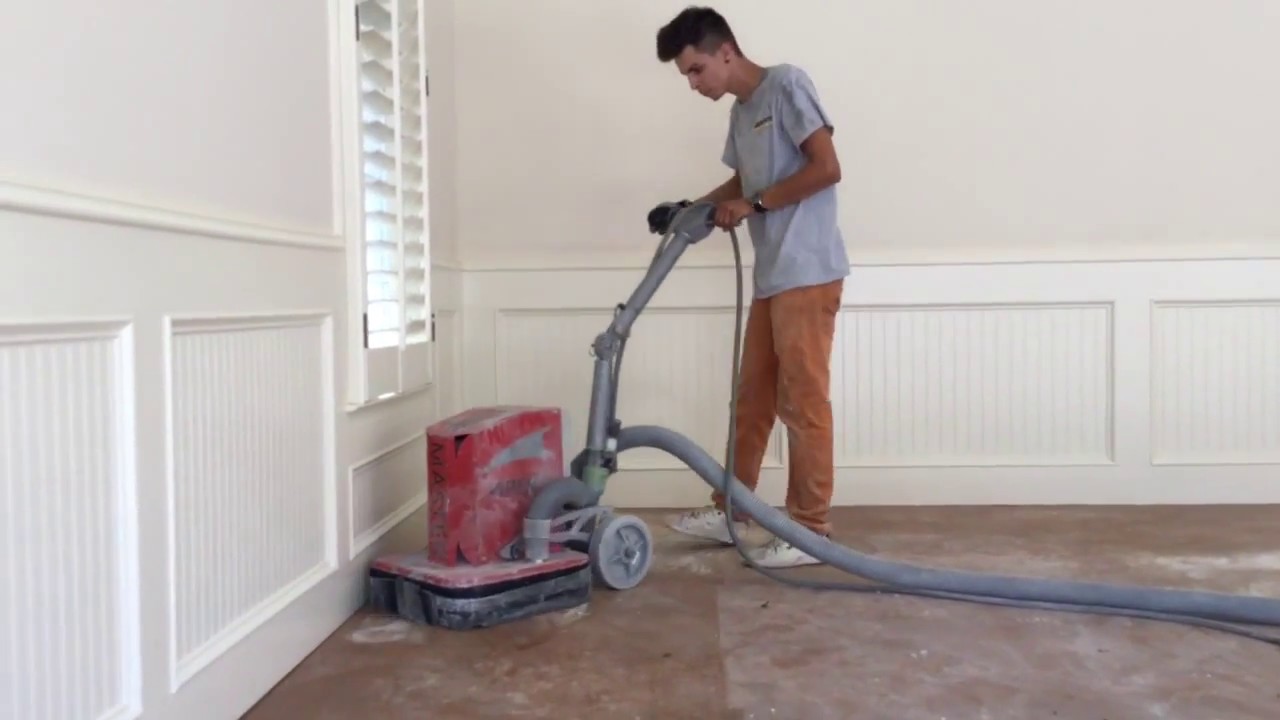
## Abrade the Surface
After patching up any damage and letting it dry completely, you’ll need to abrade the surface of the garage floor in order to give the epoxy something to stick to. This can be done with either an electric sander or a chemical etching solution. Both will work just fine, although an electric sander will be much quicker.
Once the surface is abraded, vacuum up any dust and then wipe the floor down with a damp cloth or mop in order to remove any residue from the abrasive process. Allow the floor to dry completely before continuing.
## Apply Primer
Once your floor is prepared and dry, it’s time to apply primer. Primer helps ensure that the epoxy adheres properly and creates a barrier between the concrete and the epoxy coating. To apply primer, simply roll it on with a paint roller or brush it on with a paintbrush until it covers the entire surface of the garage floor evenly. Let it dry completely before applying your epoxy coating.
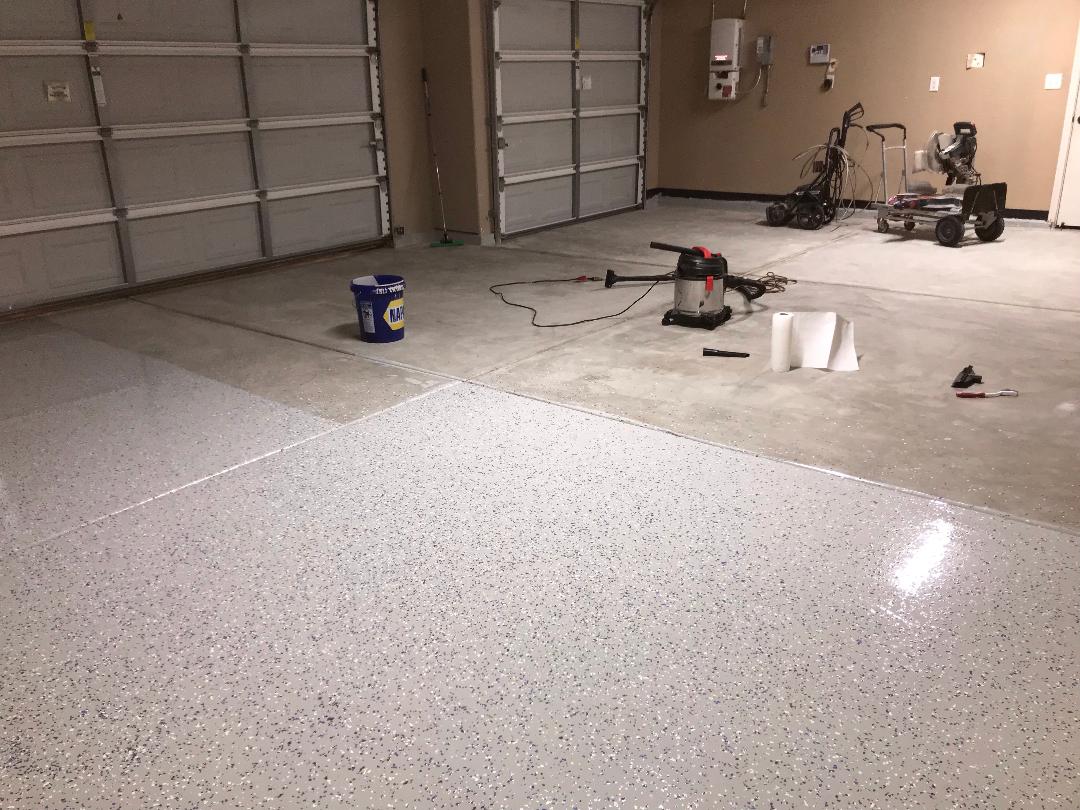
## Apply Epoxy
Now that your garage floor is prepped and primed, it’s time for the fun part – applying your epoxy coating! Depending on what type of epoxy you purchased, you may need to mix it together before applying. Once mixed (if necessary), roll or brush it onto your garage floor in thin coats until you have achieved even coverage throughout the entire surface area. Let each coat dry completely before adding another one – this could take several hours or even overnight depending on what type of product you purchased and the temperature of your garage.
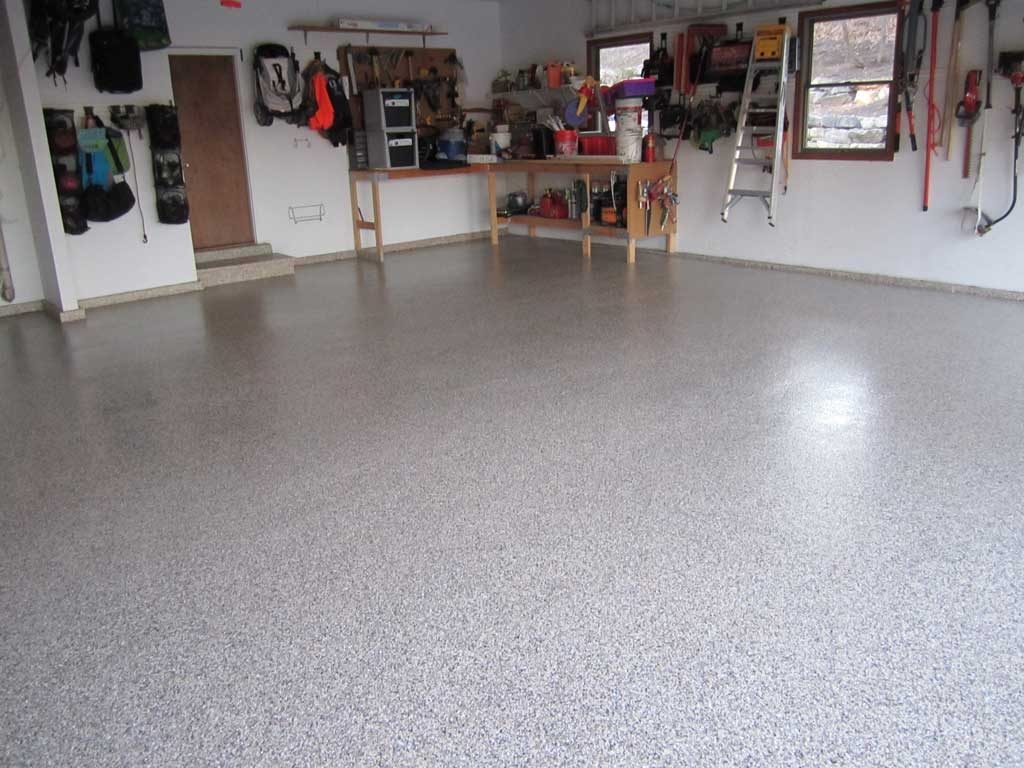
## Enjoy Your New Garage Floor
Now that your garage floor has been prepped and outfitted with an epoxy coating, all that’s left is to sit back and enjoy your handiwork! With proper care and maintenance, your new epoxy finish should last for many years to come – giving you a beautiful, durable garage floor that will last for years and years!