Professional Grade Garage Floor Epoxy

How Much Does It Cost To Epoxy Garage Floor?

Know the Cost of Your Professional Garage Floor Epoxy

Professional Epoxy Flooring for Residential Property Best Epoxy Flooring for Homes ATX Epoxy
Epoxy Garage Floors Philadelphia New Jersey Jersey Shore
Garage Epoxy Flooring Epoxy Flooring Contractor Boise ID
DIY vs. Professional Garage Floor Coatings — Advanced Flooring Systems
The Benefits of Epoxy Garage Floor Coatings All Garage Floors
Do It Yourself Epoxy Garage Floors – Why Armorgarage Has The Best Garage Floor Coating / The
5 Reasons You Should Hire Professional Epoxy Garage Floor Installers – Amazing Garage Floors

Professional Epoxy Garage Floor versus Do-It-Yourself Kits – Amazing Garage Floors

Best Garage Floor Coating- Reviews 2017
Related Posts:
- Fast Cure Epoxy Floor Coating
- Stone Hard Epoxy Flooring
- How To Epoxy Flooring Garage
- How To Repair Epoxy Floor Coating
- Non Slip Epoxy Flooring
- Solid Epoxy Garage Floor
- Quikrete Floor Epoxy
- Paint Flakes Epoxy Floor
- Cheap Epoxy Floor
- Rock Solid Epoxy Floor
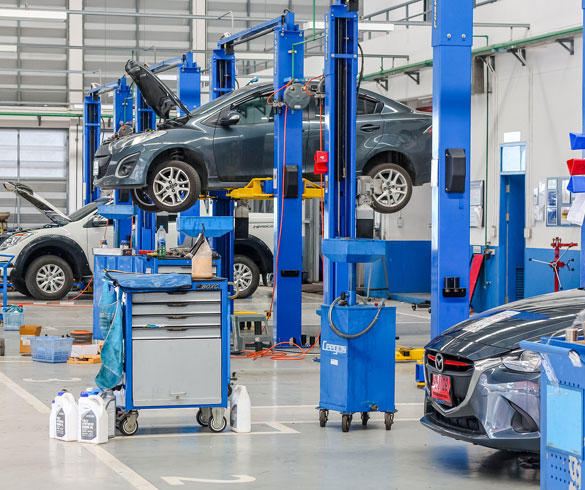
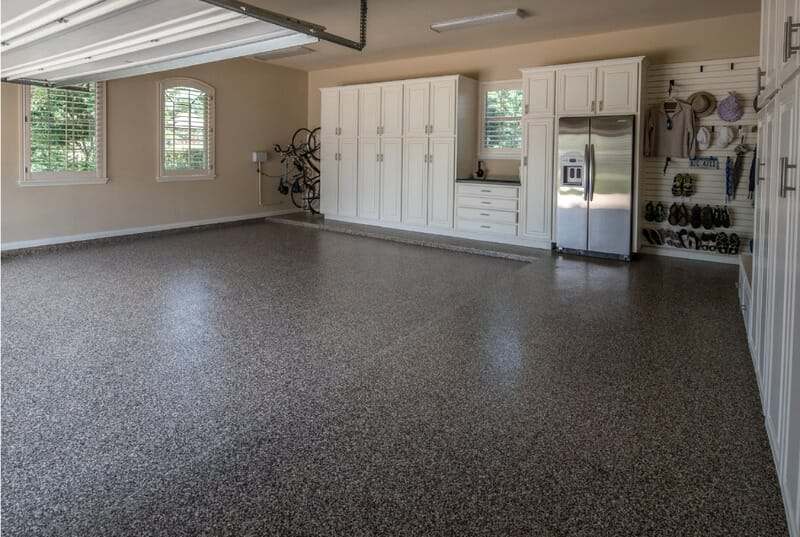
Garage floors often bear the brunt of wear and tear from everyday activities. From cars driving in and out, to tools and machinery being used in the workshop, to children playing basketball in the driveway, to the family pets running around, it’s no wonder that garage floors can become worn out quickly. With professional-grade epoxy, you can transform your garage floor into a durable surface that is as attractive as it is strong.
What Is Epoxy?
Epoxy is a two-part coating composed of a resin and a hardener which forms a chemical bond when combined together. This bond provides an extremely strong surface that can withstand the pressure of heavy traffic. The coating is also extremely resistant to oil, grease, and other fluids so it won’t be damaged by any automotive or workshop activities that take place in your garage.
Benefits of Professional-Grade Epoxy
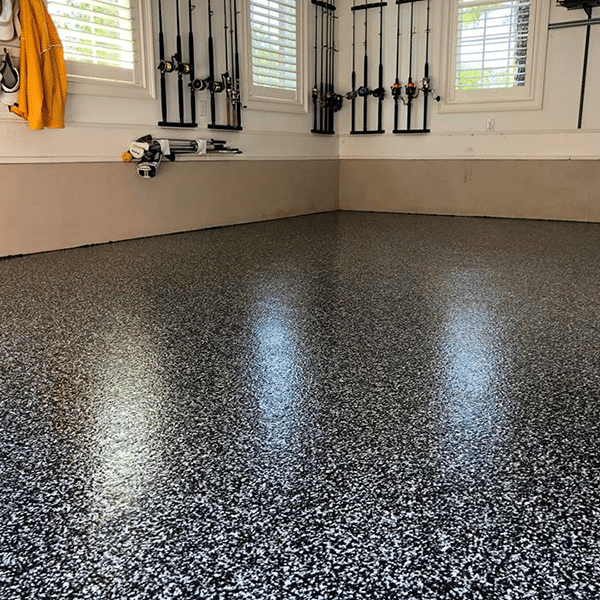
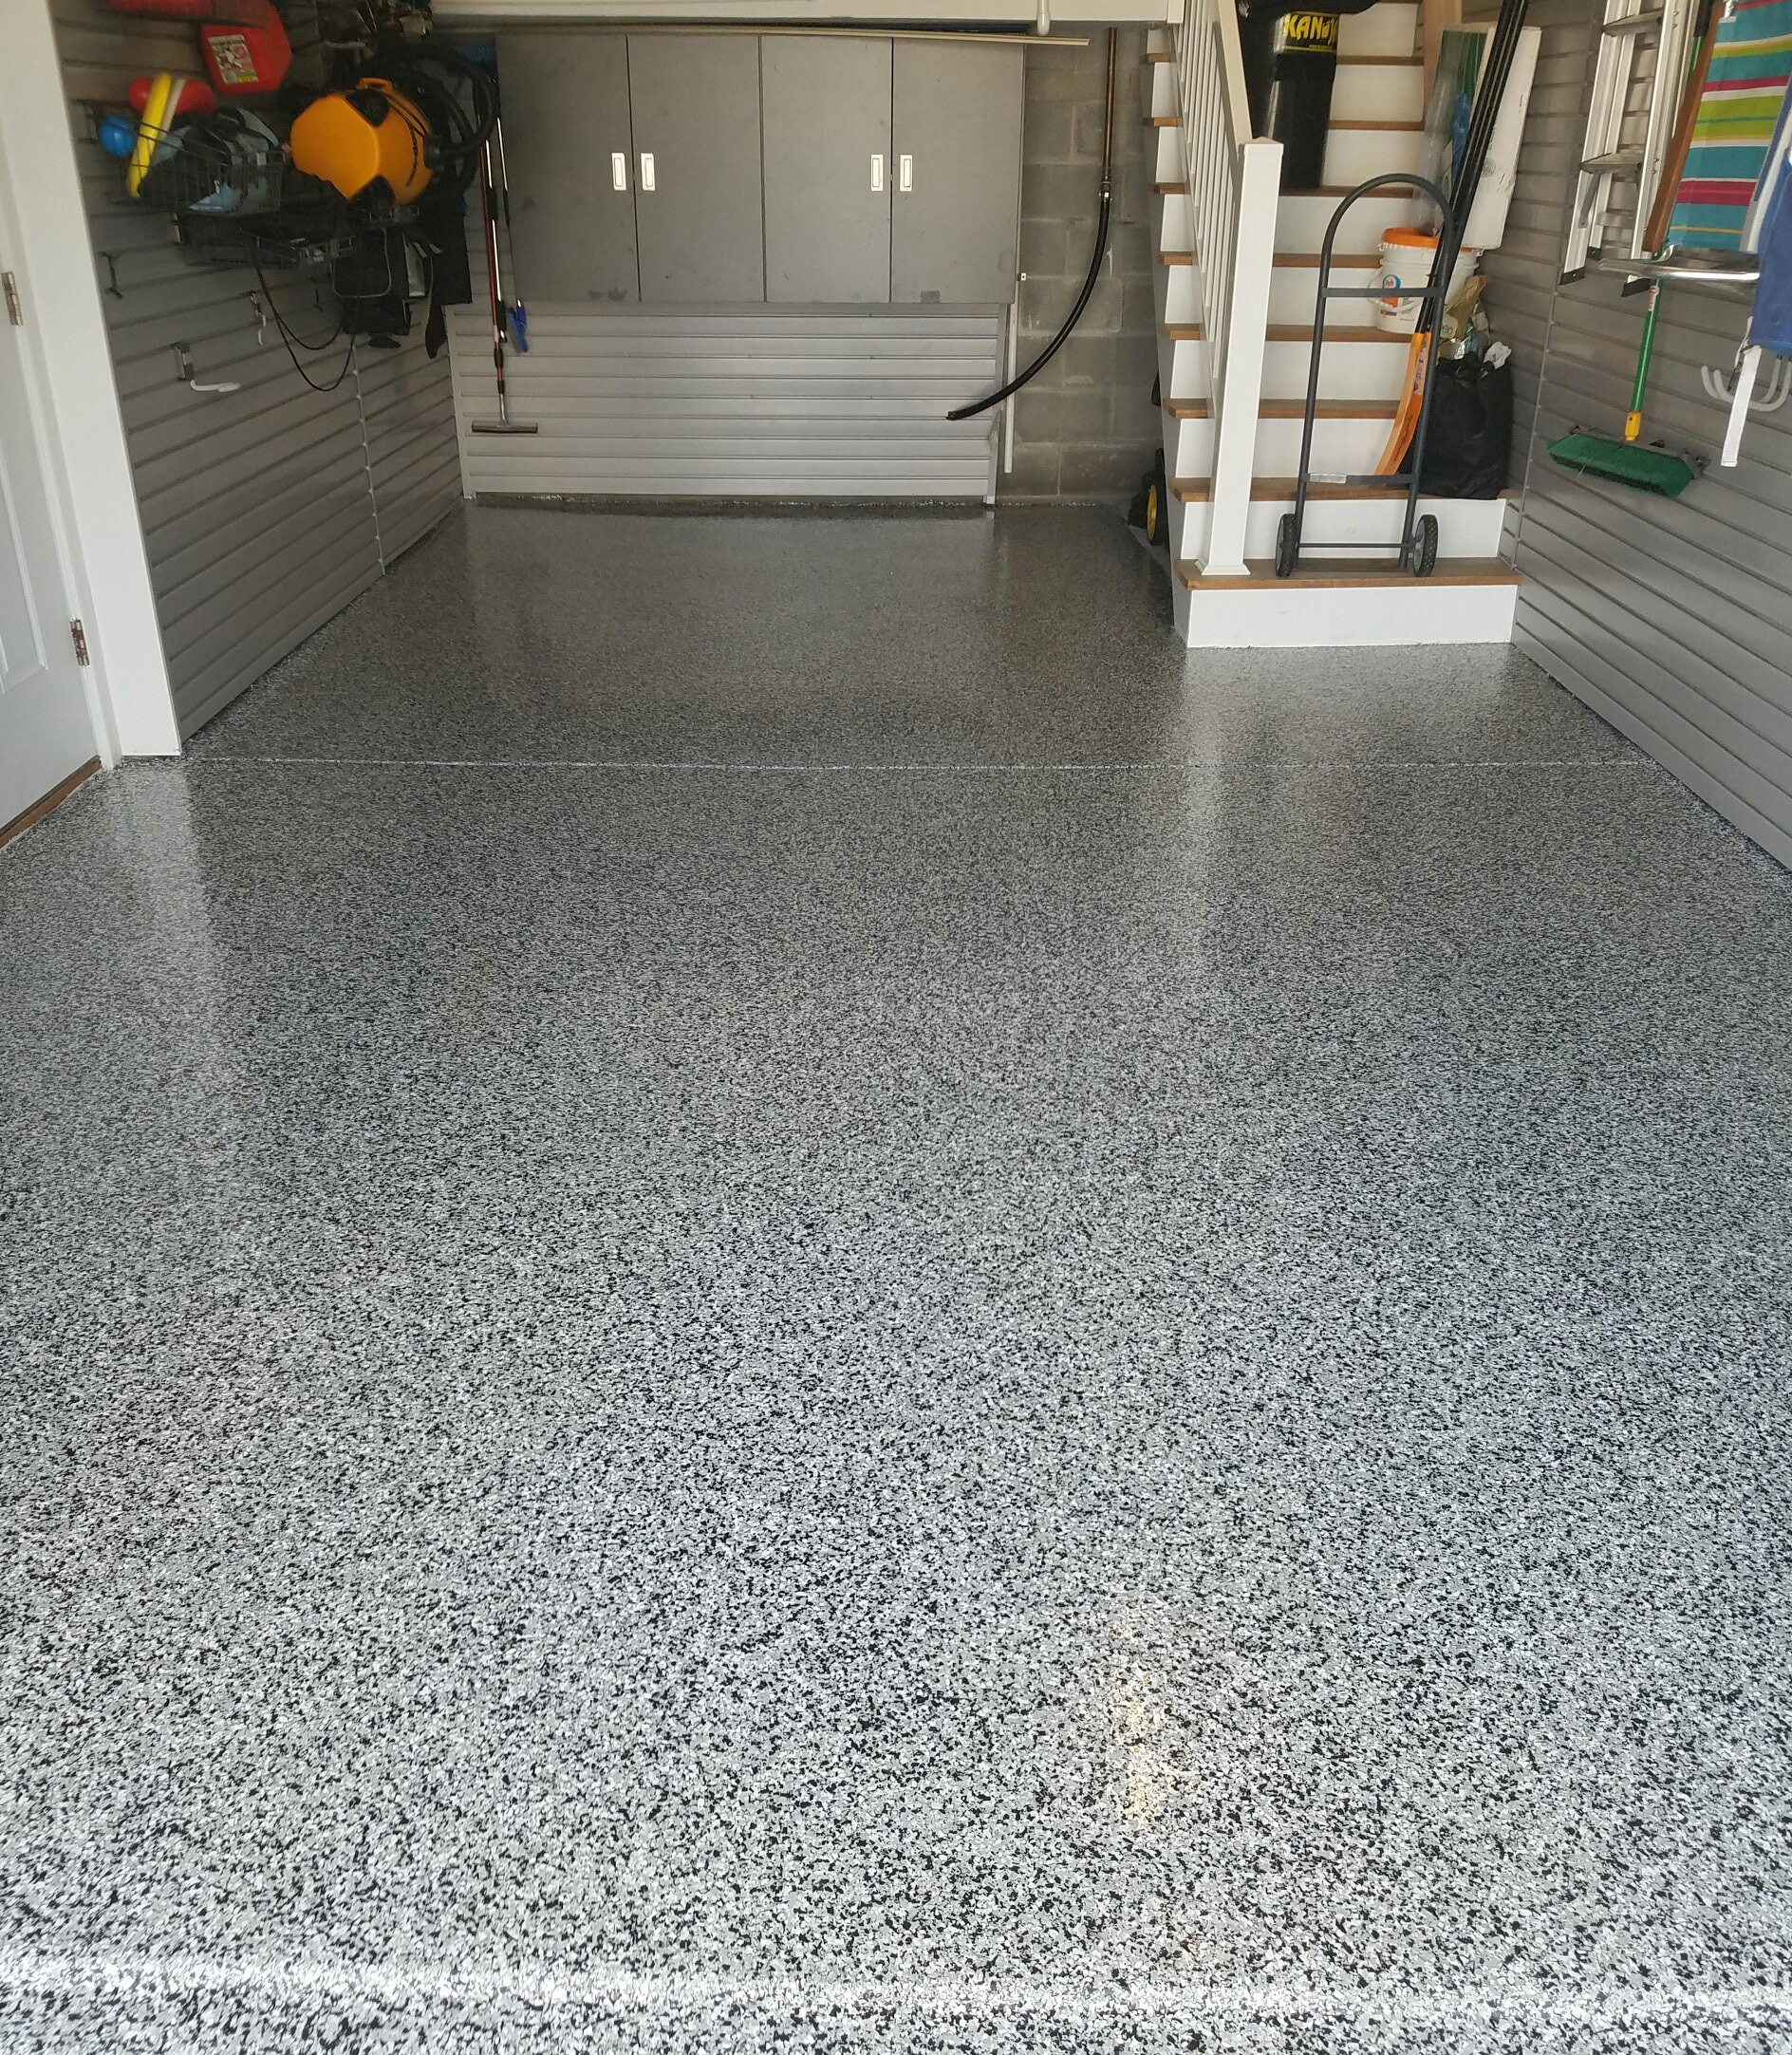
When you use professional-grade epoxy, you get a stronger and more durable finish than regular paint. It is also more resistant to wear and tear from high traffic areas, meaning that your garage flooring will look better for longer. Professional-grade epoxy also comes in a variety of colors and textures so you can customize your garage floor to perfectly match the look of the rest of your home.
How Can You Apply Professional-Grade Epoxy?
Applying professional-grade epoxy is a relatively simple process that requires some basic tools and supplies, including a floor roller, roller tray, gloves, mask, and goggles. You’ll need to start by thoroughly cleaning and preparing the floor for application. Once the surface is prepped, you’ll mix the epoxy components together and pour it onto the floor. After applying the epoxy with the roller, you’ll need to wait 24 hours before putting any furniture or weight on it.
The Benefits Of Adding Professional-Grade Epoxy To Your Garage Floor
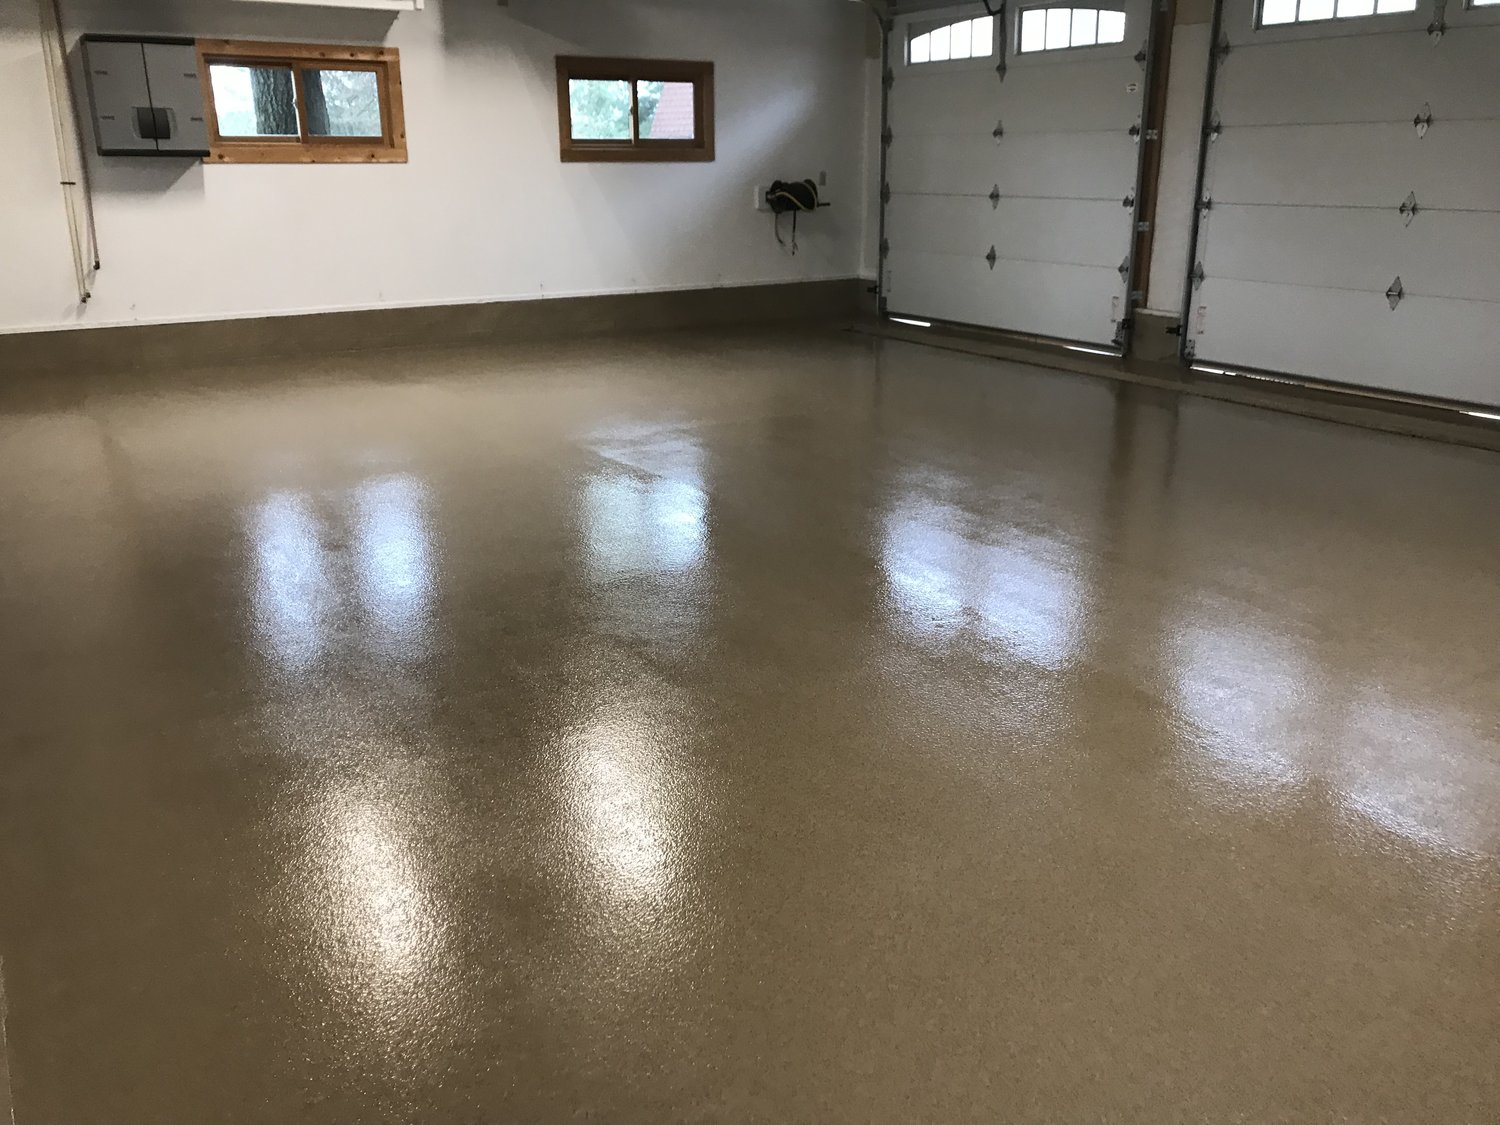
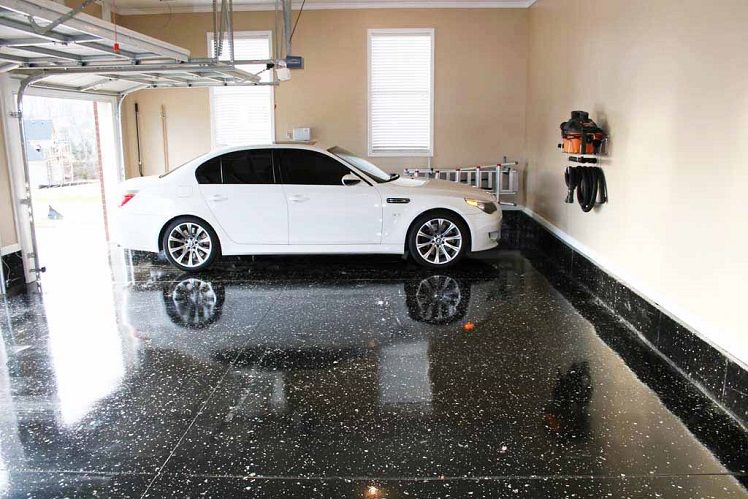
Adding professional-grade epoxy to your garage floor not only adds a long-lasting finished look but also comes with several functional benefits as well. For one, it is easier to clean than concrete due to its smoother surface. Plus, it won’t fade over time like traditional paint does. Additionally, it is resistant to staining from oil and gas spills, making it an ideal choice for those who work on cars or need an area for storing fuel containers in their garages. Finally, its smooth texture makes walking on it much easier than concrete surfaces which can be slippery when wet.
Conclusion:
Adding professional-grade epoxy to your garage floor is a great way to protect the surface from everyday wear and tear while giving your space an attractive finished look. Not only can you customize the color and texture of the coating but it’s also much easier to clean than concrete surfaces while being more resistant to oil and gas spills. In no time at all, you’ll have an attractive surface that will last for years with minimal maintenance required on your part.
What is the best garage floor epoxy?
The best garage floor epoxy for most homeowners is Rust-Oleum EpoxyShield. This two-part epoxy system provides a durable and attractive finish that resists hot tire pick-up, cracking, and peeling. Additionally, it is user-friendly and easy to apply with a roller or brush.What type of preparation is required before applying garage floor epoxy?
Before applying garage floor epoxy, the concrete floor must be thoroughly cleaned and prepped. This includes removing any dirt and debris, filling any cracks or holes, and using a chemical degreaser to eliminate any oils that may be present on the floor. The concrete should then be neutralized with a mild acid solution, rinsed with clean water, and allowed to dry completely before the epoxy is applied.What surface preparation is needed before applying garage floor epoxy?
Before applying garage floor epoxy, the surface should be swept and vacuumed, and all oil or other contaminants should be removed (e.g., with a degreaser) to ensure a good bond. The concrete should also be tested for moisture levels, and any cracks or defects should be repaired. If needed, the concrete should also be etched or mechanically abraded to create a profile for the epoxy to adhere to.What type of primer should be used when applying garage floor epoxy?
A two-part epoxy primer should be used when applying garage floor epoxy. This type of primer will provide the necessary adhesion and durability needed for the epoxy to adhere properly and last. It is important to read the instructions carefully and follow any mixing and application instructions that come with the primer.What kind of surface preparation is required before applying garage floor epoxy?
Before applying garage floor epoxy, the surface should be prepared thoroughly. This includes cleaning and degreasing the concrete to remove dirt, dust, and grease and etching the concrete to create a profile for the epoxy to adhere to. If the concrete is painted, any existing paint should be thoroughly removed before epoxy is applied. Additionally, any cracks or holes in the concrete should be filled with patching material and then sanded smooth.What kind of cleaning is required before applying garage floor epoxy?
Before applying garage floor epoxy, a thorough cleaning is necessary to ensure a successful application. This includes sweeping away any dirt or debris from the floor, and then scrubbing the floor down with a degreasing cleaner. The surface should then be rinsed and dried completely before applying the epoxy.What type of surface preparation is necessary before applying garage floor epoxy?
Before applying garage floor epoxy, it is important to ensure that the surface being coated is clean, dry, and in good condition. It should be free of dirt, debris, oil, and grease. It is also important to properly prepare the surface for epoxy by etching or abrasive blasting it. This will remove any existing coatings or contaminants and provide an appropriate profile for a successful bond between the new epoxy coating and the floor.What are the necessary steps before applying garage floor epoxy?
1. Prepare the Floor: The first step is to prepare the garage floor by cleaning it. This involves sweeping up dust and debris, removing any existing coatings, and fixing any cracks or chips.2. Remove Contaminants: The next step is to remove any remaining contaminants from the floor. This can be done by scrubbing with a degreaser and a stiff brush.
3. Etch the Floor: After removing all of the contaminants, you will need to etch the floor with an acid solution. This will ensure that the new coating has a better bond with the concrete surface.
4. Clean and Dry: Once you are done etching the floor, you should clean it again and then let it dry thoroughly. This will ensure that there is no moisture trapped beneath the epoxy coatings which could cause it to fail prematurely.
5. Apply Primer: Finally, you will need to apply a primer before applying an epoxy coating. This will help ensure that the epoxy sticks properly and lasts as long as possible.