Removing vinyl flooring from a concrete surface can seem like a daunting task, but with the right tools, techniques, and a bit of patience, you can achieve a clean and ready-to-use surface. Whether you’re updating your flooring or repairing damages, I’ll guide you through the step-by-step process of removing vinyl flooring from concrete, including tips to avoid common mistakes and answers to frequently asked questions.
Preparing for the Job
Gathering Tools and Supplies
Before you begin, it’s crucial to gather all the necessary tools and supplies. You’ll need a utility knife, a floor scraper or putty knife, a heat gun or hair dryer, a heavy-duty adhesive remover, a hammer, and safety gear like gloves, goggles, and a mask. Having everything ready at the start makes the process smoother and more efficient.
Clearing the Area
Start by clearing the area of any furniture, rugs, or obstructions. This will give you ample space to work and prevent any accidental damage to your belongings. I always make sure to move everything out of the way to have a clear workspace and to avoid any tripping hazards.
Ensuring Proper Ventilation
Removing vinyl flooring and adhesive can release fumes that may be harmful if inhaled. Ensure the area is well-ventilated by opening windows and doors. You might also consider using fans to help circulate the air. I’ve found that proper ventilation makes the job more comfortable and safer.
Wearing Safety Gear
Safety should always be a priority. Wear gloves to protect your hands from sharp tools and adhesive removers, goggles to protect your eyes from flying debris, and a mask to avoid inhaling dust and fumes. I’ve learned that taking these precautions can prevent injuries and health issues.
Cutting the Vinyl into Strips
Before you start peeling off the vinyl, use a utility knife to cut it into manageable strips. This makes the removal process easier and less physically demanding. I usually cut the vinyl into strips about 6 to 12 inches wide, which are easy to handle and remove.
Testing for Asbestos
If your vinyl flooring was installed before the 1980s, there’s a chance it could contain asbestos. Asbestos is hazardous when disturbed, so it’s crucial to test for it before proceeding. You can purchase an asbestos test kit or hire a professional. If the test is positive, it’s best to hire a professional for safe removal. This step is critical for your health and safety.

Removing the Vinyl Flooring
Starting at a Corner
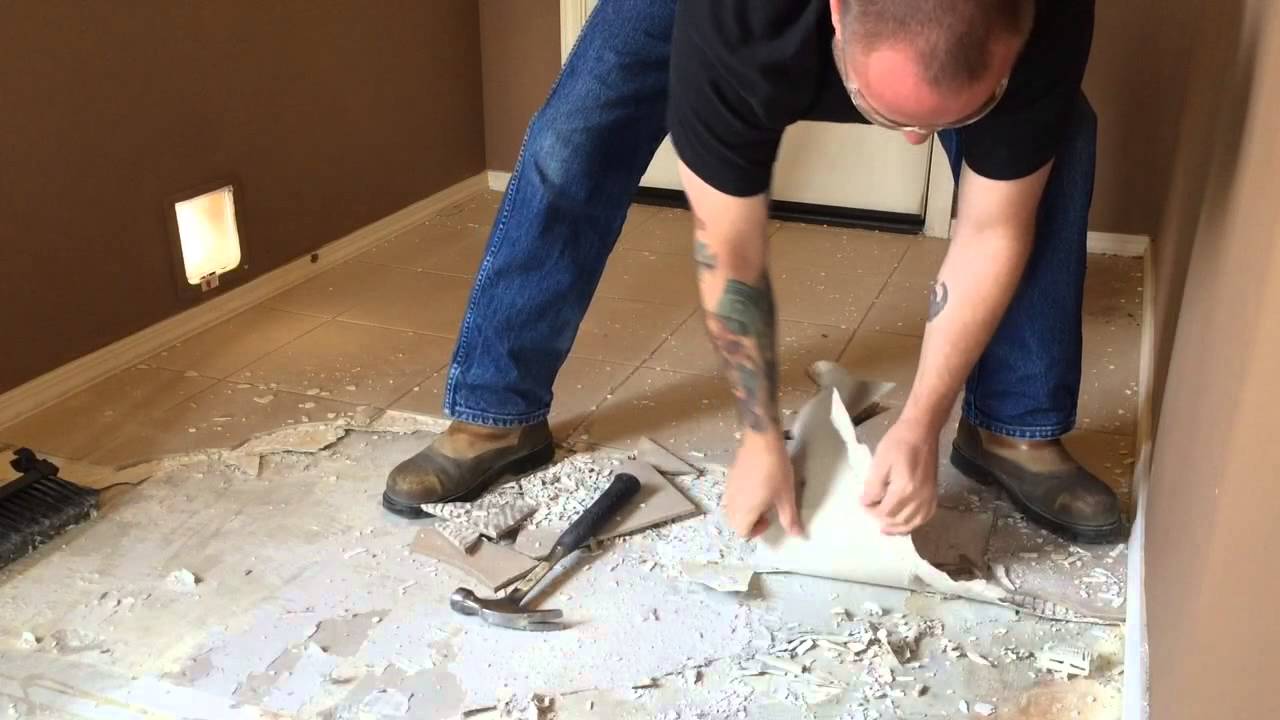
Begin the removal process at a corner of the room. Use your utility knife to lift the edge of the vinyl. Once you have a grip, you can start pulling it up. Starting at a corner provides a good leverage point and makes the process easier. I’ve found that this method allows for a smoother removal.
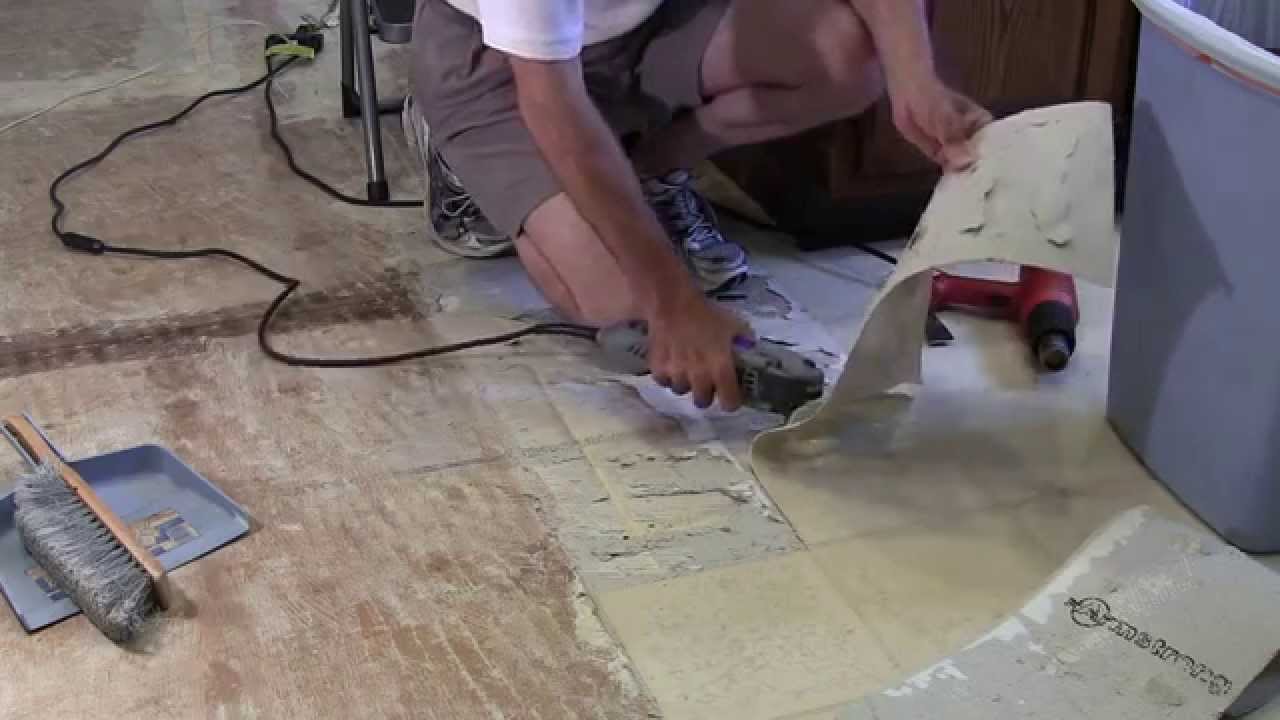
Using Heat to Loosen Adhesive
Applying heat helps to soften the adhesive, making it easier to remove the vinyl. Use a heat gun or hair dryer to heat a small section of the floor, then slowly peel the vinyl away. Be cautious not to overheat and damage the concrete. This technique has always made the process less strenuous for me.
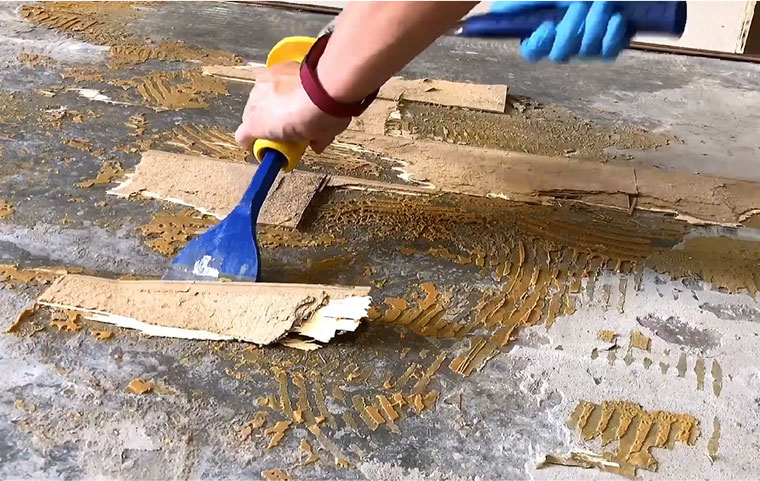
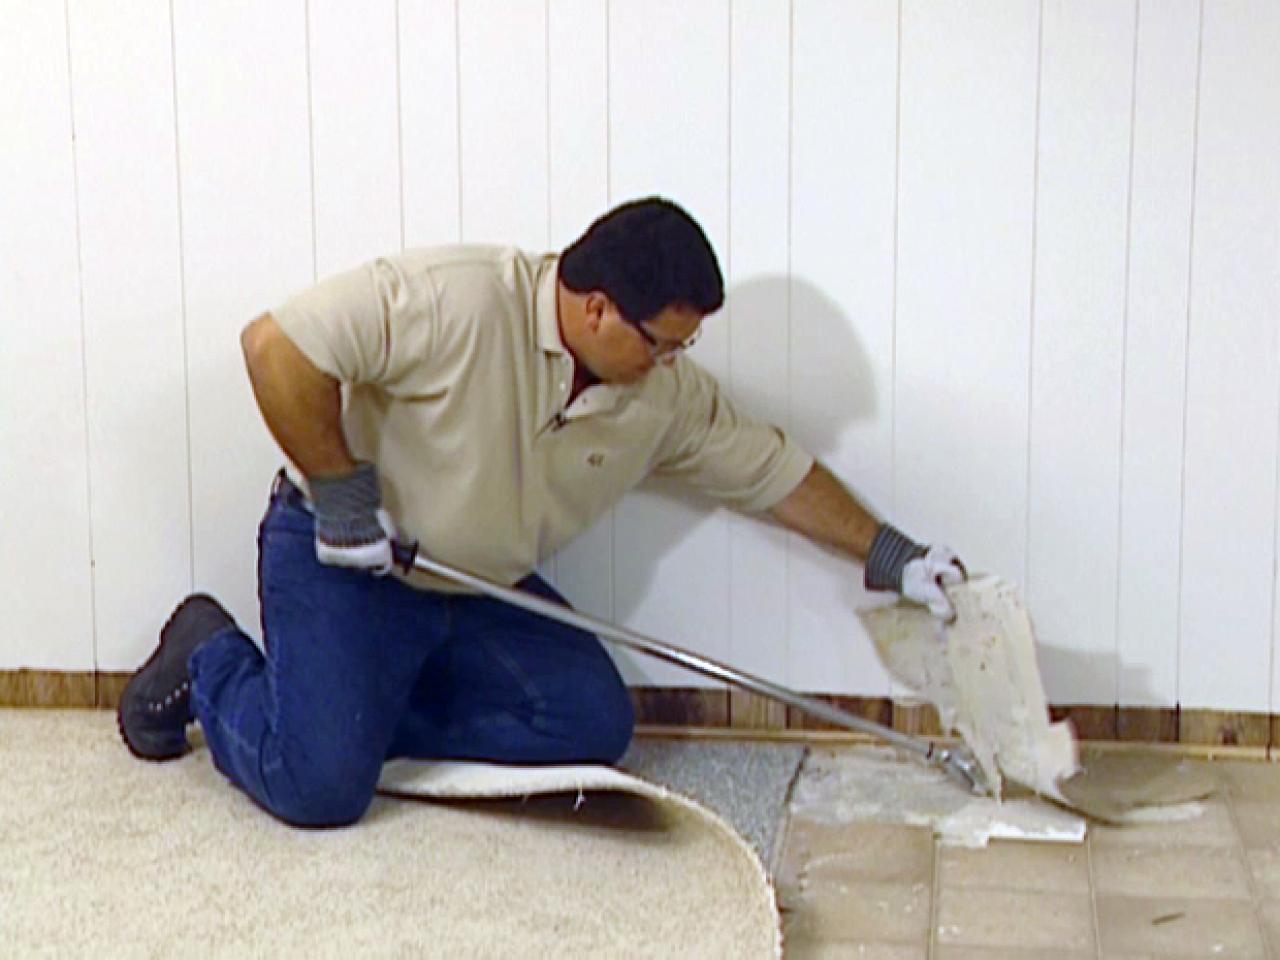
Scraping the Vinyl
As you pull up the vinyl, use a floor scraper or putty knife to help lift the material from the concrete. Work in small sections and be patient. It can be a slow process, but rushing can cause damage to the concrete surface. I’ve learned that taking my time yields better results.
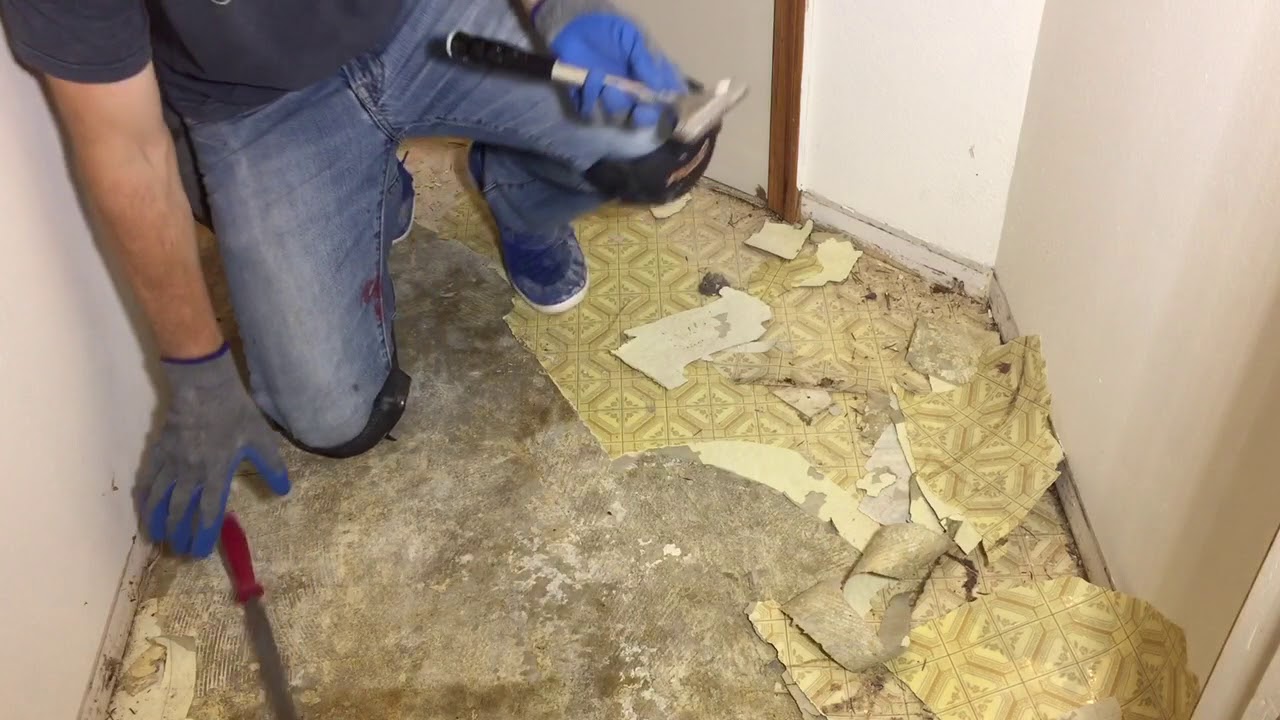
Removing Stubborn Sections
For stubborn areas where the vinyl is firmly stuck, use a combination of heat and scraping. Reapply heat and gently scrape the vinyl away. Repeat this process until all the vinyl is removed. Persistence is key here, and I’ve found that it pays off in the end.
Cleaning Up Debris
Once all the vinyl is removed, you’ll likely have bits of vinyl and adhesive residue left behind. Sweep up and dispose of the larger pieces, then use a vacuum to clean up smaller debris. Keeping the area clean as you work helps prevent slipping and provides a clearer view of your progress.
Inspecting the Concrete
After removing the vinyl, inspect the concrete surface for any damage or remaining adhesive. Addressing these issues now will make the next steps of your project, whether it’s installing new flooring or finishing the concrete, much easier. I’ve found that a thorough inspection can save time and effort later.

Removing Adhesive Residue
Identifying the Type of Adhesive
Different adhesives require different removal techniques. Identify whether your adhesive is water-based, solvent-based, or pressure-sensitive. This information will help you choose the right adhesive remover. Knowing the type of adhesive has always helped me select the most effective removal method.
Applying Adhesive Remover
Apply a heavy-duty adhesive remover to the concrete following the manufacturer’s instructions. Spread it evenly over the adhesive residue and let it sit for the recommended amount of time. Proper application ensures the adhesive remover works effectively. I’ve found that patience during this step pays off.
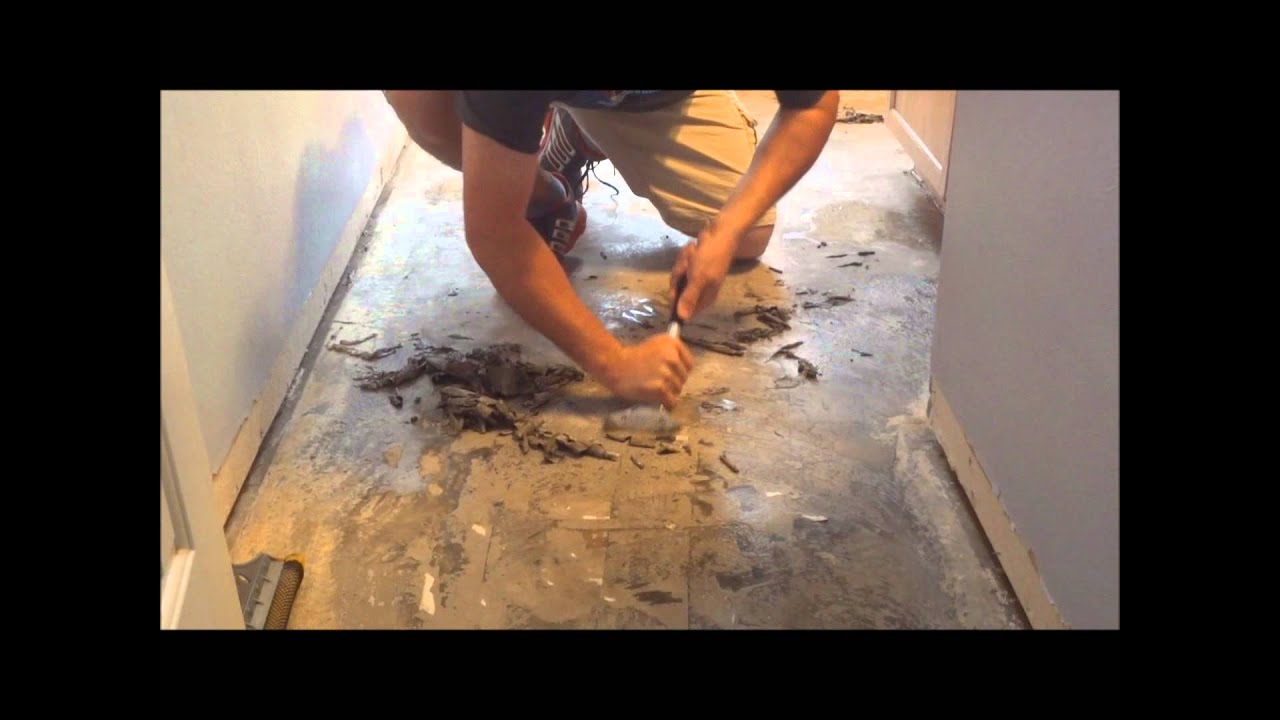
Scraping Off the Adhesive
Once the adhesive remover has had time to work, use a floor scraper or putty knife to scrape off the softened adhesive. Work in small sections and be thorough. This step can be labor-intensive, but thoroughness ensures a clean surface. I’ve found that consistent, steady scraping is most effective.
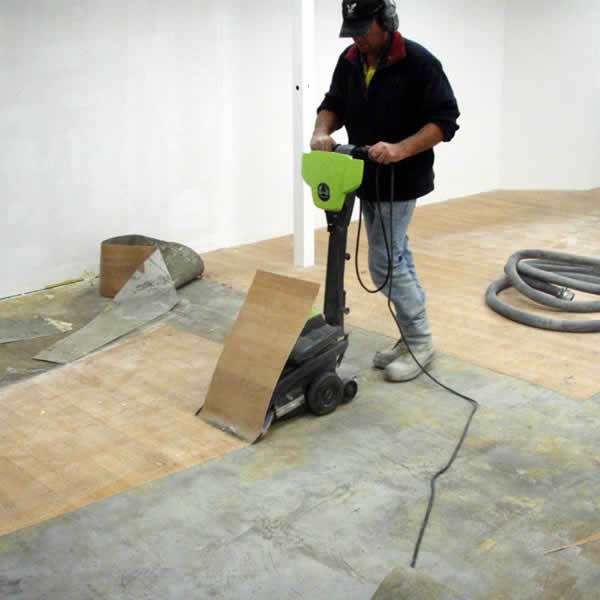
Using a Floor Machine
For large areas or stubborn adhesive, a floor machine with a scrubbing pad can be very effective. The machine does the heavy lifting, making the job less physically demanding. Renting a floor machine has always been a worthwhile investment for larger projects.
Cleaning the Surface
After removing the adhesive, clean the concrete surface with a mixture of water and a mild detergent to remove any remaining residue. Rinse thoroughly with clean water and let it dry completely. This step ensures the surface is ready for whatever comes next. A clean surface is essential for any subsequent flooring installation or concrete finishing.
Inspecting for Leftover Adhesive
Finally, inspect the floor for any remaining adhesive. If you find any, repeat the adhesive removal process as needed. Ensuring all adhesive is removed will prevent issues with new flooring installations. I’ve learned that thorough inspection and reapplication as necessary lead to the best results.

Common Mistakes to Avoid
Skipping Safety Gear
One of the most common mistakes is skipping safety gear. Always wear gloves, goggles, and a mask to protect yourself from injuries and fumes. I’ve made this mistake before, and it’s not worth the risk.
Using Excessive Force
Using too much force when scraping can damage the concrete surface. Be patient and use the right tools to avoid this mistake. I’ve found that patience and proper technique are more effective than brute force.
Ignoring Ventilation
Ignoring proper ventilation can expose you to harmful fumes from adhesive removers. Always ensure the area is well-ventilated. This step is crucial for your health and safety.
Not Testing for Asbestos
Skipping the asbestos test can be dangerous if your vinyl flooring contains this hazardous material. Always test for asbestos before starting the removal process. Safety should always come first.
Rushing the Job
Rushing through the removal process can lead to mistakes and incomplete adhesive removal. Take your time to ensure a thorough and effective job. I’ve learned that taking it slow results in a better outcome.
Neglecting Adhesive Removal
Leaving adhesive residue on the concrete can interfere with new flooring installation or finishing. Always remove all adhesive thoroughly. This ensures a smooth and clean surface for your next project.
How long does it take to remove vinyl flooring from concrete?
The time required can vary depending on the size of the area and the type of adhesive used. On average, it can take anywhere from a few hours to a full day. In my experience, being patient and methodical helps speed up the process.
Can I use a chemical adhesive remover on all types of adhesives?
Not all adhesive removers are suitable for every type of adhesive. Always check the manufacturer’s instructions and match the remover to the adhesive type. I’ve found that using the right product for the specific adhesive is crucial for effective removal.
Is it necessary to remove all adhesive residue before installing new flooring?
Yes, it’s essential to remove all adhesive residue to ensure a smooth and even surface for the new flooring. Residue can interfere with the adhesive of the new flooring and cause issues down the line. A clean surface is always best.
Can I remove vinyl flooring without a heat gun?
While a heat gun makes the process easier by softening the adhesive, it’s possible to remove vinyl flooring without one. You’ll need to use more elbow grease and possibly a stronger adhesive remover. I’ve managed without a heat gun, but it does require more effort.
What should I do if I find asbestos in my vinyl flooring?
If you discover asbestos in your vinyl flooring, it’s best to hire a professional for safe removal. Asbestos is hazardous and requires special handling. Safety should always be your top priority.
How can I prevent damaging the concrete during the removal process?
To avoid damaging the concrete, use the right tools, apply even pressure, and avoid excessive force. Heating the adhesive before scraping can also help prevent damage. I’ve found that careful technique and the right tools make all the difference.
Post-Removal Cleanup and Maintenance
Sweeping and Vacuuming
After removing the vinyl and adhesive, thoroughly sweep and vacuum the area to remove any remaining debris. This step ensures a clean surface and prevents dust from settling into any new flooring. A clean workspace is always more efficient.
Washing the Concrete
Wash the concrete surface with a mixture of water and mild detergent to remove any residual adhesive remover or dirt. Rinse well with clean water and let it dry completely. This step prepares the surface for any new treatment or flooring installation.
Inspecting for Damage
Carefully inspect the concrete for any cracks, chips, or damage that may have occurred during the removal process. Addressing these issues now will ensure a smooth and durable surface for your new flooring. I’ve found that early detection and repair of any damage save time and effort later.
Sealing the Concrete
If you’re not planning to install new flooring right away, consider sealing the concrete to protect it from stains and damage. A good concrete sealer will provide a protective layer and make future cleaning easier. Sealing the concrete has always been a good preventative measure for me.
Preparing for New Flooring
If you’re installing new flooring, ensure the concrete is completely dry and clean. Follow the manufacturer’s instructions for the new flooring installation to ensure a professional finish. Proper preparation leads to better results with new flooring.
Regular Maintenance
Regular maintenance is crucial to keep your concrete surface in good condition. Sweep and clean regularly, and address any spills or stains promptly. Regular upkeep ensures the longevity and appearance of your flooring.
How To Remove Vinyl Glue From Concrete Floor – can vinyl flooring be painted over
Removing Vinyl Floor Tiles From Concrete Viewfloor.co
How To Remove Vinyl Flooring Glue From Concrete – Flooring Blog
Removing Linoleum Flooring Glue From Concrete Floor
Removing Vinyl Flooring Adhesive From Concrete

Related Posts: