Removing Old Wood Flooring

Home Improvement: How To REMOVE Hardwood Floors Old wood floors, Flooring, Home improvement

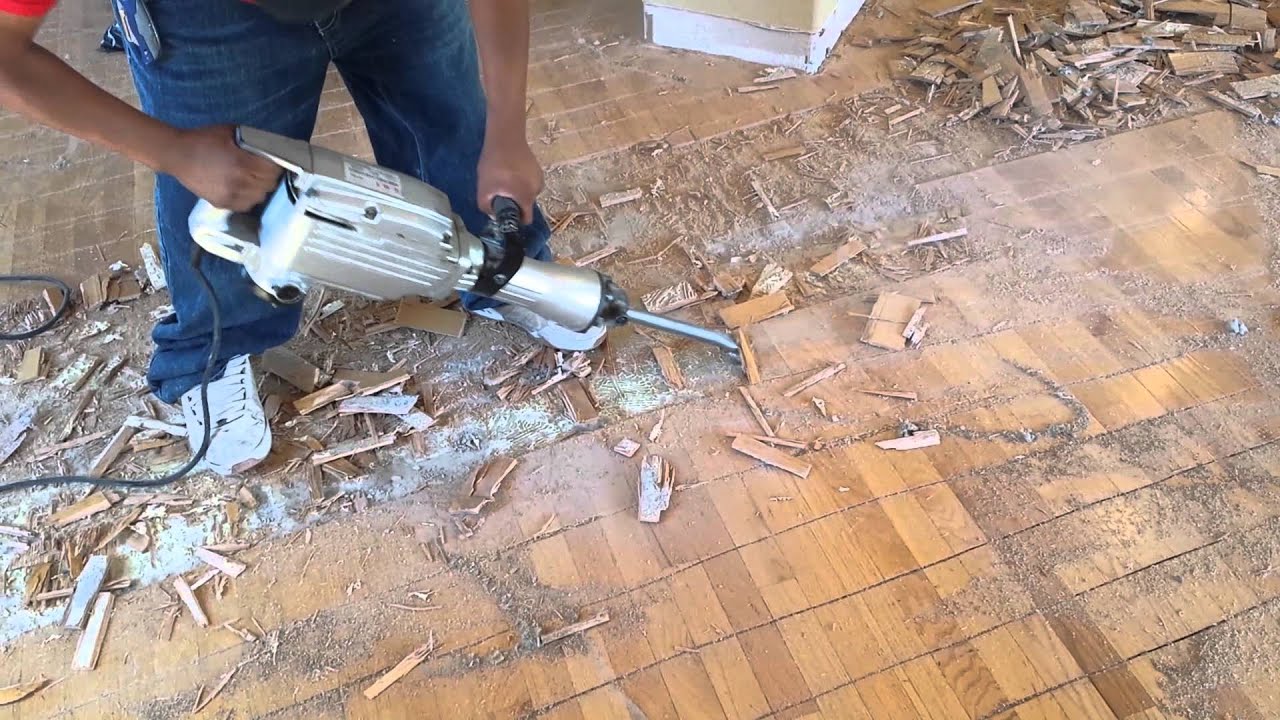
How to remove hardwood floors (nail down) – YouTube

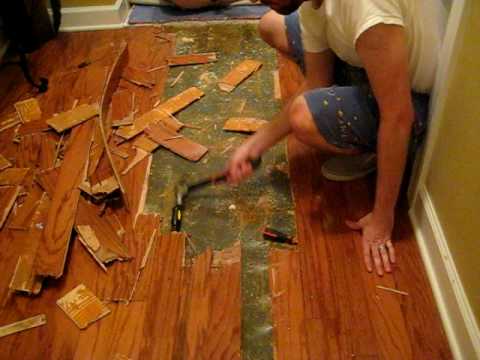
How to Remove & Reuse Hardwood Floors : Wood Floor Installation – YouTube

View How To Remove Wood Laminate Floor Glue Pictures – cutting wood laminate flooring
Removing Old Wood Floor (Part 1) – YouTube
14 Amazing Underlayment for Glue Down Hardwood Floors Unique Flooring Ideas

Artistic Expressions by Elisabeth: New Floors Again {Tutorial} Diy flooring, Diy wood floors

The Best Way to Remove Wood Flooring World News and Events

Vinyl Plank Flooring: Steps To Install
Removing Glue (or Adhesive) from Hardwood Floors Wood adhesive, Painted hardwood floors

New Wood Flooring Installation Archives – Page 2 of 11 – Dan’s Floor Store
Related Posts:
- Grey Parquet Wood Flooring
- How To Install Pergo Wood Flooring
- Dark Black Wood Flooring
- Solid Wood Flooring White
- Pallet Wood Flooring Ideas
- Wood Floor Chevron Pattern
- Wood Flooring Home Ideas
- Wood Floor Filler Resin
- Glossy Wood Flooring Ideas
- Pergo Wood Flooring Installation
If you’re looking to give your home a facelift, one of the most popular and effective ways of doing it is by replacing the old wood flooring. The process of removing old wood flooring can be a daunting task to undertake, but with the right guidance, it can be made simpler and more efficient. Here’s a step-by-step guide for removing old wood flooring from your home, so you can get started on your renovation project as soon as possible.
## Assessing Your Flooring
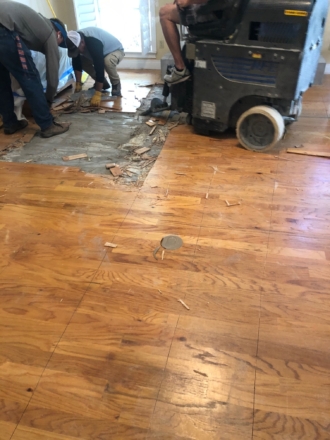
The first step in removing old wood flooring is to assess the type of flooring that you have. Depending on the age and condition of your floor, you may find that you can simply refinish the existing wood rather than replacing it entirely. If the wood is in good condition and has only minor scratches or dents, then a good sanding job may be all that is needed to restore it to its original beauty.
## Preparing the Floor
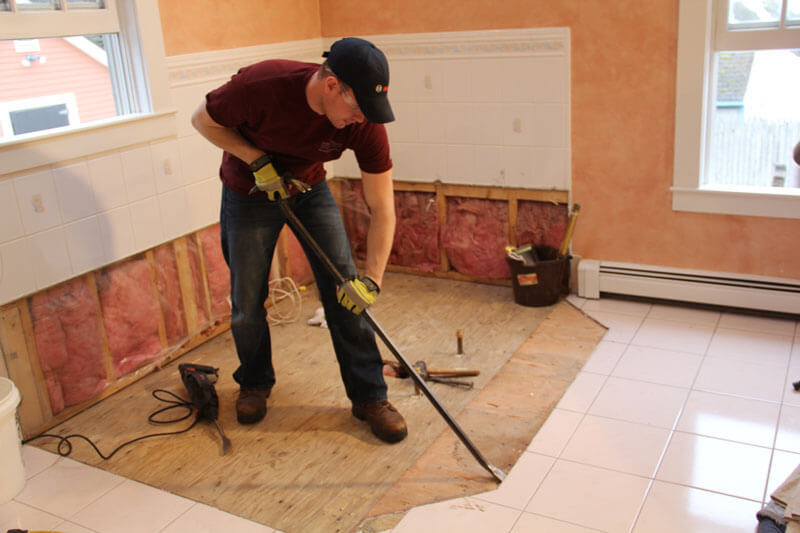
Once you’ve determined that you need to replace your old wood flooring, the next step is to prepare the area for removal. This includes removing any furniture and other items from the room, as well as laying down protective tarps or plastic sheeting to protect the area from debris and dirt. You’ll also want to make sure that all nails and staples are removed from the existing floor so that they don’t damage your new floor.
## Removing the Old Floor
Once everything is prepared and ready, it’s time to begin removing the old wood flooring. Depending on how much wood needs to be removed, you may need to rent an electric saw or crowbar to make the job easier. Make sure to wear protective clothing and safety glasses as you work, as some particles of dust and debris may become airborne during this process.
## Installing New Flooring
Once all of the old wood has been removed from your home, it’s time to install new flooring. Depending on the type of flooring you choose, there are different installation methods for each one. For example, hardwood floors will require tongue-and-groove boards that need to be nailed down whereas vinyl plank floors can simply be clicked together and laid over a subfloor. Either way, make sure that you read up on installation instructions before beginning so that you avoid any mistakes that could cost you money in the long run.
## Finishing Touches
Once your new floor is installed and looking great, there are a few finishing touches you can add to make it look even better. For hardwood floors, adding a coat of sealant or wax will help protect it from scratches and wear over time. For vinyl plank floors, adding a few rugs or mats will help keep them looking fresh and clean for years to come.
Removing old wood flooring from your home is an effective way to give it a facelift without spending too much money. By following this step-by-step guide for removing old wood flooring, you can ensure that your home looks great for years to come.