Replacing Tile Floor With Laminate

Replacing Tile Floor With Laminate – Flooring House

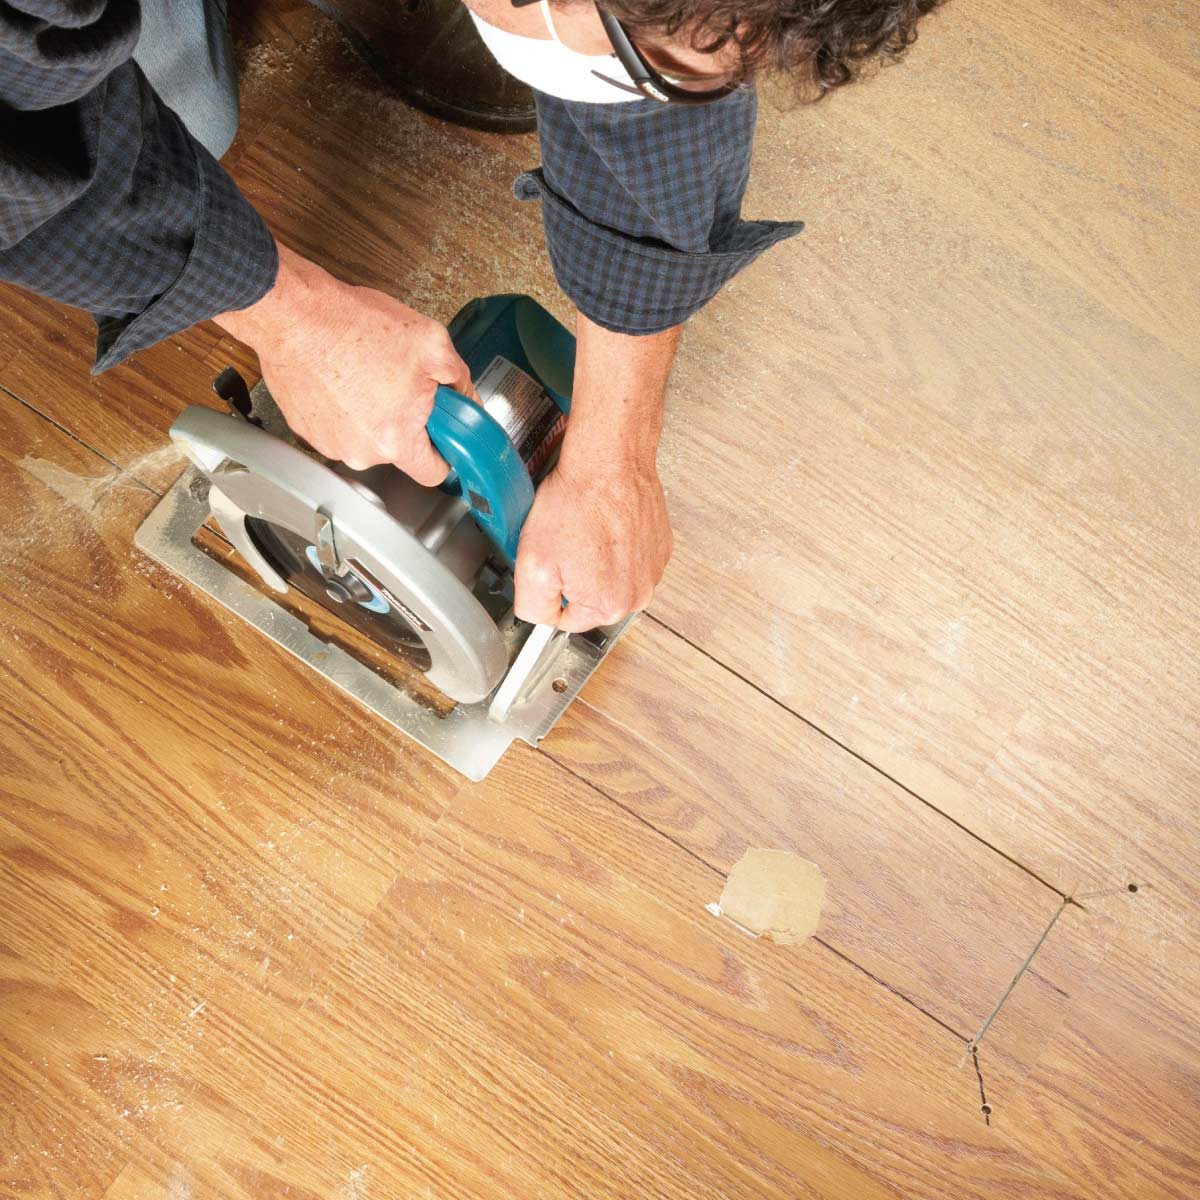
Laminate Floor Repair Family Handyman
Cost To Repair Tile Floor – The Floors

Can You Put Laminate Flooring Over Tile? – HomelyVille

How to Remove Laminate Tile eHow Updating house, Ceramic tiles, Home improvement

How To Instal Laminate Flooring On Concrete / Installing underlayment for laminate flooring

Get Certified Professional Technician for Generator Repair Services in Bhubaneswar Concrete

LVT Flooring Over Existing Tile the Easy Way – Vinyl Floor Installation DIY in 2020 Lvt

maxresdefault.jpg

Which Comes First: Flooring or Cabinets? Installing kitchen cabinets, Wood floors wide plank

How to Replace Laminate Floor in Your House – TheDIYPlan

Related Posts:
- Cuban Tile Floors
- Easy Way To Grout Tile Floor
- Types Of Marble Tile Flooring
- Slate Tile Floor
- Classic Bathroom Tile Floors
- Tile Floor Color Ideas
- Wet Mops For Tile Floors
- Staining Saltillo Tile Floors
- Terrazzo Tile Floor Outdoor
- Tile Flooring For Screened Porch
Tile flooring is a popular choice for many homeowners. Not only is it aesthetically pleasing, but it’s also incredibly durable and can last for years. Unfortunately, tile flooring can be expensive and time-consuming to install. If you’re looking for a cheaper and easier alternative, then laminate flooring could be the perfect choice for you.
Laminate flooring is a great option for those who want the look of tile without the hassle and expense of installation. Here’s a step-by-step guide to replacing your tile floor with laminate:
## Step 1: Prepare the Room
Before you begin, make sure the room is empty and all furniture has been removed. This will make it easier to access the tile floor and remove it in one piece. If there is furniture in the room, use moving blankets to protect it while you work. Also, be sure to open all windows and doors to ensure adequate ventilation during the installation process.
## Step 2: Remove the Old Tile Floor
Now that the room is empty, you can begin removing the old tile floor. Start by prying up the edge of one tile with a pry bar or chisel. Once you have enough space to slide a flat bar underneath, do so and carefully pry up the entire tile piece. Repeat this process until all of the tiles have been removed.
## Step 3: Clean Up the Subfloor
Once all of the tiles have been removed, it’s time to clean up the subfloor. Use a broom and dustpan to remove any debris that may have accumulated beneath the tiles. Once this has been done, sweep or vacuum the entire area to get rid of any remaining dirt or dust particles.
## Step 4: Prepare the Subfloor for Installation
Next, inspect the subfloor for any cracks or other damage that may need to be repaired before installation can begin. Fill in any cracks with a wood filler or other appropriate material and sand down any rough spots with sandpaper. Once everything looks good, use an adhesive primer to cover any remaining imperfections and prepare the subfloor for installation of your new laminate flooring.
## Step 5: Install Your Laminate Flooring
Now that your subfloor is ready for installation, it’s time to start laying down your new laminate flooring. Begin by laying down your first row of planks along one wall of the room, making sure they are level and straight before securing them in place with nails or screws. Continue laying down planks in this manner until you reach the other side of the room. Once finished, use a rubber mallet to ensure all planks are tightly secured together.
## Step 6: Finishing Touches
When all planks are in place and securely fastened together, it’s time for one final sweep of your new laminate flooring. Start by inspecting each plank for any rough edges or imperfections that may need attention before applying a sealant or wax to protect against wear and tear. Finally, replace any furniture that was removed from the room and enjoy your beautiful new laminate flooring!