River Rock Bathroom Floor DIY

River Rock Shower Floor Ideas – flooring Designs

I am about to do this once I am able to. Bathroom Redecorating Ideas in 2020 River rock

¡Crea tu Propio Piso de Ducha de Piedras! – Ideas Perfectas Diy bathroom remodel, Pebble

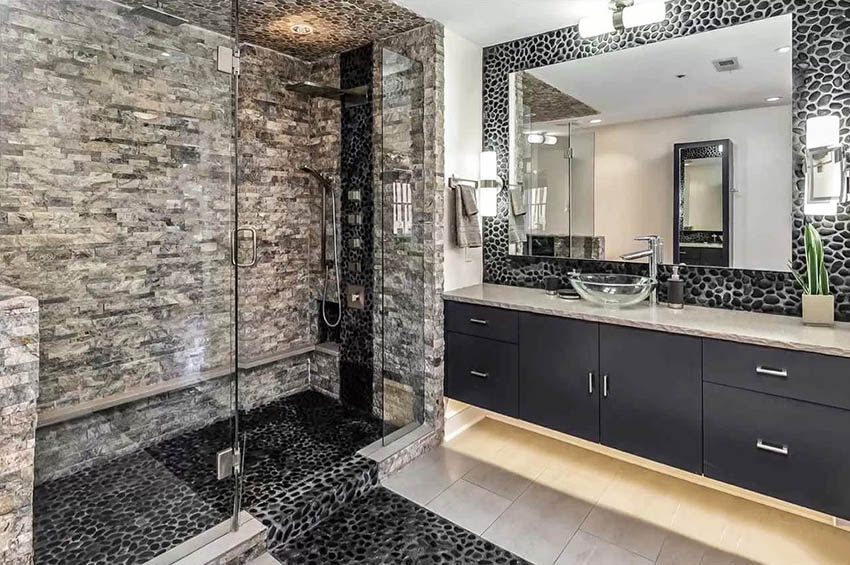
How To Use River Rock Tile in Bathroom Design: 19 Great Ideas Bathroom tile designs, Eclectic

How To Install River Rock (Pebble) Tiles For Your Shower Floor

river rock tile – Google Search Stone flooring, Natural stone flooring, Bathroom flooring

Pebble Tile Shower Floor (Popular Design Types) – Designing Idea
Need Help! River Rock shower floor with LOTS of grout, how do I correctly/safely clean all this
31 great ideas and pictures of river rock tiles for the bathroom
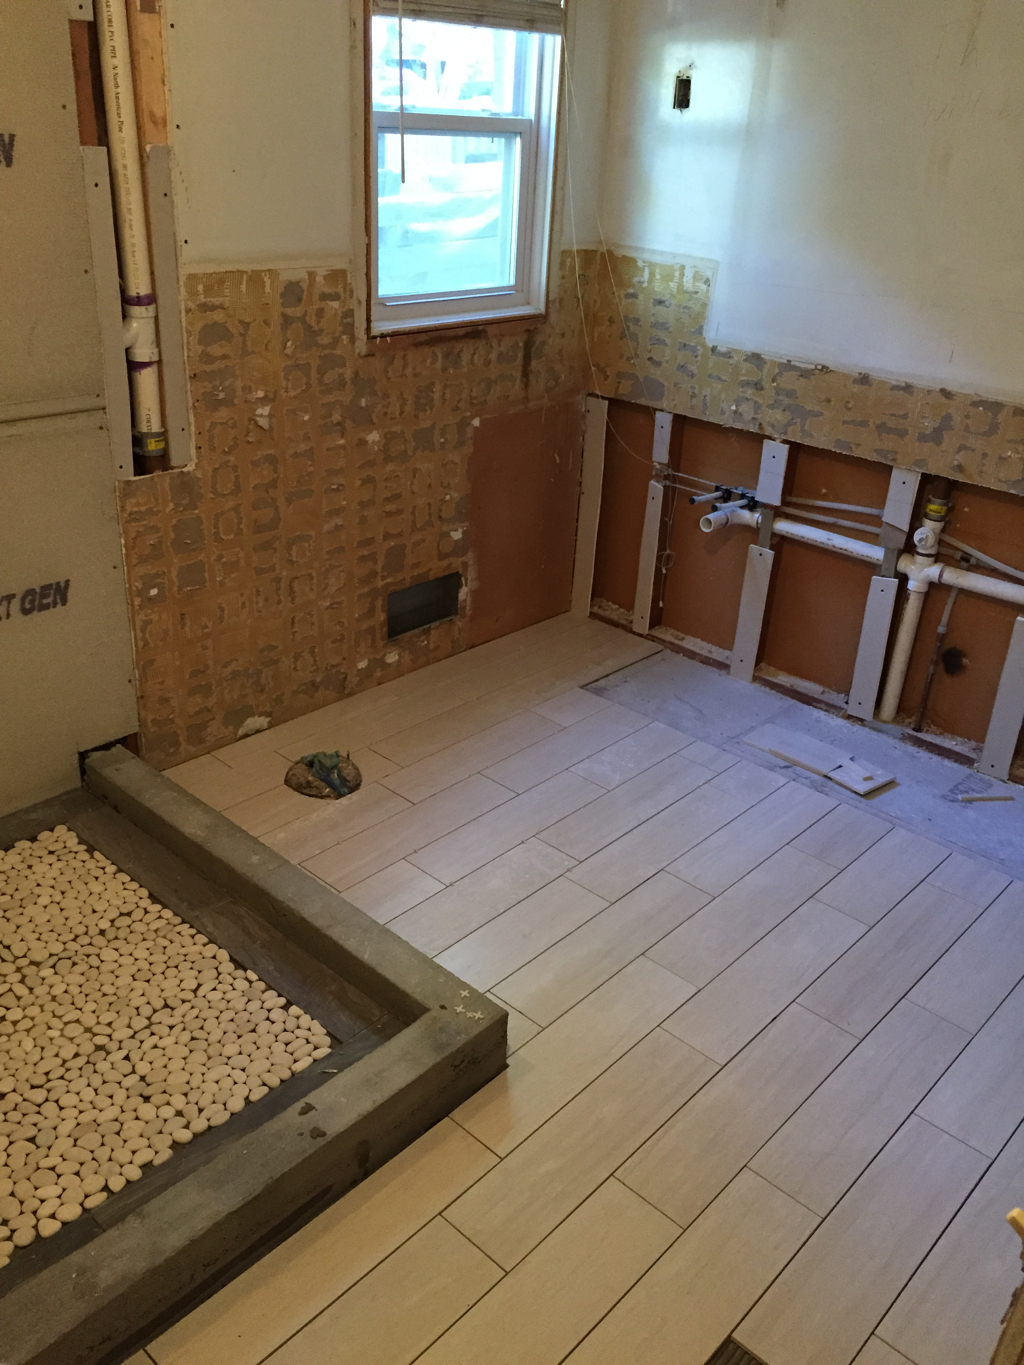
Tutorial on how this river rock bathroom floor! #DIY Bathrooms remodel, River rock bathroom

Related Posts:
- French Country Bathroom Flooring
- Mid Century Modern Bathroom Flooring
- Rustic Bathroom Floor Tiles
- Purple Bathroom Flooring
- How To Clean Bathroom Floor Stains
- Tile Design Bathroom Floor
- Terracotta Bathroom Floor
- Cool Bathroom Floor Ideas
- Light Bathroom Floor Tiles
- Classic Bathroom Floor Tile Ideas
Creating a unique, eye-catching bathroom floor is easier than you think. With some preparation and planning, you can have a stunning river rock bathroom floor in no time. Here is a step-by-step guide to help you get started on your DIY project.
Step 1: Preparing the Subfloor
The first step to installing a river rock floor is preparing the subfloor. This will ensure that the new floor has a strong foundation and will remain durable for years to come. Begin by cleaning the area with a vacuum and wiping away any dust or debris. Once the area is clean, you will need to lay down a moisture barrier to protect the floor from water damage. You can use either plastic sheeting or a waterproof membrane for this step.
Step 2: Installing the River Rock
Now it’s time for the fun part – installing the river rock! Begin by laying out the rocks in the desired pattern on the floor. After you have placed them, check to make sure that each one is level and secure. If not, adjust accordingly. Once they are all in place, use construction adhesive to adhere them to the subfloor. Allow at least 24 hours for the adhesive to dry completely before proceeding to the next step.
Step 3: Sealing the Floor
To ensure that your new river rock bathroom floor stays in great condition for years to come, it’s important to seal it properly. Start by wiping down the entire area with a damp cloth and allowing it to dry completely. Then, apply two coats of sealant, allowing each coat to dry before applying the next one. This will help protect your floor from water damage and other wear and tear over time.
Step 4: Finishing Touches
The last step to completing your river rock bathroom floor is adding finishing touches. This includes adding grout if desired, as well as caulk around edges and corners of the room. This will help ensure that no water gets behind the rocks and cause damage over time. Once you are finished, your river rock bathroom floor is complete!
A river rock bathroom floor can be an attractive addition to any home without breaking your budget. With some preparation and effort, you can easily create a beautiful new surface in your bathroom that will last for years to come. Follow this guide and you’ll have a stunning river rock bathroom floor in no time!