Steps To Install Vinyl Flooring (With Pictures)

How to Install Vinyl Flooring Vinyl sheet flooring, Laying vinyl flooring, Diy flooring

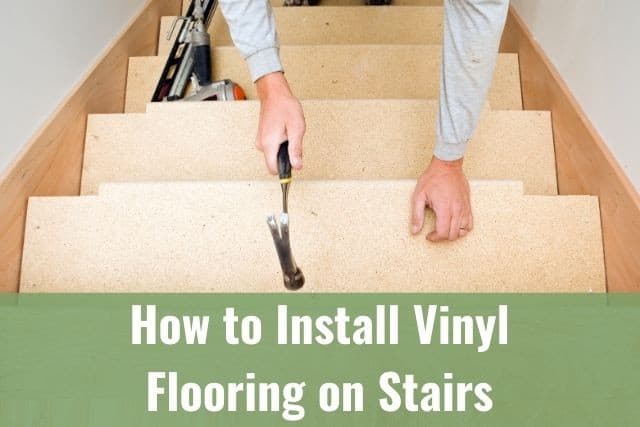
How To Install Vinyl Plank Flooring On Stairs With – Vinyl Plank On Stairs PNG Image

Installing Vinyl Sheet Flooring On Stairs : Use the Allure Vinyl Plank Flooring for Your Home

How to Install Lifeproof Vinyl Plank Flooring? (Step-by-Step Tutorial)
How to Install Vinyl Plank Flooring on Stairs – Ready To DIY Installing vinyl plank
How to Install Lifeproof Vinyl Plank Flooring? (Step-by-Step Tutorial)
Pin on Vinyl Floors

Installing Vinyl Floors – A Do It Yourself Guide Vinyl plank flooring, Installing vinyl plank, Diy vinyl

Vinyl Floors with White Risers Vinyl flooring, Flooring projects, Flooring

How To Lay Sheet Vinyl Flooring On Stairs – how to install floor vinyl tile
How To Lay Vinyl Floor In A Room – how thick vinyl wood flooring

Related Posts:
- Pine Vinyl Flooring
- Vinyl Floor Laying DIY
- Cortex Vinyl Flooring
- Grey Slate Effect Vinyl Floor Tiles
- Dark Oak Vinyl Flooring
- Limestone Effect Vinyl Flooring
- Vinyl Floor With Border
- Adhesive For Vinyl Flooring To Concrete
- Teak Wood Vinyl Flooring
- Cheap Vinyl Flooring
Installing vinyl flooring is a great way to add style and beauty to your home. It is also easy to install and can be done in a few hours or less. Whether you are installing it yourself or having a professional do it for you, there are some essential steps you need to take to ensure the job is done correctly. Below, we’ll give you a step-by-step guide on how to install vinyl flooring in your home.
Step 1: Prepare the Room
Before installing vinyl flooring, it is important to properly prepare the room. First, remove any furniture and other items from the area. Next, make sure the floor is clean and free of dust and debris. If there are any holes in the floor, fill them with wood putty and let it dry before continuing. Once the floor is ready, you are ready to start installing your vinyl flooring.
Step 2: Measure the Room
Once the room is prepared, measure the length and width of each wall using a measuring tape. This will help you determine how much vinyl flooring you will need for the job. It’s important to be as accurate as possible when taking measurements so that you don’t end up with too much or too little vinyl flooring at the end of the project.
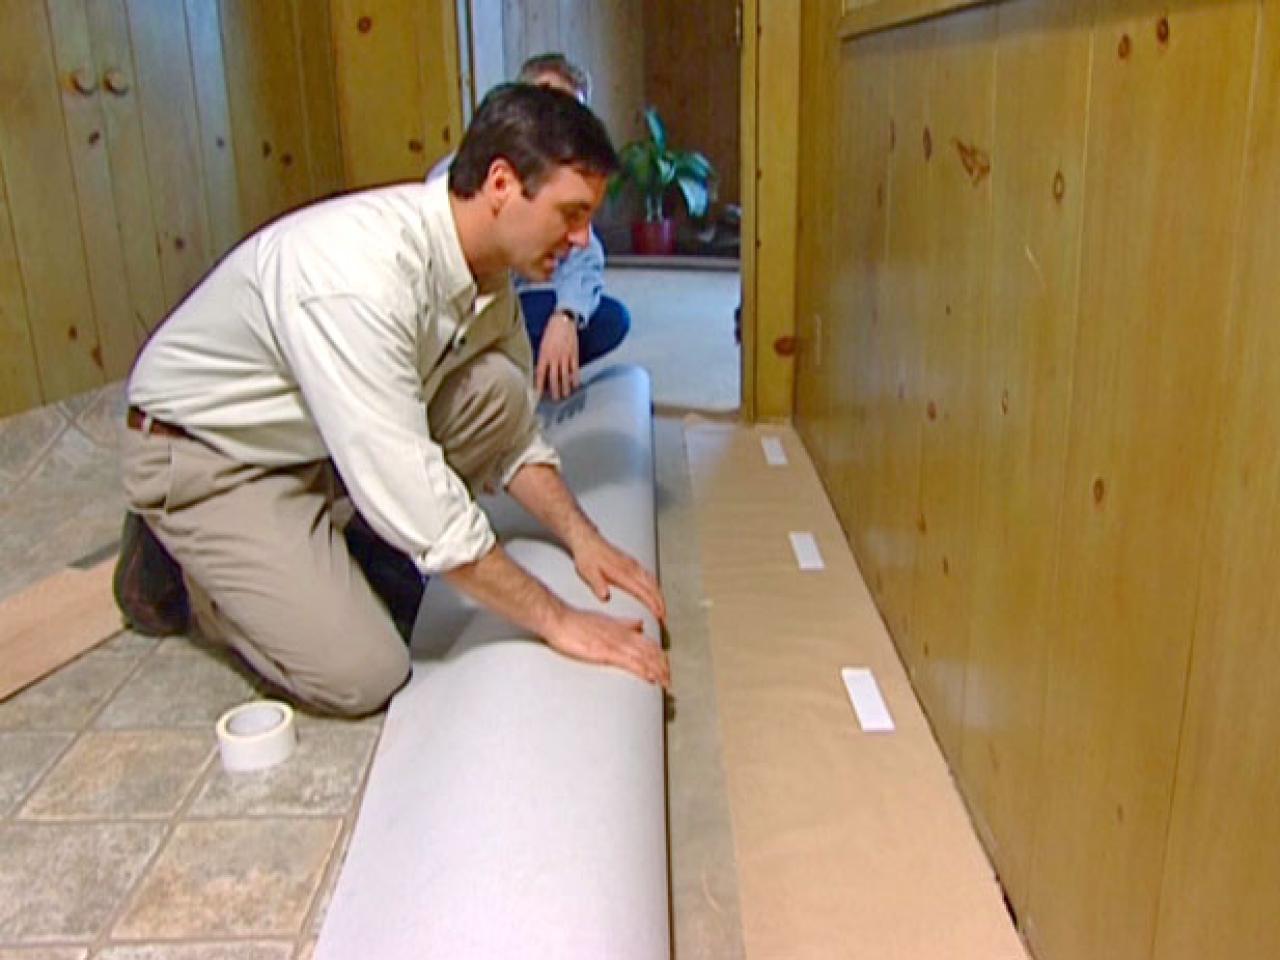
Step 3: Install Underlayment
Before installing the vinyl flooring, it is important to install an underlayment first. This will provide extra cushioning and help reduce noise from walking on the floor. The underlayment should be installed according to manufacturer’s instructions and should cover the entire area where the vinyl flooring will be installed.
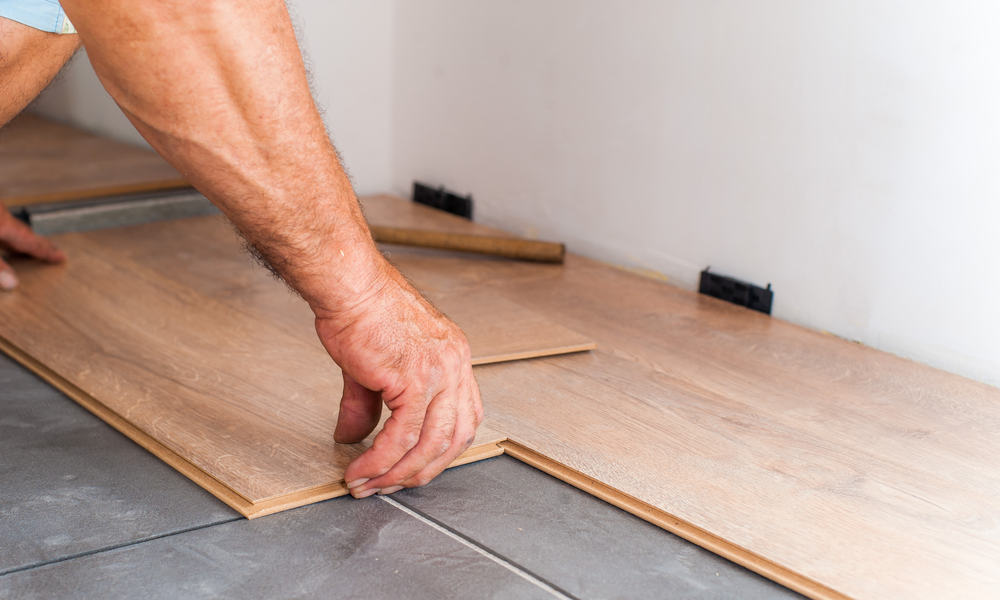
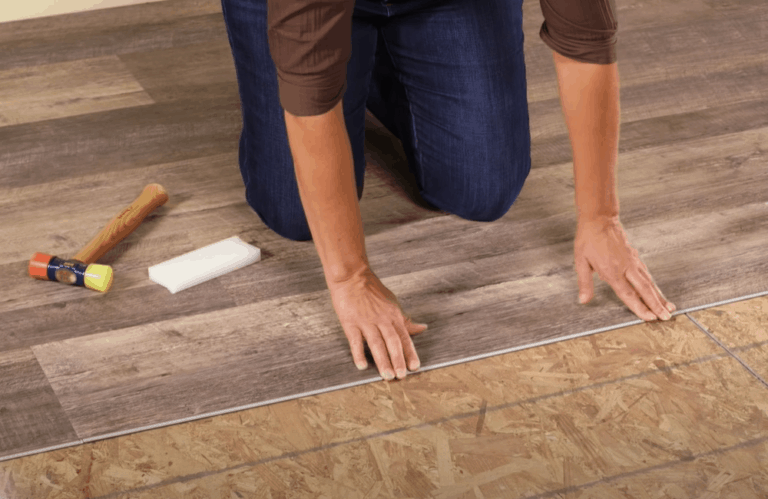
Step 4: Cut and Place Vinyl Flooring
Once the underlayment is installed, it’s time to cut and place the vinyl flooring in the room. Start by cutting pieces that fit along each wall with a utility knife or scissors. Make sure to leave an expansion gap between each piece of vinyl flooring and around the edges of the room. Then, place each piece into position and use a roller or rolling pin to make sure it is properly adhered to the subfloor.
Step 5: Seal Edges and Trim Excess Vinyl
Once all of the pieces are laid down, seal all of the edges with a vinyl sealant or adhesive. This will help ensure that no water or moisture gets underneath the vinyl flooring and cause it to curl up or come loose over time. Then, use a utility knife or scissors to trim away any excess vinyl along walls or corners.
Step 6: Clean Up
Finally, once all of the pieces are laid down, cleaned up any mess that was made during installation. Vacuum up any dust or debris that may have been created while cutting and laying down pieces of vinyl flooring. Then, mop up any adhesive or sealant residue left behind from sealing edges around walls or corners.
Installing vinyl flooring in your home is a great way to add style and beauty without breaking your budget. With just a few simple steps, you can easily install this type of flooring in your home in no time at all! Just make sure to properly prepare your space before starting, measure accurately for materials needed, install underlayment for cushioning, cut and place pieces of vinyl carefully, seal edges and trim away excess material, then clean up any mess afterwards for beautiful results!