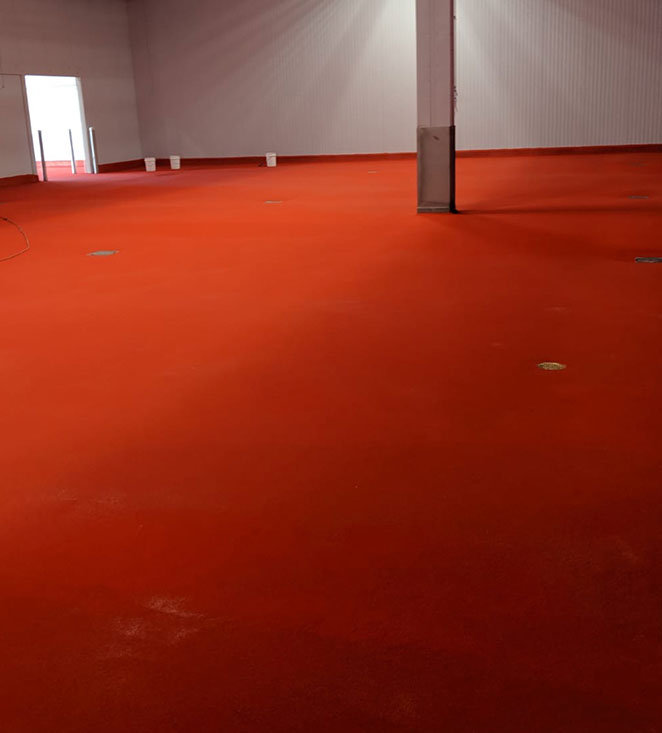
Urethane vinyl flooring is a popular choice for homeowners and commercial spaces due to its durability, versatility, and ease of maintenance. This comprehensive guide explores the features, benefits, installation process, and maintenance tips for urethane vinyl flooring. Whether you’re renovating a single room or an entire building, understanding these elements will help you make an informed decision about incorporating this flooring option into your space.
Features of Urethane Vinyl Flooring
Durability and Longevity
Urethane vinyl flooring is renowned for its exceptional durability and longevity. One of the key features that contribute to its durability is the urethane wear layer on the surface. This protective layer enhances the floor’s resistance to scratches, dents, and stains, making it ideal for high-traffic areas such as hallways, kitchens, and commercial spaces. Unlike traditional vinyl flooring, which may wear down more quickly, urethane vinyl maintains its appearance and integrity over time.
The flooring’s composition also plays a significant role in its longevity. Typically, urethane vinyl flooring consists of multiple layers, including a resilient vinyl core that provides stability and cushioning. This multi-layer construction not only enhances comfort underfoot but also adds to the flooring’s overall strength. As a result, urethane vinyl flooring can withstand the rigors of daily use without showing significant signs of wear.
In addition to its resistance to physical damage, urethane vinyl flooring is also highly resistant to moisture. This makes it an excellent choice for areas prone to spills, humidity, or water exposure, such as bathrooms, kitchens, and basements. The moisture resistance helps prevent issues such as mold growth, warping, or peeling, further extending the floor’s lifespan and maintaining a healthy indoor environment.
Furthermore, urethane vinyl flooring often comes with a manufacturer’s warranty that reflects its durability. These warranties can range from 10 to 25 years, providing homeowners with peace of mind and assurance of the product’s quality. Investing in urethane vinyl flooring is a long-term decision that promises durability, making it a cost-effective and reliable flooring option.

Versatility in Design
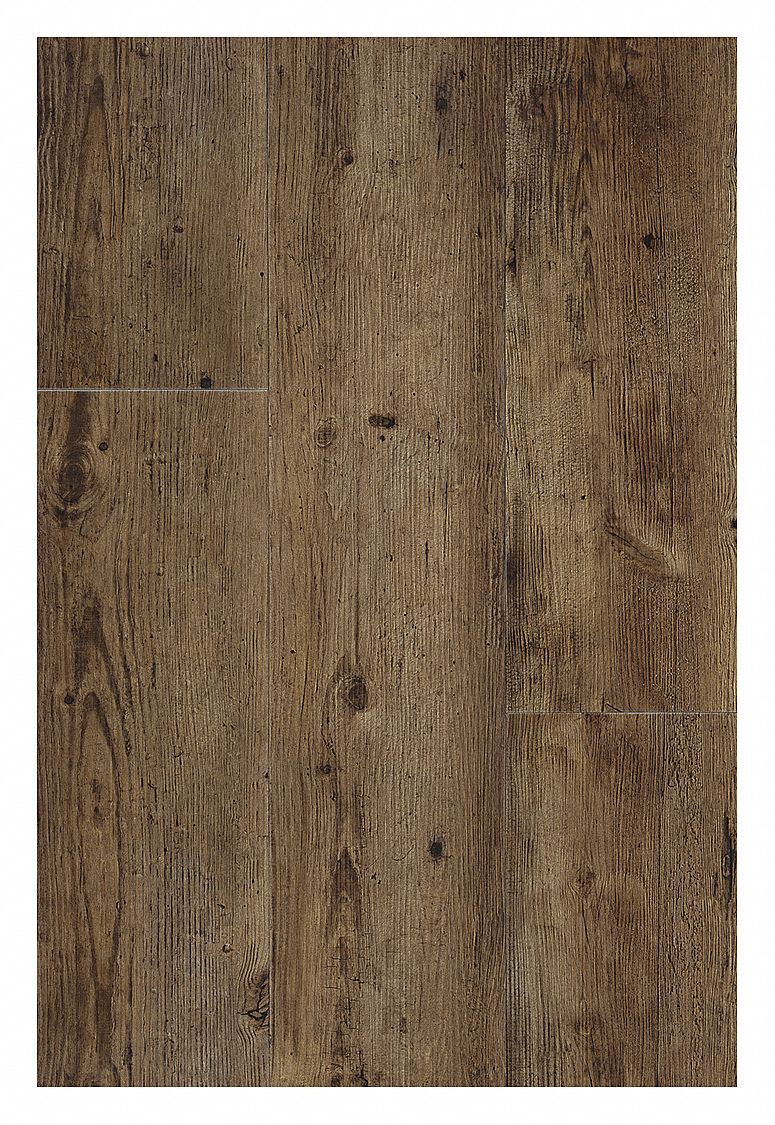
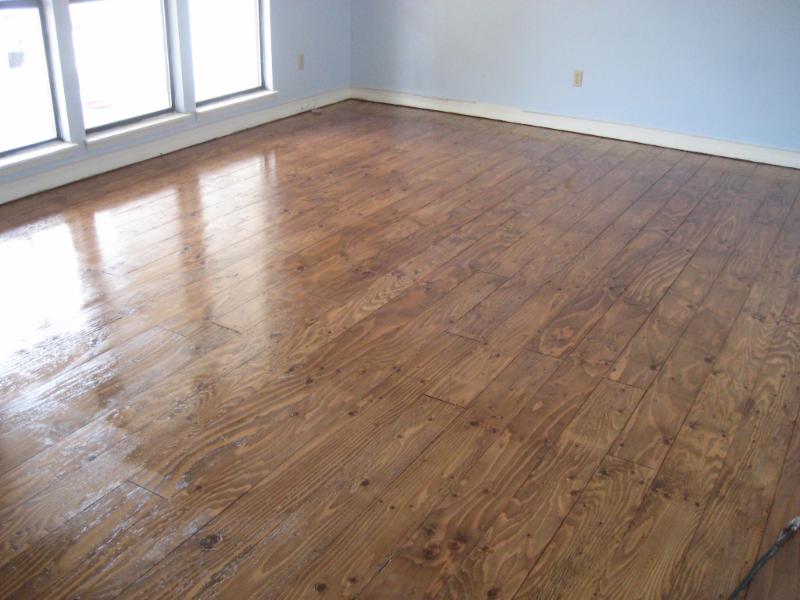
One of the standout features of urethane vinyl flooring is its versatility in design. Modern manufacturing techniques allow for a wide range of styles, colors, and patterns that can mimic the look of natural materials such as wood, stone, or ceramic tiles. This variety enables homeowners and designers to achieve the desired aesthetic without compromising on the practical benefits of vinyl flooring.
The realistic designs of urethane vinyl flooring are achieved through advanced printing technology. High-definition images are printed on the vinyl layer, creating the appearance of natural materials with intricate details and textures. Whether you prefer the rustic charm of hardwood, the elegance of marble, or the contemporary look of concrete, urethane vinyl flooring offers options that cater to diverse design preferences.
In addition to its visual appeal, urethane vinyl flooring comes in various formats, including planks, tiles, and sheets. Plank flooring is particularly popular for its ability to replicate the look of hardwood floors, complete with beveled edges and authentic textures. Tile formats can mimic stone or ceramic tiles, offering a sophisticated and durable alternative for bathrooms and kitchens. Sheet vinyl provides a seamless appearance, ideal for larger areas and spaces requiring easy maintenance.
Furthermore, the versatility of urethane vinyl flooring extends to its installation methods. Depending on the product, urethane vinyl can be installed as a floating floor, glued down, or even installed using a peel-and-stick method. This flexibility allows for customization based on the specific needs and conditions of the installation area, making it a versatile choice for both residential and commercial applications.

Comfort and Acoustic Benefits
In addition to its durability and design versatility, urethane vinyl flooring offers significant comfort and acoustic benefits. The resilient core and cushioned backing of many urethane vinyl products provide a softer and more comfortable surface underfoot compared to harder flooring materials like ceramic tile or hardwood. This comfort is particularly appreciated in areas where people stand for extended periods, such as kitchens and laundry rooms.
The cushioned backing also contributes to the flooring’s acoustic properties. Urethane vinyl flooring can help reduce noise transmission, making it a suitable choice for multi-story buildings, apartments, and office spaces. The sound-absorbing qualities of the flooring help create a quieter environment by minimizing the impact noise of footsteps, dropped objects, and other daily activities.
Moreover, the comfort and acoustic benefits of urethane vinyl flooring are not limited to residential applications. In commercial settings, such as offices, retail spaces, and healthcare facilities, the flooring’s ability to reduce noise and provide comfort underfoot can enhance the overall environment. Employees and customers alike can benefit from a more pleasant and quieter atmosphere, contributing to improved productivity and satisfaction.
The combination of comfort and acoustic benefits also makes urethane vinyl flooring an excellent choice for educational institutions, such as schools and daycare centers. The flooring’s resilience and noise-reducing properties create a conducive learning environment, allowing students to focus better and enjoy a more comfortable space. These benefits highlight the versatility and practicality of urethane vinyl flooring in various settings.

Ease of Maintenance
Urethane vinyl flooring is known for its ease of maintenance, making it a practical choice for busy households and commercial spaces. The urethane wear layer on the surface of the flooring provides excellent protection against stains and spills, allowing for easy cleanup. Regular sweeping or vacuuming helps remove dirt and debris, while occasional mopping with a mild detergent is usually sufficient to maintain the flooring’s appearance.
One of the significant advantages of urethane vinyl flooring is its resistance to common household stains. Spills from food, beverages, or other substances can be wiped away quickly without leaving permanent marks. This stain resistance is particularly beneficial in kitchens and dining areas, where spills are more likely to occur. The ability to maintain a clean and stain-free surface with minimal effort adds to the appeal of urethane vinyl flooring.
In addition to its stain resistance, urethane vinyl flooring does not require special treatments or sealants to maintain its appearance. Unlike natural stone or hardwood floors, which may need periodic sealing or refinishing, urethane vinyl retains its beauty with simple, routine maintenance. This low-maintenance aspect saves homeowners time and money, making urethane vinyl flooring a practical and cost-effective option.
Moreover, the ease of maintenance extends to the flooring’s resistance to moisture and mold. The non-porous surface of urethane vinyl prevents water from penetrating, reducing the risk of mold and mildew growth. Regular cleaning with a damp mop and mild cleaner is usually sufficient to keep the flooring in top condition. The low-maintenance requirements make urethane vinyl flooring an attractive choice for those seeking both durability and convenience.

Installation Process
Preparing the Subfloor
Proper subfloor preparation is crucial for a successful urethane vinyl flooring installation. A well-prepared subfloor ensures that the flooring adheres correctly and provides a smooth, even surface. The first step is to thoroughly clean the subfloor, removing any debris, dust, or old adhesive. This cleaning process prevents particles from interfering with the adhesive and ensures a secure bond between the subfloor and the vinyl flooring.
After cleaning, it’s essential to check the subfloor for any irregularities. Any bumps, dips, or cracks should be addressed to create a level surface. For minor imperfections, a patching compound can be used to fill in gaps and smooth out uneven areas. For more significant issues, additional steps such as sanding or using a self-leveling compound may be necessary to achieve a perfectly flat surface. Ensuring a level subfloor is critical to prevent issues such as gaps, lifting, or uneven wear in the finished floor.
Next, it’s important to ensure that the subfloor is dry and free of moisture. Moisture can compromise the adhesive and lead to issues such as mold growth or vinyl detachment. If moisture is detected, it should be addressed before proceeding with the installation. This may involve using a moisture barrier or improving ventilation to ensure a dry subfloor. Checking the subfloor’s moisture levels can help prevent long-term damage to the flooring.
Finally, applying a primer or bonding agent to the subfloor can enhance the adhesive’s grip and improve the overall installation. The primer creates a better surface for the adhesive to bond to, ensuring that the vinyl flooring remains securely in place. Once the subfloor is clean, level, dry, and primed, it is ready for the vinyl flooring installation process to begin. Proper subfloor preparation is a critical step that sets the foundation for a successful and durable flooring installation.
Laying Out the Flooring
Laying out the urethane vinyl flooring properly is essential for achieving a professional and aesthetically pleasing result. Before applying any adhesive or starting the installation, it’s important to plan the layout carefully. This involves determining the starting point and the direction in which the flooring will be laid. It’s often best to start along the longest straight wall and work outwards, ensuring a balanced and symmetrical appearance.
Dry laying the vinyl planks or tiles before installing them is a recommended step. This allows for adjustments and ensures that the layout looks as planned. Dry laying also helps identify any pieces that need to be cut to fit around edges, corners, or obstacles. Taking the time to arrange the flooring without adhesive ensures a precise and visually appealing installation.
Once the layout is confirmed, it’s time to begin the installation. Depending on the type of urethane vinyl flooring, the installation method may vary. For click-lock or floating floor systems, the planks or tiles are snapped together without the need for adhesive. For glue-down or peel-and-stick options, applying the adhesive correctly is crucial for a secure bond. Working in manageable sections prevents the adhesive from drying before the flooring is laid, ensuring a strong and even installation.
During the installation, it’s important to maintain consistent spacing between the planks or tiles, using spacers if necessary. Continuously checking the alignment and level of the flooring helps ensure a smooth and even surface. Making adjustments as needed during this step prevents issues such as gaps or uneven seams. Taking the time to lay out and install the urethane vinyl flooring correctly results in a durable and visually appealing finished product.
Cutting and Fitting
Cutting and fitting urethane vinyl flooring accurately is crucial for a seamless and professional-looking installation. Proper tools and techniques are essential to achieve precise cuts and ensure that the flooring fits perfectly around edges, corners, and obstacles. A utility knife with a sharp blade, a straight edge, and a measuring tape are the primary tools needed for this task.
The first step in cutting and fitting is to measure the space accurately. This involves measuring the dimensions of the room and marking the vinyl planks or tiles accordingly. When measuring, it’s important to account for any irregularities or unique features of the space, such as doorways, alcoves, or fixtures. Accurate measurements ensure that the flooring fits snugly without gaps or overlaps.
Once the measurements are taken, the next step is to mark the vinyl for cutting. Using a straight edge and a pencil or chalk, mark the cutting lines on the surface of the vinyl. Double-checking the measurements and markings before cutting helps prevent mistakes and ensures that the cuts are accurate. For straight cuts, a utility knife can be used to score the surface of the vinyl and then snap it along the scored line. For more complex cuts, such as curves or notches, a pair of vinyl cutting shears or a jigsaw with a fine-toothed blade may be required.
After cutting the vinyl, it’s time to fit the pieces into place. Starting from the starting point and working outwards, lay the cut pieces into their designated positions. Ensuring that the edges align perfectly with the walls and other flooring pieces creates a seamless appearance. Using a roller or applying pressure helps secure the vinyl in place, ensuring a tight bond with the adhesive. Properly cutting and fitting the vinyl flooring results in a professional and visually appealing finish, enhancing the overall look and durability of the floor.

Final Touches
The final touches in the urethane vinyl flooring installation process ensure a polished and complete appearance. One of the key aspects of the final touches is securing the edges and transitions. Installing baseboards or quarter-round molding around the perimeter of the room covers the expansion gap and provides a clean, finished look. These moldings can be painted or stained to match the flooring or the room’s decor, adding to the overall aesthetic.
In addition to securing the edges, addressing transitions between different flooring types is important. Transition strips or thresholds can be used to create a smooth transition between urethane vinyl flooring and other flooring materials, such as carpet, tile, or hardwood. These strips not only enhance the visual appeal but also prevent tripping hazards and protect the edges of the flooring from damage.
Another important step in the final touches is to inspect the entire installation for any imperfections or loose pieces. Checking for gaps, misalignments, or adhesive residue ensures that the floor is flawless and secure. Any necessary adjustments or touch-ups should be made at this stage to achieve a professional finish. Using a seam roller to press down seams and edges helps ensure a tight bond and smooth surface.
Finally, cleaning the newly installed urethane vinyl flooring is the last step in the installation process. Removing any dust, debris, or adhesive residue with a damp cloth or mop ensures that the floor is clean and ready for use. It’s important to follow the manufacturer’s guidelines for cleaning and maintenance to preserve the floor’s appearance and durability. Completing these final touches results in a beautiful and functional urethane vinyl floor that enhances the overall look and feel of the space.
Maintenance Tips
Regular Cleaning
Regular cleaning is essential to maintain the appearance and longevity of urethane vinyl flooring. The flooring’s surface is designed to be easy to clean, but consistent care ensures it remains in top condition. Daily sweeping or vacuuming helps remove dirt, dust, and debris that can accumulate on the surface. Using a soft-bristle broom or a vacuum cleaner with a hard floor attachment prevents scratches and keeps the flooring looking pristine.
For more thorough cleaning, mopping with a mild detergent and warm water is effective. It’s important to avoid using harsh chemicals or abrasive cleaners, as they can damage the urethane wear layer and reduce the flooring’s durability. A pH-neutral cleaner specifically designed for vinyl floors is recommended to maintain the floor’s finish and prevent discoloration. After mopping, rinsing the floor with clean water helps remove any soap residue and ensures a streak-free shine.
In addition to regular sweeping and mopping, addressing spills promptly is crucial. Spills from food, beverages, or other substances should be wiped up immediately to prevent staining and maintain the floor’s appearance. For tougher stains, a baking soda and water paste can be applied to the affected area and gently scrubbed with a soft brush. Avoid using abrasive tools or scouring pads, as they can scratch the surface and damage the flooring.
Moreover, regular cleaning includes maintaining the grout lines if the urethane vinyl flooring features a tile design. Keeping the grout clean prevents discoloration and mold growth. Using a grout cleaner and a soft brush to scrub the grout lines ensures they remain in good condition. Consistent and proper cleaning routines keep urethane vinyl flooring looking its best and extend its lifespan.

Preventative Measures
Taking preventative measures can significantly extend the lifespan of urethane vinyl flooring and keep it looking its best. One of the simplest steps is using doormats at entryways to reduce the amount of dirt and debris tracked onto the flooring. This helps prevent scratches and keeps the floor cleaner for longer. Regularly cleaning the doormats also ensures they remain effective in trapping dirt.
Another preventative measure is using furniture pads under the legs of chairs, tables, and other heavy items. These pads help distribute the weight and prevent scratches or dents on the flooring. It’s important to check and replace the pads periodically, as worn-out pads may lose their effectiveness. Additionally, avoiding dragging heavy objects across the floor can prevent damage.
In high-traffic areas, using rugs or runners can protect the flooring from wear and tear. These coverings not only add a decorative element but also reduce the impact on the flooring. It’s important to choose rugs with non-slip backings to prevent accidents. Regularly cleaning and rotating the rugs ensures even wear and maintains the floor’s appearance.
Moreover, maintaining the integrity of the flooring’s surface is essential. Avoiding the use of high heels, heavy boots, or sharp objects on the flooring can prevent punctures and scratches. Placing felt pads or protective covers on the bottom of heavy appliances, such as refrigerators and washing machines, can also prevent damage. By implementing these preventative measures, you can protect your urethane vinyl flooring and ensure its long-term durability.
Dealing with Stains and Damage
Despite its durability, urethane vinyl flooring can occasionally become stained or damaged. Addressing these issues promptly can prevent further damage and maintain the flooring’s appearance. For stains, identifying the type of stain is crucial for choosing the right cleaning method. For example, organic stains such as food or beverage spills can often be removed with a mild detergent and warm water.
For more stubborn stains, a baking soda and water paste can be applied to the affected area. Letting the paste sit for a few minutes before gently scrubbing with a soft brush can help lift the stain. It’s important to rinse the area thoroughly to remove any residue. Avoid using abrasive tools or harsh chemicals, as they can damage the flooring’s surface and the urethane wear layer.
In the case of scratches or scuffs, using a vinyl floor repair kit can help restore the appearance of the flooring. These kits typically include a filler and colorant that can be matched to the flooring’s color. Applying the filler and buffing it to blend with the surrounding area can effectively mask minor scratches. For deeper scratches or significant damage, replacing the affected plank or tile may be necessary to maintain the floor’s integrity.
Regularly inspecting the flooring for any signs of damage or wear can help catch issues early. Promptly addressing stains, scratches, and other damage ensures that urethane vinyl flooring remains a beautiful and durable option for years to come. Implementing these measures maintains the floor’s appearance and functionality, preserving its value and appeal.

Long-Term Care
Long-term care of urethane vinyl flooring involves periodic maintenance tasks that go beyond regular cleaning. One important aspect is resealing the grout lines every few years, depending on the amount of traffic and wear. Sealing the grout helps protect it from moisture, stains, and discoloration, ensuring it remains in good condition. Regularly inspecting the grout for any signs of damage or wear can help determine when resealing is needed.
Another aspect of long-term care is maintaining the flooring’s finish. Over time, the finish on urethane vinyl flooring may become dull or scratched. Using a vinyl floor polish or refinishing product can help restore the flooring’s shine and protect the surface. It’s important to choose products that are compatible with the specific type of urethane vinyl flooring to avoid damage.
Additionally, addressing any underlying issues such as loose planks or subfloor problems is crucial for long-term care. Loose planks can indicate issues with the adhesive or subfloor, which should be addressed promptly to prevent further damage. Regularly inspecting the flooring and addressing any issues ensures the overall stability and longevity of the floor.
Finally, updating the decor and style of the space can also contribute to the long-term appeal of urethane vinyl flooring. Incorporating new design elements, such as changing the color scheme or adding new accessories, can refresh the look of the space. By combining regular maintenance with occasional updates, urethane vinyl flooring can remain a stylish and durable feature in your home for many years.

Common Mistakes to Avoid
Skipping Subfloor Preparation
One of the most common mistakes in installing urethane vinyl flooring is skipping proper subfloor preparation. Failing to clean, level, and prime the subfloor can result in tiles or planks that do not adhere correctly, leading to issues such as cracking, detachment, or uneven wear. Taking the time to prepare the subfloor ensures a stable and durable installation, setting the foundation for a long-lasting floor.
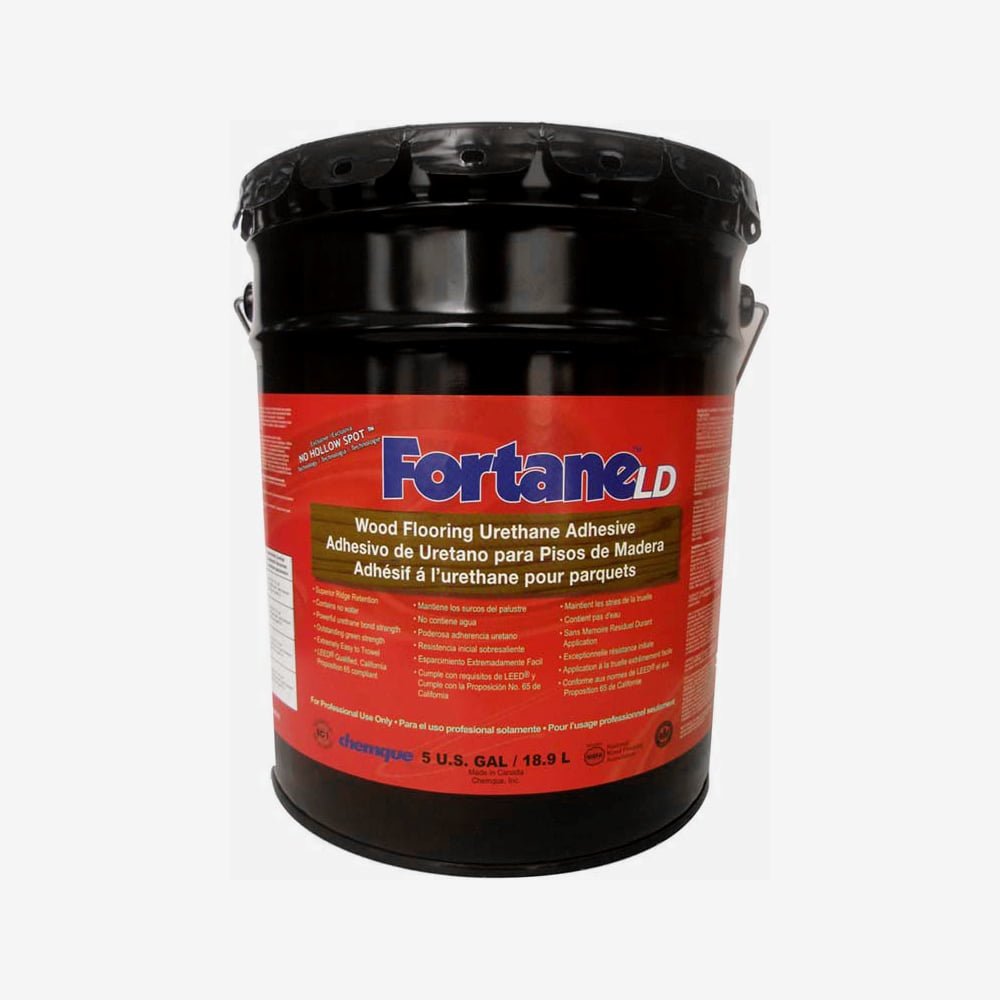
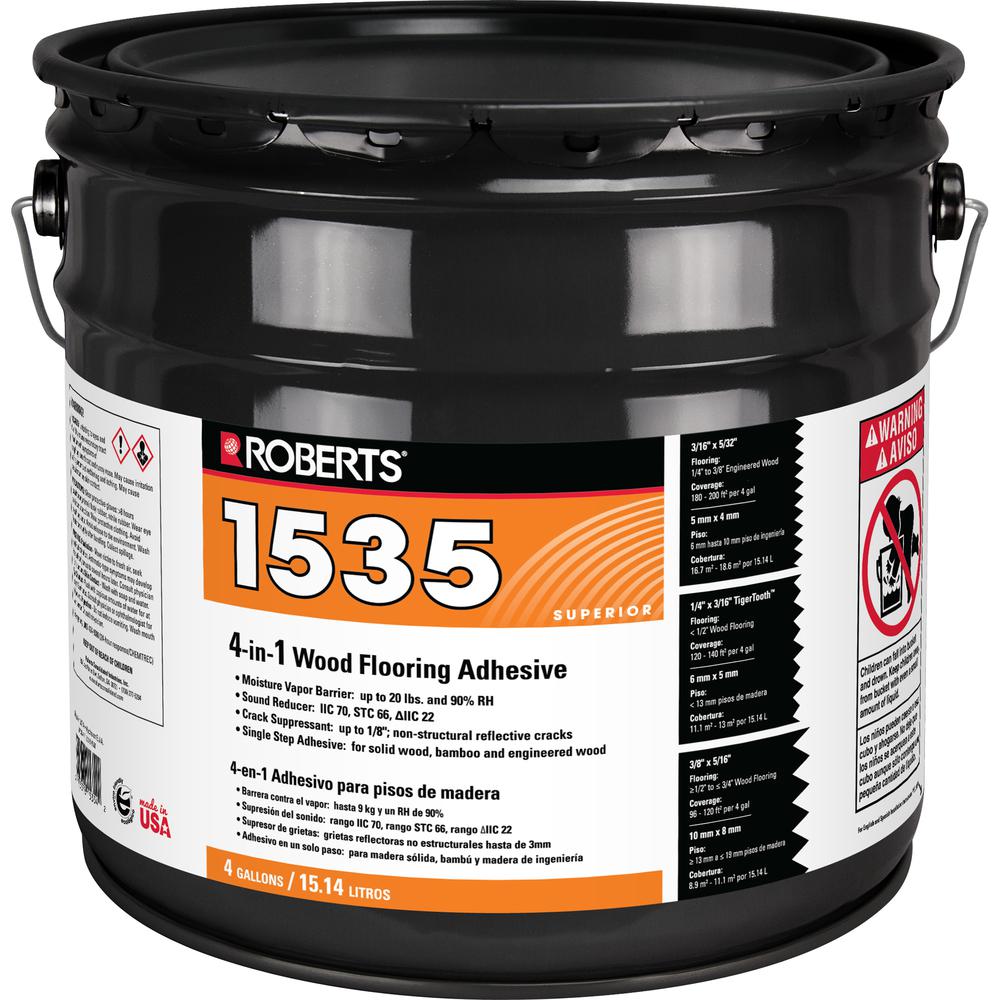
Incorrect Adhesive Application
Using the wrong type of adhesive or applying it incorrectly can compromise the installation. It’s important to use the adhesive recommended by the manufacturer and follow the application instructions precisely. Applying too much or too little adhesive, or allowing it to dry before laying the flooring, can result in weak bonds and floor movement. Proper adhesive application is crucial for a secure and lasting installation.
Ignoring Expansion Gaps
Failing to leave expansion gaps around the perimeter of the room is a common mistake. These gaps allow for natural expansion and contraction of the flooring due to temperature and humidity changes. Without these gaps, the flooring can buckle, warp, or lift over time. Ensuring adequate expansion gaps during installation helps maintain the floor’s integrity and appearance.
Using Harsh Cleaners
Using harsh chemicals or abrasive cleaning tools can damage the urethane wear layer and the vinyl itself. Bleach, ammonia, and other strong cleaners can cause discoloration and degrade the floor’s finish. Similarly, abrasive scrubbing pads can scratch the surface. Sticking to pH-neutral cleaners and soft cleaning tools preserves the floor’s beauty and durability.
What is the difference between urethane vinyl flooring and traditional vinyl flooring?
Urethane vinyl flooring features an additional urethane wear layer on top of the vinyl, providing enhanced durability and resistance to scratches, stains, and moisture. Traditional vinyl flooring may lack this extra layer, making it less durable and more prone to wear over time. Urethane vinyl flooring also tends to offer more realistic designs and textures, mimicking natural materials more effectively.
Can urethane vinyl flooring be installed over existing floors?
Yes, urethane vinyl flooring can often be installed over existing floors, provided the existing floor is in good condition, level, and clean. It’s important to follow the manufacturer’s guidelines and recommendations for installing over specific types of flooring, such as tile, hardwood, or concrete. Proper preparation of the existing floor ensures a secure and lasting installation.
How do I clean and maintain urethane vinyl flooring?
Cleaning urethane vinyl flooring is straightforward and requires regular sweeping or vacuuming to remove dirt and debris. Mopping with a mild detergent and warm water helps maintain the floor’s appearance. Avoid using harsh chemicals or abrasive cleaning tools. Promptly addressing spills and using doormats, furniture pads, and rugs in high-traffic areas can help prevent damage and maintain the floor’s durability.
Is urethane vinyl flooring suitable for high-moisture areas like bathrooms and kitchens?
Yes, urethane vinyl flooring is highly resistant to moisture, making it an excellent choice for high-moisture areas such as bathrooms and kitchens. The urethane wear layer provides additional protection against water damage, preventing issues like warping, mold growth or peeling. Ensuring proper installation and maintenance further enhances the flooring’s performance in these areas.
How long does urethane vinyl flooring last?
The lifespan of urethane vinyl flooring can range from 10 to 25 years or more, depending on the quality of the product, installation, and maintenance. The urethane wear layer significantly enhances the floor’s durability, allowing it to withstand heavy traffic and resist wear and tear. Following proper maintenance routines and addressing any issues promptly can further extend the flooring’s lifespan.
Related Posts: