Painting your basement floor can significantly enhance its appearance and functionality. Valspar Basement Floor Paint is a popular choice for homeowners looking to protect and beautify their concrete floors. This guide covers everything you need to know about Valspar Basement Floor Paint, from its benefits and application process to maintenance tips and common mistakes to avoid.
Understanding Valspar Basement Floor Paint
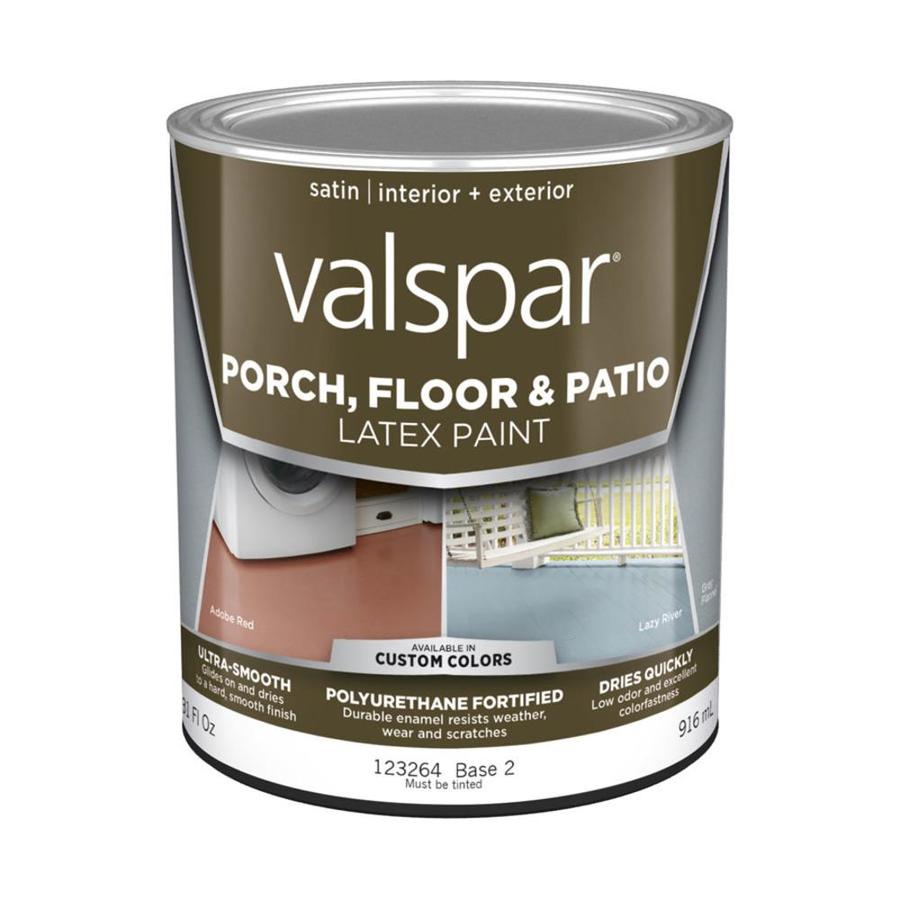
Valspar Basement Floor Paint is specifically formulated to meet the unique needs of basement environments. It offers a durable, long-lasting finish that can withstand the demands of high-traffic areas and resist common issues like moisture and staining. Here’s a closer look at what makes this paint a top choice for basement floors.
Durability and Longevity
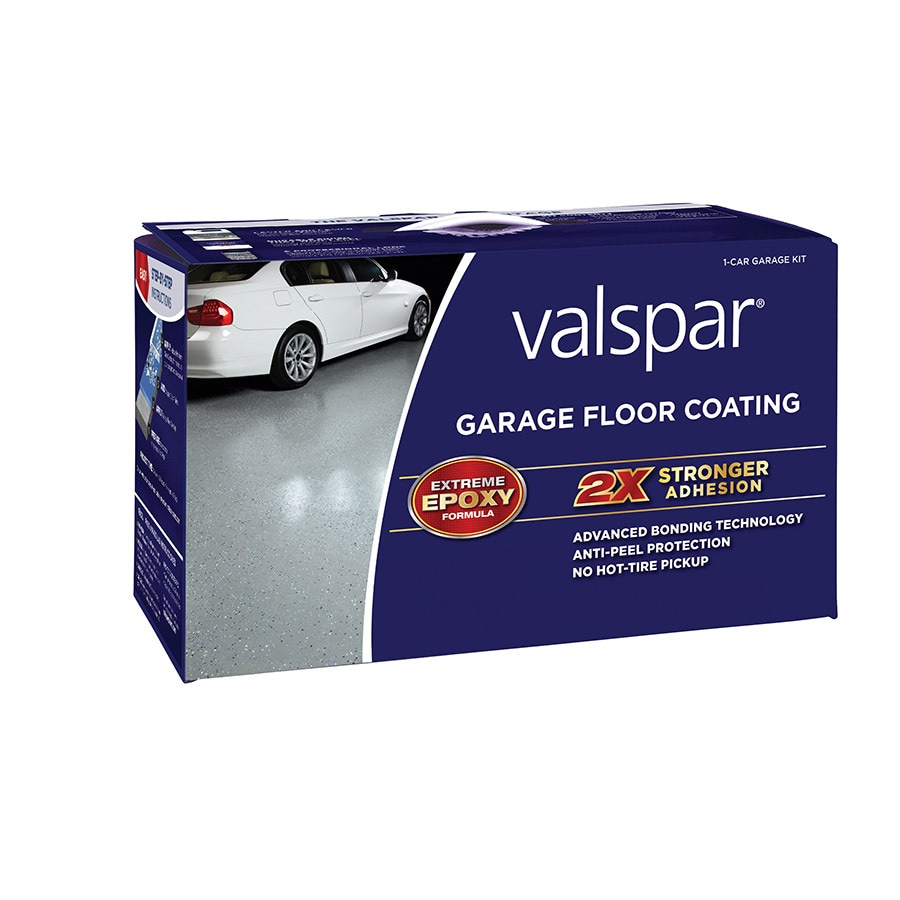
One of the primary benefits of Valspar Basement Floor Paint is its durability. Designed to withstand heavy foot traffic, this paint is tough and resilient, ensuring that your basement floor remains in excellent condition for years. It resists chipping, peeling, and fading, making it a reliable option for areas that see a lot of use.
Moisture Resistance
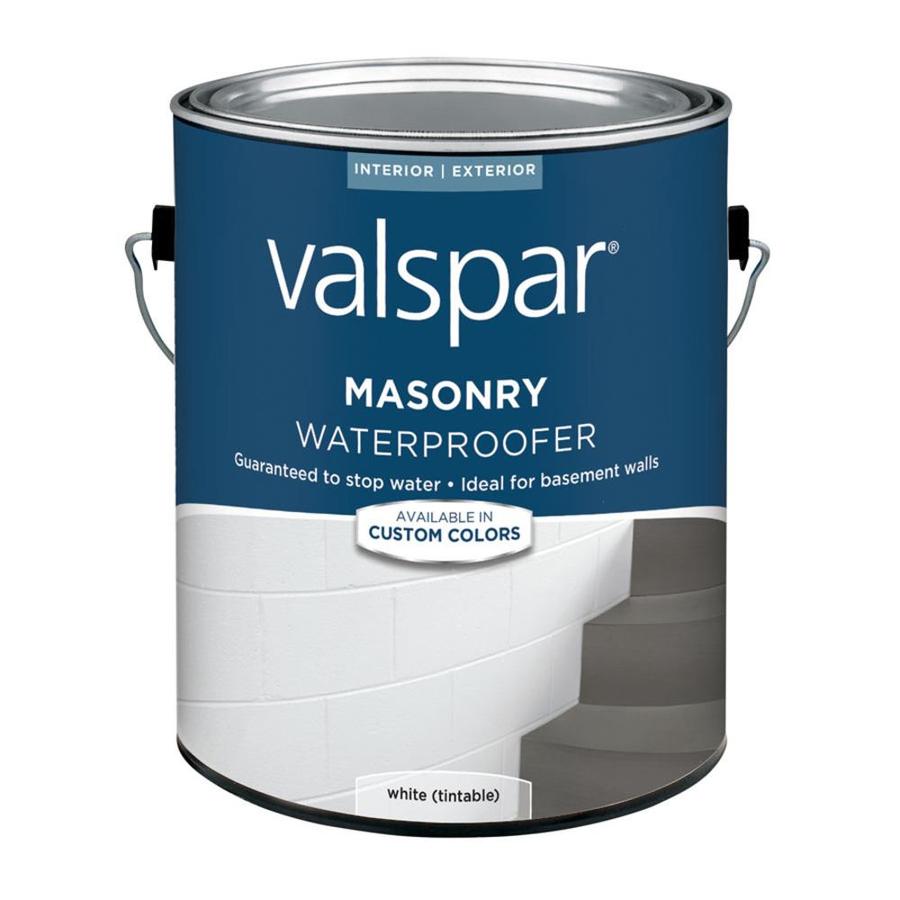
Basements are often prone to moisture issues, which can lead to problems like mold and mildew. Valspar Basement Floor Paint includes moisture-resistant properties that help protect your concrete floor from water damage. This is particularly important in basements, where moisture can seep through the concrete and cause significant damage over time.
Stain Resistance
In addition to moisture resistance, Valspar Basement Floor Paint is designed to resist staining. This makes it easier to clean and maintain, even in high-traffic areas where spills and stains are common. Whether it’s from foot traffic, pets, or everyday activities, this paint helps keep your basement floor looking clean and fresh.
Aesthetic Appeal
Valspar Basement Floor Paint comes in a variety of colors and finishes, allowing you to choose the perfect look for your basement. Whether you prefer a classic, understated color or something more vibrant and bold, there’s a Valspar paint option to match your style. The paint’s smooth, even finish adds a polished look to your basement floor.
Ease of Application
Another advantage of Valspar Basement Floor Paint is its ease of application. It can be applied using a roller or brush, and it dries relatively quickly, allowing you to complete your project promptly. The paint’s thick consistency ensures even coverage, reducing the likelihood of streaks or uneven spots.
Cost-Effectiveness
Compared to other flooring options, painting your basement floor with Valspar paint is a cost-effective solution. It provides a durable, attractive finish at a fraction of the cost of other flooring materials. This makes it an excellent choice for homeowners looking to improve their basement on a budget.

Preparing Your Basement Floor for Painting
Proper preparation is crucial to achieving the best results with Valspar Basement Floor Paint. Taking the time to thoroughly clean and prepare your floor will ensure that the paint adheres well and provides a smooth, long-lasting finish. Here are the steps you need to follow to prepare your basement floor for painting.
Cleaning the Floor The first step in preparing your basement floor is to clean it thoroughly. Remove any dirt, dust, and debris using a broom and vacuum. For stubborn stains and dirt, use a heavy-duty floor cleaner and a scrub brush. Ensure that all cleaning agents are thoroughly rinsed off, and allow the floor to dry completely before proceeding.
Repairing Cracks and Holes Inspect the floor for any cracks, holes, or other imperfections. These should be repaired before painting to ensure a smooth, even finish. Use a concrete patching compound to fill in any cracks or holes. Follow the manufacturer’s instructions for mixing and applying the compound, and allow it to dry completely before sanding it smooth.
Etching the Floor Etching the concrete floor is an important step that helps the paint adhere better. This involves applying a concrete etching solution, which opens up the pores of the concrete and creates a rougher surface for the paint to grip. Follow the instructions on the etching solution, apply it evenly across the floor, and allow it to sit for the recommended amount of time. Rinse the floor thoroughly and allow it to dry completely.

Applying a Primer Priming the floor is essential for achieving a smooth, even finish with Valspar Basement Floor Paint. Choose a primer specifically designed for concrete floors. Apply the primer using a roller or brush, starting from the farthest corner and working your way towards the exit. Allow the primer to dry according to the manufacturer’s instructions before proceeding with the paint application.
Testing for Moisture Before painting, it’s important to check for moisture in the concrete. Tape a piece of plastic sheeting to the floor and leave it for 24 hours. If condensation forms under the plastic, it indicates that there is moisture in the concrete, which can affect the paint’s adhesion. Address any moisture issues before proceeding with the paint application.
Final Inspection Once the floor is clean, repaired, etched, and primed, conduct a final inspection to ensure it’s ready for painting. Check for any remaining dust, debris, or imperfections that need to be addressed. Make sure the floor is completely dry and free of any contaminants that could affect the paint’s adhesion.
Applying Valspar Basement Floor Paint
Applying Valspar Basement Floor Paint correctly is essential for achieving a durable, attractive finish. Follow these steps to ensure a smooth, professional-looking result.
Gathering Supplies Before you begin painting, gather all the necessary supplies. This includes Valspar Basement Floor Paint, a roller with an extension handle, paint brushes, a paint tray, painter’s tape, and protective coverings for adjacent surfaces. Having everything ready will make the painting process more efficient and streamlined.
Stirring the Paint Before applying the paint, thoroughly stir it to ensure an even consistency. This helps distribute any settled pigments and ensures uniform color and finish. Use a paint stirrer or a drill with a mixing attachment to achieve a smooth, even mixture.
Cutting in Edges Start by cutting in the edges of the floor with a paintbrush. This involves painting the perimeter of the floor, including corners and edges, where the roller cannot reach. Use painter’s tape to protect adjacent surfaces and create clean, crisp lines. Cutting in the edges first helps prevent overlap marks and ensures a professional-looking finish.

Rolling the Paint Once the edges are done, use a roller to apply the paint to the rest of the floor. Pour the paint into a paint tray and load the roller evenly. Apply the paint in long, even strokes, working in small sections to ensure even coverage. Start from the farthest corner and work your way towards the exit to avoid stepping on wet paint.
Applying Multiple Coats For the best results, apply multiple coats of Valspar Basement Floor Paint. Allow the first coat to dry according to the manufacturer’s instructions before applying the second coat. Depending on the color and coverage, you may need two to three coats for a uniform, opaque finish. Ensure each coat is completely dry before applying the next.
Final Touches After applying the final coat, remove any painter’s tape and allow the paint to dry completely. Inspect the floor for any missed spots or imperfections and touch them up as needed. Once the paint is fully cured, you can move furniture and other items back into the basement. Follow the manufacturer’s recommendations for drying and curing times to ensure the best results.
Maintaining Your Painted Basement Floor
Maintaining your painted basement floor is essential to preserving its appearance and durability. With proper care and maintenance, your Valspar Basement Floor Paint can look great and last for years. Here are some tips to help you keep your painted floor in excellent condition.
Regular Cleaning Regular cleaning is crucial to maintaining the appearance of your painted floor. Sweep or vacuum the floor regularly to remove dirt and debris that can scratch the surface. Use a damp mop with a mild detergent to clean the floor, avoiding harsh chemicals that can damage the paint. Promptly clean up spills to prevent staining.
Protecting the Surface To protect the painted surface from scratches and damage, use rugs or mats in high-traffic areas and under heavy furniture. Place felt pads under furniture legs to prevent scratches when moving them. Avoid dragging heavy objects across the floor, as this can damage the paint and underlying concrete.
Addressing Moisture Moisture can be a significant issue in basements, so it’s important to address any moisture problems promptly. Ensure proper ventilation to reduce humidity levels and use a dehumidifier if necessary. Check for any signs of water intrusion and address them immediately to prevent damage to the painted floor.

Touching Up Paint Over time, the painted floor may show signs of wear and tear, such as chipping or fading. Touch up any damaged areas promptly to maintain the appearance and protection of the floor. Follow the same application process for touch-ups, including cleaning, priming, and painting, to ensure a seamless finish.
Regular Inspections Conduct regular inspections of the painted floor to identify any issues early. Look for signs of wear, damage, or moisture problems. Address any issues promptly to prevent further damage and maintain the floor’s appearance and durability.
Reapplying Paint Depending on the level of foot traffic and wear, you may need to reapply Valspar Basement Floor Paint every few years. Repainting can refresh the appearance of the floor and provide renewed protection. Follow the same preparation and application process for the best results.

Common Mistakes to Avoid
When using Valspar Basement Floor Paint, avoiding common mistakes can help ensure a successful and long-lasting result. Here are some common pitfalls to watch out for:
Skipping Proper Preparation Proper preparation is crucial for a successful paint job. Skipping steps like cleaning, repairing, etching, and priming can lead to poor adhesion and a subpar finish. Take the time to thoroughly prepare the floor to ensure the paint adheres well and lasts longer.
Applying Paint to a Wet Surface Applying paint to a wet surface can cause adhesion problems and result in peeling or bubbling. Ensure the floor is completely dry before painting. Use a moisture test to check for any lingering moisture in the concrete.
Using the Wrong Type of Paint Using paint that is not specifically designed for concrete floors can lead to poor results. Valspar Basement Floor Paint is formulated to meet the unique needs of basement environments, including moisture resistance and durability. Choose the right paint for the best results.
Not Allowing Enough Drying Time Rushing the drying process can compromise the quality of the paint job. Allow each coat of paint to dry thoroughly according to the manufacturer’s instructions before applying the next coat. Patience is key to achieving a smooth, durable finish.
Overloading the Roller Overloading the roller with paint can result in drips, streaks, and an uneven finish. Load the roller evenly and apply the paint in long, even strokes. Work in small sections to ensure consistent coverage and avoid overloading the roller.
Neglecting Maintenance Neglecting regular maintenance can lead to a deteriorated appearance and reduced durability. Clean the floor regularly, protect it from scratches, and address any issues promptly to keep the painted floor in excellent condition.
How long does Valspar Basement Floor Paint take to dry?
Valspar Basement Floor Paint typically takes about 24 hours to dry to the touch, but it may take longer to fully cure. It’s important to follow the manufacturer’s instructions for drying and curing times to ensure the best results. Avoid walking on the painted surface or placing heavy objects on it until it is fully cured.
Can I use Valspar Basement Floor Paint on a previously painted floor?
Yes, you can use Valspar Basement Floor Paint on a previously painted floor, but proper preparation is essential. Clean the floor thoroughly, sand any glossy surfaces to promote adhesion, and repair any damaged areas. Apply a suitable primer before painting to ensure good adhesion and a smooth finish.
How do I clean my Valspar-painted basement floor?
To clean your Valspar-painted basement floor, sweep or vacuum regularly to remove dirt and debris. Use a damp mop with a mild detergent for deeper cleaning, and avoid harsh chemicals that can damage the paint. Promptly clean up spills to prevent staining and protect the paint from moisture damage.
Is Valspar Basement Floor Paint resistant to mold and mildew?
Valspar Basement Floor Paint is designed to be moisture-resistant, which helps prevent mold and mildew growth. However, maintaining proper ventilation and addressing any moisture issues in your basement is crucial to prevent mold and mildew. Use a dehumidifier if necessary and ensure the floor is dry before painting.
Can I use Valspar Basement Floor Paint in areas with heavy foot traffic?
Yes, Valspar Basement Floor Paint is designed to withstand heavy foot traffic. Its durable, resilient finish makes it suitable for high-traffic areas like basements. For the best results, apply multiple coats and follow the manufacturer’s recommendations for drying and curing times.
What should I do if my Valspar-painted floor gets scratched or damaged?
If your Valspar-painted floor gets scratched or damaged, touch up the affected areas promptly to maintain the appearance and protection of the floor. Clean the area, sand any rough edges, and apply a suitable primer before repainting. Follow the same application process to ensure a seamless finish and protect the floor from further damage.

Related Posts: