Understanding the Importance of Waterproofing Your Basement Floor
Waterproofing your basement floor is a critical task that protects your home from moisture-related issues such as mold, mildew, and structural damage. Basements are naturally prone to dampness because they are located below ground level, where water can easily seep through the walls and floor. This makes the basement one of the most vulnerable areas of a home to water infiltration. Over time, unchecked moisture can lead to significant problems, including compromised structural integrity and health hazards caused by mold growth.
The key to effective waterproofing lies in understanding the unique challenges presented by basement environments. Unlike other areas of the home, basements are surrounded by soil that retains water. This water can build up against the foundation, creating hydrostatic pressure that forces moisture through even the smallest cracks in the floor. Additionally, basements are often colder than the rest of the house, leading to condensation on the floor and walls, which can exacerbate moisture problems.
Waterproofing a basement floor involves creating a barrier that prevents water from penetrating the surface. This barrier can be achieved through a combination of techniques, including sealing cracks, applying waterproof coatings, and ensuring proper drainage around the foundation. Each of these steps plays a crucial role in keeping the basement dry and protecting the home from the damaging effects of water. The process is not only about stopping water from entering but also about managing any moisture that does make its way inside, ensuring it doesn’t cause harm.
One of the most significant benefits of waterproofing your basement floor is the protection it provides to the overall structure of your home. Water infiltration can lead to the weakening of the foundation, which can cause cracks, shifts, and even more serious structural issues over time. By taking proactive steps to waterproof the basement, you can help preserve the integrity of your home’s foundation and avoid costly repairs down the line.
In addition to structural protection, waterproofing the basement floor also improves the air quality in your home. Moisture in the basement can lead to the growth of mold and mildew, which can spread to other areas of the house. Mold spores are a common allergen and can cause respiratory problems, especially in individuals with asthma or allergies. By keeping the basement dry, you create a healthier living environment for you and your family.
Finally, waterproofing your basement floor can increase the value of your home. A dry, well-maintained basement is a significant selling point for potential buyers, as it indicates that the home has been well cared for and is less likely to have hidden moisture issues. Whether you plan to sell your home in the near future or simply want to protect your investment, waterproofing the basement floor is a wise and beneficial project.

Assessing Your Basement for Potential Water Problems
Before beginning any waterproofing project, it’s essential to thoroughly assess your basement for existing and potential water problems. This assessment will help you identify the sources of moisture and determine the most effective waterproofing methods to use. Start by looking for visible signs of water intrusion, such as damp spots, water stains, or efflorescence—a white, powdery substance that forms on the surface of the walls or floor. These are clear indicators that water has already found its way into your basement.
Next, examine the floor and walls for any cracks or gaps. Even small cracks can allow water to seep through, especially when there is significant hydrostatic pressure pushing against the foundation. Pay particular attention to the areas where the walls meet the floor, as these joints are common entry points for water. Use a flashlight to inspect dark corners and hidden areas where moisture may be accumulating unnoticed.
In addition to visible signs of water, it’s important to consider the overall condition of your basement’s foundation. If the foundation is in poor condition, with crumbling or shifting walls, waterproofing the floor alone may not be sufficient to address the problem. In such cases, it may be necessary to consult a professional to repair the foundation before proceeding with waterproofing. A stable, well-maintained foundation is essential for effective waterproofing and long-term protection against water damage.
Another factor to consider during the assessment is the grading of the soil around your home. The ground should slope away from the foundation to prevent water from pooling around the basement walls. If the grading is insufficient, water will naturally flow toward the foundation, increasing the risk of basement flooding. You may need to regrade the soil or install a drainage system to direct water away from the house before you begin waterproofing the basement floor.
Don’t forget to check for potential sources of moisture inside the basement as well. Leaking pipes, unsealed windows, and condensation from HVAC systems can all contribute to dampness in the basement. These issues need to be addressed as part of your overall waterproofing strategy. Fixing leaks, sealing windows, and installing a dehumidifier can help control moisture levels and reduce the risk of water damage.
Finally, consider conducting a moisture test to get a more accurate picture of the level of dampness in your basement. This can be done by taping a piece of plastic sheeting to the floor and leaving it in place for 24 hours. If condensation forms under the plastic, it indicates that moisture is coming up through the floor. This information is crucial for determining the extent of the waterproofing measures needed and for selecting the most appropriate products and techniques to use.

Choosing the Right Materials and Products for DIY Waterproofing
Selecting the right materials and products is a crucial step in ensuring the success of your DIY basement floor waterproofing project. The choices you make will depend on the specific conditions of your basement, the type of flooring you have, and the extent of the moisture problem. Waterproofing materials can range from simple sealants to more complex systems that involve multiple layers of protection. Understanding the options available will help you choose the best solution for your needs.
One of the most common materials used for waterproofing basement floors is a concrete sealer. Concrete sealers penetrate the surface of the concrete, creating a barrier that repels water and prevents it from seeping through. There are two main types of concrete sealers: penetrating sealers and topical sealers. Penetrating sealers soak into the concrete and form a chemical barrier within the pores, while topical sealers sit on the surface and create a protective layer. Penetrating sealers are generally more durable and long-lasting, making them a popular choice for basement floors.
Another effective product for waterproofing is a waterproofing membrane. These membranes are typically made of rubber or other flexible materials and are applied directly to the floor. Once in place, the membrane forms an impermeable barrier that prevents water from penetrating the surface. Waterproofing membranes are often used in conjunction with other materials, such as sealants or drainage systems, to provide comprehensive protection against moisture. They are particularly useful in basements with significant water issues or where the floor is prone to cracking.
Epoxy coatings are another option for waterproofing basement floors. Epoxy is a durable, water-resistant material that can be applied to the floor to create a hard, protective surface. In addition to its waterproofing properties, epoxy also provides a smooth, attractive finish that can enhance the appearance of the basement. However, applying epoxy can be a more involved process, requiring careful preparation of the floor and multiple layers of application. It’s important to follow the manufacturer’s instructions closely to achieve the best results.
For basements with severe water problems, a more extensive waterproofing system may be required. This could include the installation of a sump pump to remove water that accumulates under the floor, as well as the use of drainage tiles or channels to direct water away from the foundation. These systems are typically more complex and may require professional installation, but they offer a higher level of protection for basements that are prone to flooding or persistent moisture issues.
Finally, don’t overlook the importance of proper ventilation and humidity control in your basement. Even the best waterproofing materials can’t completely prevent moisture from entering the basement if the environment is consistently damp. Installing a dehumidifier, improving ventilation, and ensuring that your HVAC system is properly sealed can all help to reduce humidity levels and prevent moisture buildup. These measures, combined with the right waterproofing products, will provide the most effective protection for your basement floor.

Step-by-Step Guide to Waterproofing Your Basement Floor
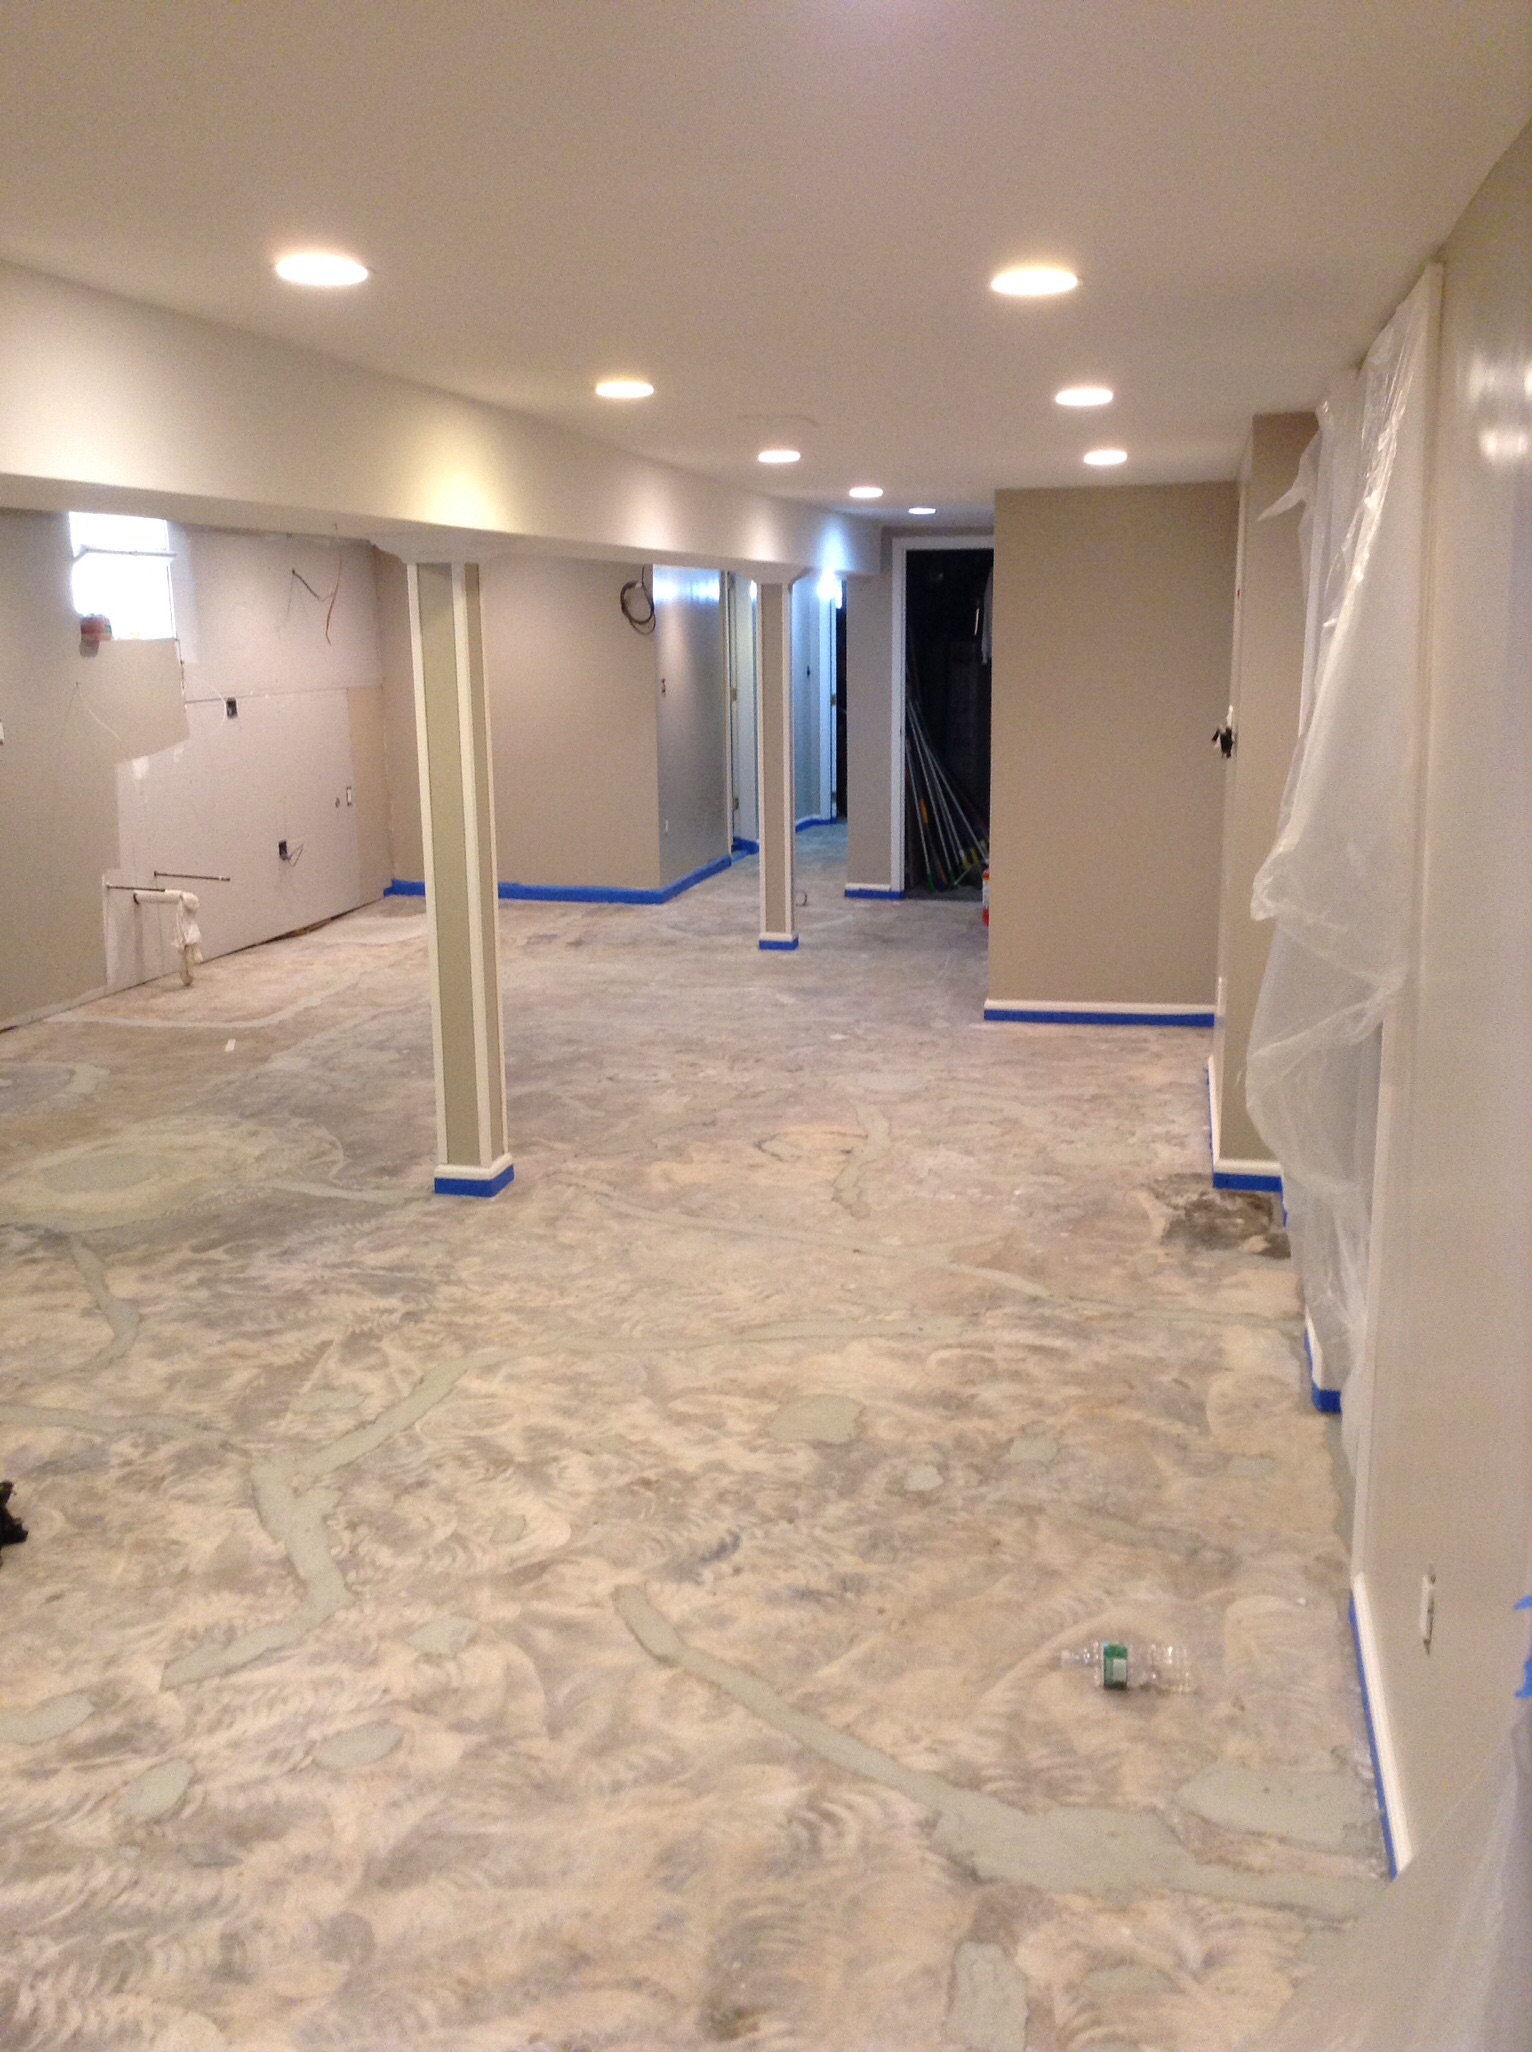
Waterproofing your basement floor can be a manageable DIY project if you follow a systematic approach. The process begins with thorough preparation, which is essential for ensuring that the waterproofing materials adhere properly and provide long-lasting protection. Start by cleaning the floor to remove any dirt, dust, or debris that could interfere with the application of sealants or coatings. A clean, dry surface is crucial for achieving a strong bond between the floor and the waterproofing material.
Once the floor is clean, the next step is to address any cracks or gaps. Even small cracks can allow water to seep through, so it’s important to fill them with a high-quality crack filler or hydraulic cement. Hydraulic cement is particularly effective for basement floors because it expands as it dries, forming a tight seal that prevents water from entering. Be sure to follow the manufacturer’s instructions for applying the crack filler and allow it to dry completely before moving on to the next step.
After the cracks are sealed, it’s time to apply the waterproofing material. If you’re using a concrete sealer, start by mixing the sealer according to the manufacturer’s instructions. Use a roller or brush to apply the sealer evenly across the floor, making sure to cover all areas, including the corners and edges. Depending on the product, you may need to apply multiple coats for maximum protection. Allow each coat to dry completely before applying the next one.
If you’ve chosen to use a waterproofing membrane, the application process will be slightly different. Start by cutting the membrane to fit the dimensions of the floor. Lay the membrane out on the floor and use a roller to press it firmly into place, ensuring that there are no air bubbles or wrinkles. Some membranes require the use of an adhesive to hold them in place, so be sure to follow the manufacturer’s instructions carefully. Once the membrane is in place, you can seal the seams with waterproof tape or a similar product to ensure a watertight seal.
For those using an epoxy coating, the process involves mixing the epoxy components and applying the mixture to the floor in thin, even layers. It’s important to work quickly, as epoxy can begin to harden once it’s mixed. Use a roller or brush to spread the epoxy evenly across the floor, making sure to cover all areas thoroughly. Depending on the product, you may need to apply multiple layers, allowing each layer to dry completely before adding the next. Once the final layer is applied, allow the epoxy to cure fully before walking on the floor.
Finally, after the waterproofing material has been applied and allowed to dry, it’s important to conduct a final inspection of the floor. Check for any areas that may have been missed or where the waterproofing material may not have adhered properly. Touch up any problem areas as needed and ensure that the entire floor is covered and protected. With the waterproofing process complete, you can now enjoy the peace of mind that comes with knowing your basement is protected from water damage.

Maintaining Your Waterproofed Basement Floor
Once your basement floor has been successfully waterproofed, it’s important to take steps to maintain its condition and ensure that it continues to protect against moisture. Regular maintenance will help to extend the life of the waterproofing materials and prevent issues from developing over time. One of the most important aspects of maintenance is keeping the basement clean and dry. Regularly sweep or vacuum the floor to remove dirt and debris that could wear down the waterproofing materials.
In addition to regular cleaning, it’s important to monitor the humidity levels in your basement. High humidity can lead to condensation on the floor, which can undermine the effectiveness of the waterproofing materials. Using a dehumidifier is an effective way to control humidity levels and prevent moisture buildup. Be sure to empty the dehumidifier regularly and check that it is functioning properly to maintain optimal humidity levels in the basement.
Inspecting the basement floor for signs of wear and tear is another key aspect of maintenance. Over time, waterproofing materials can degrade, especially in high-traffic areas. Look for any cracks, peeling, or other signs of damage that could allow water to penetrate the floor. If you notice any issues, take immediate action to repair them using the appropriate materials. Prompt repairs will help to prevent small problems from becoming larger, more costly issues.
It’s also important to check the condition of the waterproofing materials periodically. For example, if you’ve used a concrete sealer, the floor may need to be resealed every few years to maintain its effectiveness. Similarly, if you’ve applied an epoxy coating, it may need to be recoated over time, especially in areas that receive heavy use. Regularly assessing the condition of the waterproofing materials and reapplying them as needed will help to ensure that your basement floor remains protected.
In addition to maintaining the floor itself, it’s important to address any issues that could contribute to moisture problems in the basement. This includes ensuring that the grading around your home directs water away from the foundation, keeping gutters and downspouts clear of debris, and addressing any leaks or plumbing issues promptly. Taking a proactive approach to moisture management will help to protect your basement floor and prevent water from entering the basement in the first place.
Finally, consider keeping a moisture barrier, such as plastic sheeting or a vapor barrier, in place under any flooring materials you add to the basement, such as carpet or tile. This additional layer of protection can help prevent moisture from seeping up through the floor and causing damage to your flooring materials. By following these maintenance tips, you can ensure that your waterproofed basement floor continues to provide effective protection against moisture for years to come.

Common Mistakes to Avoid
One of the most common mistakes people make when waterproofing their basement floor is neglecting to properly prepare the surface before applying waterproofing materials. Skipping this crucial step can result in poor adhesion of the waterproofing product, leading to peeling, cracking, or other failures down the line. It’s essential to thoroughly clean and dry the floor, repair any cracks, and remove any existing coatings or sealants that could interfere with the new waterproofing layer.
Another mistake is underestimating the importance of addressing the root cause of moisture issues. Simply applying a waterproof coating to the floor won’t solve the problem if water is entering the basement through cracks in the foundation, poor drainage, or other sources. It’s important to take a holistic approach to waterproofing by addressing external factors, such as grading and drainage, as well as internal factors like plumbing leaks and humidity control. Ignoring these issues can lead to continued moisture problems, even after the floor has been waterproofed.
Choosing the wrong type of waterproofing material is another common error. Not all waterproofing products are suitable for all types of basement floors or moisture conditions. For example, using a topical sealer on a floor with significant hydrostatic pressure may not provide adequate protection, leading to water infiltration and damage. It’s important to carefully assess your basement’s specific needs and select a waterproofing product that is designed to address those conditions. Consulting with a professional or conducting thorough research can help to ensure that you choose the right material for the job.
Applying waterproofing materials incorrectly is another mistake that can compromise the effectiveness of your efforts. Each type of product has its specific application instructions, including the number of coats required, drying times, and methods for sealing seams or cracks. Failing to follow these instructions can result in an incomplete or ineffective waterproofing job. Take the time to read and understand the manufacturer’s guidelines before beginning the project, and don’t rush through the application process.
A final common mistake is not allowing the waterproofing materials to cure properly before using the basement or installing flooring over the newly waterproofed surface. Rushing this step can lead to damage to the waterproofing layer, reducing its effectiveness and potentially leading to moisture problems down the line. It’s important to be patient and allow the materials to cure fully according to the manufacturer’s recommendations before proceeding with any further work in the basement.
Can I waterproof my basement floor myself, or should I hire a professional?
Waterproofing a basement floor can be a DIY project if you have the necessary tools, materials, and knowledge. However, if your basement has significant moisture problems or structural issues, it may be best to hire a professional. Professionals have the expertise to assess the situation, recommend the best waterproofing methods, and ensure that the job is done correctly. For minor moisture issues, a well-researched DIY approach can be effective, but for more complex situations, professional help is advisable.
How long does it take to waterproof a basement floor?
The time required to waterproof a basement floor depends on several factors, including the size of the basement, the extent of the moisture problem, and the type of waterproofing materials used. On average, a DIY project can take anywhere from a few days to a week, depending on drying times between coats of sealer or epoxy. Professional waterproofing may be completed more quickly, but it can still take several days to allow for proper curing of materials. It’s important not to rush the process to ensure effective results.
What are the best products to use for waterproofing a basement floor?
The best products for waterproofing a basement floor depend on the specific conditions of your basement. Penetrating concrete sealers, waterproofing membranes, and epoxy coatings are all popular options, each with its advantages. Penetrating sealers are ideal for minor moisture issues, while membranes and epoxy coatings provide more robust protection for basements with significant water problems. It’s important to choose a product that is designed to address the specific moisture conditions in your basement and to follow the manufacturer’s instructions carefully.
Can waterproofing my basement floor prevent mold and mildew?
Yes, waterproofing your basement floor can help prevent the growth of mold and mildew by reducing moisture levels in the basement. Mold and mildew thrive in damp environments, so keeping the floor dry is crucial for preventing their growth. In addition to waterproofing, it’s important to control humidity levels with a dehumidifier and ensure proper ventilation in the basement. These measures, combined with effective waterproofing, can significantly reduce the risk of mold and mildew.
Do I need to waterproof my basement walls as well as the floor?
In many cases, it’s advisable to waterproof both the basement walls and the floor to provide comprehensive protection against moisture. Water can enter the basement through cracks in the walls as well as through the floor, so addressing both areas is important for preventing water infiltration. Waterproofing the walls can be done using similar methods as the floor, including applying sealers, membranes, or coatings. Ensuring that the entire basement is protected will help to keep it dry and prevent moisture-related problems.
How can I tell if my basement floor is properly waterproofed?
You can tell if your basement floor is properly waterproofed by monitoring the space for signs of moisture, such as damp spots, water stains, or musty odors. After waterproofing, the floor should remain dry, even during heavy rainfall or periods of high humidity. Conducting a moisture test, such as taping a piece of plastic to the floor and checking for condensation after 24 hours, can also help to determine if the waterproofing is effective. If you continue to experience moisture problems, it may be necessary to reassess your waterproofing efforts or consult a professional.

Related Posts: