Wood flooring is a popular choice for many homeowners due to its natural beauty, durability, and timeless appeal. Among the various installation methods, glue-down wood flooring is a preferred option for its stability and longevity. We will discuss the intricacies of glue-down wood flooring, providing comprehensive insights into its benefits, types, preparation, installation process, maintenance, and common mistakes to avoid.
Benefits of Glue-Down Wood Flooring
The glue-down method involves adhering wood planks directly to the subfloor using a strong adhesive. One of the primary benefits of this method is the enhanced stability it offers. Unlike floating floors, which can shift slightly underfoot, glued-down floors are firmly attached, reducing movement and providing a solid feel. This stability makes glue-down wood flooring an excellent choice for areas with heavy foot traffic.
Another significant advantage of glue-down wood flooring is its noise-reduction properties. The adhesive creates a buffer that helps dampen sound, making it a quieter option compared to floating floors. This can be particularly beneficial in multi-story homes or apartments where noise reduction is a priority.
Glue-down wood flooring is also known for its longevity. Properly installed and maintained, glued-down floors can last for decades, offering a durable and resilient flooring solution. The strong bond created by the adhesive ensures that the planks remain in place, reducing the risk of gaps or movement over time.
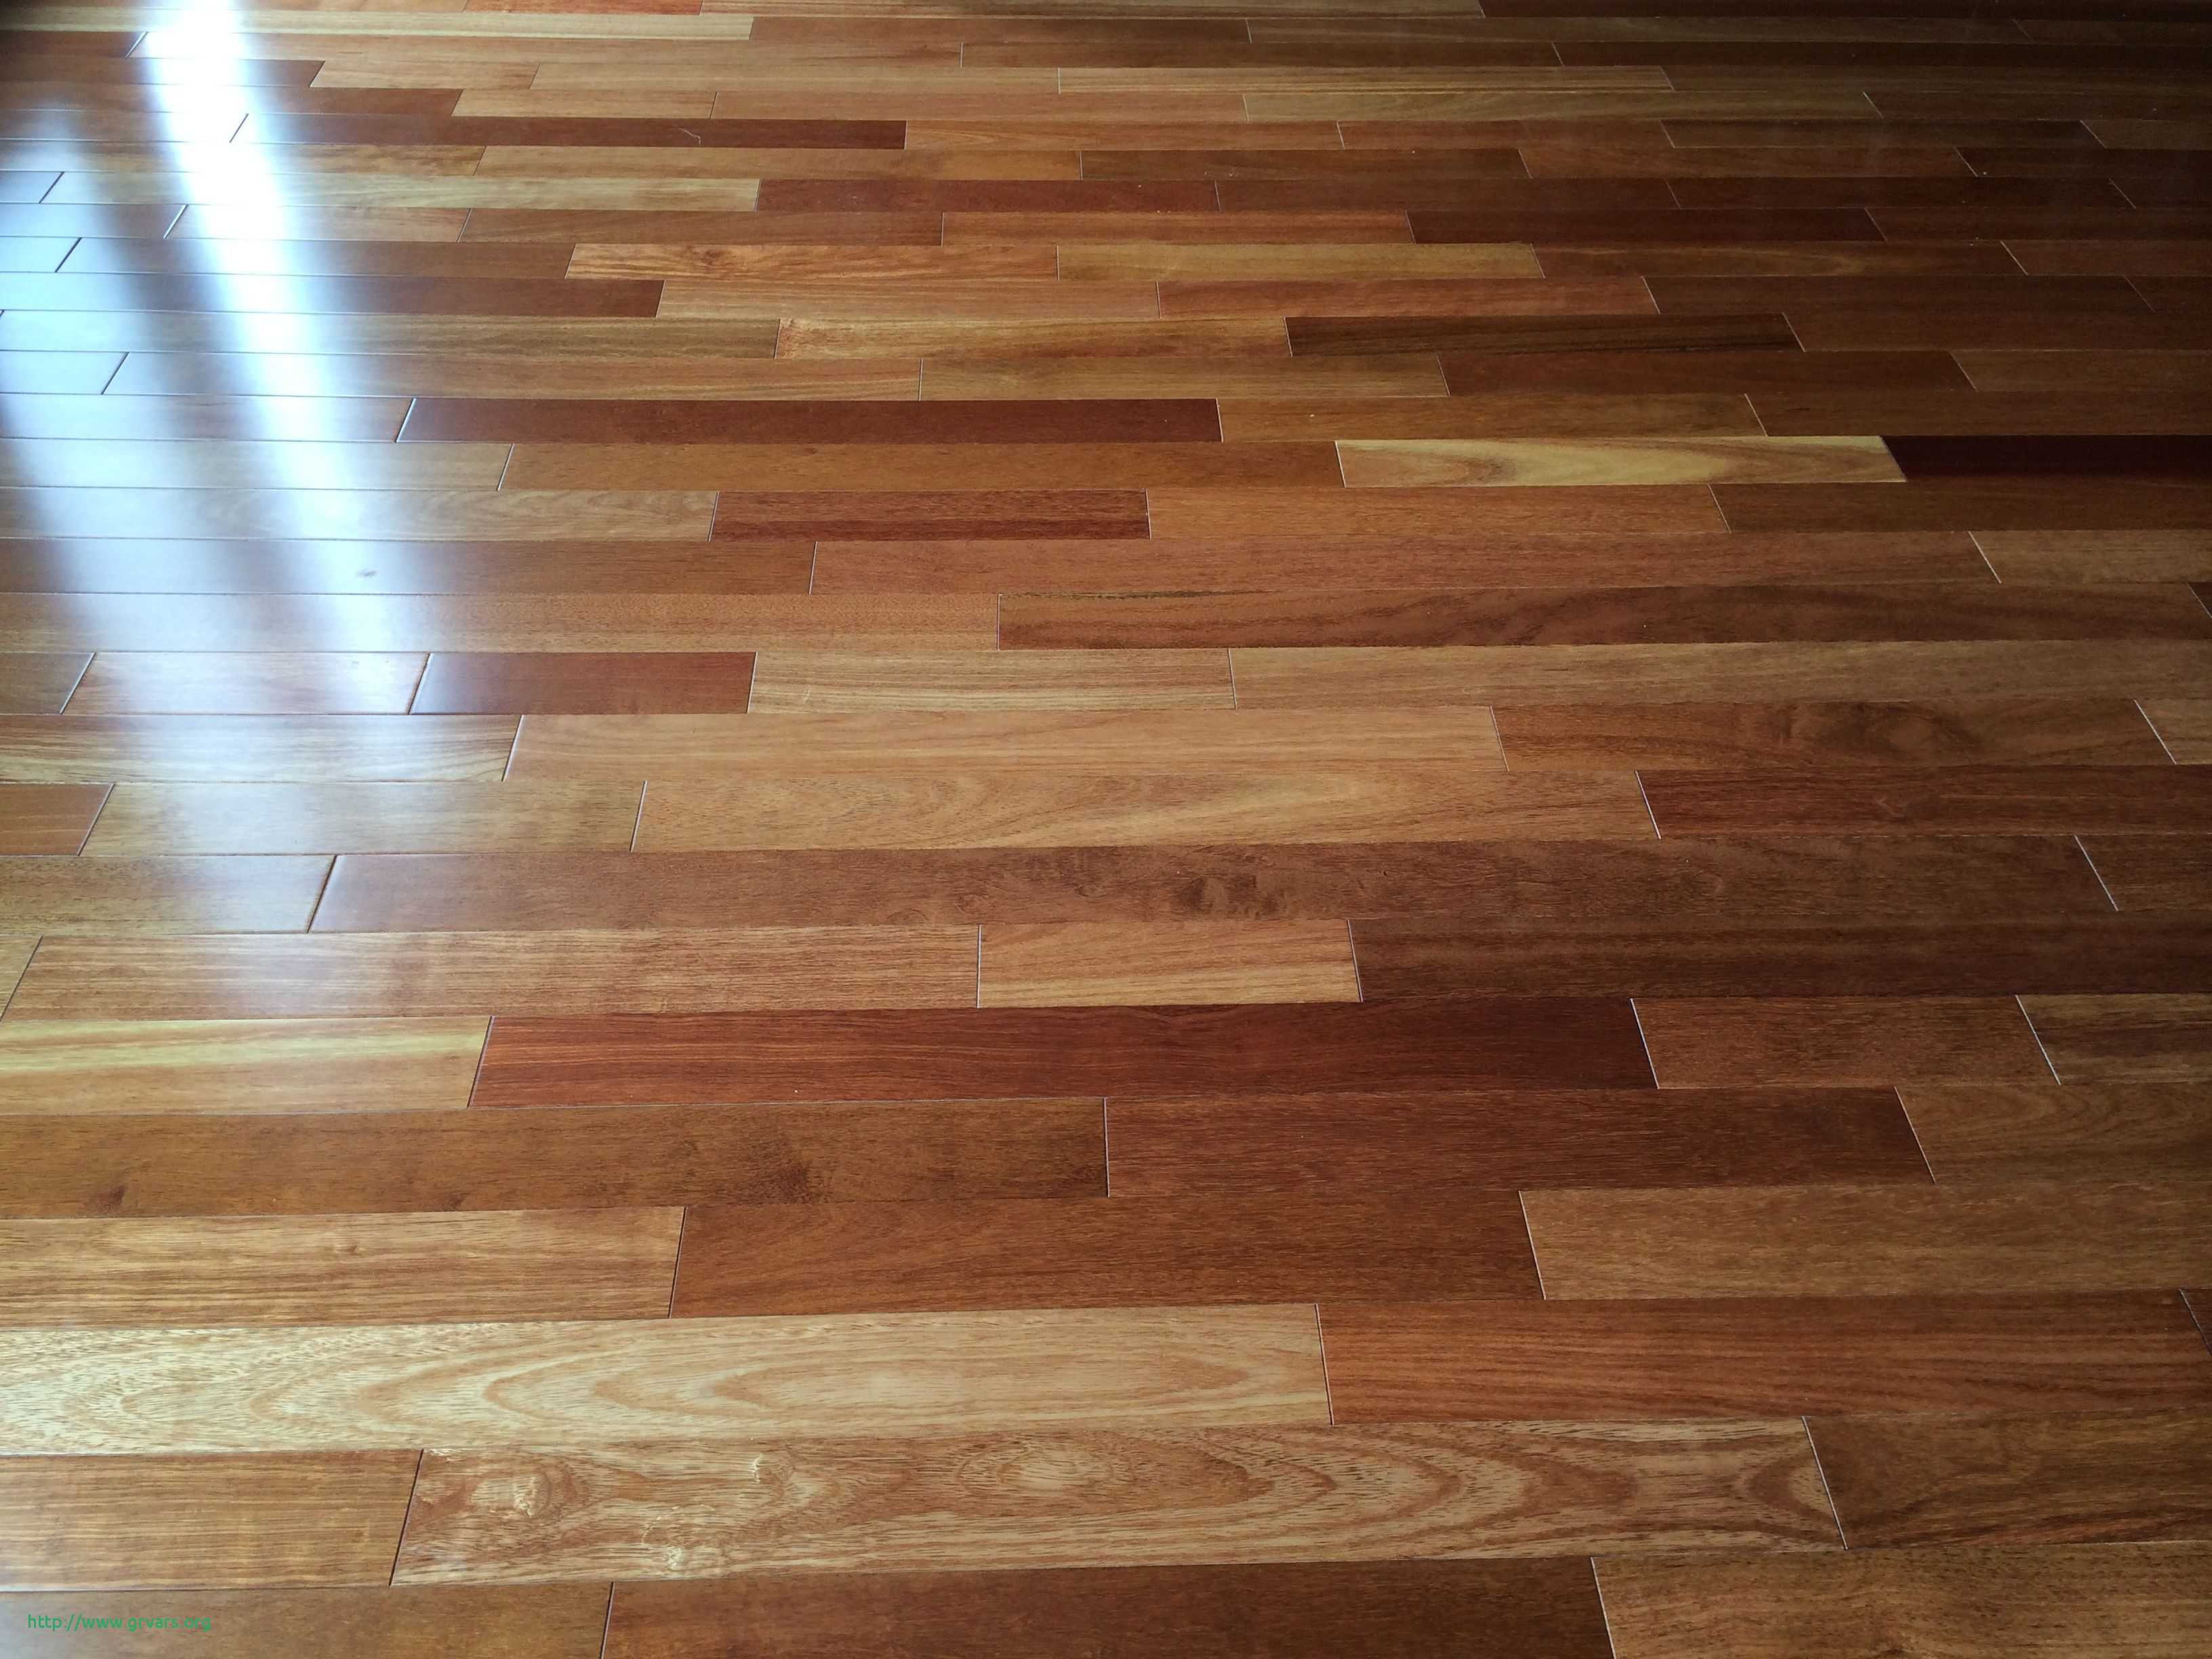
In terms of design flexibility, glue-down wood flooring can accommodate a variety of wood types, styles, and patterns. This method is suitable for both solid hardwood and engineered wood flooring, allowing homeowners to choose from a wide range of finishes and appearances to match their decor.
Furthermore, glue-down wood flooring is compatible with underfloor heating systems. The direct contact with the subfloor allows for efficient heat transfer, making it a practical choice for homes in colder climates or those seeking to improve energy efficiency.

Types of Wood Suitable for Glue-Down Installation
When it comes to glue-down wood flooring, both solid hardwood and engineered wood are viable options. Solid hardwood is made from a single piece of wood and offers a natural, authentic look. It can be sanded and refinished multiple times, making it a long-lasting choice. However, solid hardwood is susceptible to changes in humidity and temperature, which can cause it to expand or contract.
Engineered wood, on the other hand, consists of a top layer of real wood veneer adhered to multiple layers of plywood or high-density fiberboard. This construction makes engineered wood more stable and resistant to changes in humidity and temperature. Engineered wood is an excellent choice for glue-down installation, particularly in areas with fluctuating environmental conditions.
When selecting wood for glue-down installation, it is important to consider the species of wood. Hardwoods such as oak, maple, and hickory are popular choices due to their durability and resistance to wear. Exotic woods like Brazilian cherry or teak offer unique aesthetic qualities but may require specialized adhesives and installation techniques.

The thickness of the wood planks also plays a role in glue-down installation. Thicker planks provide additional stability and can better withstand the adhesive’s bond. Typically, wood planks for glue-down installation range from 3/8 inch to 3/4 inch in thickness, with engineered wood often available in a variety of thickness options.
It is also important to consider the finish of the wood. Prefinished wood planks come with a factory-applied finish, offering a consistent and durable surface that is ready for use immediately after installation. Unfinished wood allows for custom staining and finishing on-site, providing more control over the final appearance but requiring additional time and effort.
Lastly, it is crucial to choose wood that is compatible with the adhesive being used. Some adhesives are specifically formulated for certain types of wood or finishes, and using the wrong adhesive can compromise the bond and longevity of the flooring. Always follow the manufacturer’s recommendations for adhesive compatibility.
Preparing for Glue-Down Installation
Proper preparation is key to a successful glue-down wood flooring installation. The first step is to ensure that the subfloor is clean, dry, and level. Any debris, dust, or moisture can interfere with the adhesive bond, so it is important to thoroughly clean and dry the subfloor before beginning the installation process. Use a vacuum or broom to remove any loose particles, and repair any cracks or imperfections in the subfloor.
The moisture content of both the subfloor and the wood planks must be checked and balanced. Excess moisture can cause the wood to expand and contract, leading to gaps or warping. Use a moisture meter to measure the moisture levels and ensure they are within the manufacturer’s recommended range. In some cases, a moisture barrier or underlayment may be necessary to protect the flooring from moisture.
Acclimation is another important step in the preparation process. Wood planks should be acclimated to the room’s temperature and humidity levels for several days before installation. This allows the wood to adjust to the environmental conditions, reducing the risk of expansion or contraction after installation. Follow the manufacturer’s guidelines for the recommended acclimation period.

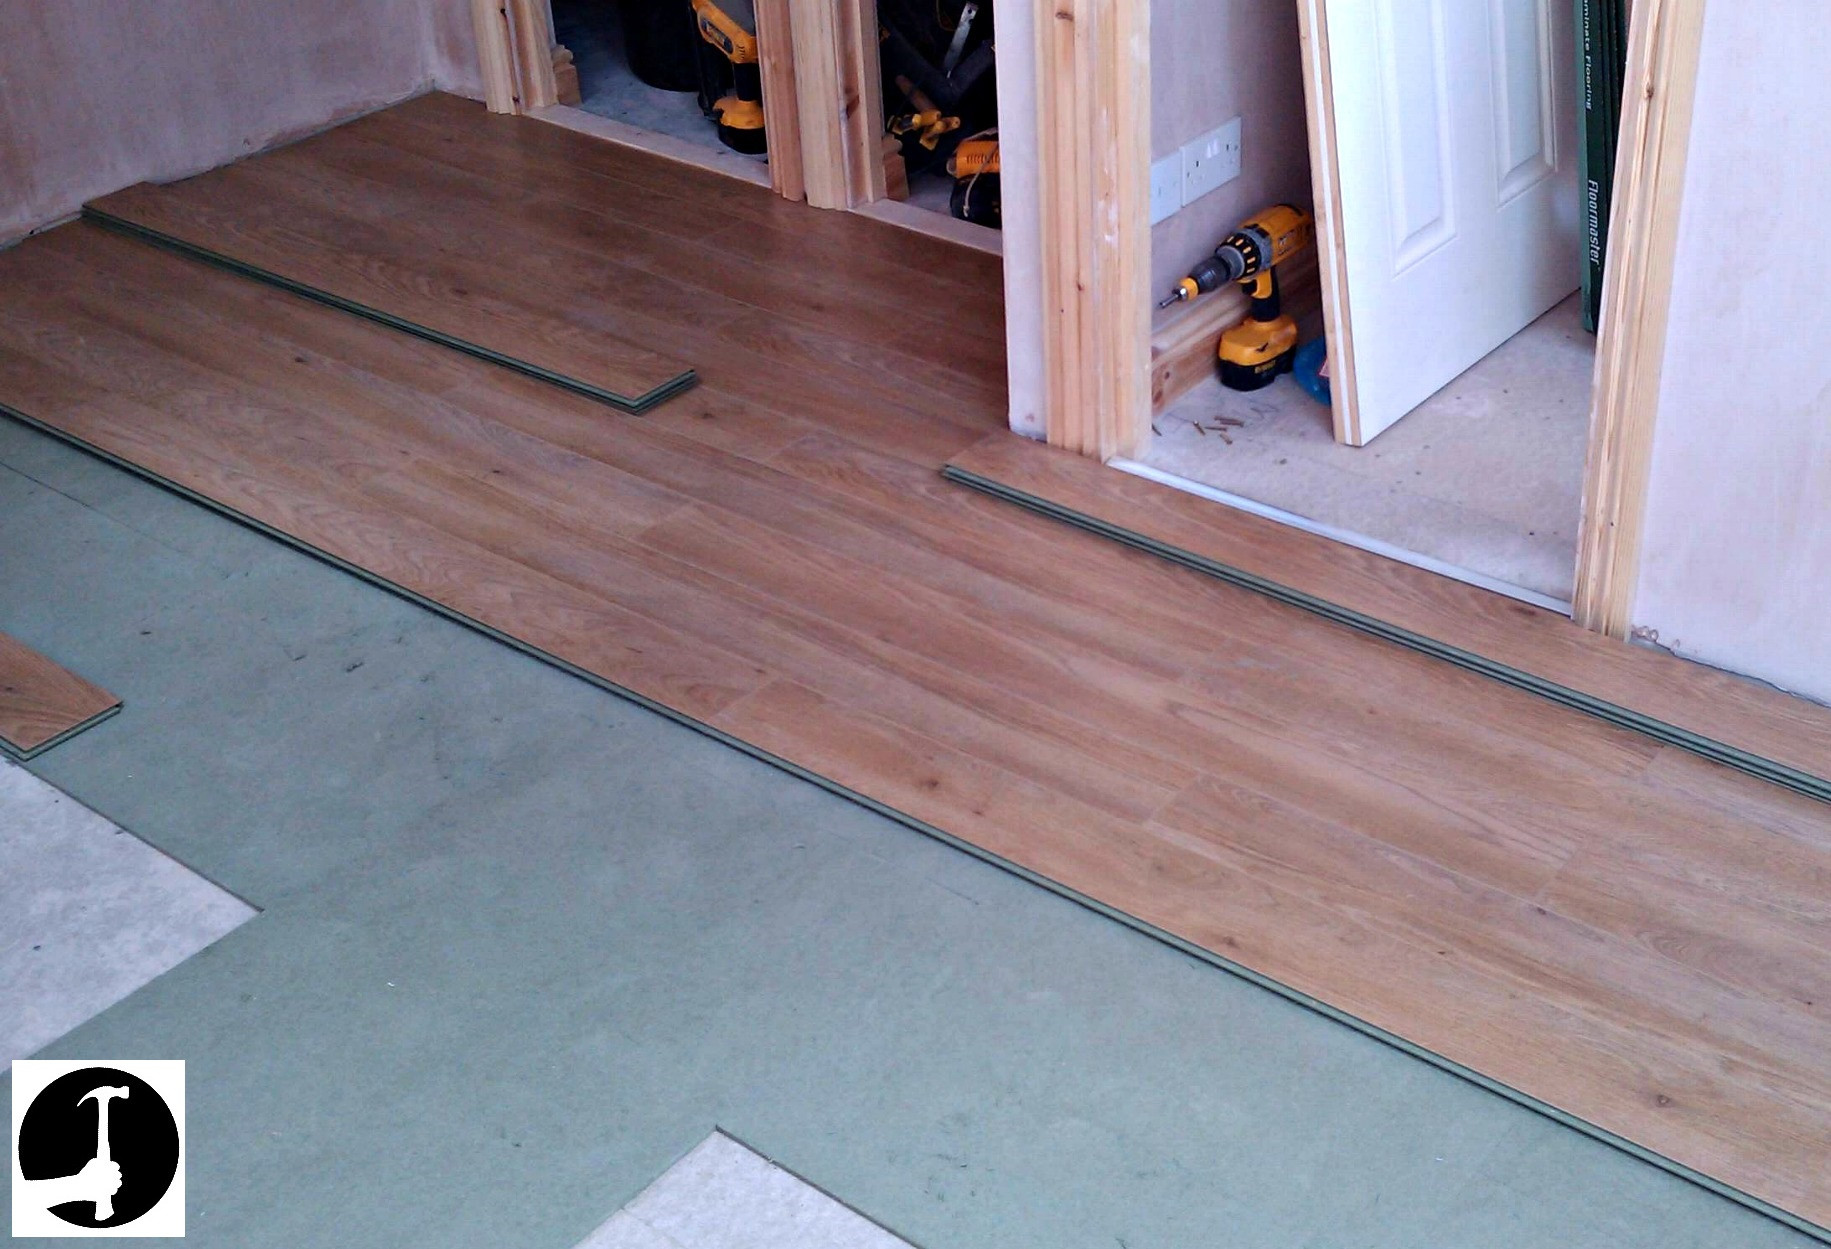
Layout planning is crucial for a professional-looking installation. Measure the room and create a layout plan, considering the direction of the planks and any necessary cuts. It is important to leave a small expansion gap around the perimeter of the room to allow for natural expansion and contraction of the wood. Use spacers to maintain this gap during installation.
Gathering the necessary tools and materials in advance will ensure a smooth installation process. Common tools for glue-down installation include a trowel for spreading adhesive, a rubber mallet for tapping planks into place, a saw for cutting planks to size, and spacers for maintaining expansion gaps. Additionally, have a sufficient supply of adhesive, as running out mid-installation can cause delays and inconsistencies.
Lastly, ensure that you have read and understood the manufacturer’s instructions for both the wood flooring and the adhesive. Each product may have specific requirements and recommendations for installation. Adhering to these guidelines will help ensure a successful and long-lasting installation.
The Glue-Down Installation Process
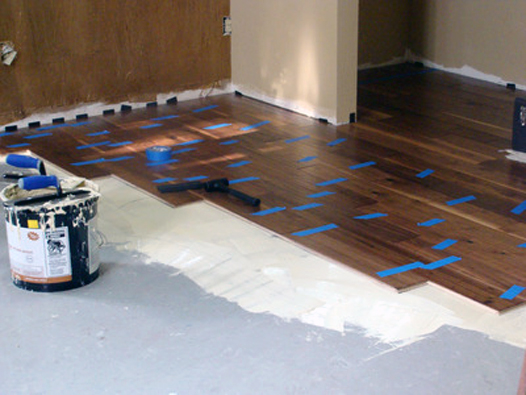
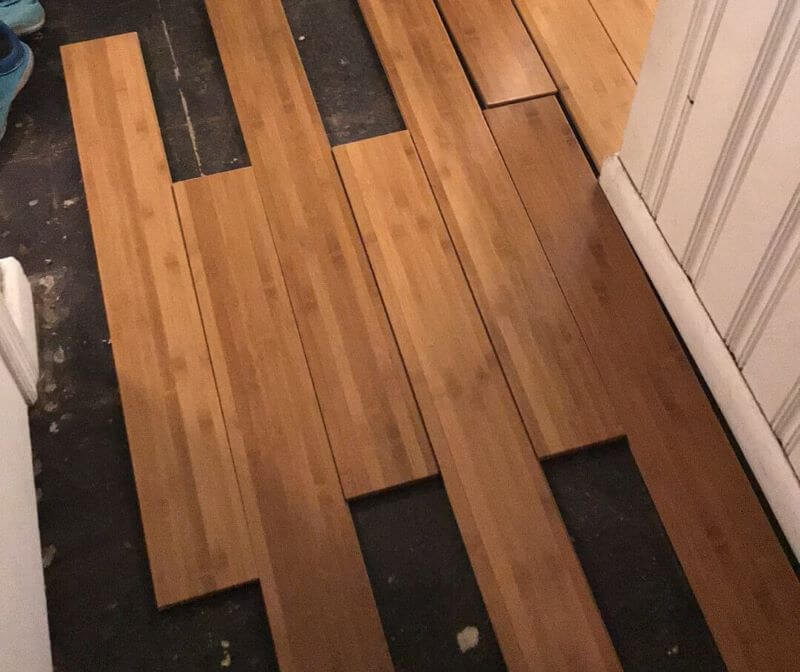
The glue-down installation process requires careful attention to detail and adherence to best practices. Begin by applying the adhesive to a small section of the subfloor using a trowel. Spread the adhesive evenly, following the manufacturer’s recommended trowel size and spread rate. Work in small sections to prevent the adhesive from drying before the planks are laid.
Once the adhesive is spread, place the first row of wood planks into the adhesive, pressing them firmly into place. Use a rubber mallet to tap the planks together, ensuring a tight fit and proper alignment. Continue laying the planks row by row, working from one side of the room to the other. Be sure to stagger the end joints to create a more natural and aesthetically pleasing look.
As you lay each row, use spacers to maintain the expansion gap around the perimeter of the room. This gap allows the wood to expand and contract with changes in temperature and humidity. Failure to leave an expansion gap can result in buckling or warping of the flooring.

Periodically check the alignment of the planks and make any necessary adjustments to ensure a straight and even installation. Use a straightedge or chalk line to guide the placement of the planks and maintain a consistent layout.
Once all the planks are in place, allow the adhesive to cure according to the manufacturer’s instructions. This typically involves leaving the floor undisturbed for a specified period, usually 24 to 48 hours. During this time, avoid walking on the floor or placing any heavy objects on it.
After the adhesive has fully cured, remove the spacers and install baseboards or moldings to cover the expansion gap. These finishing touches help secure the flooring in place and provide a polished, professional look. Be sure to leave a small gap between the baseboards and the flooring to allow for natural movement of the wood.
Maintenance and Care for Glue-Down Wood Flooring
Proper maintenance and care are essential for preserving the beauty and longevity of glue-down wood flooring. Regular cleaning is the first step in maintaining your floor. Sweep or vacuum the floor regularly to remove dirt, dust, and debris that can scratch the surface. Use a soft-bristle broom or a vacuum with a hardwood floor attachment to avoid damaging the finish.
For deeper cleaning, use a damp mop with a pH-neutral wood floor cleaner. Avoid using excessive water, as moisture can seep into the seams and cause the wood to swell or warp. Wipe up any spills immediately to prevent water damage. Never use harsh chemicals or abrasive cleaners on wood floors, as these can strip the finish and cause discoloration.
Protecting your floor from scratches and dents is also important. Use felt pads or furniture coasters under the legs of heavy furniture to prevent scratches. Place rugs or mats in high-traffic areas to reduce wear and tear. Avoid wearing high heels or shoes with cleats on wood floors, as these can cause dents and scratches.
Maintaining proper humidity levels in your home is crucial for preventing the wood from expanding or contracting. Use a humidifier in the winter to add moisture to the air and prevent the wood from drying out and shrinking. In the summer, use a dehumidifier or air conditioner to reduce humidity levels and prevent the wood from swelling.
Regularly inspect your floor for signs of damage or wear. Address any issues promptly to prevent further damage. Small scratches and scuffs can often be repaired with a wood touch-up pen or a small amount of matching wood filler. For more significant damage, such as deep scratches or dents, consider consulting a professional for repairs.
Refinishing the floor every few years can help restore its appearance and protect the wood from wear. Sanding and refinishing the floor can remove surface scratches and restore the finish, giving the floor a fresh, new look. Be sure to follow the manufacturer’s recommendations for refinishing, and consider hiring a professional if you are not experienced with this process.
Common Mistakes to Avoid
Using Incorrect Adhesive
Using the wrong type of adhesive for your wood flooring can lead to a weak bond, causing the planks to shift or lift over time. Always use an adhesive specifically formulated for the type of wood flooring you are installing. Follow the manufacturer’s recommendations for adhesive compatibility and application.
Failing to Acclimate the Wood
Skipping the acclimation process can result in the wood expanding or contracting after installation, causing gaps or buckling. Always allow the wood planks to acclimate to the room’s temperature and humidity levels for several days before installation. Follow the manufacturer’s guidelines for the recommended acclimation period.
Neglecting Subfloor Preparation
Improperly prepared subfloors can lead to adhesive failure and uneven flooring. Ensure that the subfloor is clean, dry, and level before applying adhesive. Repair any cracks or imperfections in the subfloor, and check the moisture content to ensure it is within the manufacturer’s recommended range.
Inadequate Expansion Gaps
Failing to leave an adequate expansion gap around the perimeter of the room can cause the flooring to buckle or warp as it expands and contracts with changes in temperature and humidity. Use spacers to maintain a consistent expansion gap during installation, and cover the gap with baseboards or moldings.
Rushing the Installation Process
Rushing through the installation process can lead to misaligned planks, uneven flooring, and a weak adhesive bond. Take your time to ensure that each plank is properly aligned and securely adhered to. Follow the manufacturer’s instructions for adhesive application and curing times to achieve the best results.
Ignoring Manufacturer’s Guidelines
Ignoring the manufacturer’s guidelines for wood flooring and adhesive can result in installation problems and reduced flooring longevity. Always read and follow the manufacturer’s instructions for both the wood flooring and the adhesive. These guidelines provide essential information for achieving a successful and long-lasting installation.

What is the best adhesive for glue-down wood flooring?
The best adhesive for glue-down wood flooring depends on the type of wood being used and the subfloor material. Urethane-based adhesives are commonly recommended for their strong bond and flexibility. Some manufacturers offer adhesives specifically formulated for their flooring products. Always follow the manufacturer’s recommendations for adhesive selection and use.
How long does glue-down wood flooring take to install?
The installation time for glue-down wood flooring varies depending on the size of the area and the complexity of the installation. On average, it can take several days to a week to complete the installation process. This includes time for subfloor preparation, adhesive application, and allowing the adhesive to cure. Larger or more intricate installations may take longer.
Can I install glue-down wood flooring over existing flooring?
In some cases, glue-down wood flooring can be installed over existing flooring, such as tile or vinyl. However, the existing floor must be clean, dry, level, and securely adhered to the subfloor. Any loose or damaged areas must be repaired before installation. It is important to check with the flooring manufacturer for specific recommendations regarding installation of existing flooring.
Is glue-down wood flooring suitable for all rooms?
Glue-down wood flooring is suitable for most rooms, including living rooms, bedrooms, and hallways. However, it is not recommended for areas with high moisture levels, such as bathrooms or basements, as excess moisture can compromise the adhesive bond and cause the wood to warp. For these areas, consider alternative flooring options such as tile or vinyl.
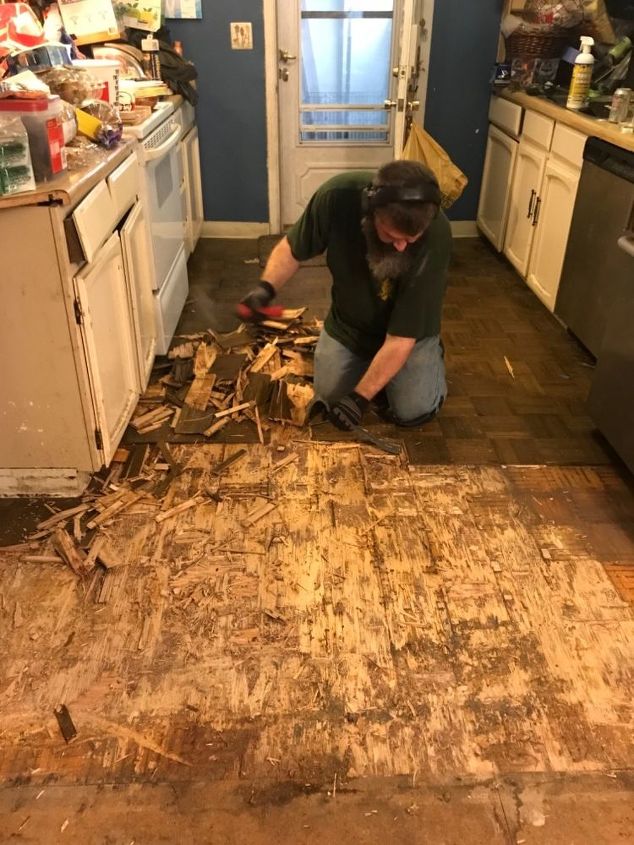
How do I remove glue-down wood flooring?
Removing glue-down wood flooring can be a challenging and labor-intensive process. Start by cutting the planks into smaller sections using a circular saw. Use a pry bar and hammer to lift and remove the planks. The adhesive residue on the subfloor may need to be removed using a scraper and adhesive remover. It is recommended to hire a professional for large or difficult removal projects.
Can I refinish glue-down wood flooring?
Yes, glue-down wood flooring can be refinished to restore its appearance and remove surface scratches. The refinishing process involves sanding the top layer of the wood to remove the existing finish, and then applying a new stain and finish. Solid hardwood flooring can be refinished multiple times, while engineered wood flooring can typically be refinished once or twice, depending on the thickness of the top veneer layer. Always follow the manufacturer’s guidelines for refinishing.
Related Posts: