How To Pour Basement Floor

Construction Update: Pouring the New Basement Floor — Green & Main

How to Build a House: Step 10: Pour Basement Concrete
Concrete Pouring for the Basement of a Building- Concrete Slab Stock Photo – Image of cement
Pouring Basement Floor Basement flooring, Basement flooring waterproof, Basement insulation

Pouring Concrete in My Basement
pouring basement floor 2017 – YouTube

Pour Concrete Over Dirt Basement Floor Basement flooring, Basement flooring options, Concrete

How to Pour Self Leveling Cement. Cement floor diy, Concrete floors diy, Diy flooring

Home Construction Diaries: Concrete pouring for basement floor

4/22/15 Pouring Basement Floor – YouTube

Pouring A New Basement Floor – Flooring Guide by Cinvex

Related Posts:
- Basement Flooring Ideas
- Basement Floor Heaving Repair
- Basement Flooring Options DIY
- Fixing Basement Floor
- Repainting Basement Floor
- Walkout Basement Flooring
- Brick Basement Flooring
- Budget Basement Flooring
- Waterproofing Your Basement Floor
- Laminate Basement Flooring
Are you looking for a way to pour your basement floor like a professional? Pouring a concrete basement floor is an important part of any home remodeling project. It’s not something to be taken lightly, however, and the end result can be disastrous if not done correctly. Fortunately, it is possible to pour your own basement floor if you follow these steps.
Step 1: Gather the Materials
The first step in pouring a basement floor is to gather all of the necessary materials. You’ll need sand, gravel, concrete mix, water, a trowel, a level, steel rebar, and a concrete saw or hammer drill. Make sure you have enough of each material so that you can complete the job in one go.
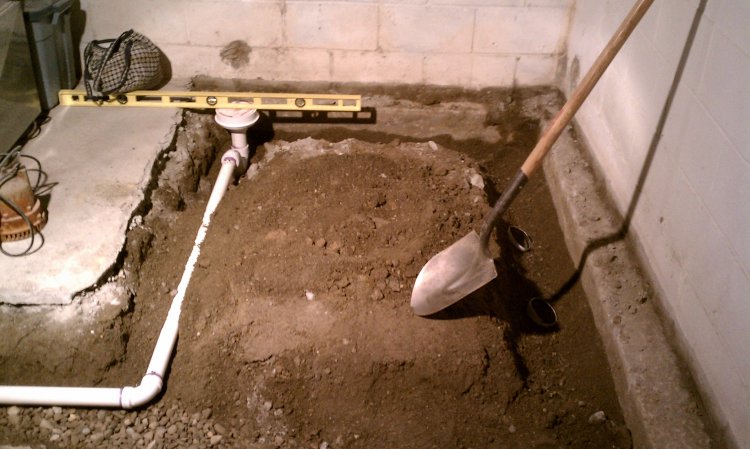
Step 2: Prepare the Area
Once you have all of the materials on hand, it’s time to prepare the area where you’ll be pouring the concrete. This means clearing away any debris and making sure the surface is even and level. Use the level to check that there are no dips or bumps in the area before you begin pouring.
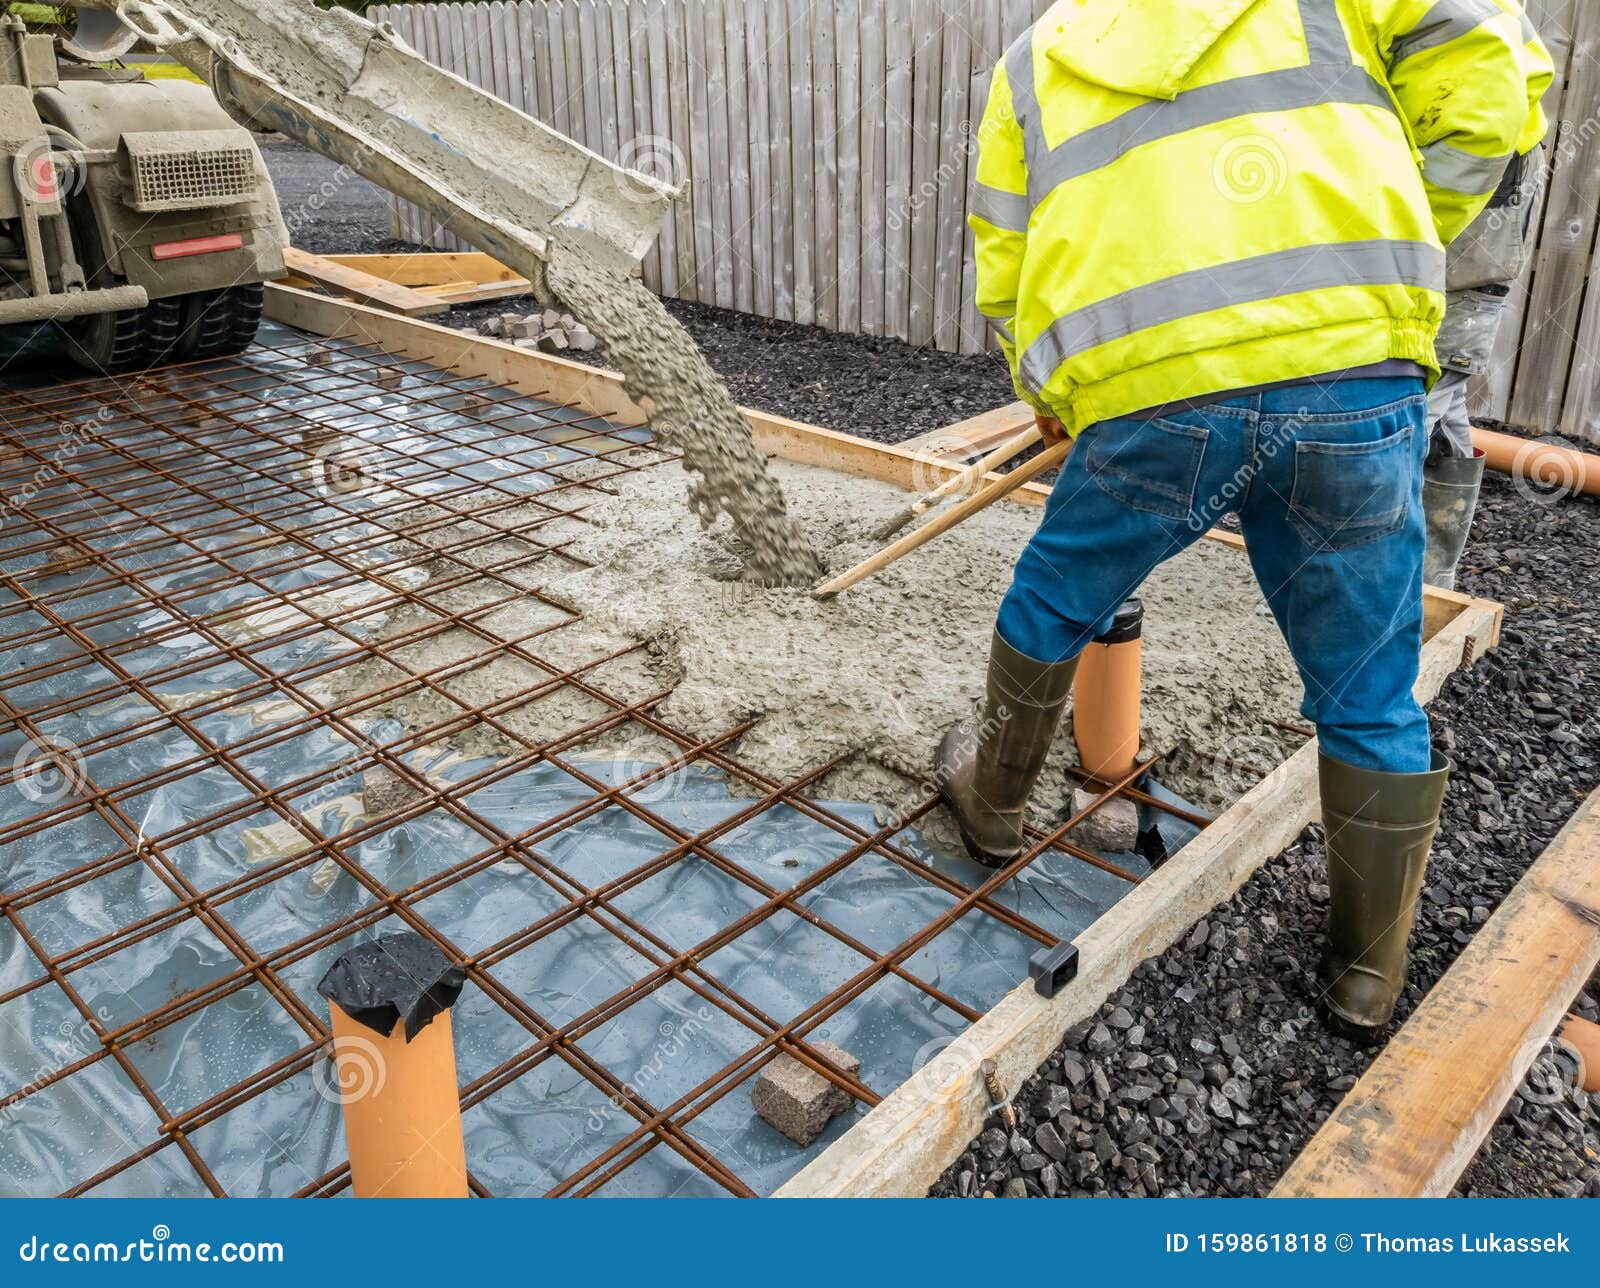
Step 3: Place the Steel Rebar
Once the area is cleared and leveled, it’s time to place the steel rebar into the ground. This will provide additional support for the concrete as it hardens. Make sure to space out the rebar evenly and make sure that it is at least 6 inches below the surface of the concrete once poured.
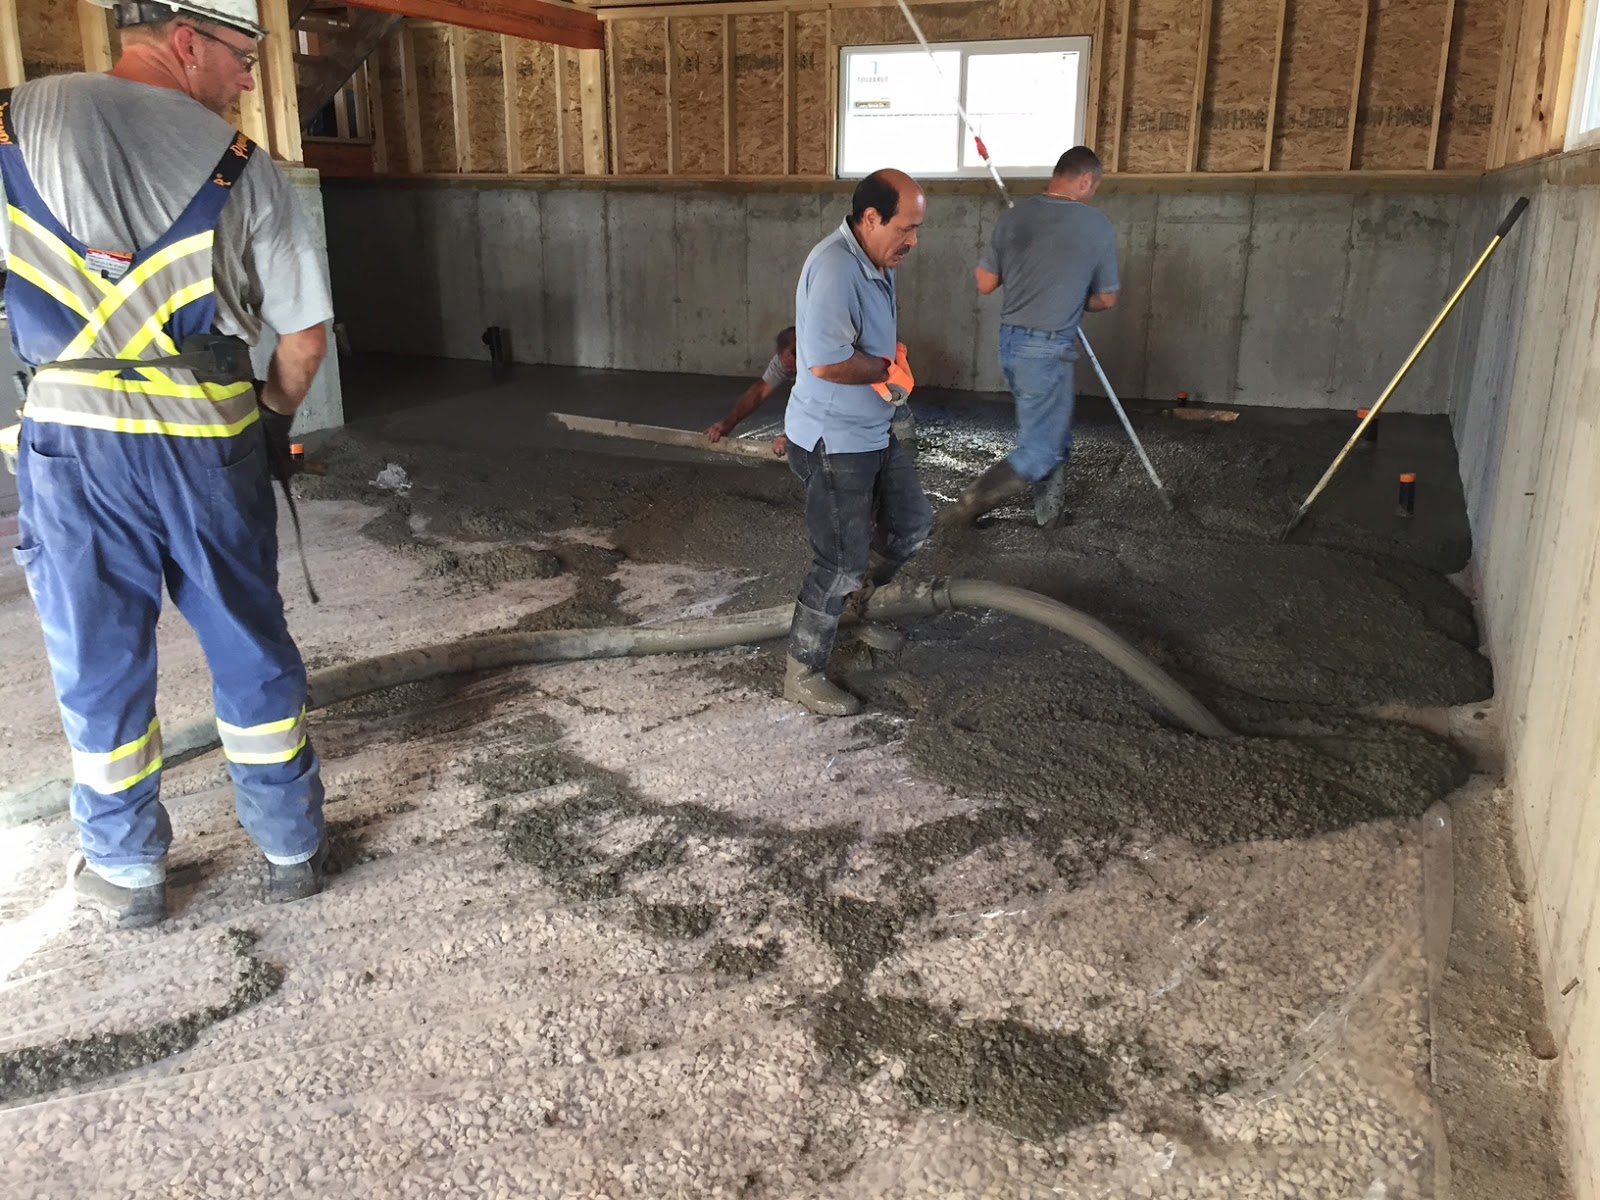
Step 4: Mix and Pour the Concrete
Now comes the fun part: mixing and pouring the concrete! Follow the instructions on your concrete mix bag and mix it with water until it reaches a workable consistency. When you’re ready, pour it into the area and use your trowel to spread it out evenly. Make sure to fill any gaps or voids that may exist in order to create an even surface.
Step 5: Smooth Out The Concrete
Once you’ve finished pouring and spreading out the concrete, it’s time to smooth it out. Use a damp trowel or concrete float to go over any rough spots or ridges that may have formed during pouring. This will ensure that your final product is even and smooth when finished.
Step 6: Allow The Concrete To Cure
Once you’ve finished smoothing out the concrete, allow it to cure for at least 24 hours before walking on it or otherwise using it. During this time, make sure to keep children and pets away from it as it could still be hazardous if touched before fully cured. After 24 hours have passed, your basement floor should be ready for use!
Pouring your own basement floor doesn’t have to be an intimidating project. With proper preparation and planning, anyone can pour their own basement floor like a pro! By following these steps, you’ll be able to create a beautiful and durable finished product that will last for years to come.