Concrete Floor Floating (1)

Concrete Floating Floor System for Cinemas (2) Cinema Acoustic Solutions

Concrete Floating Floor System for Cinemas (2) Cinema Acoustic Solutions

Pour a Floating Concrete Floor (3) : 6 Steps (with Pictures) – Instructables

TVS RESi Concrete Floating Floor System (4) Acoustics Specialists

Power floated concrete floor with no aggregate exposure. (5) Betonnen vloer, Huis interieur

TVS RESi Concrete Floating Floor System (4) Acoustics Specialists

Power floated concrete floors installed,Devon,Dorset,Somerset,Cornwall,Southwest (6)
Floating Floor On Concrete (7) / It can easily be installed on top of an existing concrete slab

Pour a Floating Concrete Floor (3) : 6 Steps (with Pictures)

Acoustic Floating Floors – Farrat Concrete Floating Floor System (8)

Floating Floor ready for concrete pour (9) – Mason UK
Related Posts:
- Outdoor Concrete Flooring Ideas
- Concrete Floor Polishing
- Interior Concrete Floor Paint Ideas
- Concrete Floor Epoxy Crack Filler
- Concrete Floor Basement Ideas
- Painting Concrete Floor With Epoxy
- Outdoor Concrete Floor Paint Ideas
- Concrete Floor Painting Tips
- Outdoor Concrete Floor Finishes
- Non Slip Concrete Floor
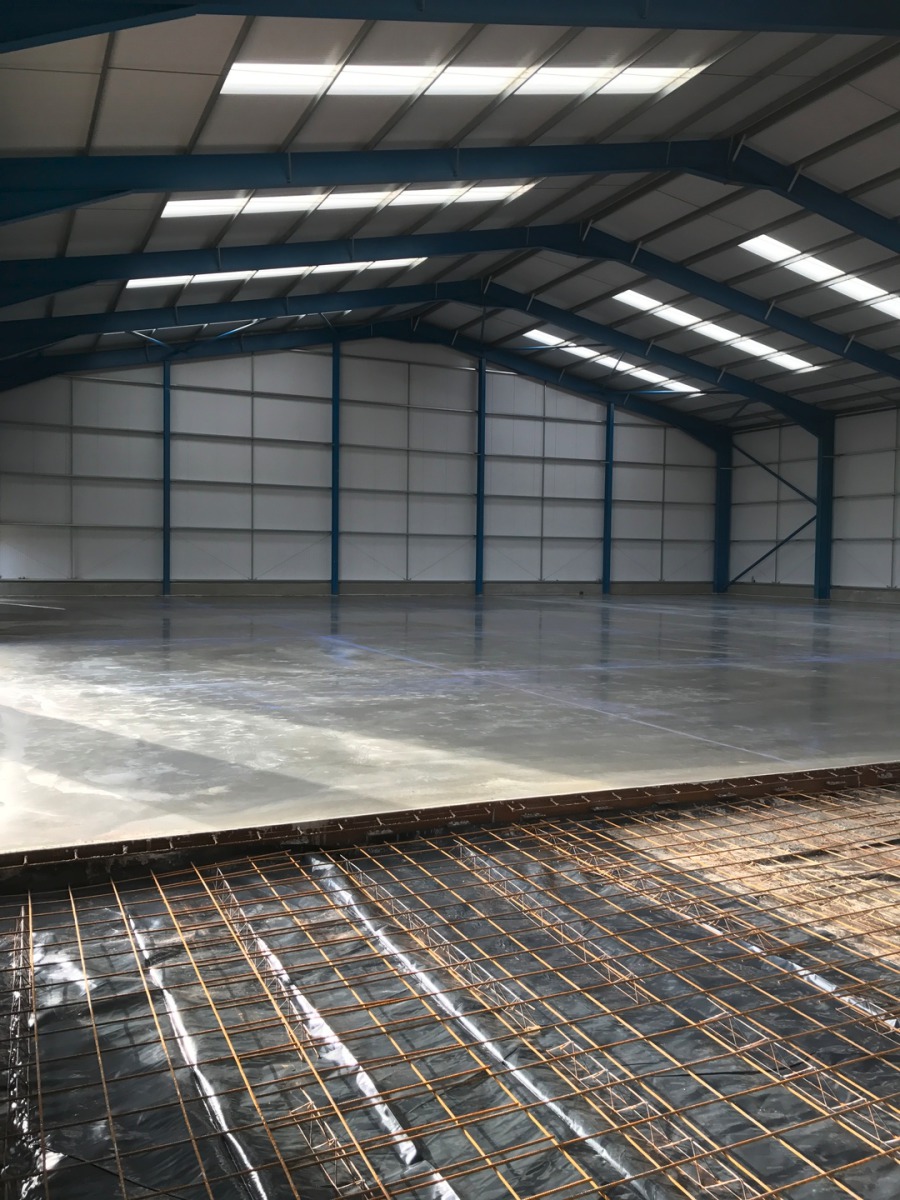
Floating floors are becoming increasingly popular in homes and businesses everywhere. A floating floor is a type of flooring that is not attached to the subfloor or lower floor. Instead, it is supported by a cushioning material that is placed underneath the floorboards. The result is a floor that feels soft underfoot and has a unique, floating look and feel.
Installing a floating floor is relatively easy and can be done in just a few simple steps. Here are the basics of how to install a concrete floating floor:
## Step 1: Measure the Room
The first step when installing a floating floor is to measure the room you’re installing it in. This will help you determine the size of the boards you will need to purchase.
## Step 2: Prepare the Subfloor
Once you have your measurements, you will need to prepare the subfloor for installation. This includes cleaning the subfloor and making sure it is free of debris, dust, and dirt. You may also need to sand down any bumps or uneven surfaces on the subfloor before installation.
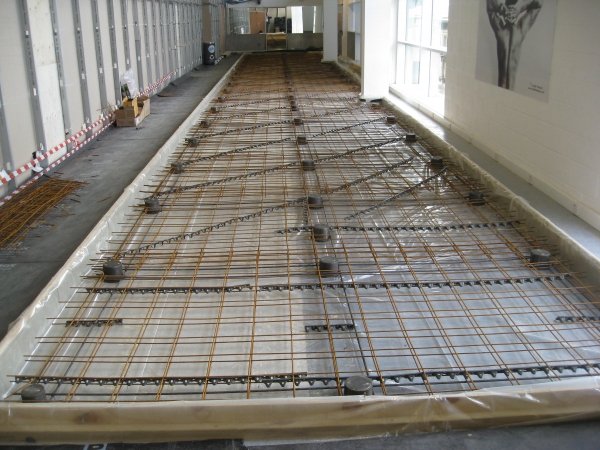
## Step 3: Install Underlayment
The next step is to install underlayment, which comes in two forms; foam padding or rubber matting. Foam padding provides a softer feel underfoot while rubber matting provides more stability and durability. You will want to place this material over the subfloor before installing your floating floor.
## Step 4: Place Your Floating Floor Boards
Once your underlayment has been installed, you can begin placing your floating floor boards on top of it. The boards should fit together snugly without any gaps between them.
## Step 5: Secure the Floating Floor Boards
Now that all of your boards are in place, you will need to secure them together so they stay in place when walked on. This can be done by using construction adhesive or double-sided tape between each board.
## Step 6: Install Baseboards
Finally, once you have secured all of your boards together, you will need to install baseboards around the perimeter of the room. This will provide an extra layer of protection and help keep your floating floor from shifting or coming apart over time.
Installing a concrete floating floor is a great way to create an attractive, modern look in any room of your home or business. With just a few simple steps, you can easily install a beautiful and durable floating floor that will last for years to come.