Concrete Floor Kit

Concrete Floor Kit – Flooring Ideas

POR-15 CONCRETE FLOOR AMOUR – FLOOR PROTECTION KIT – Frost Industrial

Atlantic Concrete Coatings Transylvania Concrete Coatings
Epoxy Flakes Floor Kit. Epoxy Garage Floor. Concrete Floor Epoxy

Metallic Epoxy Floor Coating Kit Floor Paints Metallic epoxy floor, Epoxy floor paint

Epoxy Clear Kit 600 Square Feet Concrete Floor Supply

Gilbert Concrete Garage Floor Coatings By Barefoot Surfaces
ArmorGranite Garage Epoxy Flooring Kit Armor Garage

Metallic epoxy floor coatings by Sierra Concrete Arts Garage floor paint, Metallic epoxy floor

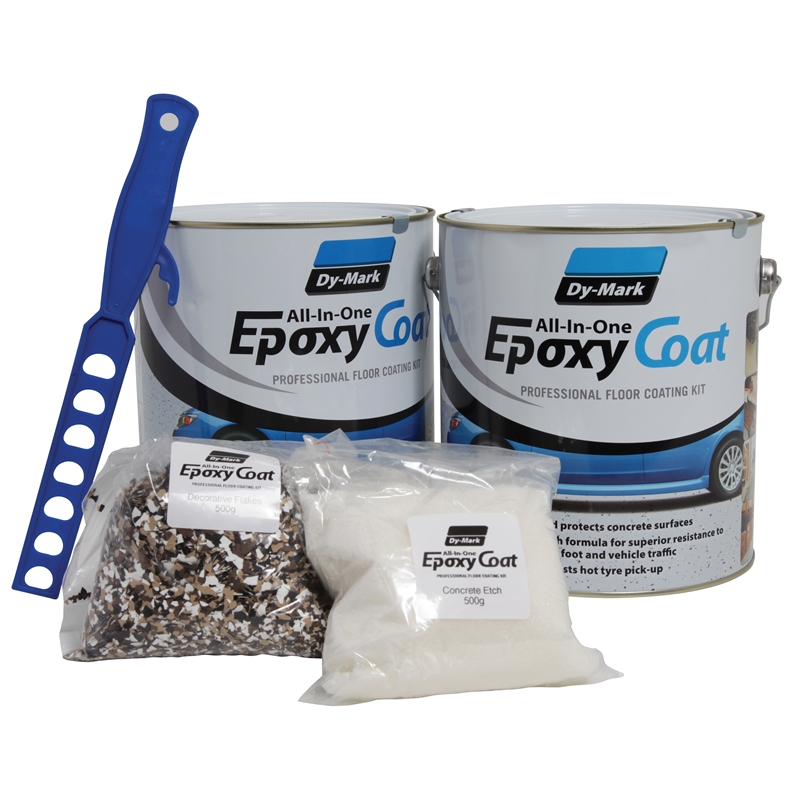
DY-Mark 8L Epoxy Clear Garage Floor Coating Kit Bunnings Warehouse
12+ can you use food coloring in epoxy resin Art resin: coat your artwork with resin Images
Related Posts:
- Outdoor Concrete Flooring Ideas
- Concrete Floor Polishing
- Interior Concrete Floor Paint Ideas
- Concrete Floor Epoxy Crack Filler
- Concrete Floor Basement Ideas
- Painting Concrete Floor With Epoxy
- Outdoor Concrete Floor Paint Ideas
- Concrete Floor Painting Tips
- Outdoor Concrete Floor Finishes
- Non Slip Concrete Floor
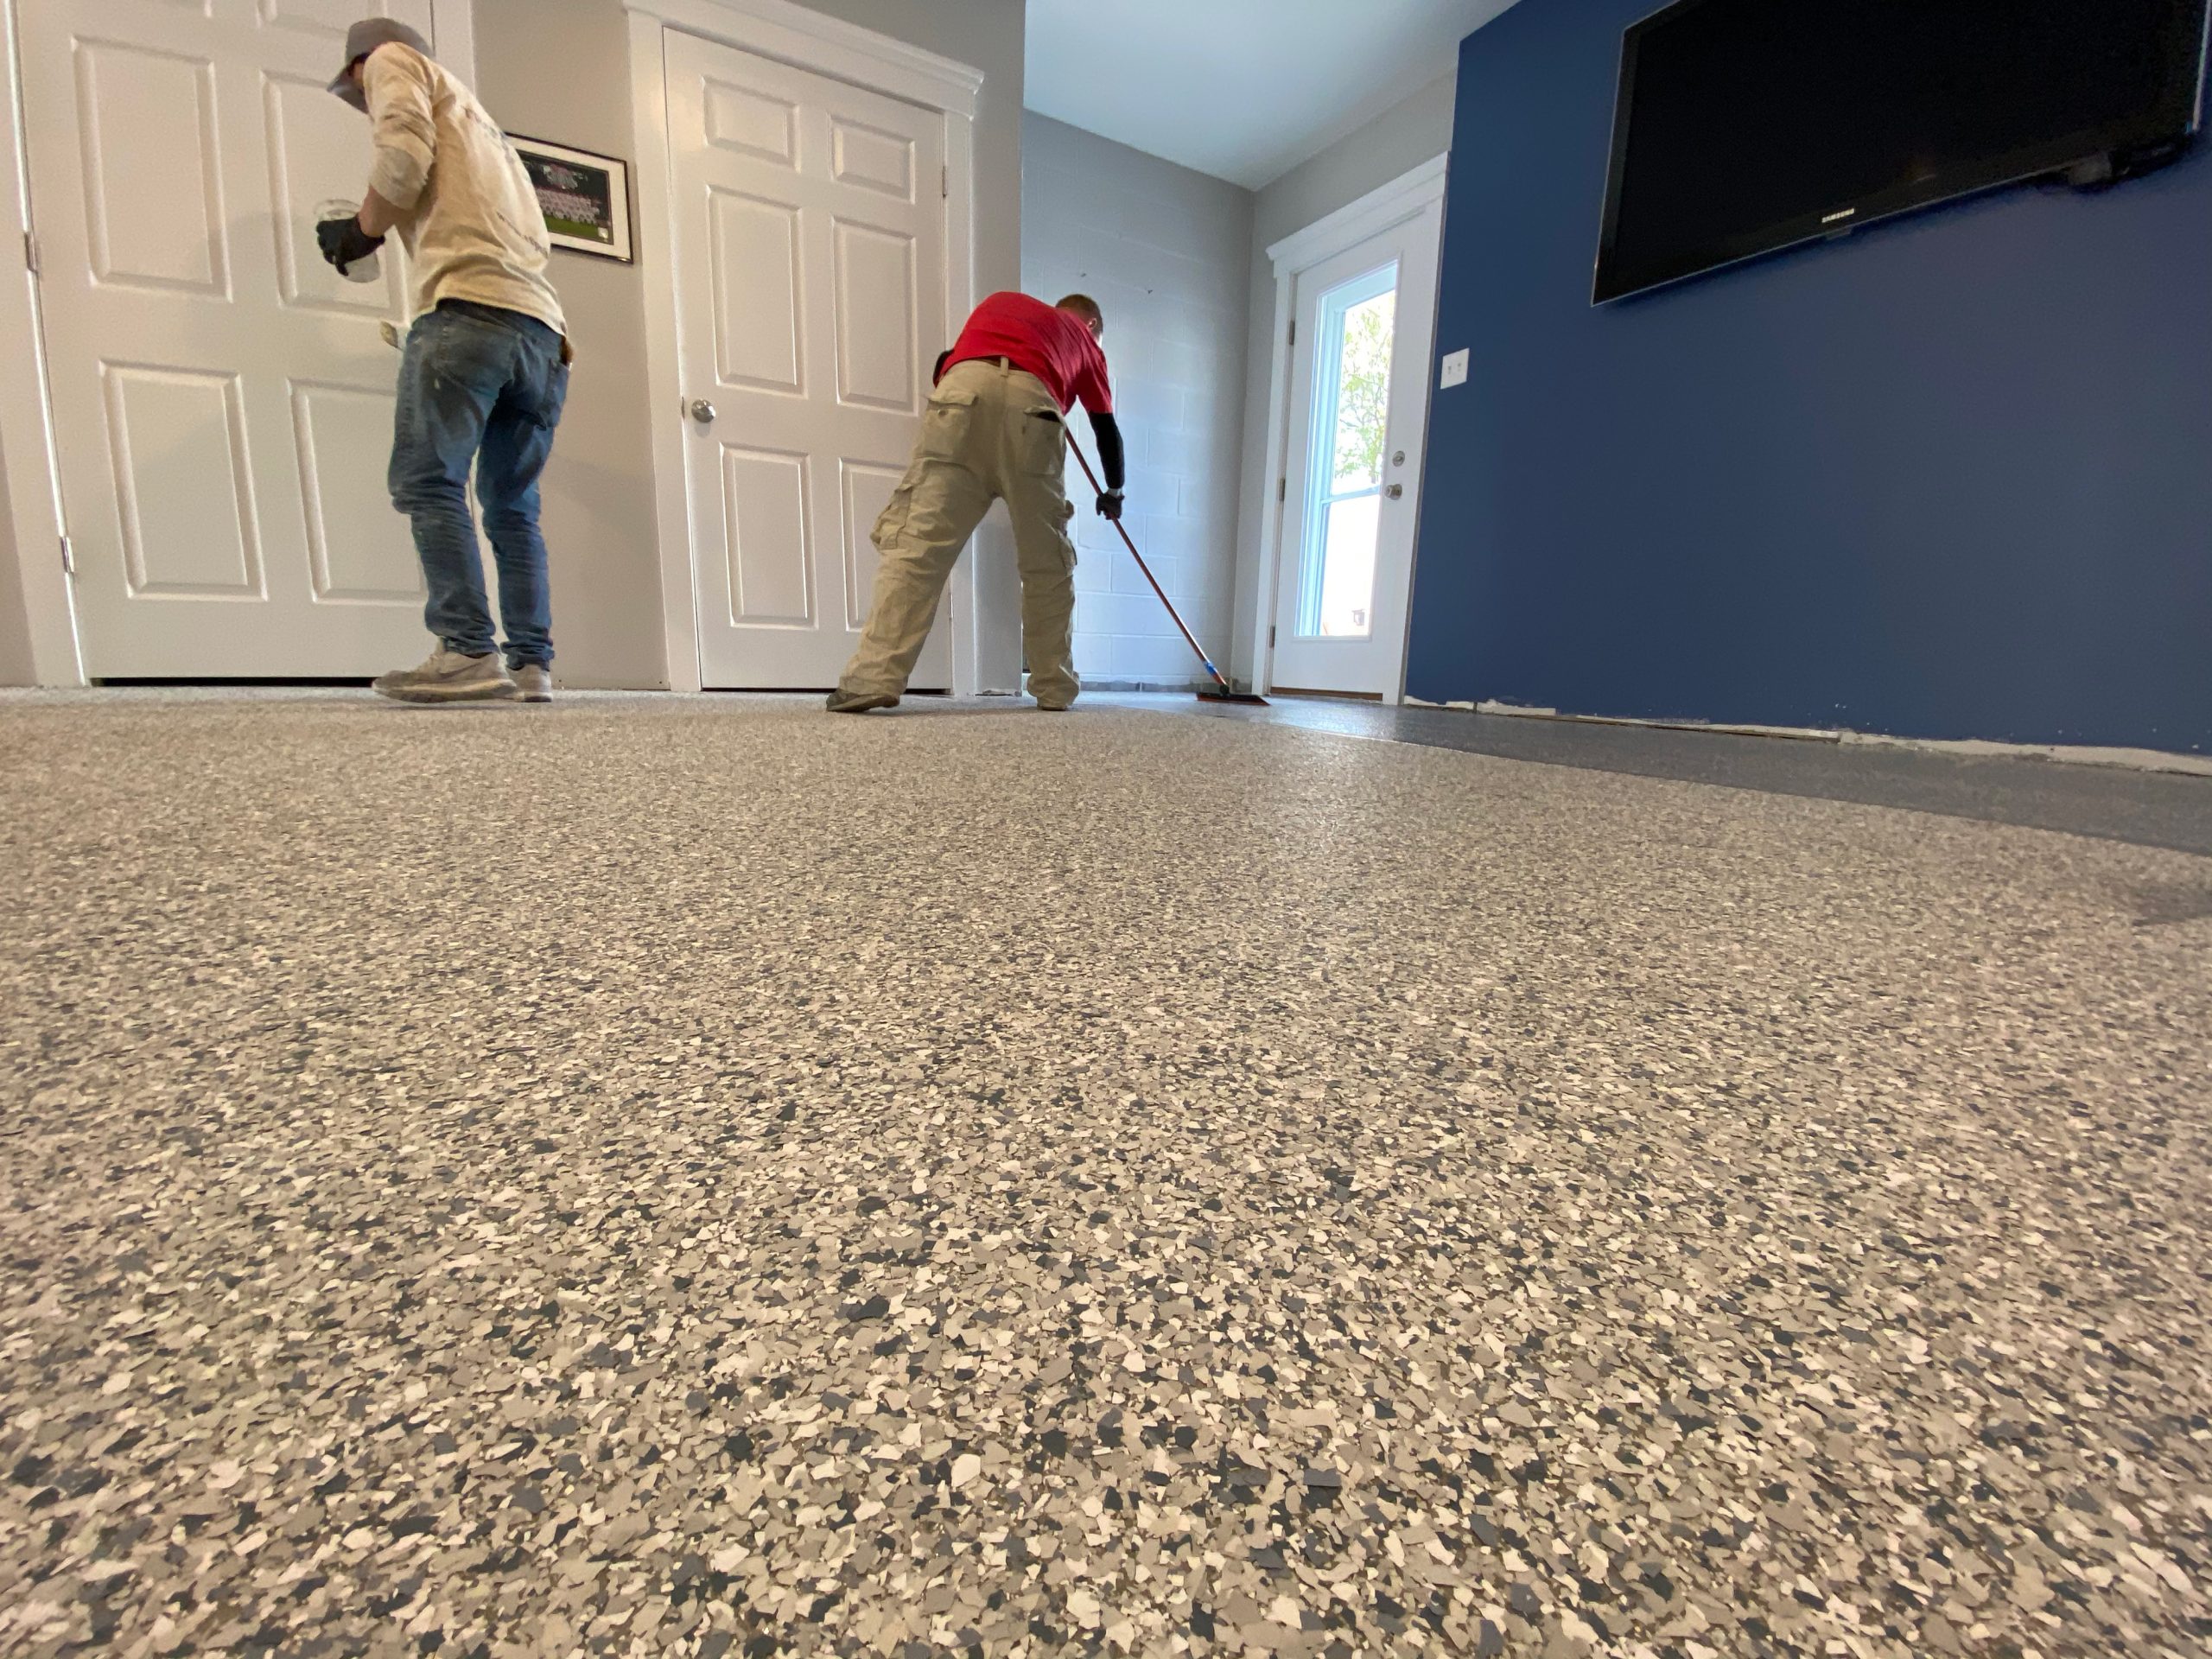
Installing a concrete floor kit is a great way to add a stylish and durable flooring solution to your home. Concrete floor kits are the perfect choice for both commercial and residential use, as they offer a range of benefits that make them ideal for any environment. From easy installation to long-lasting durability, concrete floor kits provide a cost-effective and stylish solution for any home or business.
In this article, we’ll take a look at some of the advantages of installing a concrete floor kit, as well as how to install one in your home or business.
Advantages of Installing a Concrete Floor Kit
Concrete floor kits provide a range of advantages that make them an ideal choice for any home or business. Here are some of the key benefits:
Easy Installation: Concrete floor kits are easy to install, no matter what kind of space you’re working with. Most kits come with all the necessary tools and components to get the job done quickly and easily. This makes them an excellent choice for DIYers who don’t want to hire a professional installer.
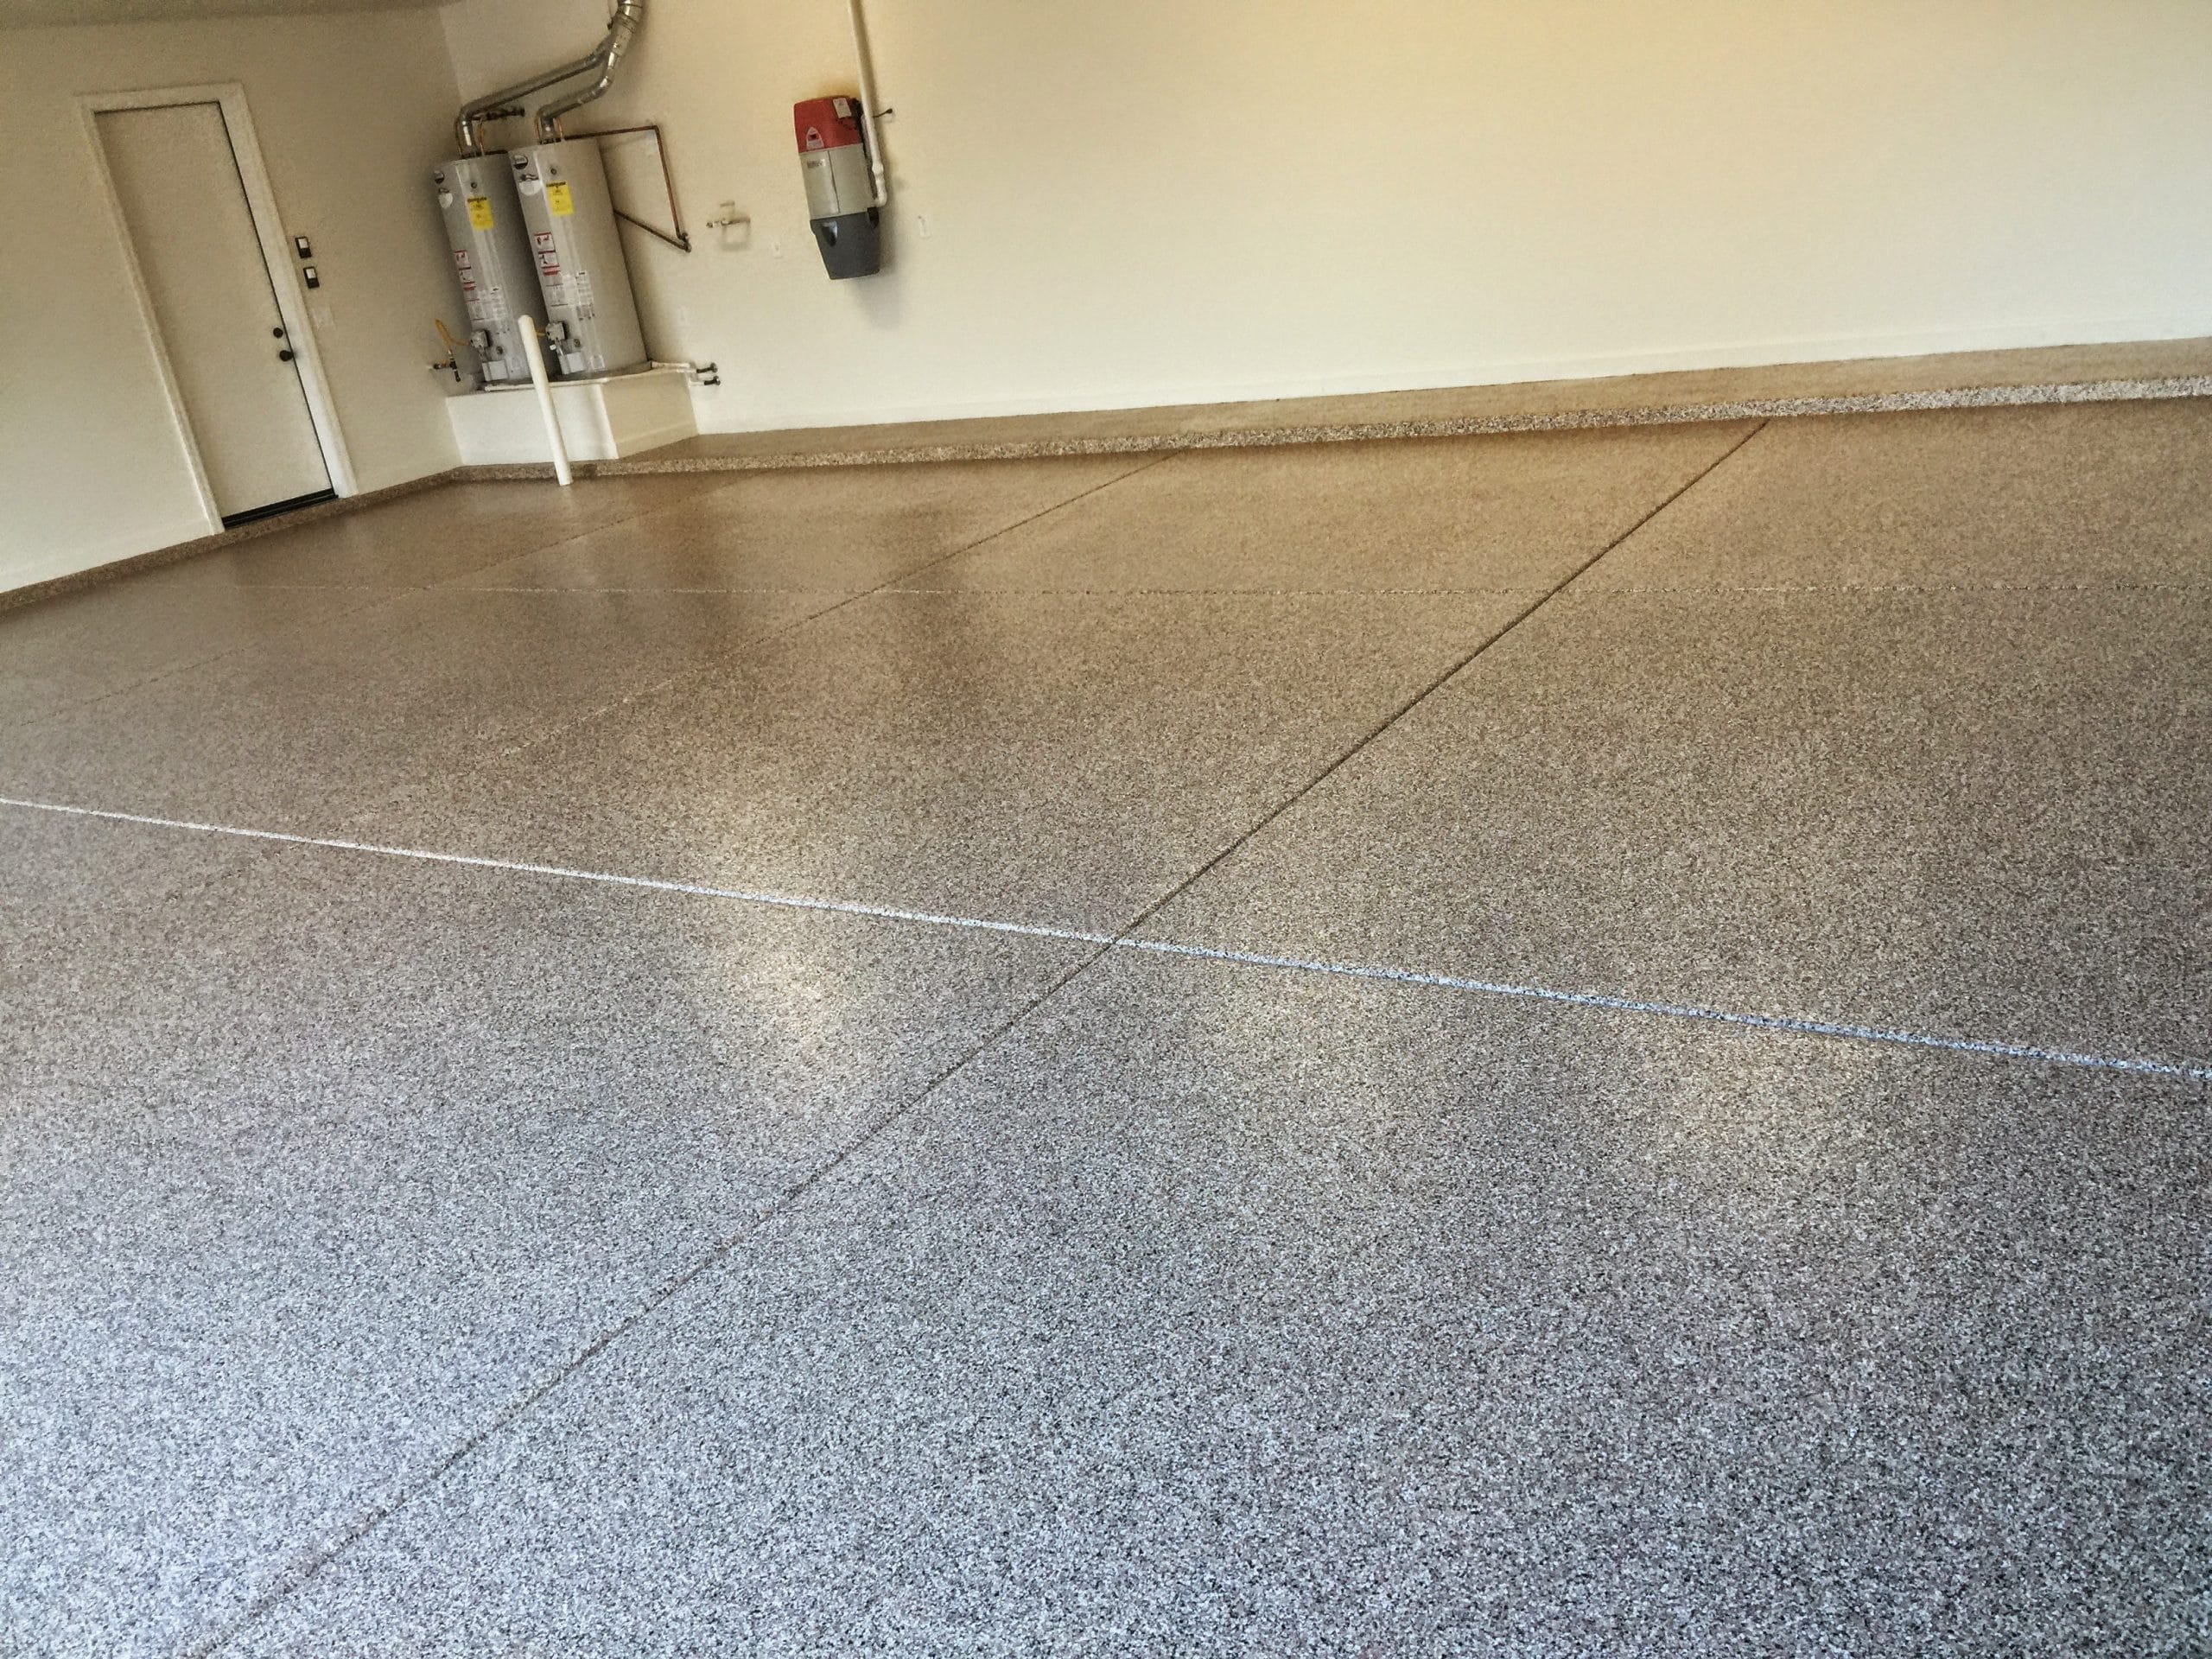
Durability: Concrete is one of the most durable materials on the market, making it ideal for any home or business. The material is resistant to wear and tear, water damage, and other elements that can cause damage over time. This makes it an excellent choice for high-traffic areas like hallways, lobbies, and other heavily used spaces.
Cost-Effective: Concrete floor kits are also very cost-effective, as they can be installed without the need for professional assistance. This makes them an excellent choice for anyone looking to save money on their flooring project.
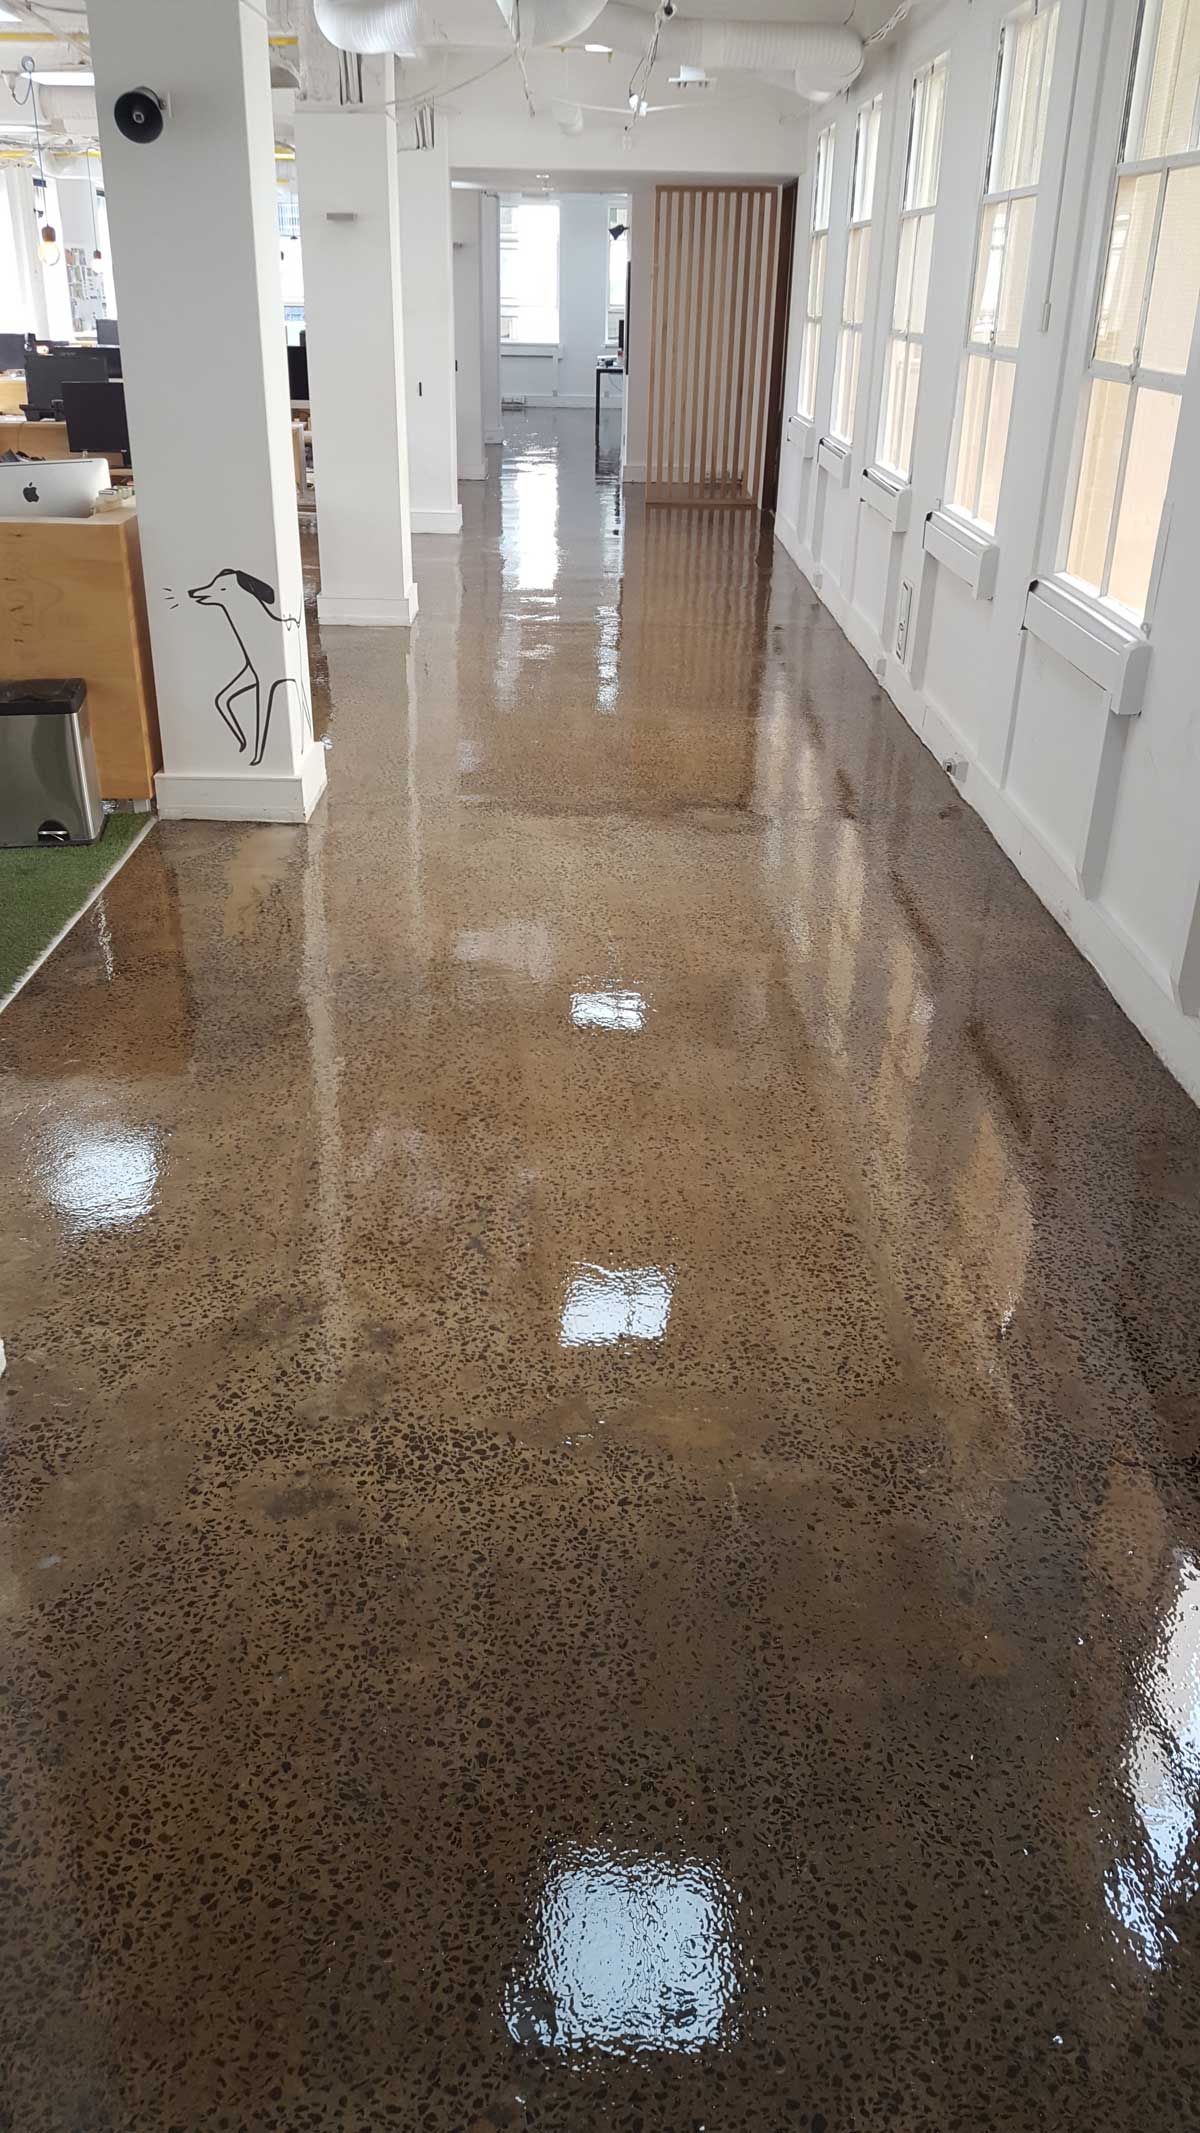
Beauty: In addition to being durable and cost-effective, concrete floors are also aesthetically pleasing. They come in a range of colors and styles, so you can choose one that fits your decor perfectly.
How to Install a Concrete Floor Kit
Installing a concrete floor kit is relatively easy if you have the right tools and know-how. Here’s how to do it:
Step 1: Prepare the Subfloor: Before installing your concrete floor kit, you’ll need to prepare the subfloor by cleaning it thoroughly and checking for any damage or unevenness. If you find any issues, you’ll need to repair them before continuing.
Step 2: Install the Leveling System: Once the subfloor is prepared, the next step is to install the leveling system. This system consists of polystyrene foam panels that provide insulation and cushioning for your concrete floor kit. To install these panels, you will need a few tools such as a hammer drill, screws, nails, and adhesive.
Step 3: Apply Mortar: After the leveling system has been installed, it’s time to apply mortar to the subfloor. You can use either premixed mortar or ready-mix mortar depending on your project needs. Once the mortar has been applied and leveled out properly, you can begin laying down your concrete slabs.
Step 4: Lay Down the Slabs: Once the mortar has been applied and leveled out properly, you can begin laying down your concrete slabs. Make sure that each slab is laid down properly and evenly spaced apart from each other in order to ensure proper adhesion between them. Once all of your slabs have been laid down properly, you can use grout or cement to fill in any gaps between them.
Step 5: Seal & Caulk: Finally, once all of your slabs have been laid down properly and sealed with grout or cement, you can finish off your project by sealing and caulking all of your seams and joints with waterproof sealant or caulk. This will help protect your new concrete floor from water damage and keep it looking great for years to come!
Conclusion
Installing a concrete floor kit is an affordable way to add style and durability to any space in your home or business. Thanks to easy installation and long-lasting durability, this type of flooring is ideal for use in both commercial and residential settings. With these tips in mind, you should be able to successfully install your own concrete floor kit with