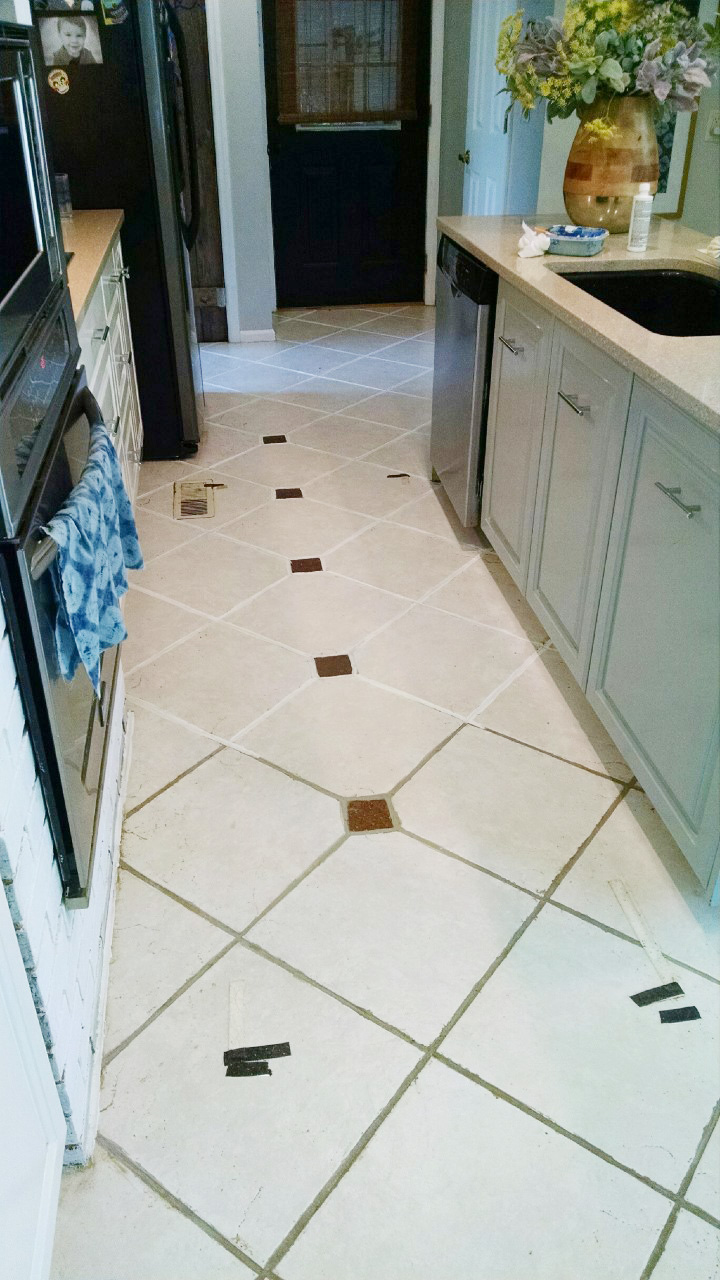
Deep Clean Kitchen Floor Tile

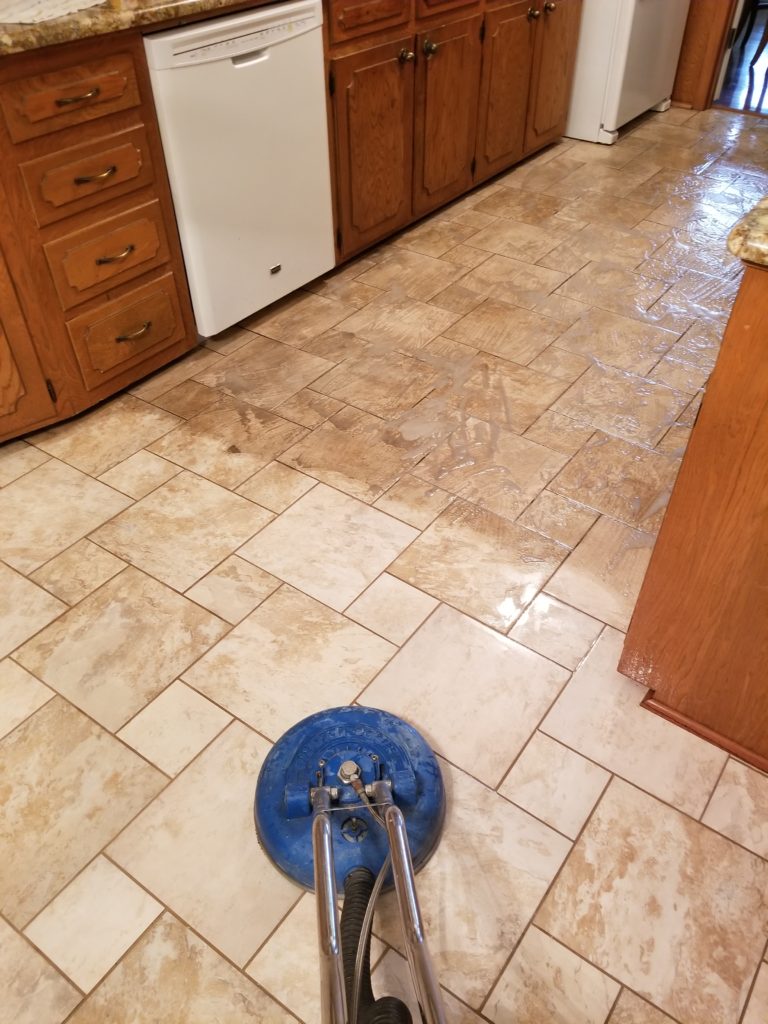
Deep Cleaning Cream Porcelain Tile and Grout in a Middlesex Kitchen – Porcelain Tile Cleaning
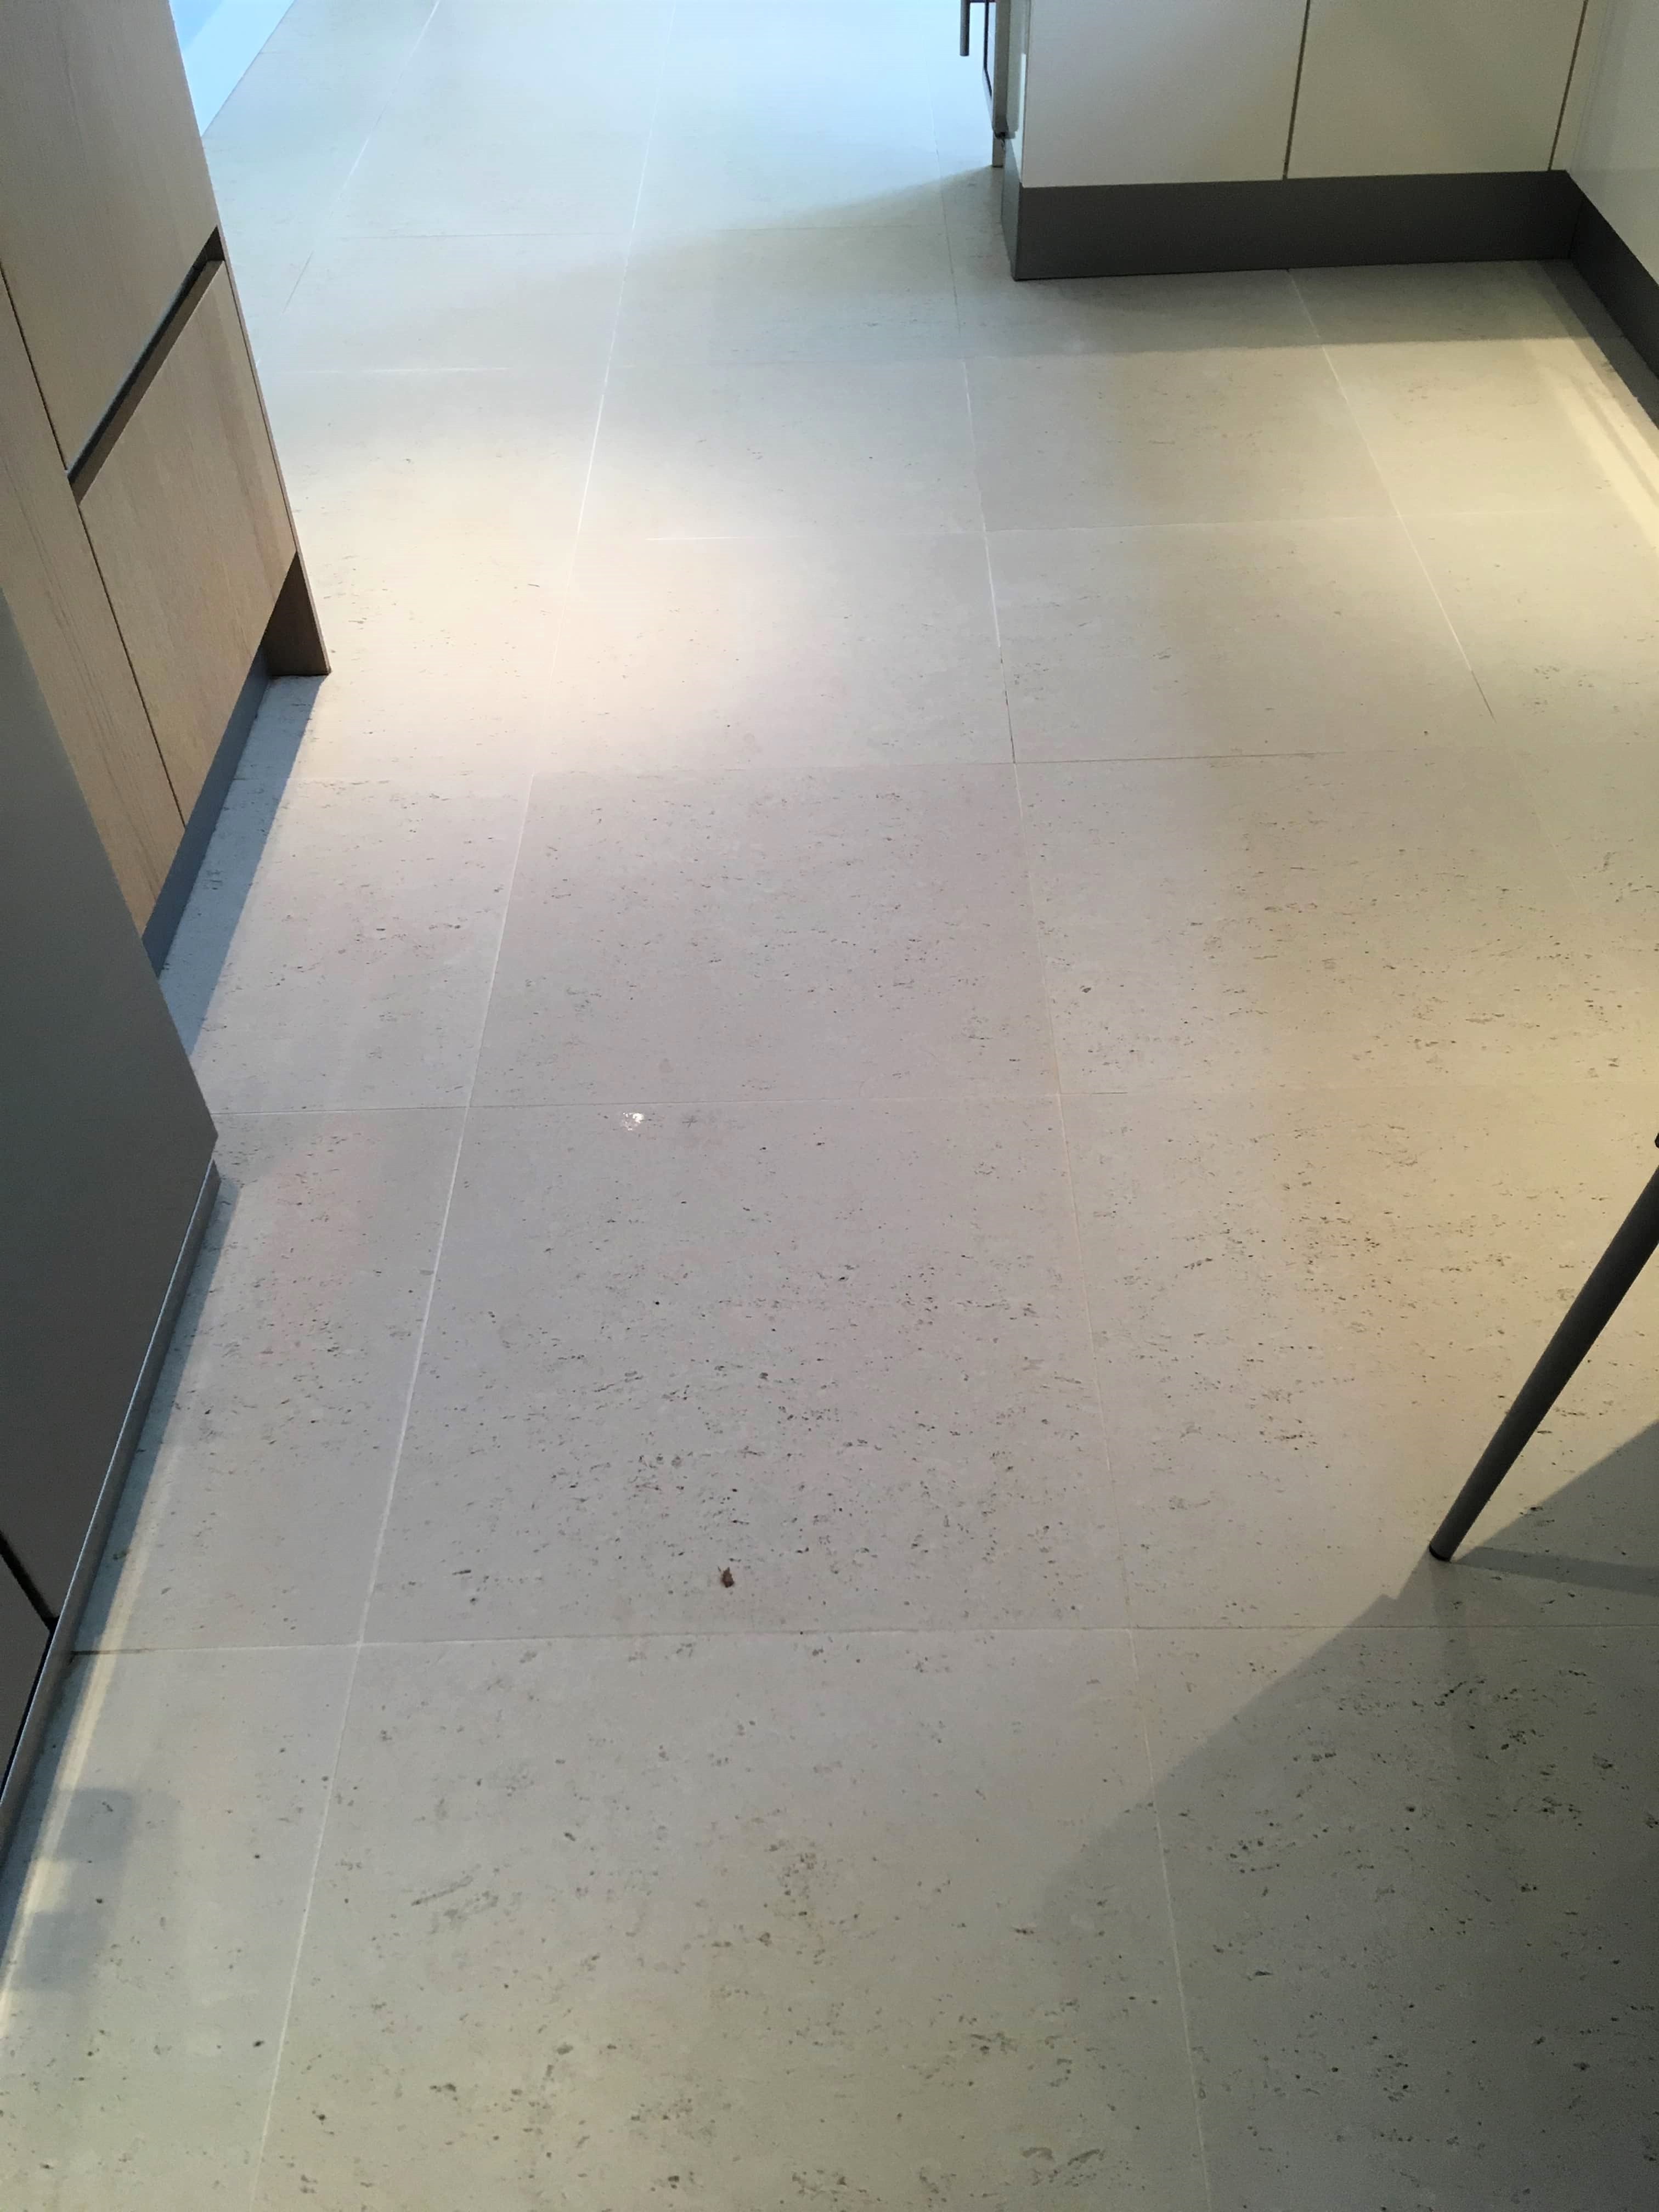
Soiled Limestone kitchen floor deep cleaned and sealed in Crookham – Berkshire Tile

Tile and Grout Cleaning Gallery – Cyclone Professional Cleaners
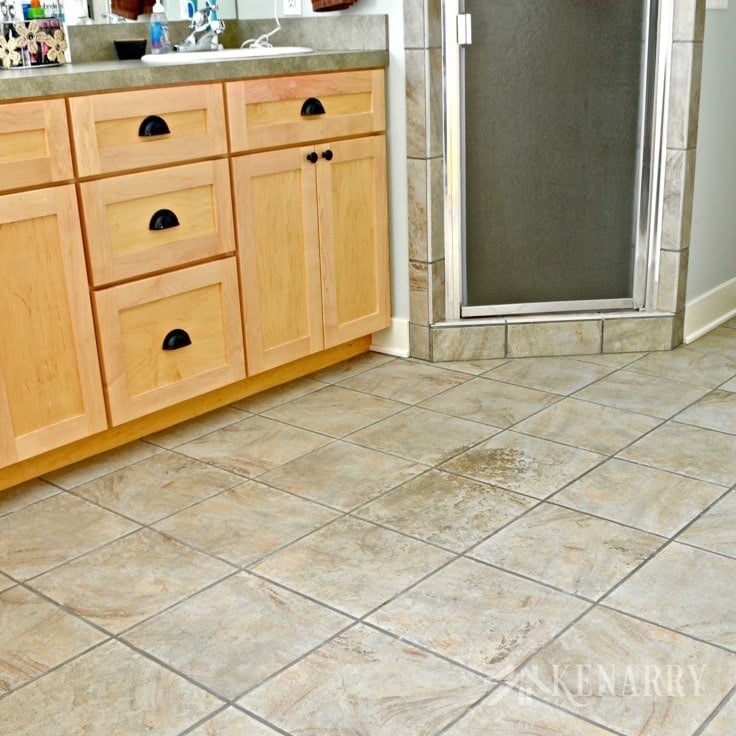
Deep clean and seal of a dirty Limestone tiled kitchen floor in Icklesham – East Sussex Tile

Clean Tile Floors Easily Without Chemicals or Scrubbing
Pin on Cleaning Tips

Large Limestone Tiled Kitchen Floor Cleaned and Sealing in Shepperton, Middlesex – Tiling Tips

Tile Floor For Kitchen / Kitchen Tile Flooring Design And Cost Household Tips Highscorehouse Com
Deep Cleaning Very Dirty Slate Tiled Kitchen Tiles Cleaning Tile

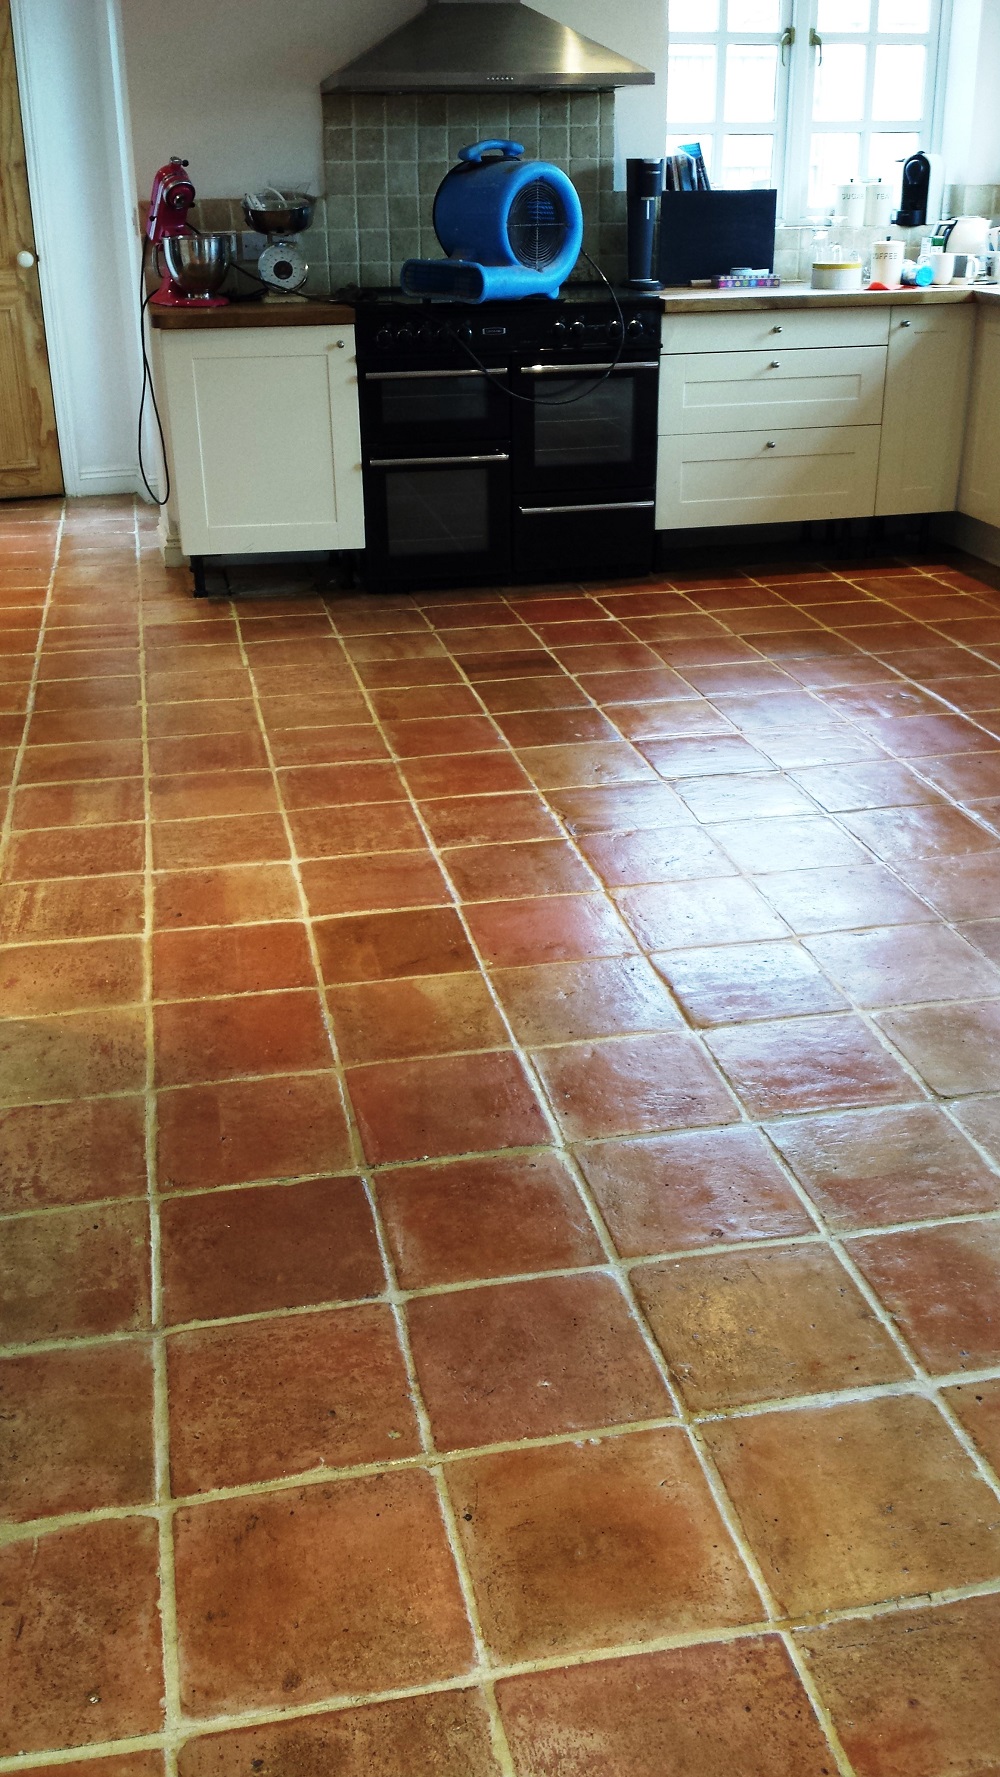
Deep Cleaning Terracotta Floor Tiles Cleaning Tile
Related Posts:
- Small Kitchen Floor Plan Ideas
- Laminate Flooring In Kitchen
- Black Slate Tile Kitchen Floor
- How To Lay Tile In Kitchen Floor
- Red Kitchen Floor
- Cheap Kitchen Laminate Flooring
- Decorative Kitchen Floor Mats
- Contemporary Kitchen Flooring Ideas
- Kitchen Ceramic Tile Floor
- Quarry Tile Kitchen Floor
# Deep Clean Kitchen Floor Tile: A Step-by-Step Guide
Cleaning your kitchen floor tile is a daunting task, but it doesn’t have to be. With the right tools and a little bit of elbow grease, you can have your kitchen floor looking brand new in no time. Whether you have porcelain tiles or stone, this guide will provide you with the steps necessary to giving your kitchen floor a deep clean.
## Gather The Necessary Supplies
Before you begin, make sure that you have all the necessary supplies. This includes a mop, bucket, cleaner, sponge, and scrub brush. You may also want to have a vacuum on hand if you have a tile floor that is prone to trapping dirt and debris.
## Preparing The Floor For Cleaning
The first step to deep cleaning your kitchen floor is to prepare it for cleaning. Begin by removing any furniture or items that may be in the way. Then, sweep or vacuum the entire area to remove any dirt and debris that may be present.
## Applying The Cleaner
Once the floor is prepped, it’s time to apply the cleaner. Start by filling a bucket with warm water and adding your preferred cleaner. If you’re using a store-bought cleaner, be sure to follow the instructions on the label. For natural cleaners like white vinegar and baking soda, use a 50/50 mixture of each ingredient.
Once your mixture is ready, dip your mop into the bucket and wring out the excess water. Begin mopping the floor in small sections, making sure to thoroughly cover each area with cleaner. Allow the cleaner to sit for 10-15 minutes before moving onto the next step.
## Scrubbing The Floor
Once the cleaner has had time to work its magic, it’s time to scrub the floor. Begin by dipping your scrub brush into the cleaner and start scrubbing any tough stains or stuck-on dirt. For porcelain tiles, you can also use steel wool dipped into the cleaner for extra abrasive power. Continue scrubbing until all stains are removed from the floor.
## Rinsing The Floor
Once you’ve finished scrubbing, it’s time to rinse the floor. Begin by filling another bucket with warm water and use this to rinse off any remaining cleaner from the floor. Use a fresh mop head or sponge for this step as not to spread any dirt or debris around the room. Once you’ve rinsed away all of the cleaner, allow the floor to air dry before replacing any furniture or items in the room.
## Maintaining Your Clean Kitchen Floor
Now that your kitchen floor is sparkling clean, it’s important to maintain it so that it stays that way! Make sure to sweep or vacuum regularly to remove any dirt and debris before it has a chance to settle into grout lines or tile crevices. Additionally, use a damp mop (not wet!) with an appropriate cleaner on occasion for an extra shine boost. With these tips in mind, you can enjoy your clean kitchen floor for years to come!