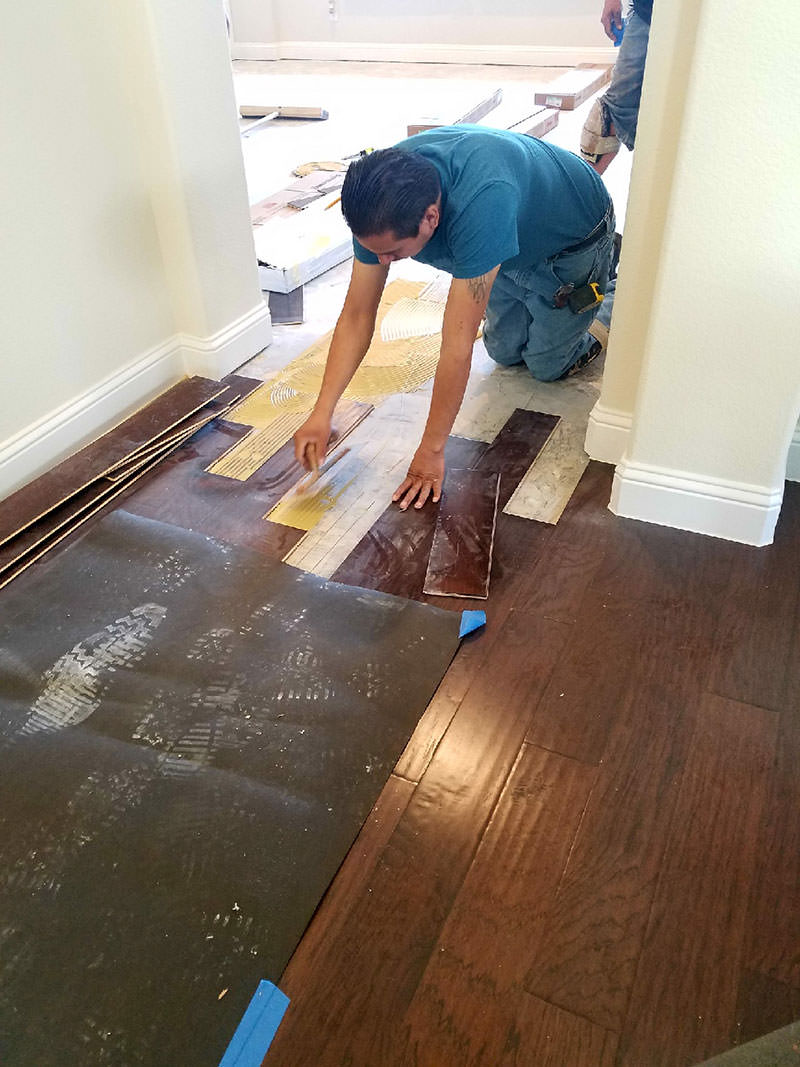
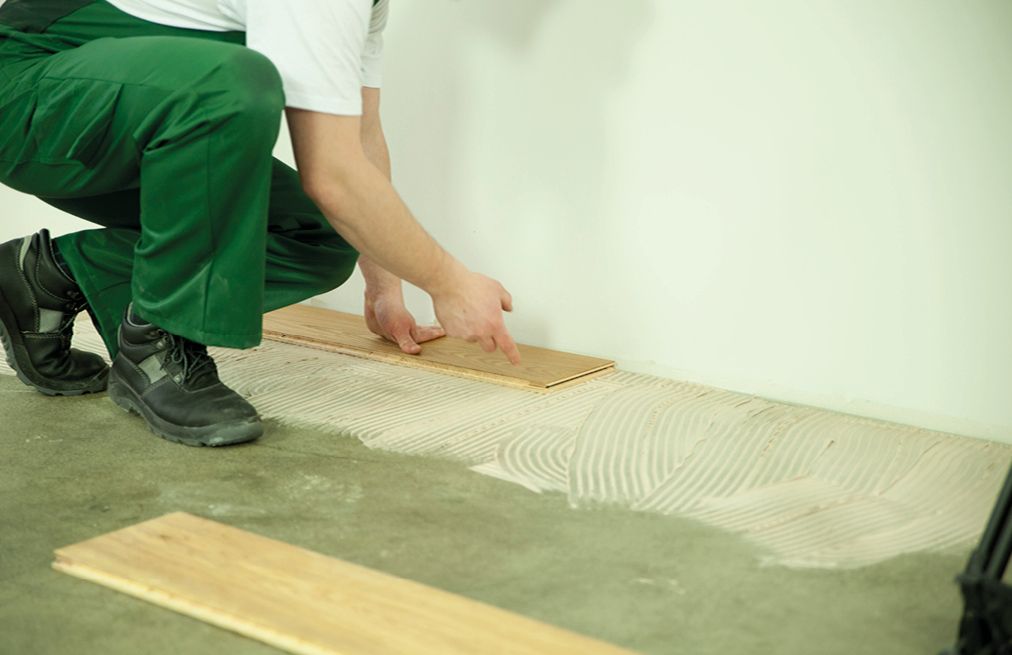
Gluing down a wood floor is a reliable method for achieving a stable and long-lasting installation. This process involves spreading a strong adhesive on the subfloor and then carefully placing each wood plank. Proper preparation of the subfloor is essential, ensuring it is clean, dry, and level. The glue-down method is particularly effective for concrete subfloors, providing a solid bond that minimizes movement and noise.
Wood Floor Glue Down
Glue Down Engineered Wood Flooring Wood Flooring
Glue Down Wood Flooring 2024

Alhambra CA Oak Engineered Glue Down Flooring

Stylish Glue Down Prefinished Hardwood Flooring Unique Flooring Ideas
Fantastic Wood Floor Glue With Moisture Barrier Photos Removing vinyl flooring

Installing Diagonal Glued Down Engineered Wood Flooring Today’s Homeowner Engineered wood

Installation methods for wooden floor

Attractive Glue Down Hardwood Floor Installation Price Unique Flooring Ideas
Engineered Wood Flooring Glue Down Installation Pictures – how to do engineered wood floor
Related Posts:
- Grey Parquet Wood Flooring
- How To Install Pergo Wood Flooring
- Dark Black Wood Flooring
- Solid Wood Flooring White
- Pallet Wood Flooring Ideas
- Wood Floor Chevron Pattern
- Wood Flooring Home Ideas
- Wood Floor Filler Resin
- Glossy Wood Flooring Ideas
- Pergo Wood Flooring Installation
How to Glue Down Wood Floors: A Step-By-Step Guide
## Wood Floor Glue Down
When it comes to flooring, wood is one of the most popular choices. Not only does it offer a classic aesthetic appeal, but it’s also durable and relatively easy to install. One of the most common methods of installation for wood floors is glue down. Glue down is a great way to ensure that your floors are securely attached and can last for years to come.
In this guide, we’ll walk you through the steps necessary to successfully glue down wood floors. From preparation to installation to post-installation care, we’ll provide you with all the information you need to ensure your wood flooring is installed correctly.
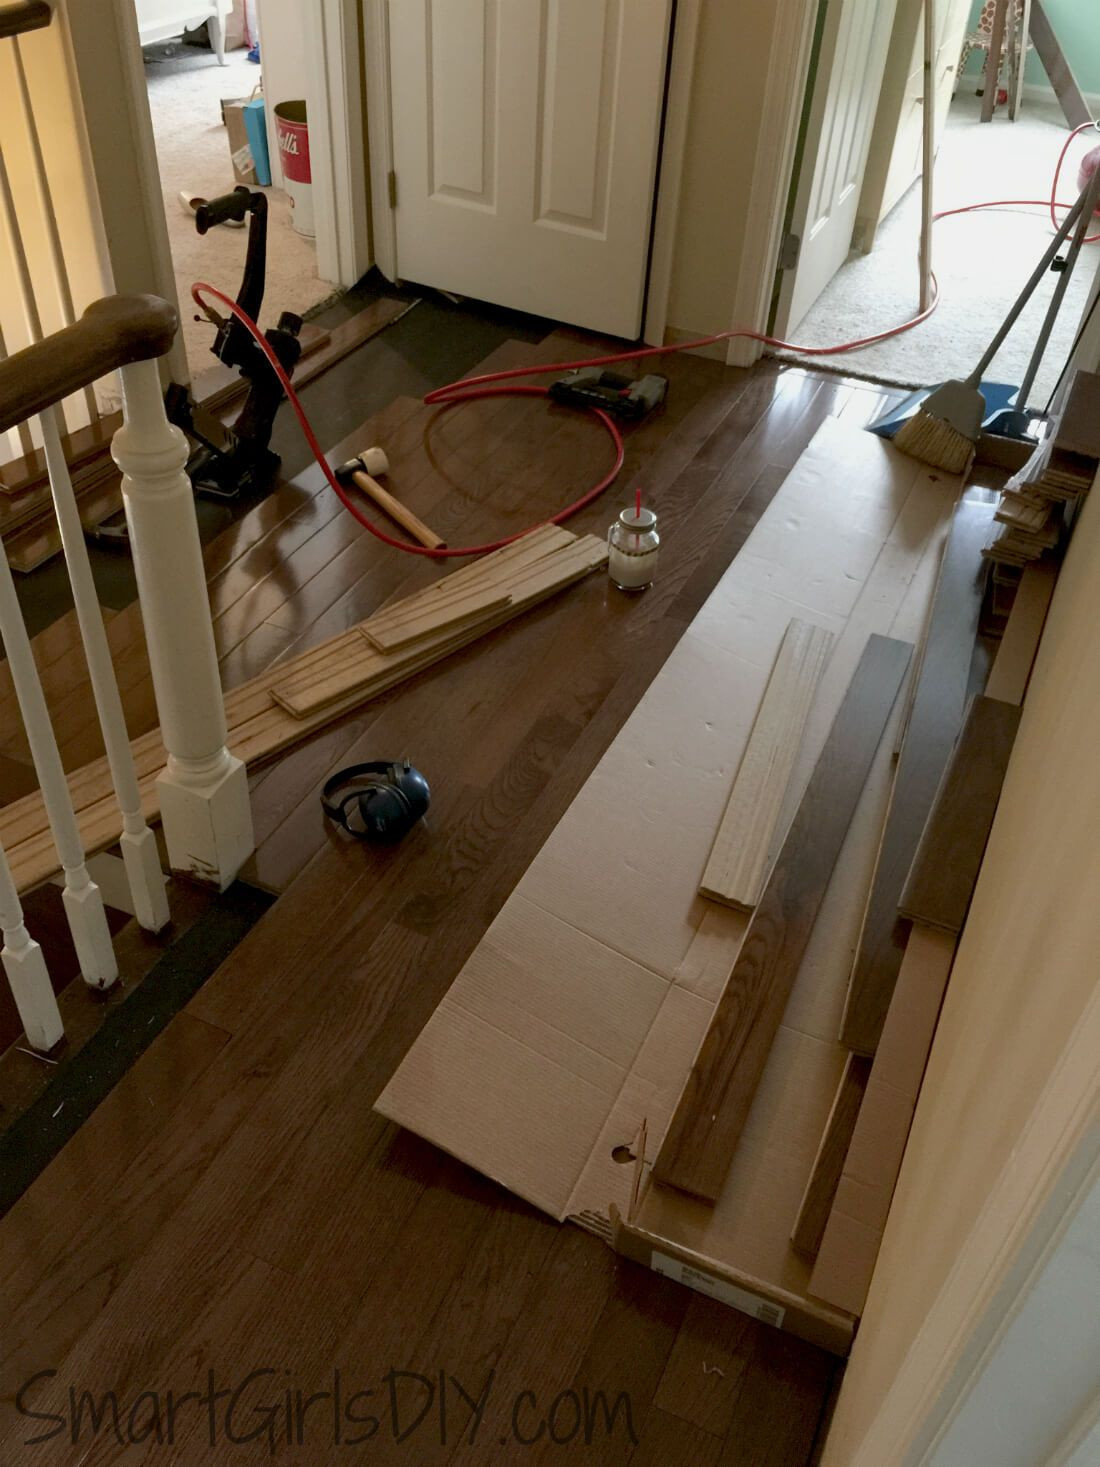
### Preparing Your Floor for Installation
The first step in installing your wood flooring is preparing your floor for installation. This involves making sure that the surface is clean and dry, as well as making any necessary repairs to any existing subflooring. Additionally, you’ll need to check that the humidity level in the room where the floor will be installed is between 35% and 65%.
It’s also important to make sure that any existing baseboard or moldings are removed before installing your new flooring. This will ensure that there is no interference with the installation process.
### Choosing the Right Glue
Once you’ve prepared your floor for installation, it’s time to choose the right adhesive for your project. There are several different types of adhesives available, so it’s important to do some research and select one that’s specifically designed for use with wood floors. Make sure that you read the instructions carefully and follow them closely when applying the adhesive.
It’s also important to note that some adhesives require a longer drying time than others, so be sure to factor this into your overall timeline.
### Installing Your Flooring
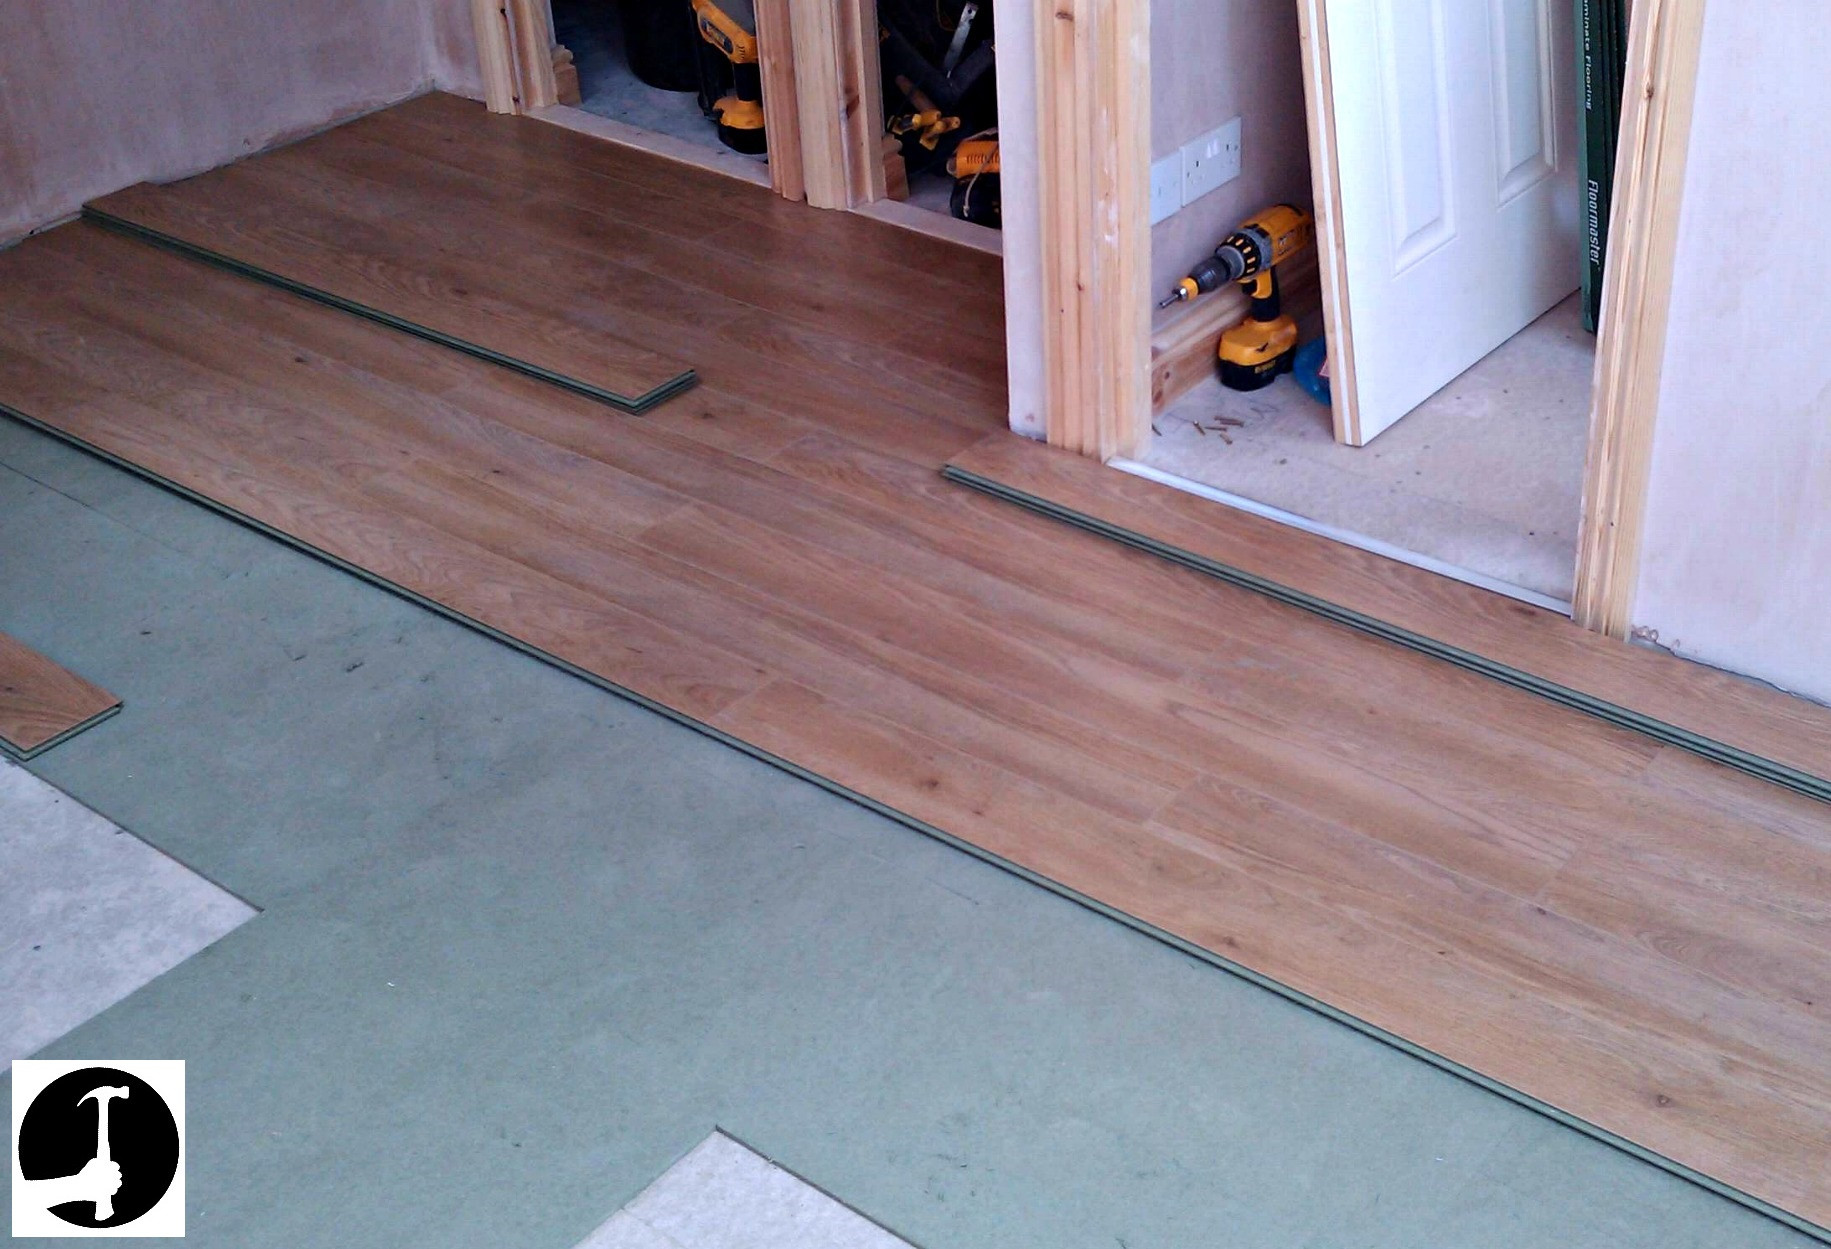
Now that you’ve prepared your floor and chosen the right adhesive, it’s time to start installing your wood floors. You’ll want to begin by laying out the planks so that they fit together properly and are spaced evenly apart. This will help ensure a uniform look when finished.
Once you’ve laid out the planks, use a trowel to apply a layer of adhesive onto the subfloor. Make sure that you spread it evenly across the entire area and don’t leave any gaps or areas without adhesive. Then, press each plank firmly onto the adhesive until it’s secure. If you’re using tongue-and-groove planks, make sure they fit together snugly before pressing them down.
Continue applying adhesive and pressing planks until your entire floor is installed. Once finished, allow the adhesive to dry completely before proceeding with any further steps.
### Finishing Touches
Once your wood flooring is installed and dried, there are a few finishing touches you’ll need to take care of before it’s ready for use. These include trimming off any excess adhesive around edges or corners, filling in any gaps between boards with wood filler or caulking, and sanding down any rough spots or seams in order to ensure a smooth finish.
Finally, be sure to apply a sealant or finish product on top of your wood floors in order to protect them from moisture damage and staining over time.
### Caring for Your Wood Floors
Once your wood floors have been properly installed, it’s important to take good care of them in order to maintain their beauty and longevity. This includes regularly sweeping or vacuuming away dirt and debris, as well as using cleaning products specifically designed for hardwood floors. Additionally, be sure not to drag furniture across your newly installed floors in order to avoid scratching or denting them.
Taking these simple steps can help keep your wood floors looking great for years to come!
By following these steps and taking proper care of your wood floors, you can enjoy beautiful, long-lasting results from glue down installations. With proper preparation and attention paid to detail, glue down installations can be an easy and cost-effective way to update your home decor with beautiful hardwood flooring!