Restoring Shine: DIY Marble Floor Polish
Polishing marble floors is a rewarding DIY project that restores their natural beauty and luster. Over time, marble can lose its shine due to wear and stains. With the right tools and techniques, you can bring back its glossy finish and protect it from future damage. This process not only enhances the floor’s appearance but also extends its lifespan, making it a worthwhile endeavor.
Cleaning the Surface
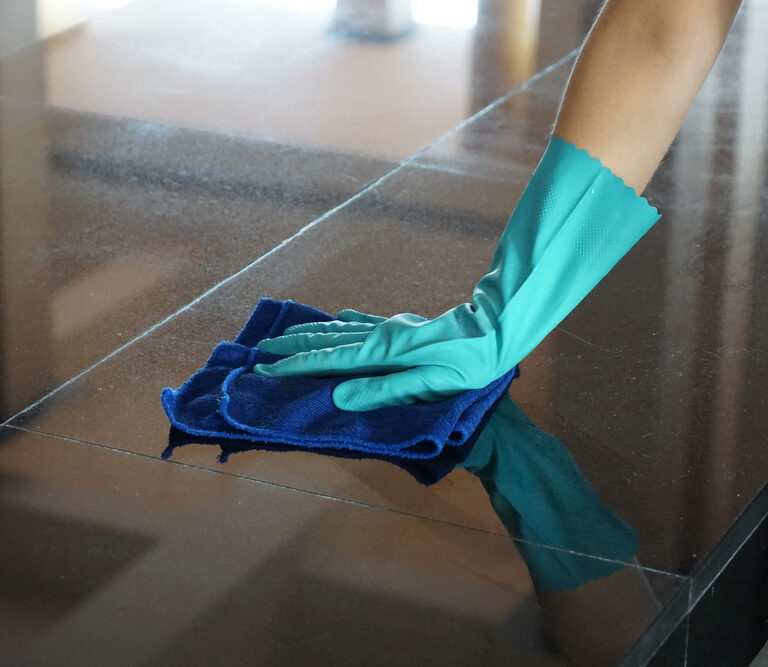
Start by thoroughly cleaning the marble floor to remove dirt and debris. Use a pH-neutral cleaner and a soft mop to avoid scratching the surface. Rinse with clean water and allow the floor to dry completely. Proper cleaning ensures the polish adheres evenly and achieves the best results.
Applying Marble Polish
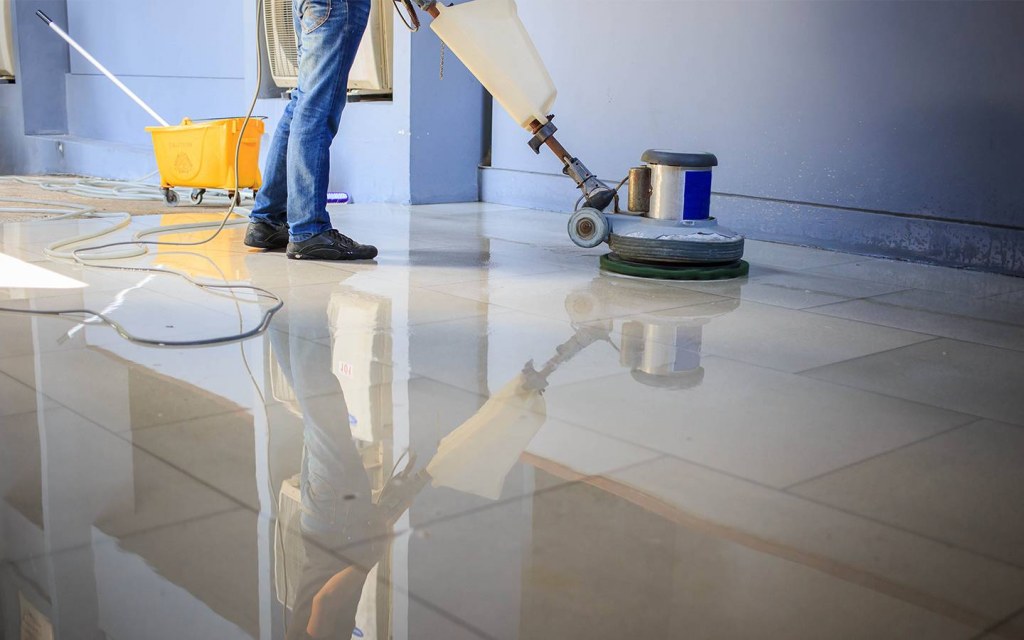
Choose a high-quality marble polish that is suitable for your floor’s finish. Apply the polish in small sections using a soft cloth or buffer. Work in circular motions to evenly distribute the product. Allow the polish to dry according to the manufacturer’s instructions, then buff the surface to reveal a glossy shine.
Sealing for Protection
After polishing, apply a marble sealer to protect the floor from stains and moisture. Use a roller or sprayer for even coverage. Sealing locks in the polish and enhancing the marble’s natural beauty. Allow the sealer to cure completely before walking on the floor.
A Refreshed Look
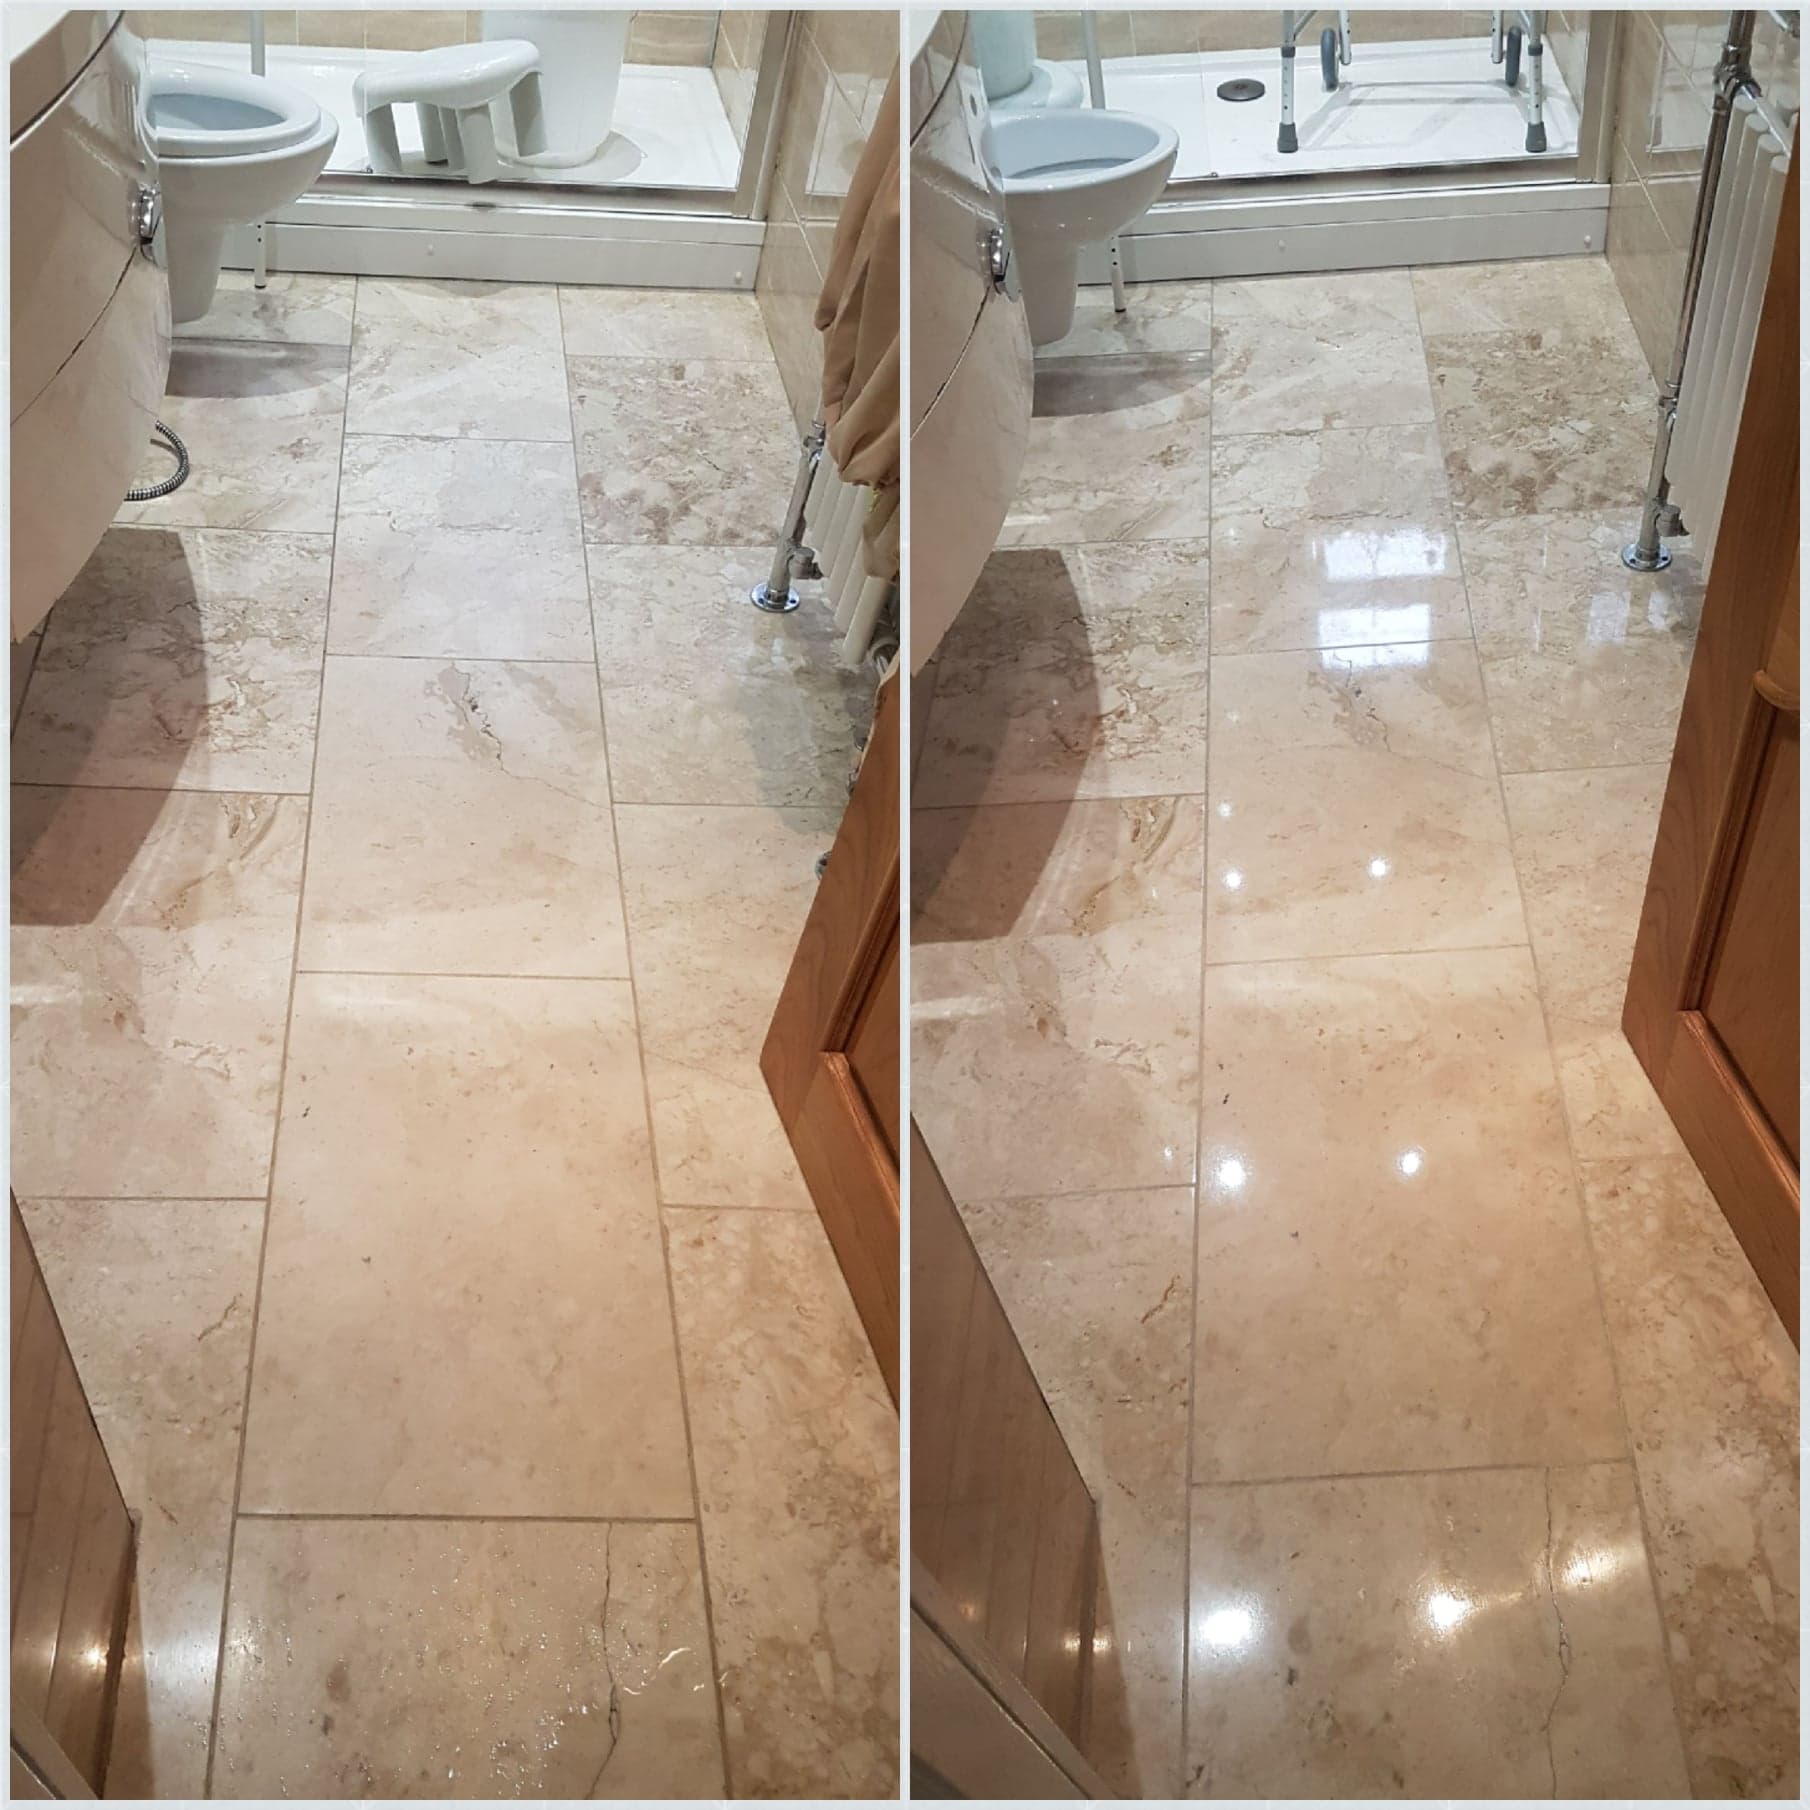
DIY marble floor polishing restores your floor’s elegance and durability. With regular maintenance, your marble floors will remain stunning and functional for years. This project transforms your space, adding a touch of luxury and sophistication to your home.

How to Polish Marble: 14 Steps (with Pictures) Polish marble floor, Marble, Marble countertops

Marble Polishing And Restoration 5 DIY Steps Handyman tips Marble polishing, Marble

3 DIY Marble Floor Polishing That Will Kill Your Marble’s Shine

Cost of Polishing Marble Floors: DIY vs Professional Zameen Blog
200 Home Maintenance Tips and Repair Ideas You Can DIY Marble floor, Cleaning marble, Marble

Cost of Polishing Marble Floors: DIY vs Professional Zameen Blog

How to Polish Marble – Bob Vila

WORN MARBLE FLOOR TILES CLEANING, POLISHING AND SEALING IN WHITEFLIED, MANCHESTER, M45
How to Polish Marble: 14 Steps (with Pictures) Tile floor diy, Polish marble floor, Polished

Things You Should Do Before Performing DIY Marble Polishing – DW Floor Polishing Singapore

How to Polish Marble: It’s Time to Shine – Tool Digest
Related Posts:
- Marble Floor Polishing
- Italian Marble Flooring Designs
- Clean Marble Floor Tiles
- DIY Marble Floor Polish
- Beige Marble Floor Tiles
- Red Marble Floor Tile
- Sealing Honed Marble Floors
- Marble Floor Maintenance
- Marble Floor In Bedroom
- Modern Marble Floor Pattern Design
# DIY Marble Floor Polish – How to Make Your Marble Floors Look Like New Again
Marble floors look beautiful and elegant, but they can quickly become dull and covered in scratches if not taken care of properly. Fortunately, it’s possible to restore their shine and make them look like new again with a few simple steps. With the right tools and materials, you can give your marble floors a professional polish without having to hire a contractor.
## Gather Necessary Supplies
Before you begin polishing your marble floors, make sure you have all the supplies you need. You’ll need a bucket, broom, mop, marble cleaner, soft cloths or sponges, and marble polishing powder. For the polishing powder, it’s best to use one that is specifically designed for marble surfaces.
## Clean the Floors Thoroughly
Once you have all the necessary supplies on hand, start by sweeping and mopping the floors with a mild cleanser. Be sure to remove all dirt and debris from the area before starting. This will ensure that the polishing powder will be able to do its job effectively.
## Apply Marble Polishing Powder
Once the floors are completely clean, it’s time to apply the marble polishing powder. Start by sprinkling a small amount of the powder on the floor and using a soft cloth or sponge to spread it around evenly. If you’re working on a large area, you may want to use a mop instead of a cloth or sponge. Once the entire floor has been covered with the powder, let it sit for 10-15 minutes before wiping it up with a damp cloth or sponge.
## Buff the Floor
After you’ve wiped up the polishing powder, it’s time to buff the floor with a clean dry cloth or mop. This will help to further polish and shine the marble surface. Once you’ve buffed the entire floor, your marble should look like new!
## Maintain Your Marble Floors
To keep your marble floors looking great for years to come, it’s important that you maintain them properly. This includes regularly sweeping and mopping with a mild cleaner as well as re-applying marble polishing powder every few months. With these simple steps, you can enjoy your beautiful marble floors for years to come!
What type of marble is best for DIY floor polishing?
The best type of marble for DIY floor polishing is a honed or polished marble. Honed marble has a matte finish that is easy to maintain with occasional cleaning, while polished marble has a glossy finish that will require more frequent maintenance due to its higher susceptibility to staining and etching.