Engineered Wood Flooring Stapler
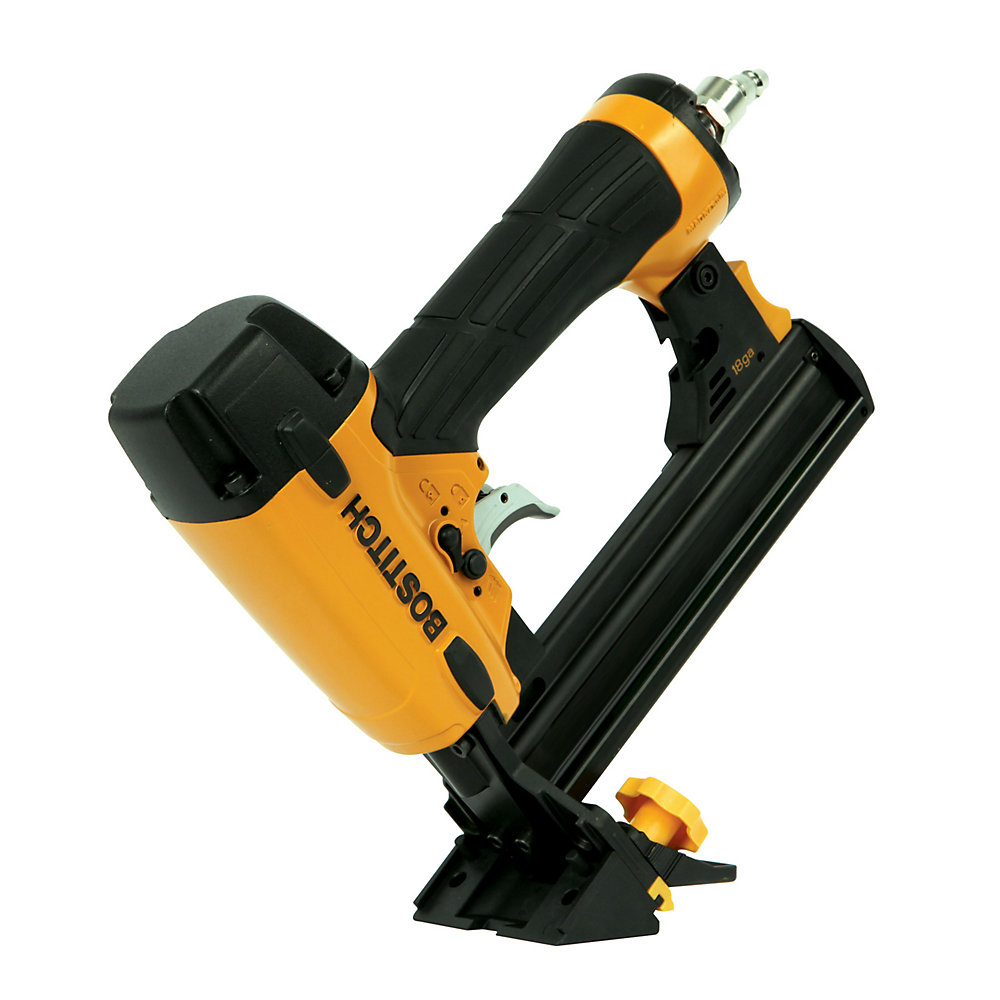
BOSTITCH Flooring Stapler for Engineered Hardwood (EHF1838K),Black

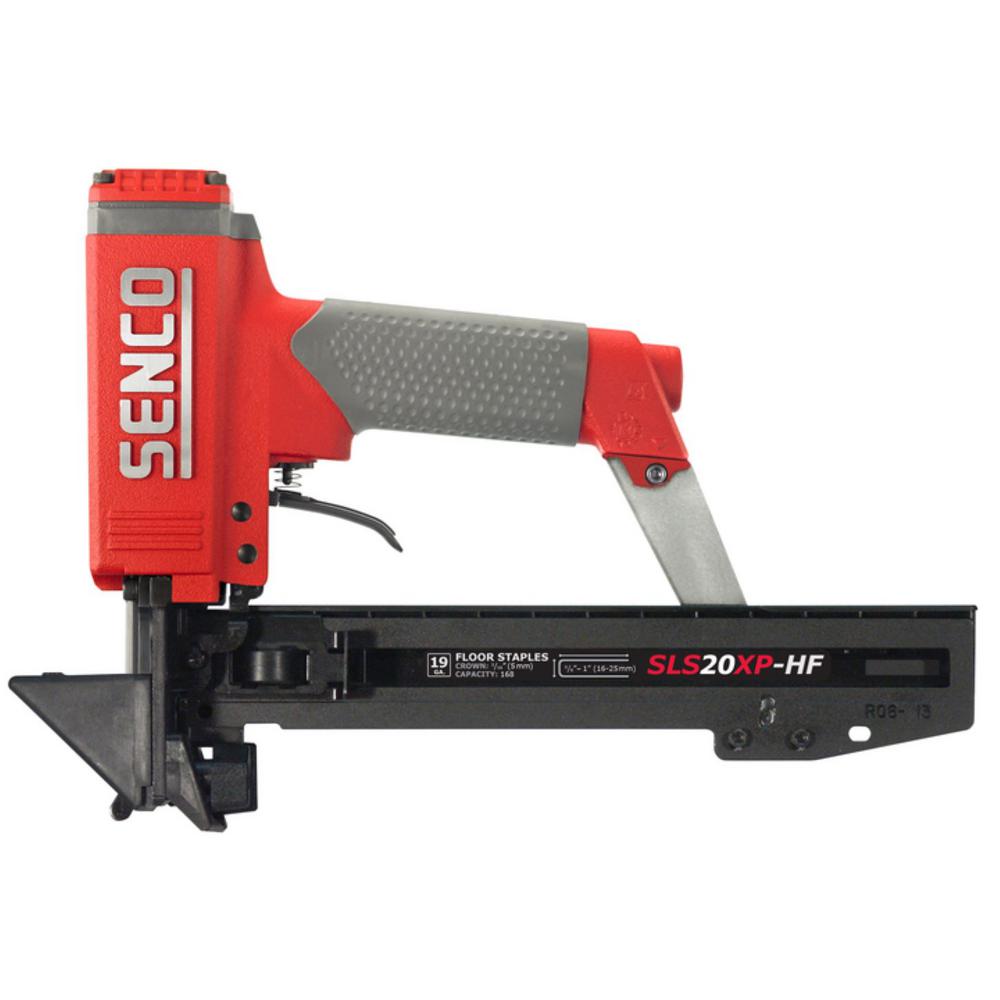
Senco SLS20XP-HF 19-Gauge Hardwood and Engineered Flooring Stapler-490021N – The Home Depot
BOSTITCH Flooring Stapler for Engineered Hardwood (EHF1838K),Black

Bostitch LHF2025K Engineered Hard Wood Flooring Stapler

BOSTITCH EHF1838K Engineered Hardwood Flooring Stapler, Black

Bostitch EHF1838K 18 Gauge Engineered Hardwood Flooring Stapler

Engineered Flooring Stapler – designedbyitaly

PRIMATECH Q180AS 18ga Engineered Hardwood Floor Pneumatic Stapler – Complete Equipment Sales

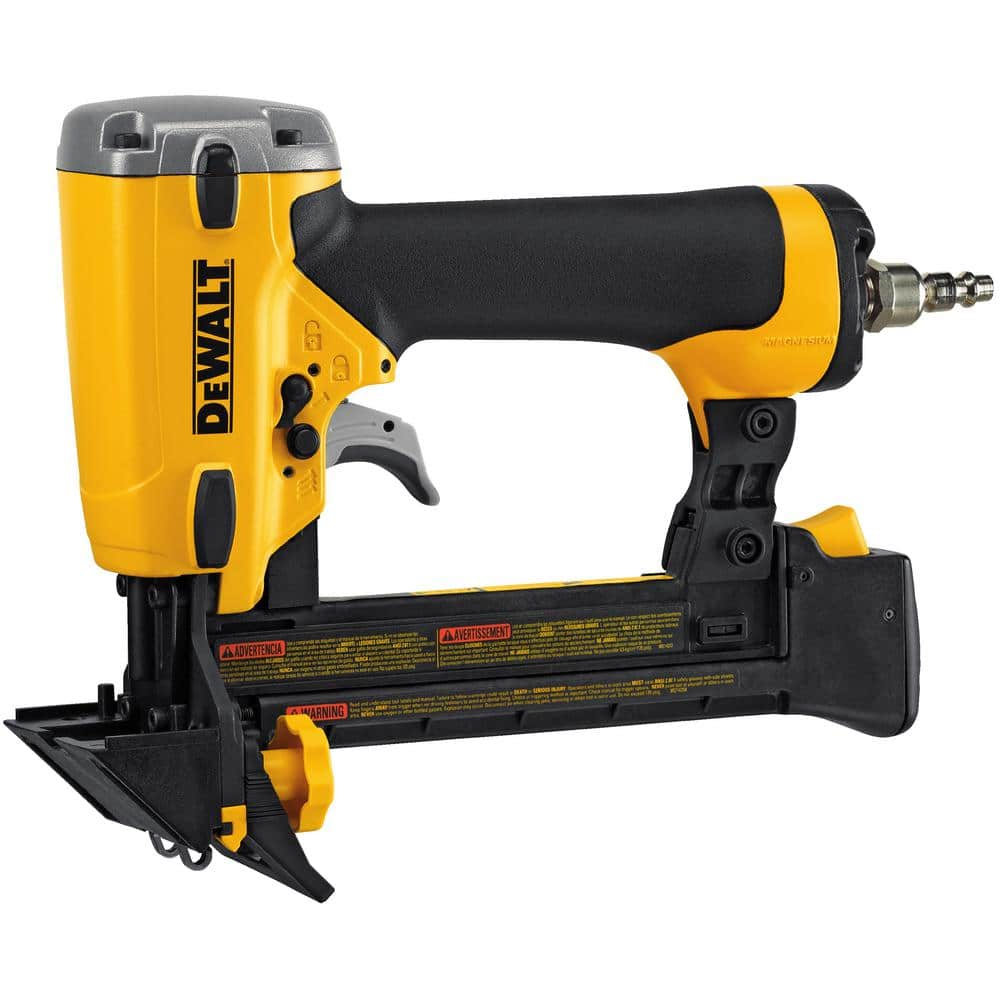
DEWALT 20-Gauge Engineered Flooring Stapler-DWLHF2025K – The Home Depot
Duo-Fast Engineered Wood Flooring Stapler (Pneumatic)

DEWALT DCN682B 20V 18ga Engineered Flooring Stapler Blain’s Farm & Fleet

Related Posts:
- Grey Parquet Wood Flooring
- How To Install Pergo Wood Flooring
- Dark Black Wood Flooring
- Solid Wood Flooring White
- Pallet Wood Flooring Ideas
- Wood Floor Chevron Pattern
- Wood Flooring Home Ideas
- Wood Floor Filler Resin
- Glossy Wood Flooring Ideas
- Pergo Wood Flooring Installation
Installing your own floor can be a daunting task, but with the right tools and supplies, you can make it happen. A crucial piece of equipment for this project is an engineered wood flooring stapler. This guide will discuss what the stapler does and how you can use it to get the job done efficiently.
What is an Engineered Wood Flooring Stapler?
An engineered wood flooring stapler is a specialized tool designed to attach hardwood planks to the subfloor. It is a type of power tool that uses a powerful piston to drive staples into the plank and subfloor. The stapler is designed for quick and easy installation, as well as increased strength and durability of the finished product.
Benefits of Installing Engineered Wood Flooring with a Stapler
Engineered wood flooring is a great choice for homeowners who want to add some elegance to their home without the hassle and cost of installing solid hardwood floors. Installing engineered wood flooring with a stapler offers several advantages over other methods, such as:
• Quicker installation – The stapler allows you to install the planks in less time than it would take using nails or glue.
• Increased stability – The staples provide increased stability and strength compared to nails or glue.
• Easy to replace – In the event that a plank needs to be replaced, it can be done quickly and easily without having to remove the entire floor.
• Cost savings – The stapler is often less expensive than using nails or glue, which can save you money on your project.
Preparing to Install Engineered Wood Flooring with a Stapler
Before you begin your project, there are a few things you should do to prepare for success:
• Choose the right stapler – It’s important to choose an engineered wood flooring stapler specifically designed for this type of work. Be sure the stapler is compatible with your planks and subfloor.
• Read the instructions – Make sure you read the instructions carefully before beginning your project. This will help ensure that you follow all safety guidelines and don’t make any mistakes during installation.
• Test the stapler – Before beginning your project, test out your stapler on a scrap piece of wood in order to make sure it’s working correctly.
• Gather all necessary supplies – Make sure you have all the supplies you need before beginning your project, including staples, plywood, underlayment, and the planks themselves.
• Measure twice, cut once – Take time to measure out each plank before cutting it so that everything fits together perfectly when it’s time to install them.
Installing Engineered Wood Flooring with a Stapler
Once you’ve prepared everything for installation, you’re ready to begin! Here are some tips for installing engineered wood flooring with a stapler:
• Start in one corner – Begin laying out your planks in one corner of the room and work your way outward from there.
• Place underlayment first – Place underlayment down first before installing the planks on top of it for added stability and cushioning.
• Use small pieces of plywood – If necessary, use small pieces of plywood in order to level out any uneven parts of the subfloor before installing the planks on top of them.
• Place planks at an angle – Place each plank at an angle when nailing them down to ensure that they stay securely attached to the subfloor.
• Use plenty of staples – Make sure you use plenty of staples along each plank in order to ensure that they stay securely attached to the subfloor.
Keeping Your Engineered Wood Flooring Stapler Maintained
Once you’ve finished installing your engineered wood floor, it’s important to keep your stapler well maintained in order to keep it working properly. Here are some tips for keeping your stapler in good condition:
• Clean after each use – After each use, make sure you clean off any dirt or debris from your stapler so it