Epoxy Kitchen Floor Coating

20 Fabulous Epoxy Kitchen Floor Residential – Home Decoration and Inspiration Ideas
Epoxy Kitchen Floors Coating – B-Protek
![]()
Industrial Kitchen Flooring Epoxy floor, Kitchen flooring, Cool kitchens

epoxy kitchen floor paint – Morgan Braun

Kitchen Floor Epoxy Coating in Syracuse CNY Creative Coatings

Epoxy Floor For Kitchen : Epoxy Floor Austin TX ATX Stained Concrete Commercial and
A colored kit for an epoxy metallic floor Epoxy floor, Flooring, Kitchen flooring

Epoxy Floor For Kitchen : Epoxy Floor Austin TX ATX Stained Concrete Commercial and
Epoxy Floor For Kitchen / Epoxy Floor Coatings Epoxy Floors – Vero Beach / There are many

Epoxy Floor Coating Kitchen – Flooring Guide by Cinvex

Related Posts:
- Small Kitchen Floor Plan Ideas
- Laminate Flooring In Kitchen
- Black Slate Tile Kitchen Floor
- How To Lay Tile In Kitchen Floor
- Red Kitchen Floor
- Cheap Kitchen Laminate Flooring
- Decorative Kitchen Floor Mats
- Contemporary Kitchen Flooring Ideas
- Kitchen Ceramic Tile Floor
- Quarry Tile Kitchen Floor
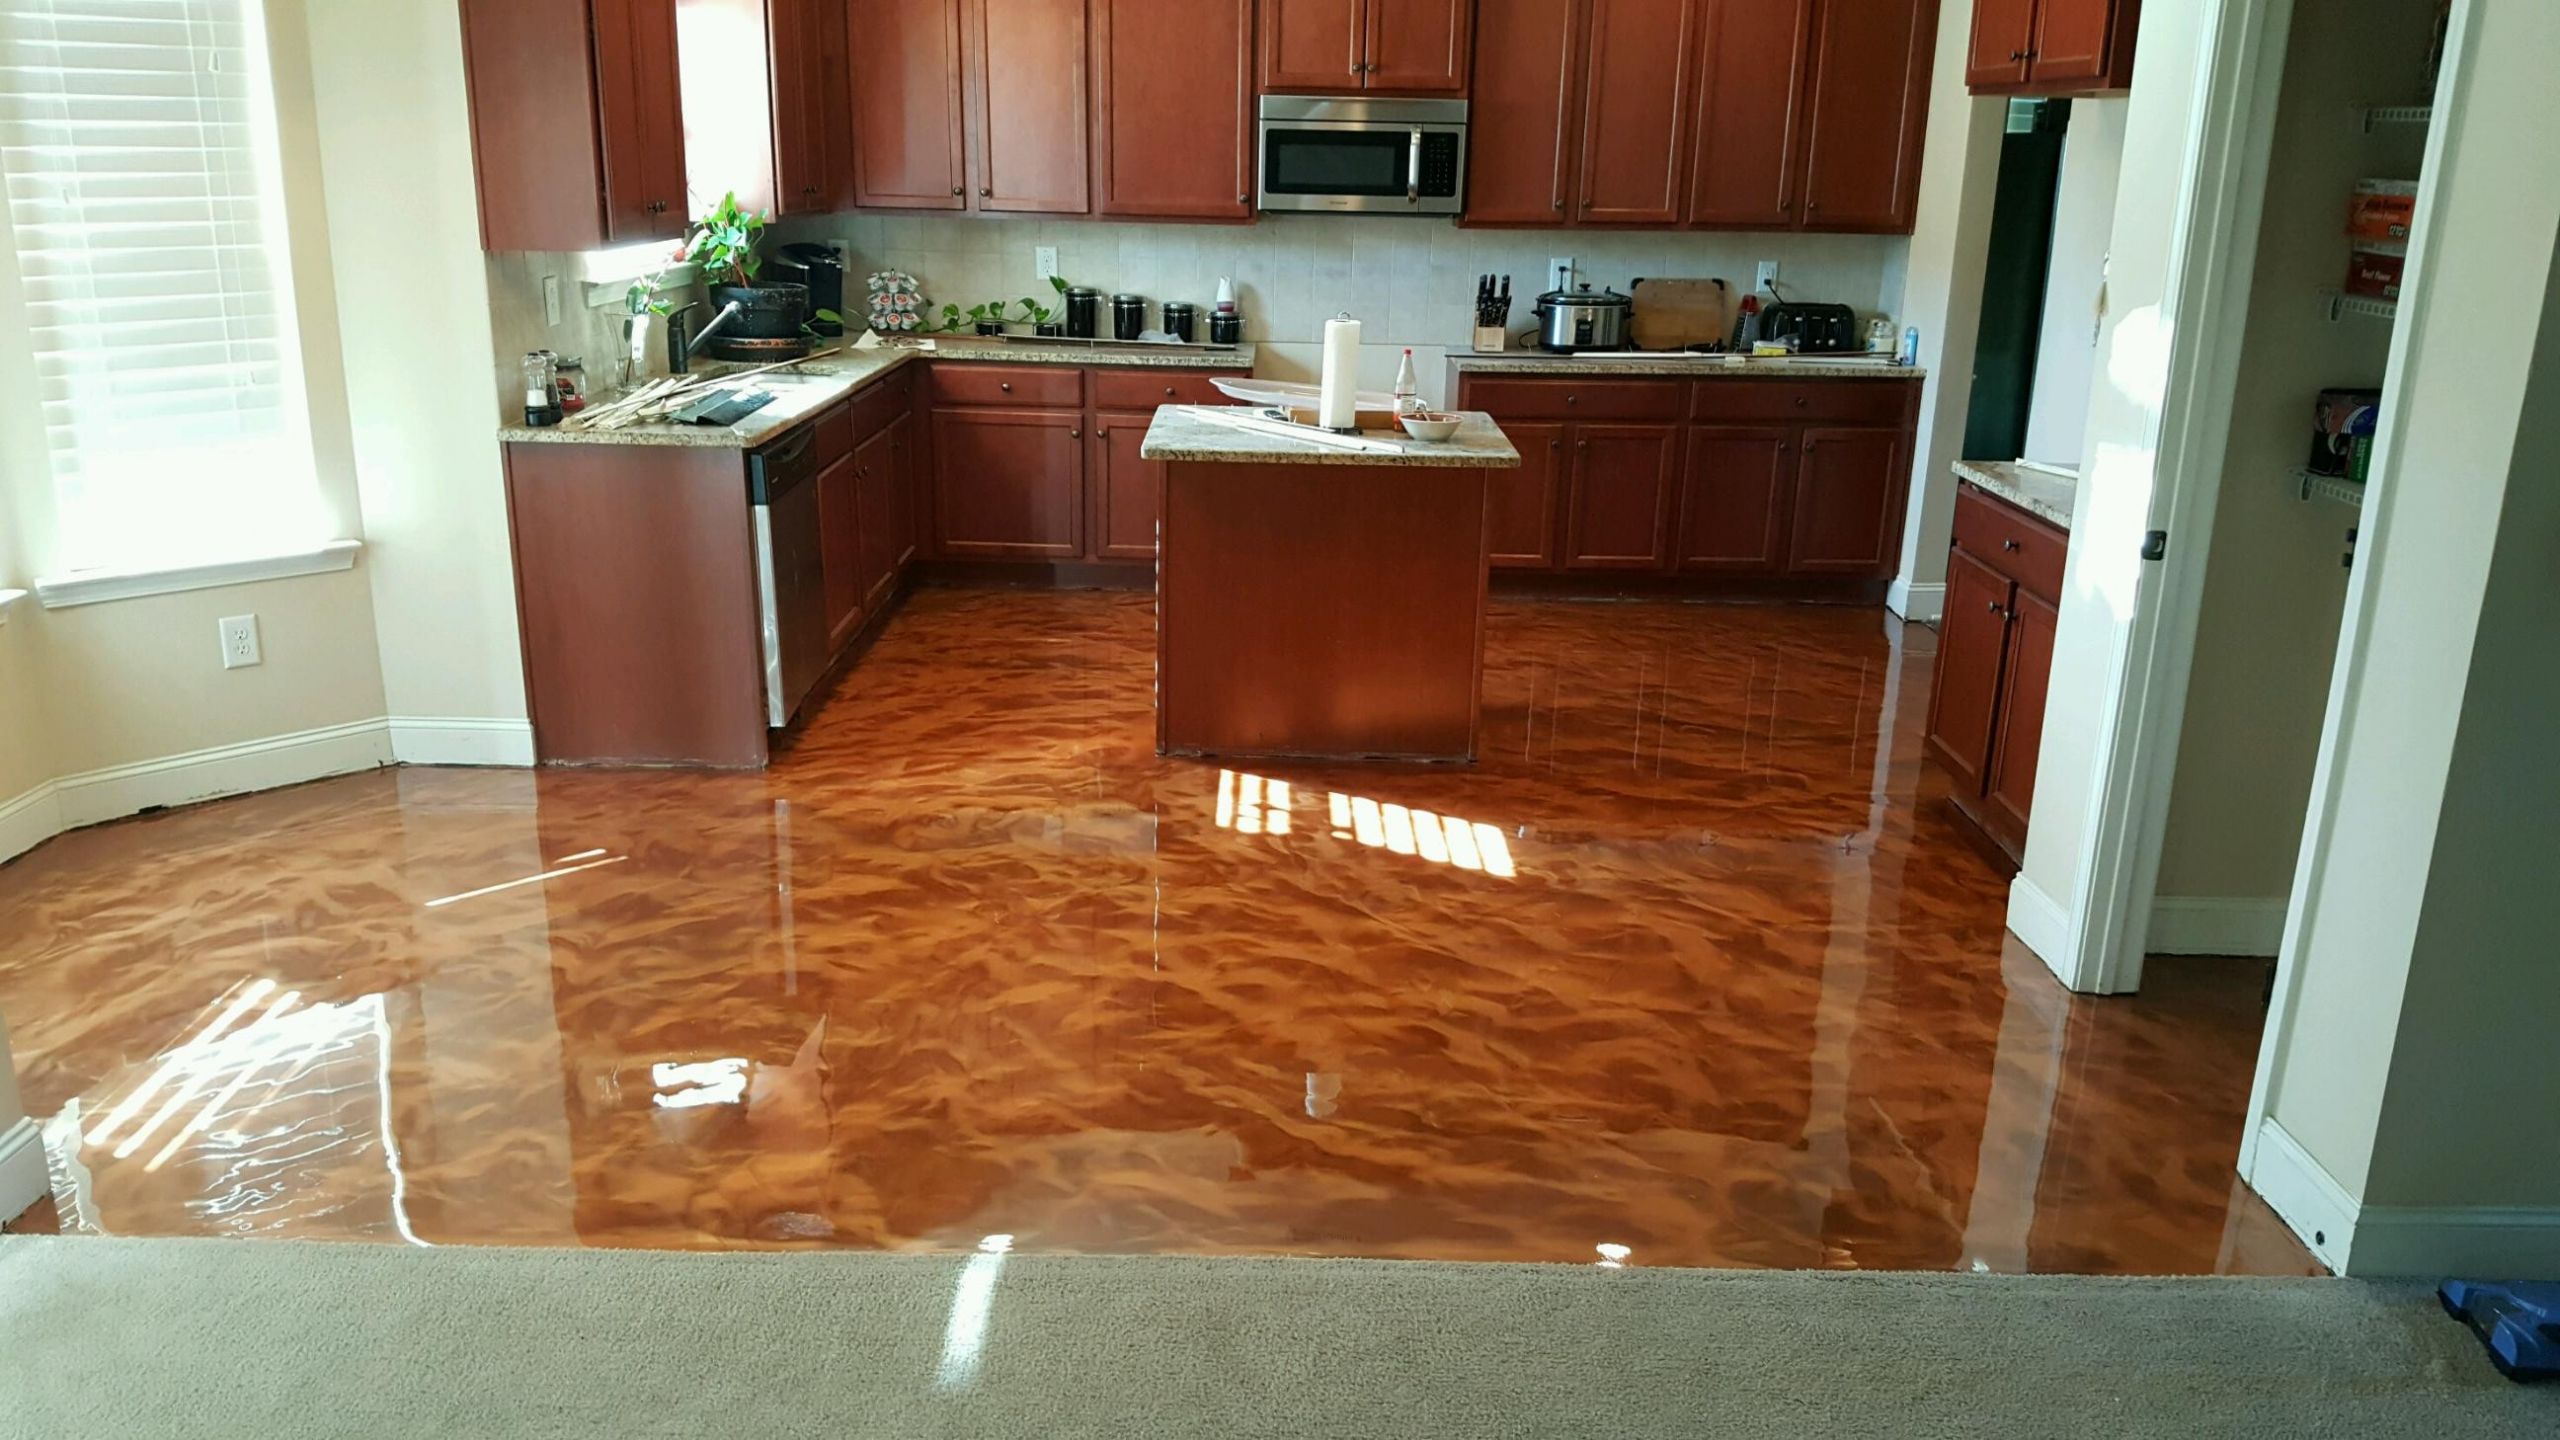
The kitchen is the busiest room in your house, and its flooring needs to reflect that. As such, it needs to be able to withstand continuous foot traffic, hard spills or accidents, and all the wear and tear that comes with them. That’s why installing an epoxy-coated kitchen floor is a great idea – it’s durable, easy to maintain, and adds an extra layer of protection. In this article, we’ll cover everything you need to know about epoxy kitchen floor coating in order to install one in your home.
What is Epoxy Kitchen Floor Coating?
Epoxy floor coating is a type of material made up of two components – an epoxy resin and a hardening agent. When mixed together, these two create a strong bond that forms a durable surface. It can be applied either as a single or as part of a multi-layer system, giving it flexibility when it comes to usage and installation.
Benefits of Installing Epoxy Kitchen Floor Coating
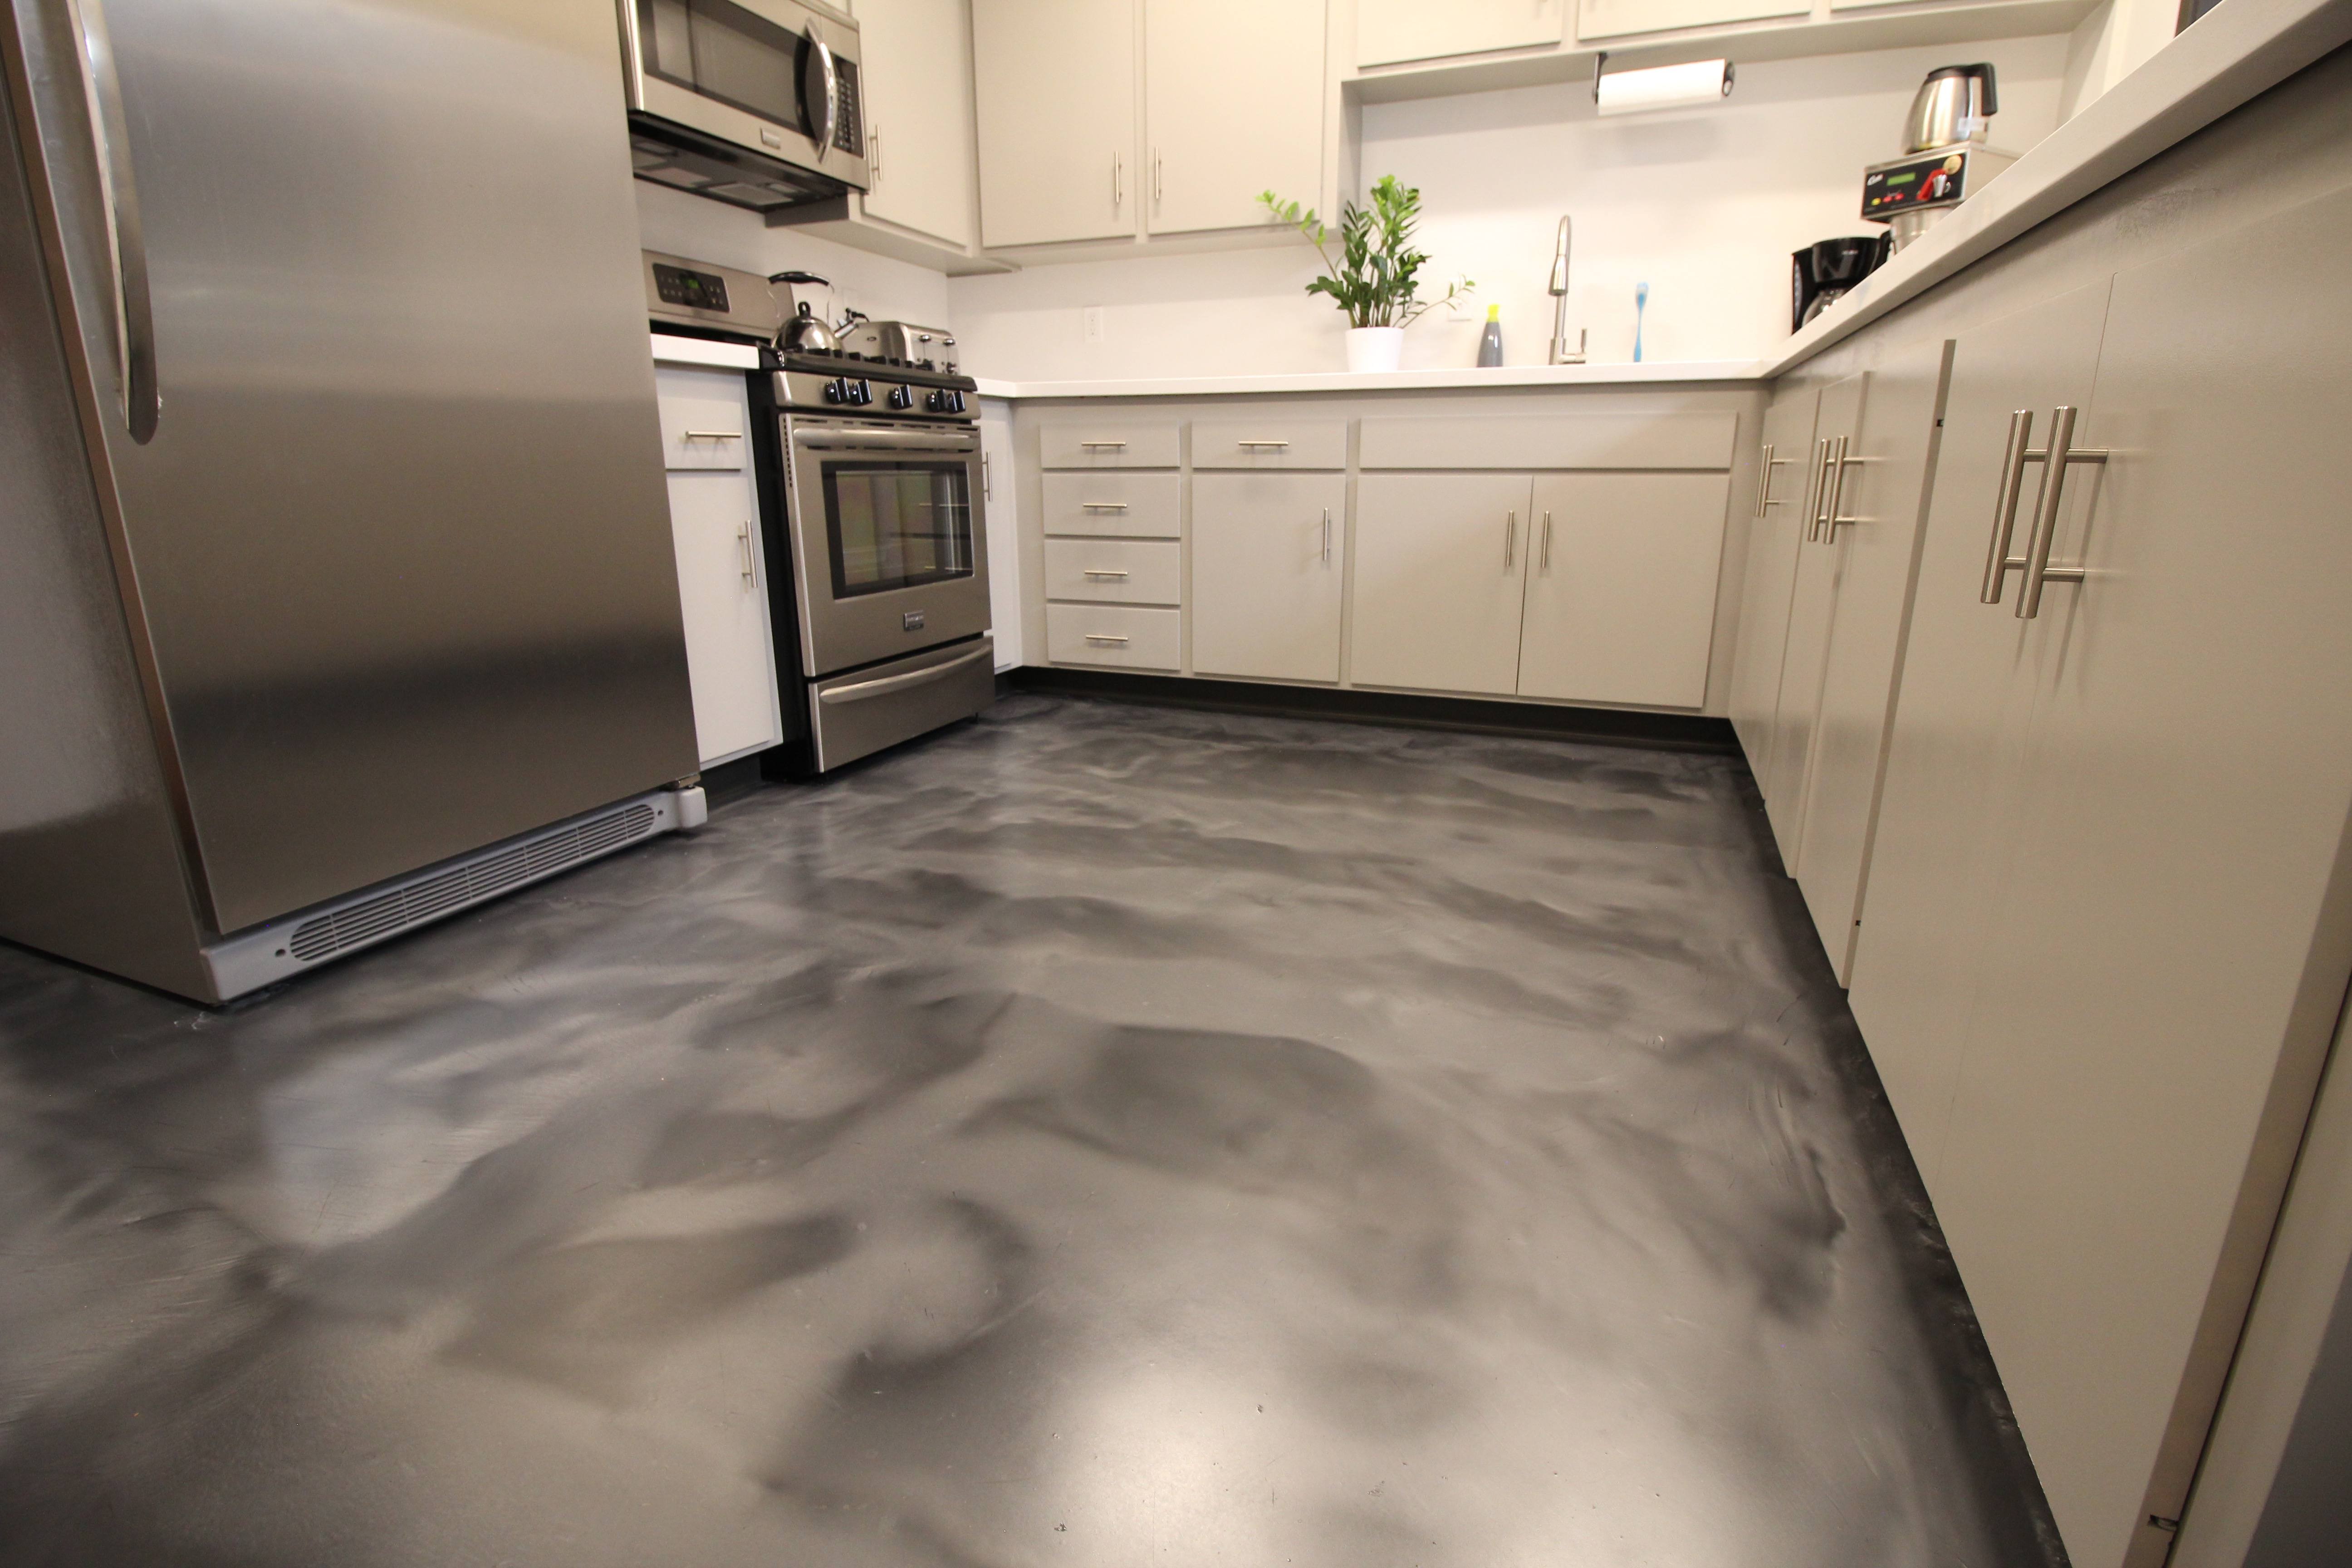
Installing epoxy kitchen floor coating has many benefits. For one, it provides a surface that is highly resistant and easy to clean. It’s also great for areas with heavy foot traffic – the coating’s well-adhered structure makes it difficult for dirt or dust to get lodged within its structure, making it easier to keep clean.
Additionally, the adhesive used in epoxy kits is designed not to damage the underlying substrate. This makes it ideal for any number of surfaces, including tile, concrete, and wood floors. It can also be colored or decorated – depending on your preference – making it an aesthetically pleasing option for any space.
How to Install Epoxy Kitchen Floor Coating
Installing an epoxy kitchen floor coating is something that most DIYers can tackle with no prior experience in flooring installation. To begin, you’ll need to make sure that the floor is thoroughly clean and free of any debris or dirt; otherwise, the coating won’t adhere properly.
Once your floor is clean and ready for installation, you’ll need to mix up the epoxy components according to package instructions – typically a mix of one part resin and one part hardener. Once mixed, you should apply the mixture in even strokes across a small area of your floor (about 3 by 3 feet). You can then spread out the mixture using either a paint roller or squeegee before smoothing out any rough spots with a spatula or trowel.
Once the area is dry and completely cured (usually within 24 hours), you can repeat this process until your entire kitchen is coated in epoxy. While this may seem like an intimidating task at first glance, taking it one step at a time will make sure that your end result is strong and evenly coated.
Maintenance and Care Tips for Epoxy Floor Coating
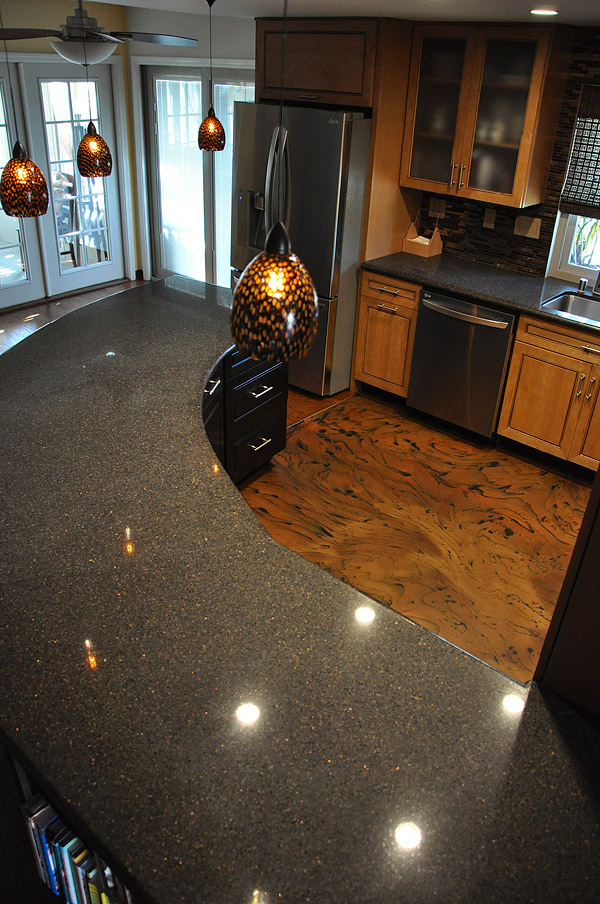
Now that your epoxy coating has been installed, it’s important to take proper care of it in order to keep it looking good as new. The best way to do this is by using mats around heavy-used areas – such as sinks and entryways – to protect the finish from damage caused by dirt or water. Additionally, moping regularly with warm water and mild soap can help keep the surface free from dirt buildup.
When sweeping or mopping your floors be sure not to use any abrasive materials (such as steel wool) on the surface since they can scratch or mar its finish over time. Lastly, regular waxing can help maintain its shine while providing extra protection from scratches or other damage.
Conclusion
Installing an epoxy kitchen floor coating provides durability and easy maintenance – making it perfect for your home’s busiest room! Following these steps will help ensure that your installation goes smoothly while also providing tips on proper maintenance of your new high-performance coating. With proper care, you’ll be able to enjoy your new kitchen floors for years to come!
What materials are required to apply epoxy kitchen floor coating?
To apply epoxy kitchen floor coating, you will need to have the following materials on hand:– Epoxy resin
– Hardener
– Aggregate (such as sand or quartz)
– Paint roller and tray
– Paintbrush
– Tape measure
– Painter’s tape
– Safety glasses and gloves
– Cleaning supplies (such as degreaser, broom, dustpan etc)
– Electric buffer or rotary polisher (if required)
What tools are needed to apply epoxy kitchen floor coating?
1. Stiff broom or floor scrubber2. Mop and bucket
3. Vacuum cleaner
4. Masking tape
5. Stir stick
6. Gloves
7. Paint roller
8. Paint tray
9. Mixing container
10. Epoxy resin
11. Catalyst (activator)
12. Abrasive disc or sandpaper
13. Spreader
14. Squeegee
15. Trowel
16. Electric buffer or rotary polisher (if required)