Fitting Hardwood Flooring
Fitting New Hardwood Flooring Onto An Old Floor – Sutton Timber

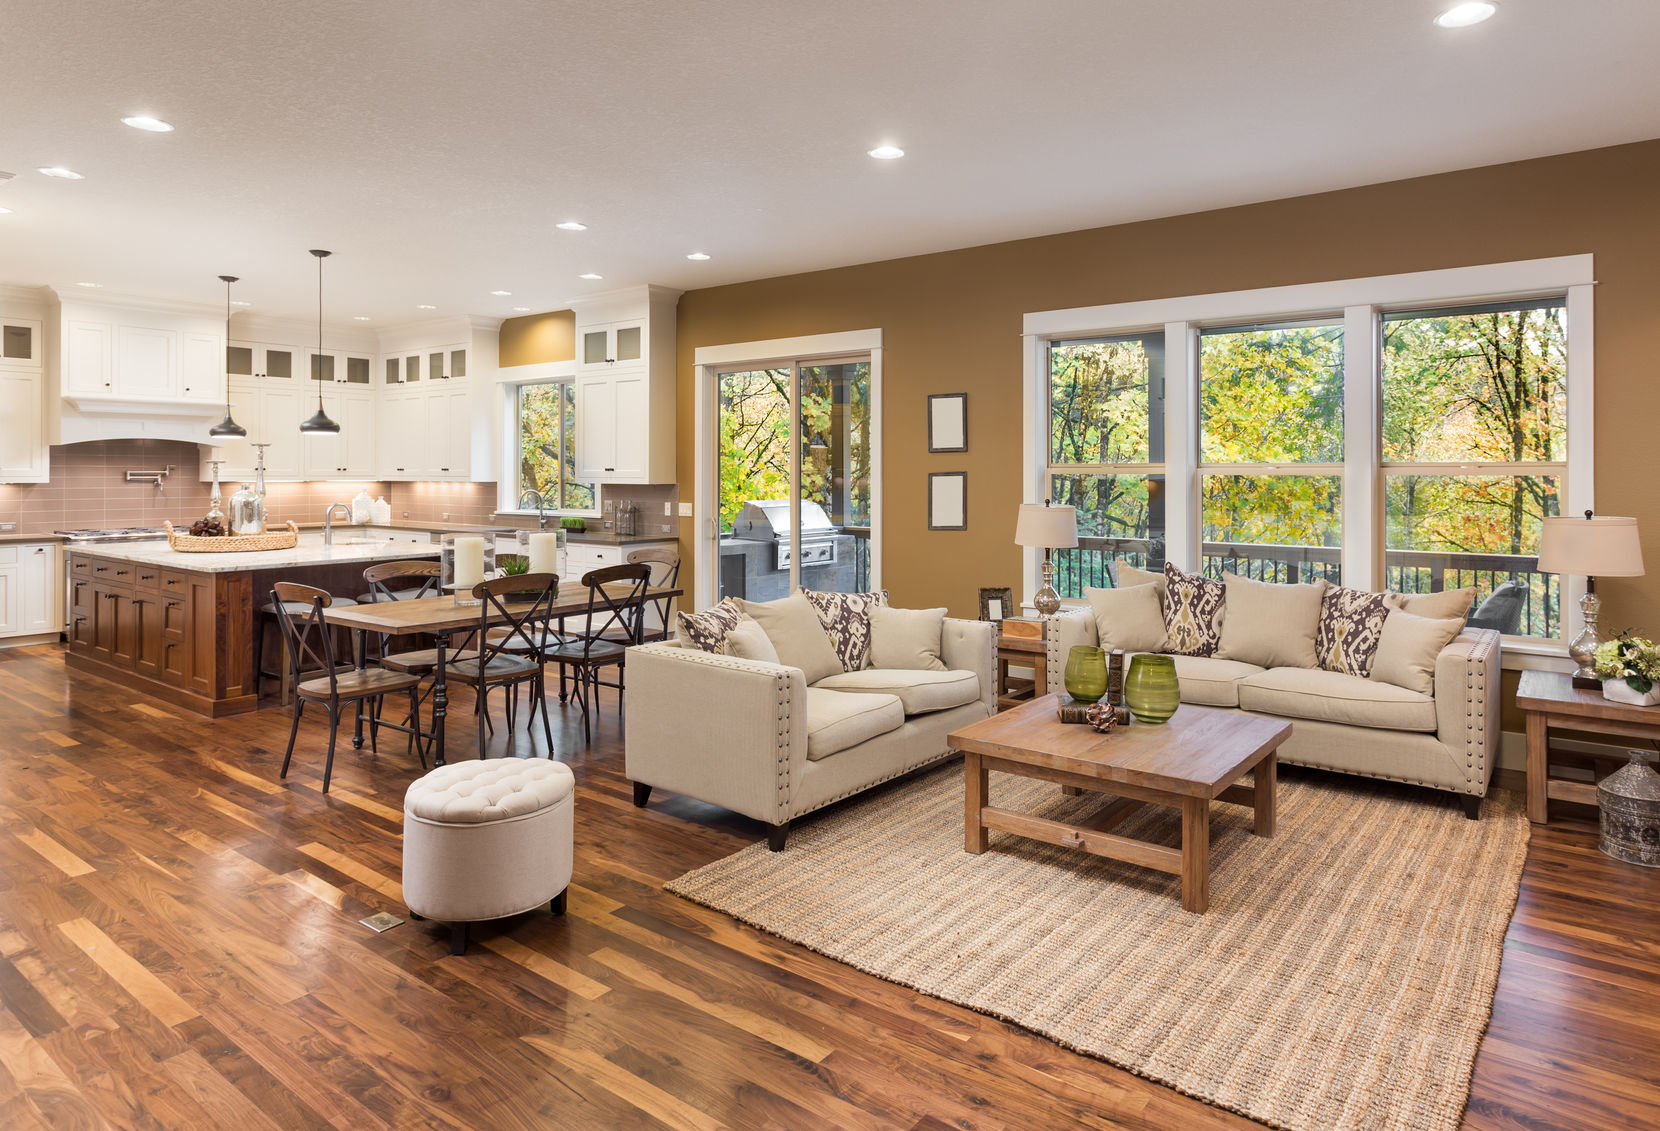
What is the Best Way to Install Hardwood Floors? – LV Hardwood Flooring Toronto

Hardwood Floor Fitting in South Manchester and Cheshire – JD Hardwood Floor fitting – South

Wood Floor Fitting and Supply – Natural Wood Flooring and Sanding
Pros and Cons of Installing Hardwood Floors — RISMedia
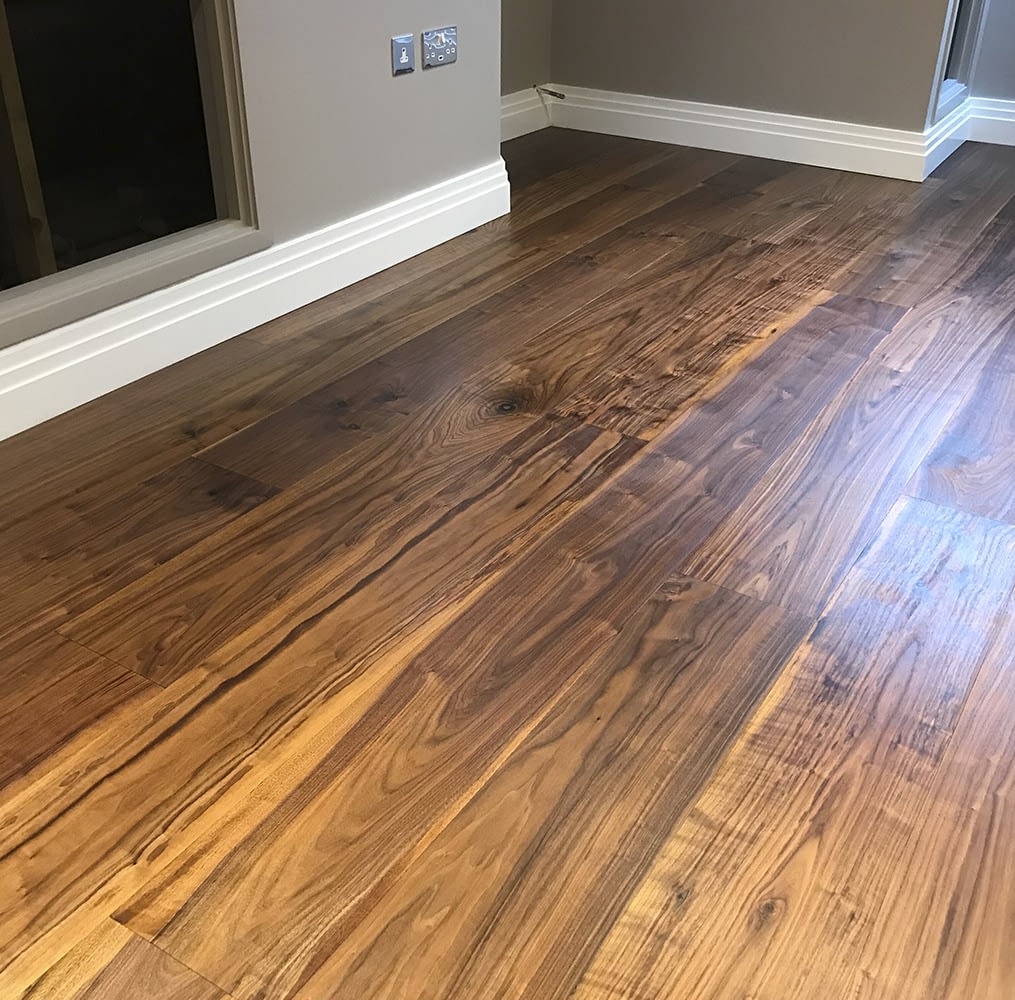
This is an example of our work fitting oak parquet wood flooring in a hall and then cladding the

General tips for choosing the best flooring service – AZ Big Media

Parquet oak wood flooring fitting in a living room Stairs cladding, Wood parquet flooring, Oak

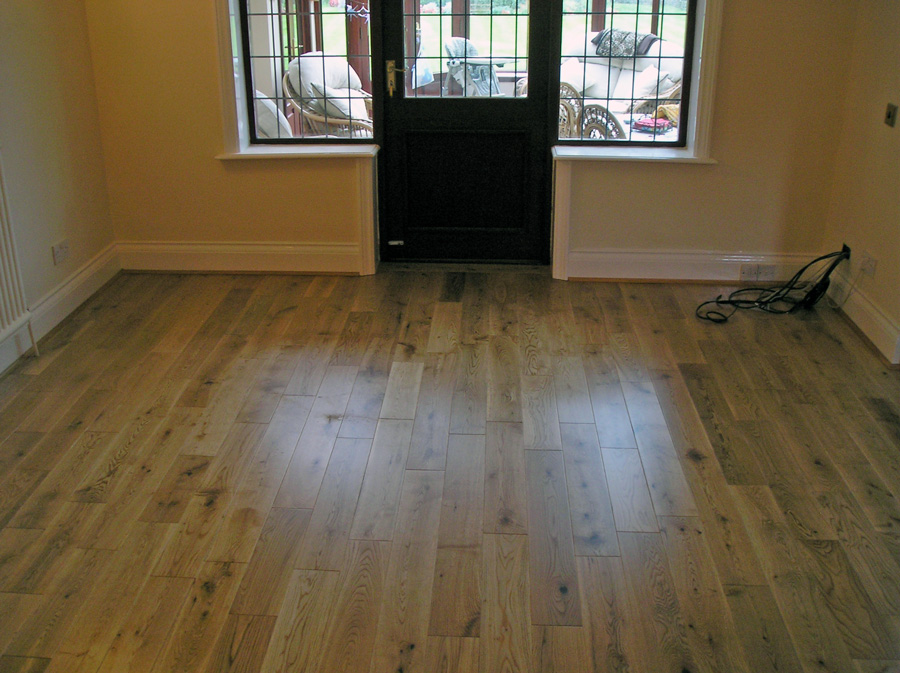
Supply & fit Oak pre finished solid 18mm strip Hardwood flooring in Hale – JD Hardwood Floor
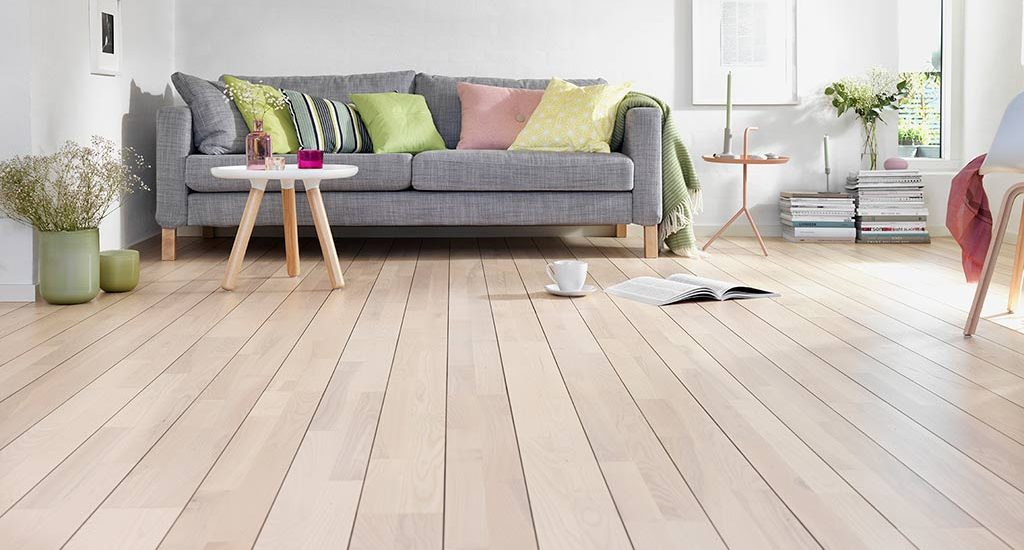
Fitting Natural Look Solid Wood Floors

Home – JD Hardwood Floor fitting – South Manchester
Related Posts:
- Hardwood Floor Cleaning Tips
- Hardwood Floor Decorating Ideas
- Hardwood Floor In A Kitchen
- Engineered Hardwood Flooring
- Rustic Oak Hardwood Flooring
- Parquet Hardwood Flooring
- Hardwood Floor Duster
- Homemade Hardwood Flooring
- Hardwood Floor Stain Colors
- Hardwood Floor Repair DIY
# Fitting Hardwood Flooring – A Step-by-Step Guide
Installing hardwood flooring is a task many homeowners choose to take on themselves. While the job may be labor intensive, it isn’t overly complex and can be accomplished in a few days. With the right tools, some patience, and a bit of know-how, you can quickly and easily fit your own hardwood floors.
## What You’ll Need
The most important requirement for fitting hardwood flooring is having the right tools. You’ll need the following items to get started:
* Safety goggles
* Hammer
* Finishing nails
* Tape measure
* Chalk line
* Wood glue
* Putty knife
* Pry bar
* Electric sander
* Circular saw
* Nail setter
* Wood filler
* Tapping block
* Spacers
* Vacuum cleaner
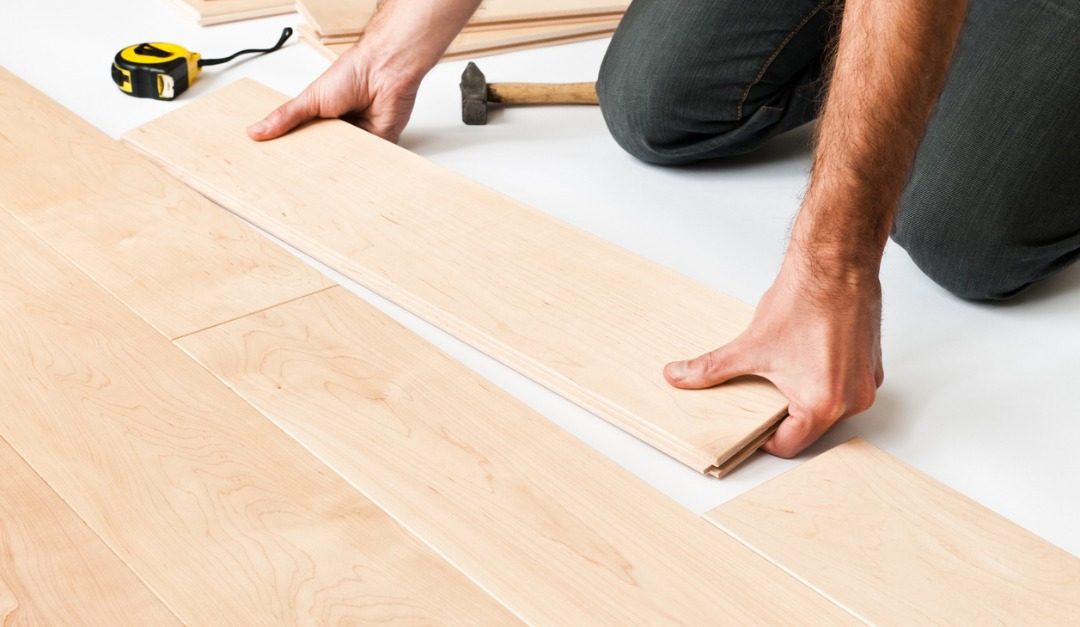
## Steps for Fitting Hardwood Flooring
Once you have all the necessary tools, you’re ready to begin fitting your hardwood flooring. Follow these steps for best results:
1. First, measure the dimensions of the room and compare it to the size of the floorboards you plan to use. Allow for expansion gaps between the boards and the walls. These should be around 8mm. If you plan on using a border or trim, allow for an additional 5mm gap at each end of the room.
2. Use a chalk line to mark out where the hardwood flooring will be laid. Start from one corner and work your way outwards. The line should run parallel with the longest wall.
3. Apply wood glue along the subfloor, then start laying your boards from one corner of the room towards the other. Make sure each board is firmly pressed against the adjoining board and that they are in line with the chalk line you marked earlier. Secure each board in place with finishing nails at regular intervals around its perimeter. Again, use a nail setter or hammer to ensure that each nail is sunk below the surface of the boards.
4. To cut boards to fit around obstacles like pipework, use a circular saw to make precise cuts. If necessary, use a pry bar or putty knife to lift existing boards so that new ones can be inserted underneath them.
5. Avoid leaving gaps between boards by using spacers when laying them down. When you reach an obstacle like a wall or door frame, you may need to make small adjustments so that boards fit snugly together without leaving any gaps in between them.
6. Sand down any rough edges before filling any holes with wood filler and sanding again after it has dried. This will help ensure an even finish when you come to apply any sealant or varnish later on.
7. Once all boards are laid, use a vacuum cleaner to remove any dirt and debris from between them before applying sealant or varnish according to manufacturer’s instructions.
Installing your own hardwood flooring is an achievable task with a little bit of know-how and plenty of patience! By following these steps carefully and taking your time, you can achieve perfect results every time!