Installing hardwood floors involves several steps to ensure a professional and long-lasting finish. Start by preparing the subfloor, ensuring it’s clean, level, and dry. Acclimate the hardwood planks to the room’s humidity level before installation. Use a moisture barrier if needed, then lay down an underlayment to reduce noise and add cushioning. Begin installing the planks from the longest wall, leaving an expansion gap around the perimeter. Secure the planks with adhesive or nails, ensuring a tight fit. Finish by adding baseboards or trim for a polished look. Hardwood floor installation requires precision and attention to detail for a beautiful and durable result.
Hardwood Floor Install Video
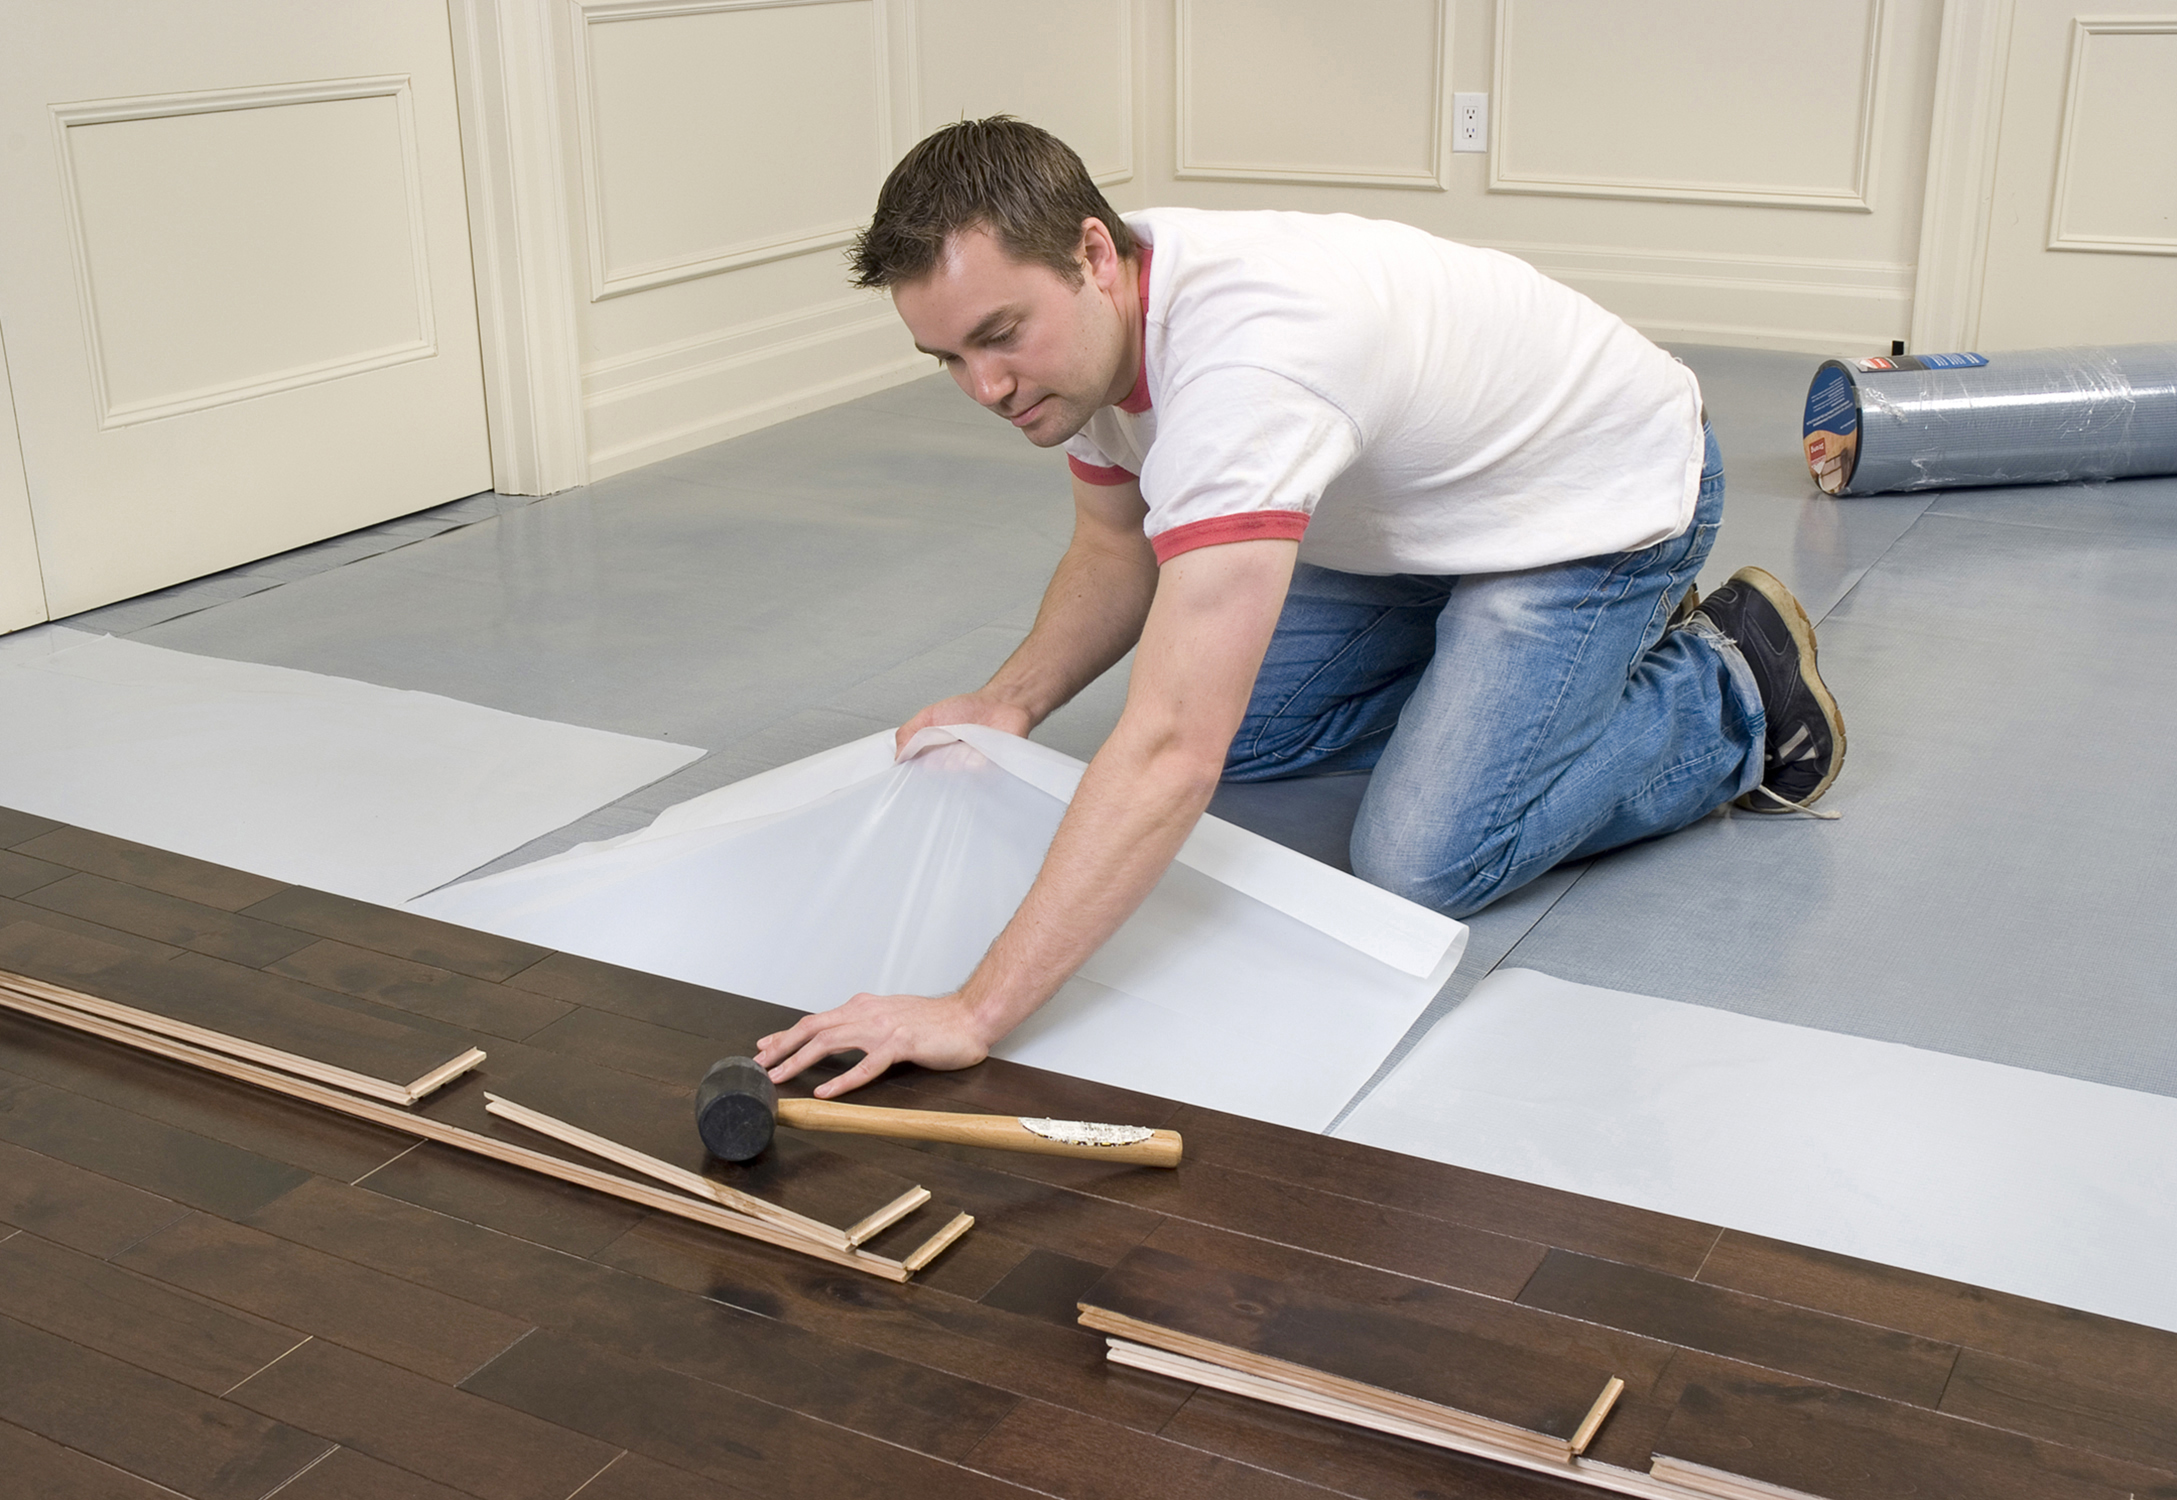
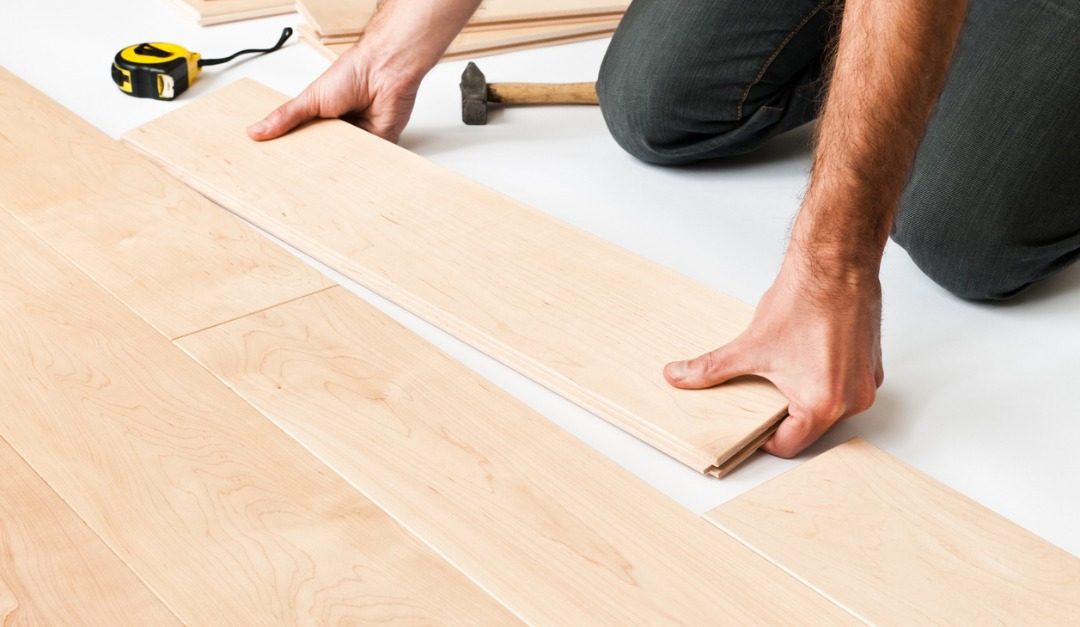
How to Prepare for Hardwood Floor Installation
/154907699-56a49f3c5f9b58b7d0d7e14e.jpg)
How to Install a Hardwood Floor Diy hardwood floors, Installing hardwood floors, Wood floors

Hardwood Floor Installation – A Step By Step Guide My Decorative

Install Solid Hardwood Floor Over Concrete – Tutorial Pics
24 Stunning How to Install 3 4 Inch Hardwood Floors Unique Flooring Ideas

Step-by-Step Process for Installing Hardwood Floors – Room For Tuesday

DIY – How to Install Wood Floors HubPages
Tips for DIY Hardwood Floors Installation She Wears Many Hats
Charlotte Hardwood Floor Company – Installation & Restoration
Pros and Cons of Installing Hardwood Floors — RISMedia
Explore Options for Home Hardwood Floor Installation in NJ

Related Posts:
- Hardwood Floor Cleaning Tips
- Hardwood Floor Decorating Ideas
- Hardwood Floor In A Kitchen
- Engineered Hardwood Flooring
- Rustic Oak Hardwood Flooring
- Parquet Hardwood Flooring
- Hardwood Floor Duster
- Homemade Hardwood Flooring
- Hardwood Floor Stain Colors
- Hardwood Floor Repair DIY
## Hardwood Floor Installation: Step-by-Step Video Guide
When it comes to installing hardwood flooring, the process can be intimidating. From choosing the right type of wood to measuring and cutting each board, it’s easy to become overwhelmed. Fortunately, there are a few simple steps you can take to make the process go smoothly. With the help of this step-by-step video guide, you’ll be able to install your hardwood floor like a pro.
### Choose the Right Type of Hardwood Flooring
The first step in installing hardwood flooring is selecting the right type for your needs. Different types of wood offer different levels of durability and style, so it’s important to choose one that suits your lifestyle and home décor. Solid hardwoods are best for high-traffic areas, while engineered hardwoods are more suitable for rooms with higher moisture levels. Once you’ve decided on the type of wood, it’s time to start planning your installation.
### Measure and Cut Boards to Size
Once you’ve chosen your hardwood flooring, it’s time to measure and cut each board to size. This is a crucial step in the installation process, as it helps ensure that all boards fit together correctly. When measuring and cutting boards, be sure to measure twice and cut once to avoid mistakes. Additionally, use a miter saw or jigsaw with a blade specifically designed for cutting hardwood flooring for best results.
### Lay Down the Underlayment
Before laying down the hardwood flooring boards, you’ll need to lay down an underlayment. This helps prevent moisture from seeping up into the boards and damaging them over time. When laying down the underlayment, start at one corner of the room and work outward in rows until you reach the other side. It’s important to ensure that all seams overlap slightly in order to provide complete coverage.
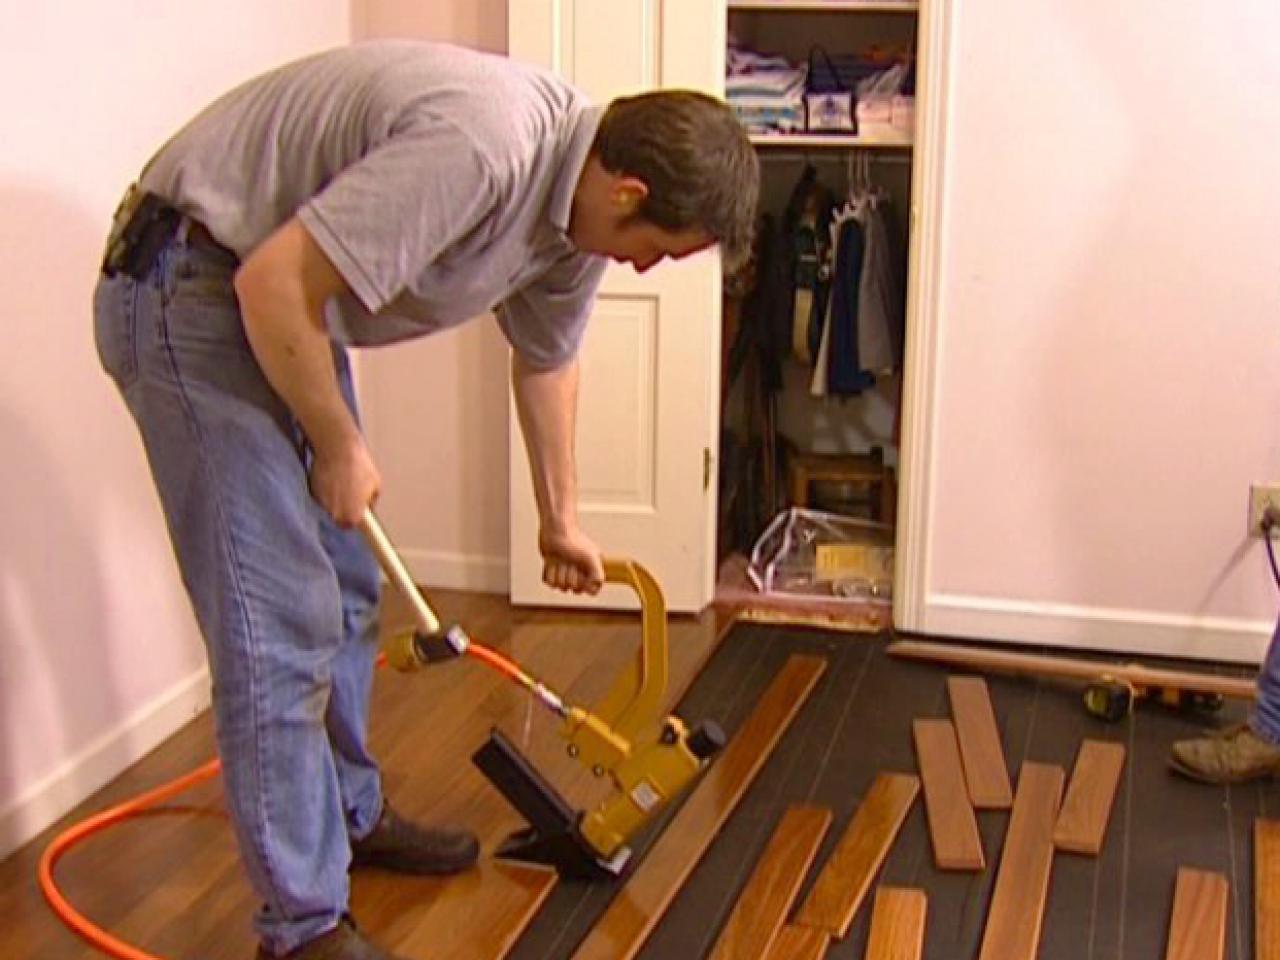
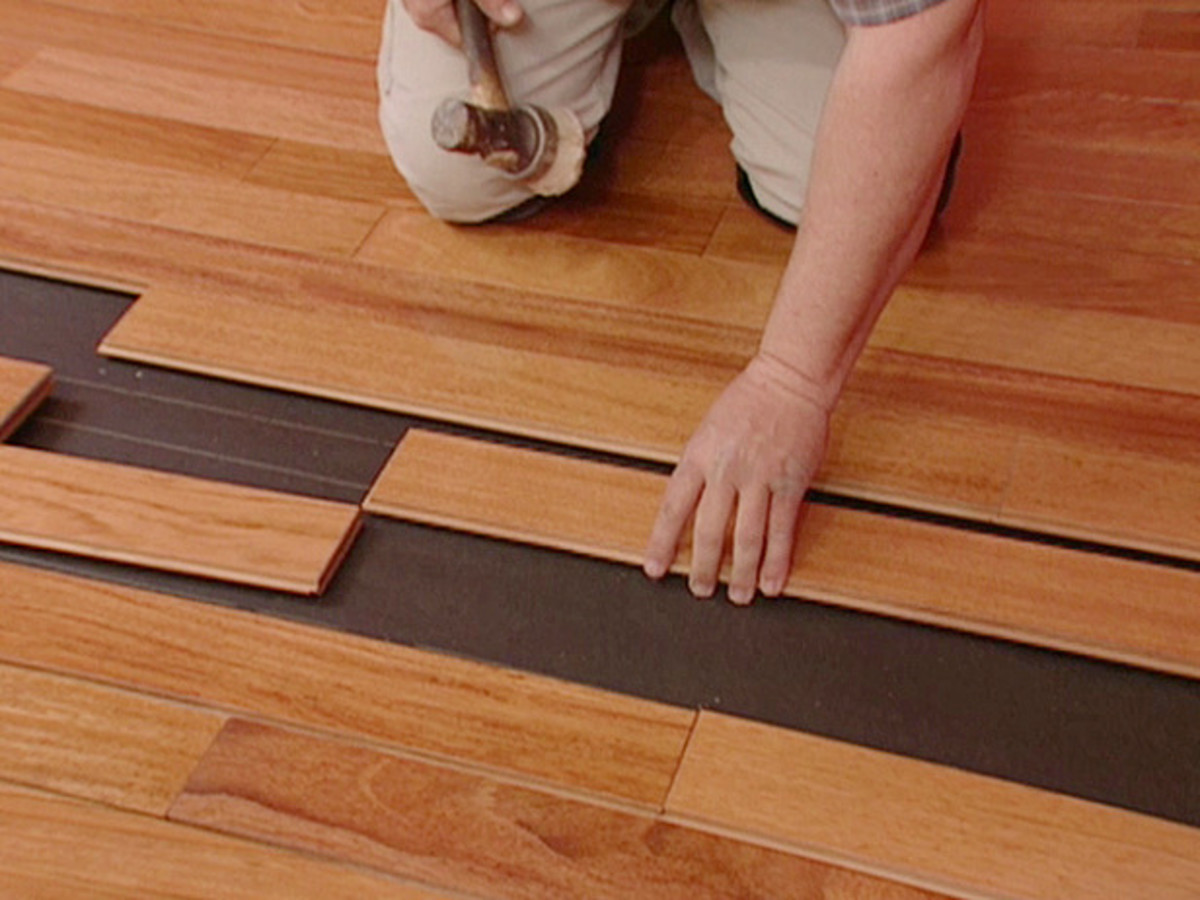
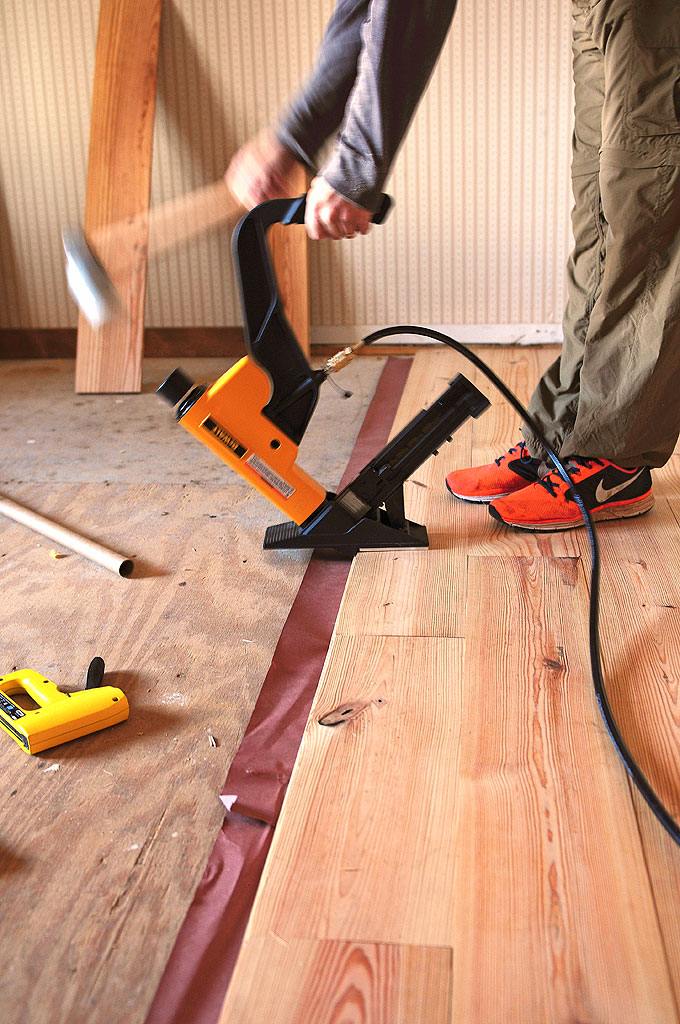
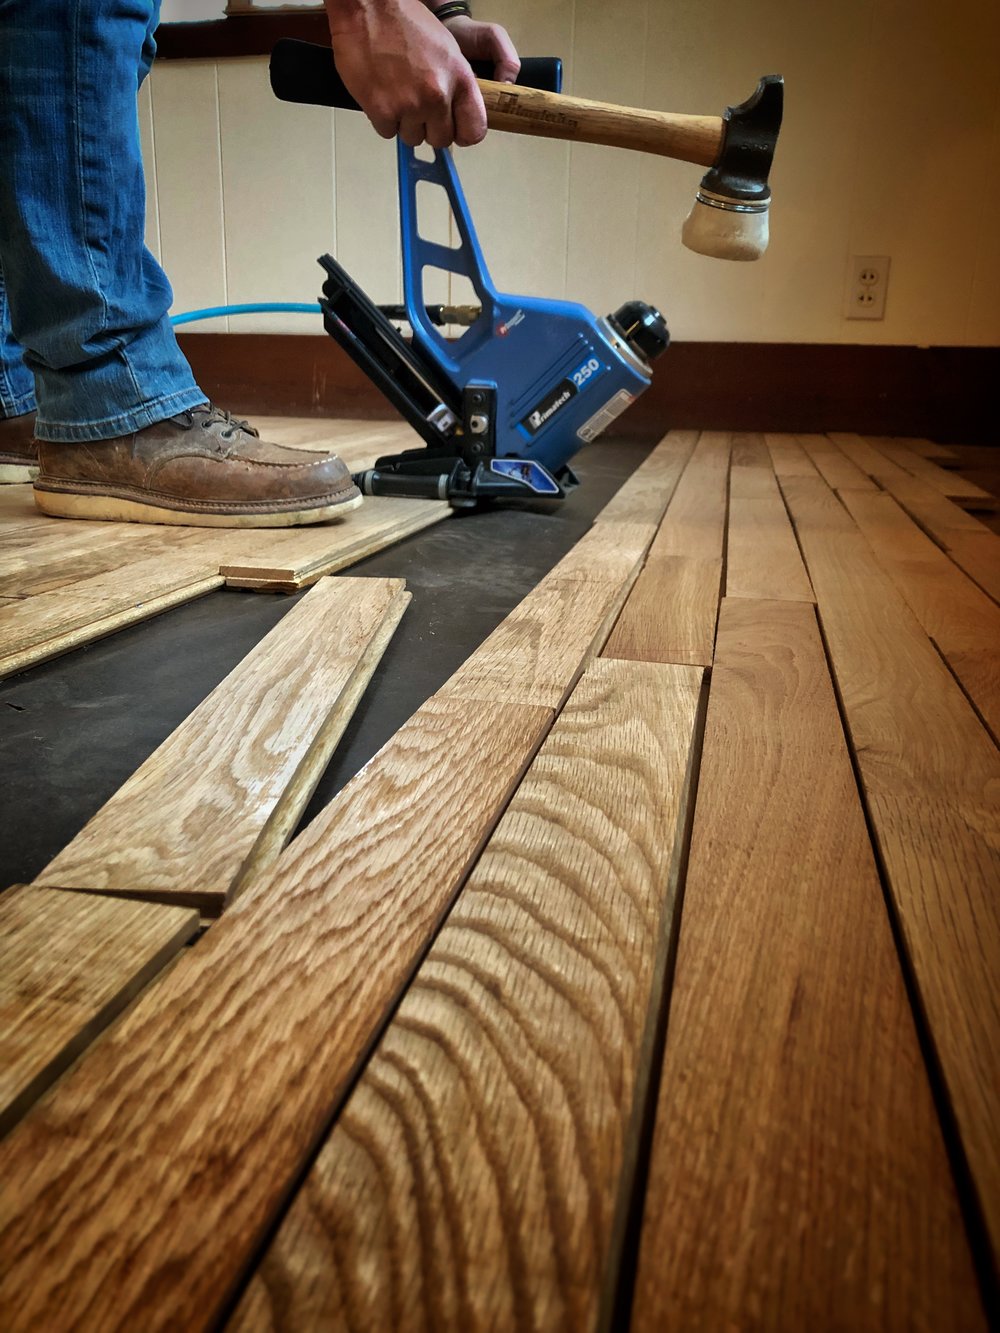
### Secure Boards in Place
Once the underlayment is laid down, it’s time to secure the boards in place. Start by laying down a row of boards along one wall and using a nail gun or pneumatic stapler to secure them in place. Be sure to stagger each row slightly so that end joints don’t line up across different rows. For solid wood floors, use construction adhesive around each board for extra security. Once all boards are in place, use a flooring chisel or block sander to remove any excess glue or nails from the surface of the boards.
### Finish with Sealant and Polish
The final step in installing hardwood flooring is sealing and polishing the surface. This helps protect against scratches and general wear and tear over time. Start by applying a sealant over each board with a paintbrush or roller, then use a buffing machine to bring out the natural shine of the wood. For added protection, you can also apply a coat of wax or polyurethane finish over top of the sealant layer.
Installing hardwood flooring may seem like an overwhelming task at first glance, but with a little bit of know-how and patience, anyone can do it successfully. By following this step-by-step video guide, you’ll be well on your way to achieving professional results that will last for years to come.