How To Do Epoxy Garage Floor
/7184880388_7a10367e16_k-587ae00d5f9b584db399e346.jpg)
Epoxy Coated my garage floor – Imgur Garage epoxy, Garage floor, Garage floor paint

Epoxy Flooring Installation Process – Garage Floor Coating Install

How Much Does It Cost To Epoxy Garage Floor?
DIY Epoxy Garage Floors in 2020 Garage floor epoxy, Garage floor, Diy epoxy

DIY Epoxy Garage Floors
How to Apply an Epoxy Garage Floor Coating
Do-It Yourself Epoxy – Garage Floor Coating – The Great Lakes
First time DIY Epoxy garage floor : r/garageporn
Garage Floor Epoxy Kits Epoxy flooring coating and paint ArmorGarage

Is It Worth It To Epoxy Garage Floor? Garage Floor Epoxy

epoxy-garage-flooring – C.E.T. Painting
Related Posts:
- Marble Garage Floor
- Cheap Garage Floor Covering
- Garage Floor Coating
- Heavy Duty Garage Flooring
- Checkerboard Garage Floor Tiles
- Garage Floor Sealer Paint
- Epoxyshield Garage Floor Paint
- Benefits Of Epoxy Flooring In Garage
- Garage Floor Preparation For Epoxy
- Garage Workshop Flooring
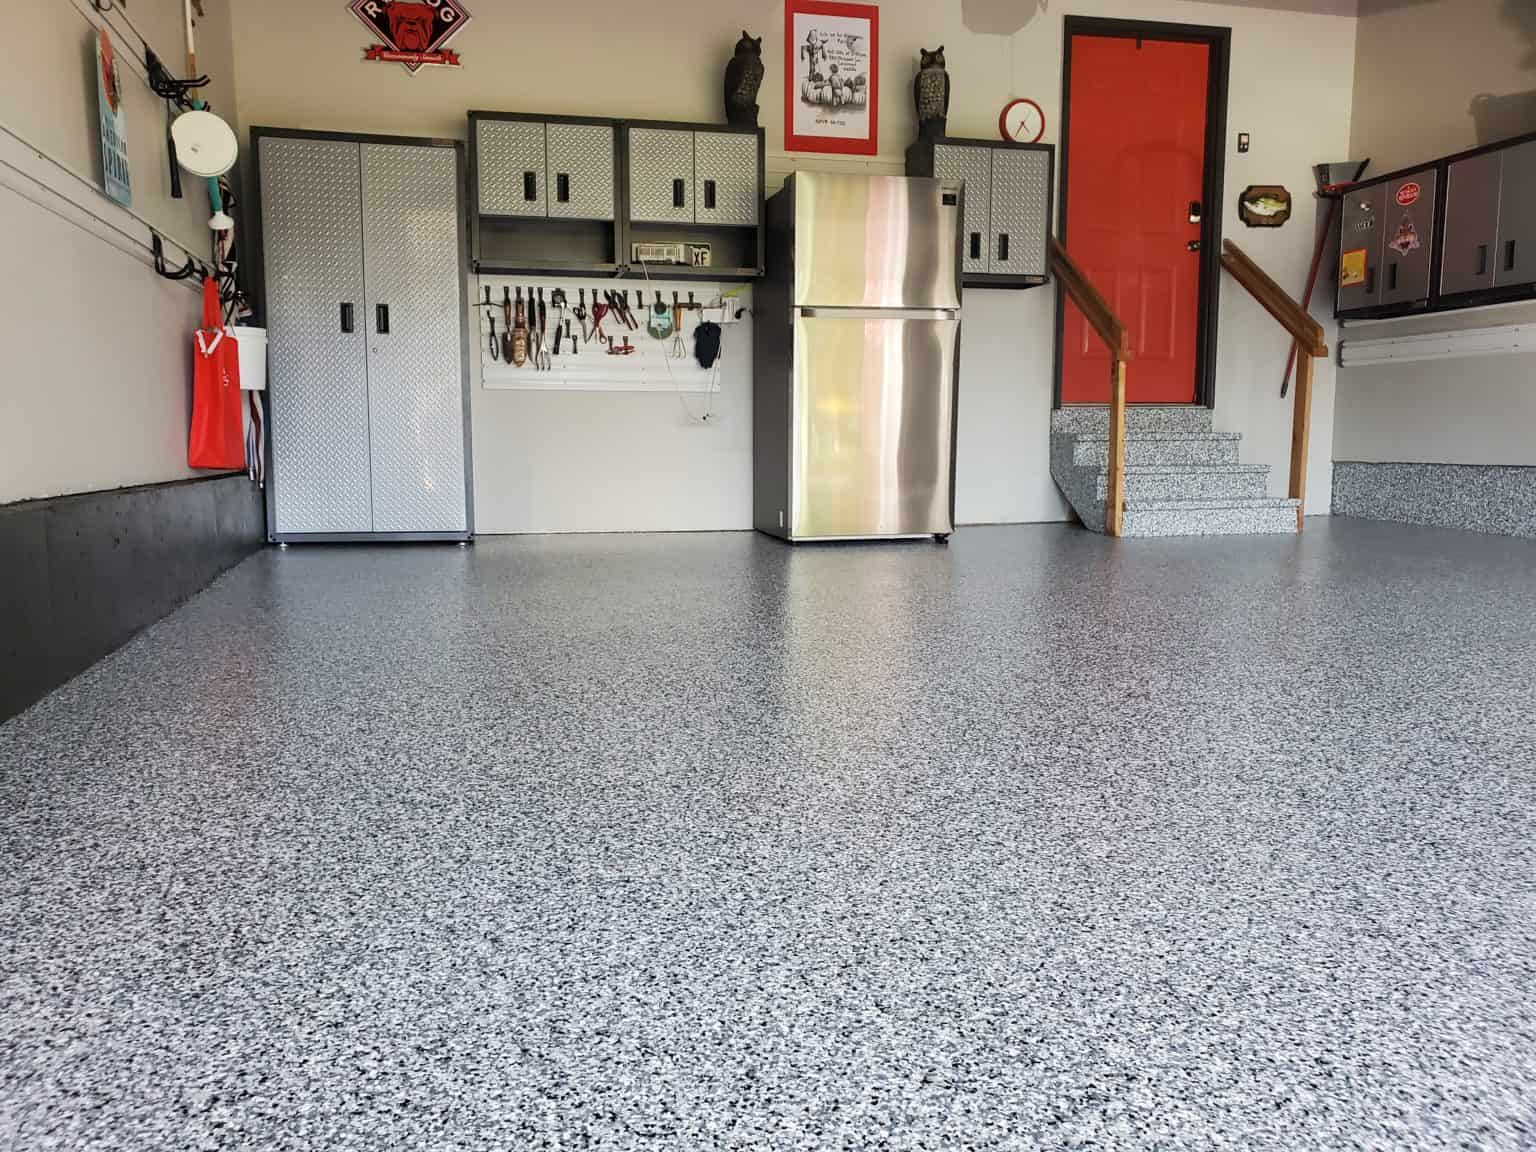
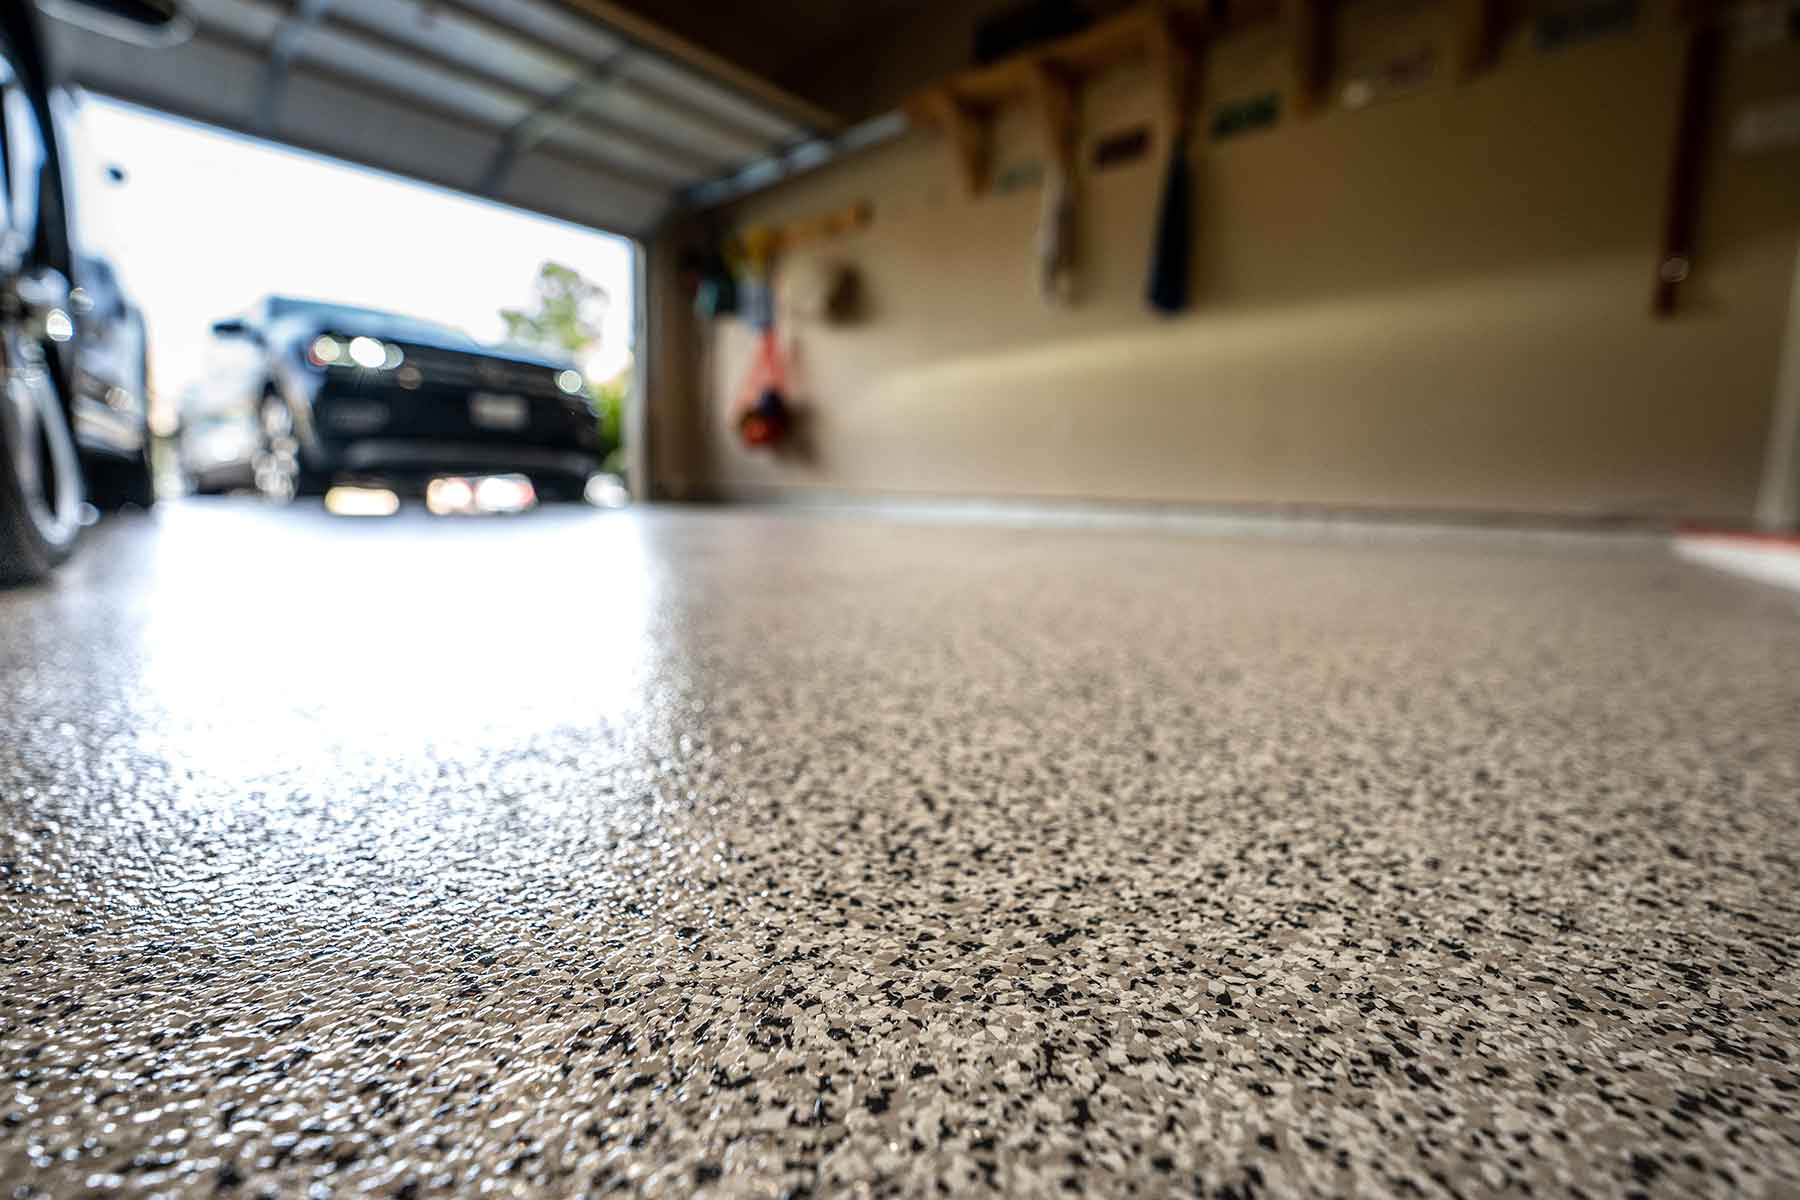
If you’re looking for an easy way to transform your garage space, epoxy flooring is an excellent option. Epoxy garage floors are a great way to protect your concrete from damage and give your space a more stylish and professional look. With a few simple steps, you can create an epoxy garage floor that is both durable and attractive.
Steps for Applying Epoxy Garage Floor Coating
1. Preparing the Concrete: Before you begin applying the epoxy coating, it’s important to properly prepare the concrete surface. Start by cleaning the floor with a pressure washer, then use a floor buffer to remove any dirt, dust, or debris. If there are any cracks or chips in the concrete, use a patching compound to repair them before moving on to the next step.
2. Applying the Primer: Once your concrete is clean and prepped, you can begin applying the primer. Use a paint roller or brush to apply the epoxy primer in thin coats. It’s important to work in small sections so that you don’t miss any spots or create any thick patches of primer. Let the primer dry completely before moving onto the next step.
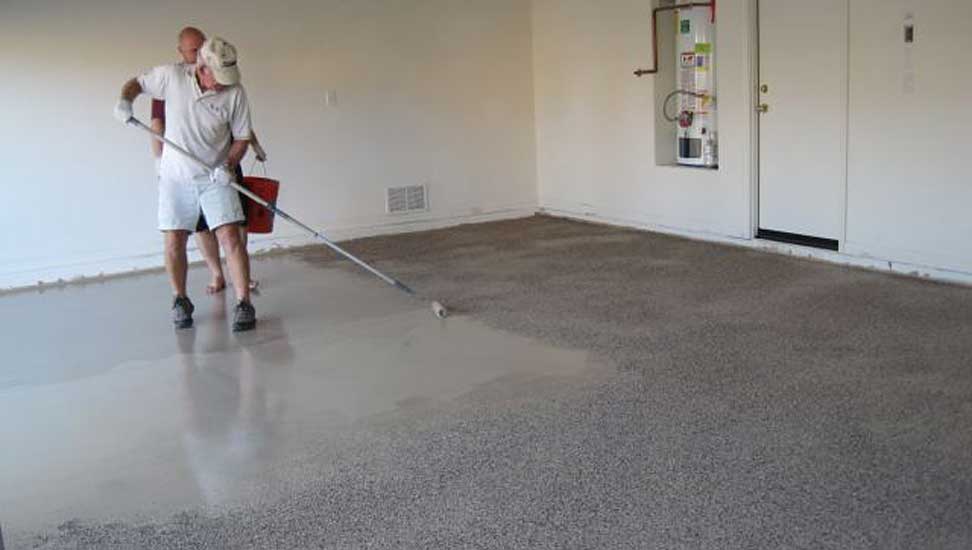
3. Laying Down Base Coat: The next step is laying down your base coat of epoxy. Use a paint roller or brush to apply the base coat in thin layers, working in small sections to ensure even coverage. Allow each layer of base coat to dry completely before adding additional coats. The number of coats you need will depend on the desired level of protection and style you’re looking for.
4. Adding the Color: If you’re looking to add color to your epoxy floor, now is the time to do it! You can choose from a variety of colored epoxies that can be applied with either a paint roller or brush. Depending on how deep of a color you want, you may need multiple layers of colored epoxy; let each layer dry completely before adding additional colors.
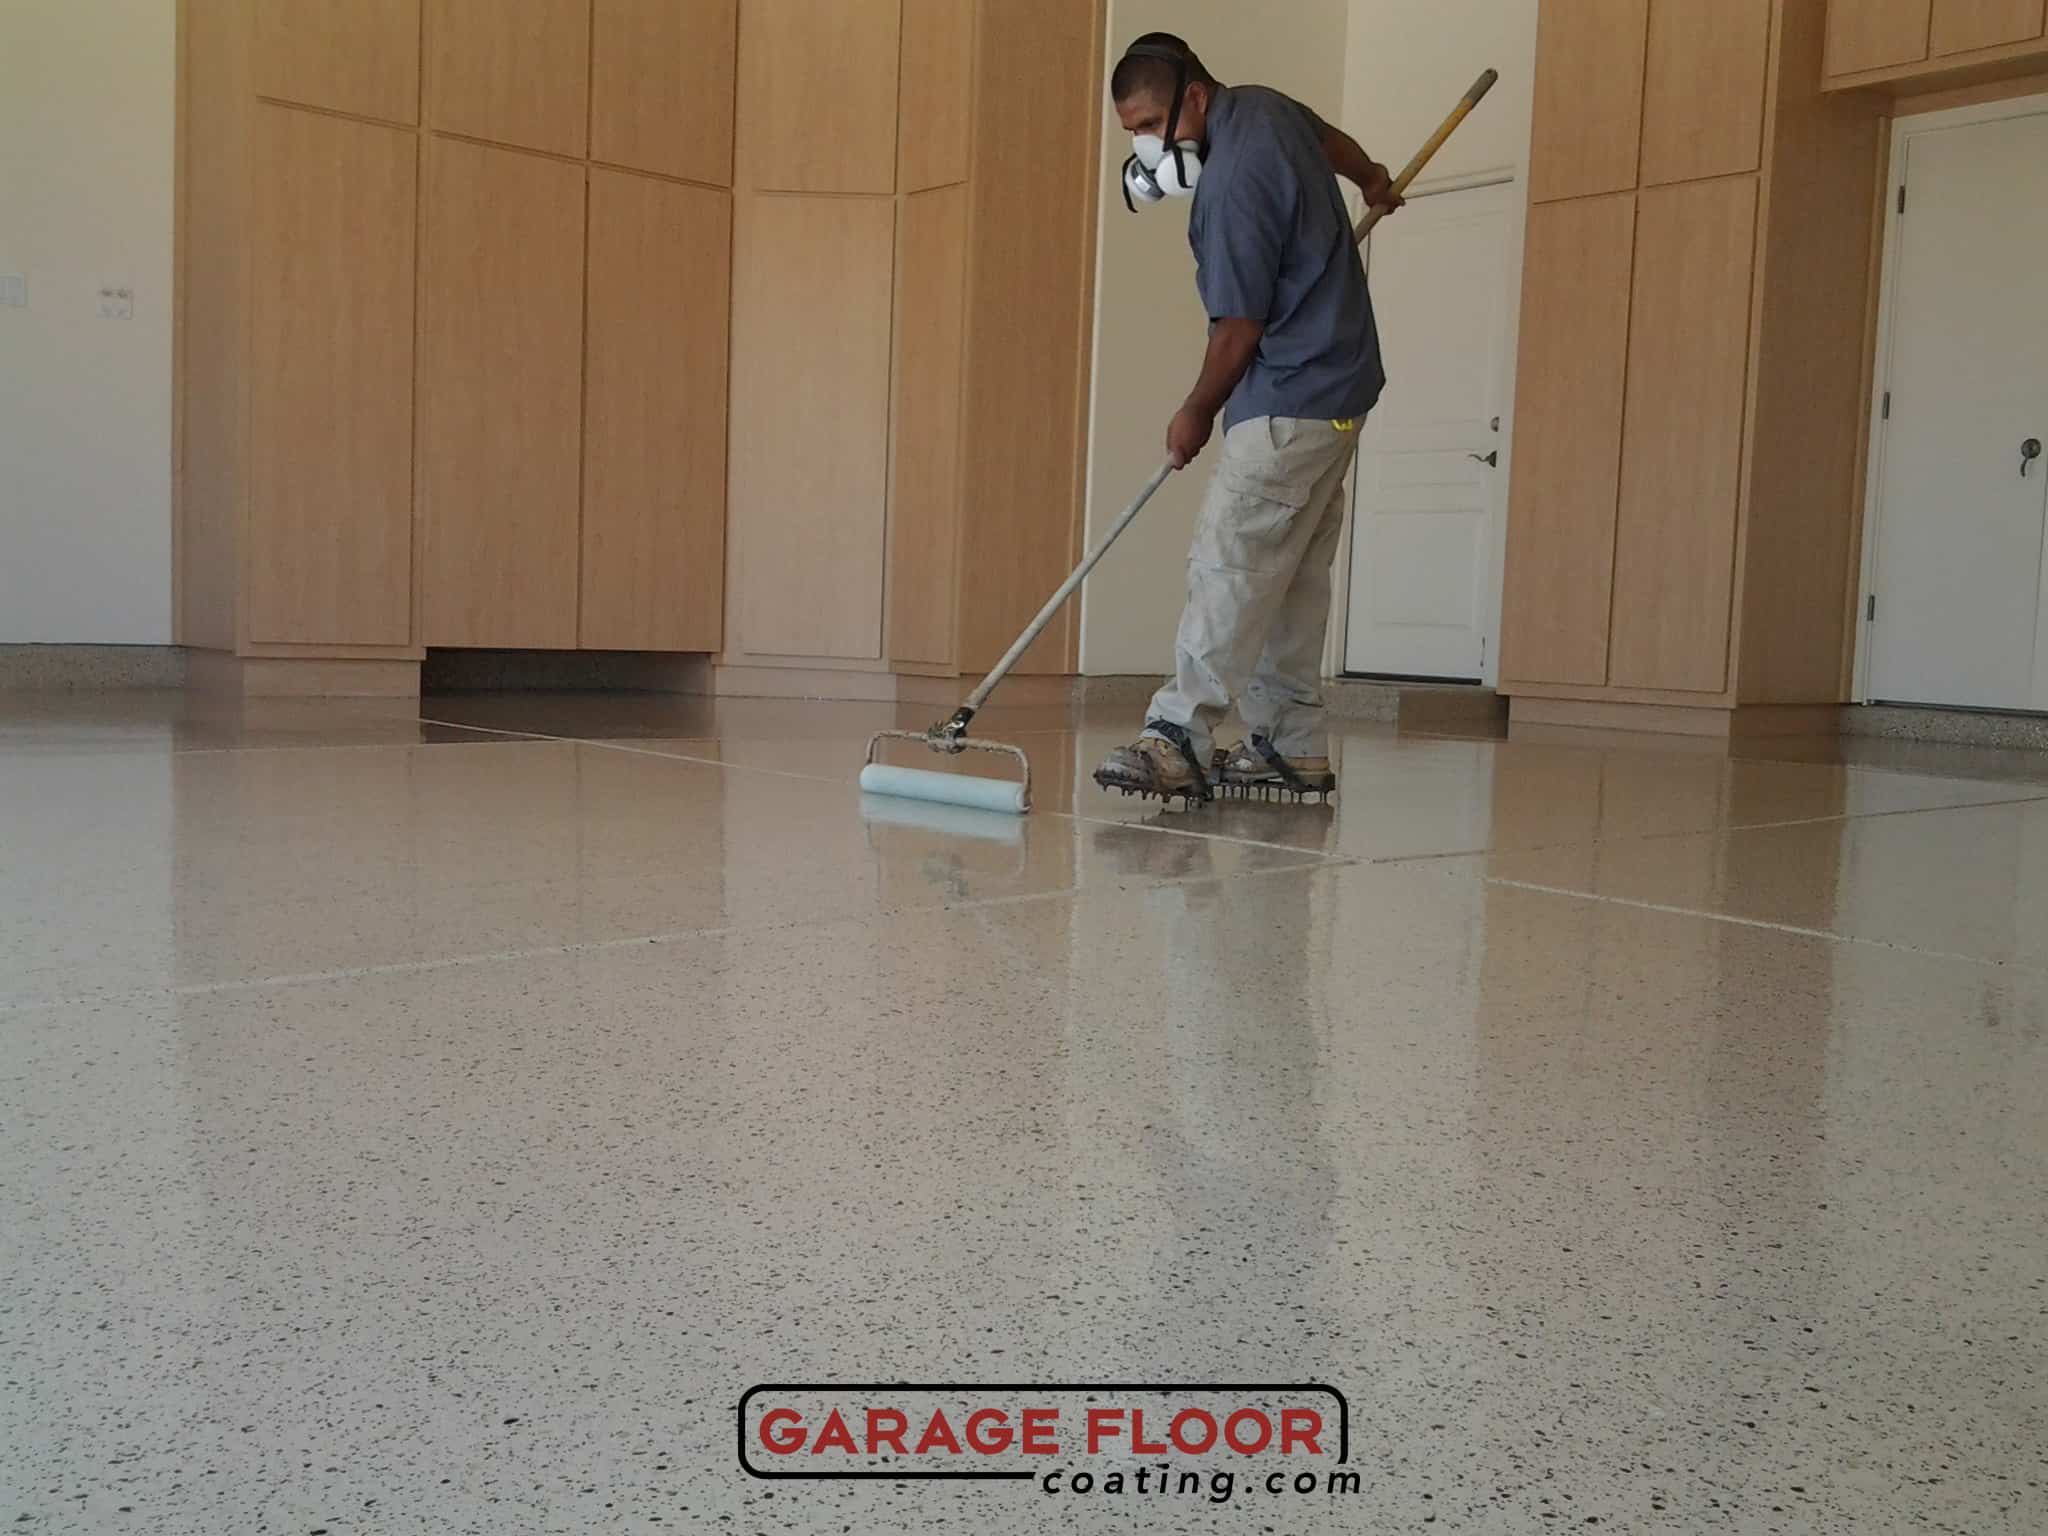
5. Applying Top Coat: Once all your color layers are dry, it’s time to apply the top coat. This protective layer will help ensure that your epoxy garage floor lasts for years to come. Use a paint roller or brush to apply the top coat in thin layers; again, make sure you work in small sections so that you don’t miss any spots or create any thick patches of epoxy.
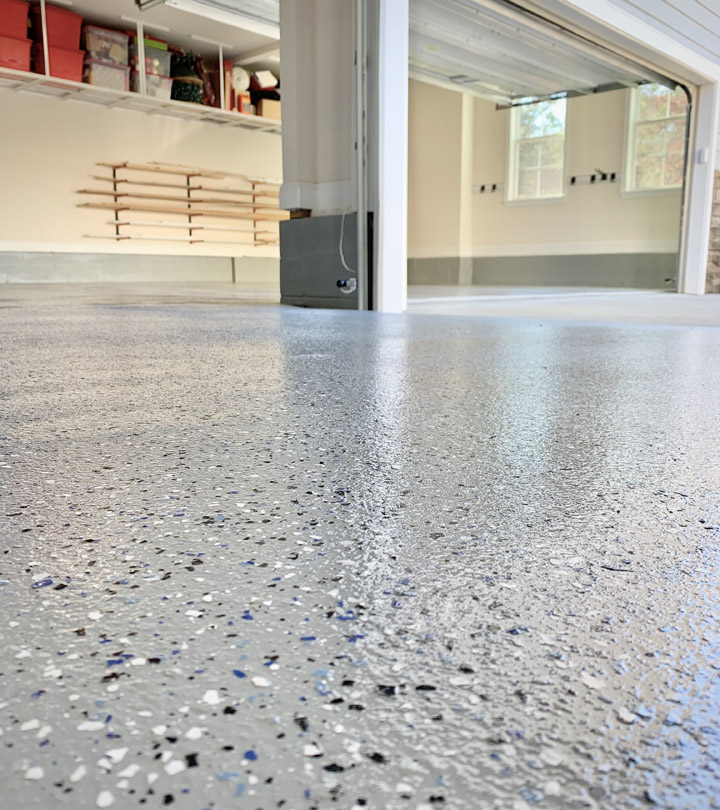
6. Finishing Touches: Finally, it’s time to add any finishing touches you desire – such as anti-slip additives or decorative chips – to complete your epoxy garage floor project!
Conclusion
Applying an epoxy garage floor coating is a great way to protect your concrete from damage and give your space a more stylish and professional look. With just a few simple steps – such as preparing the concrete surface, applying primer and base coats, adding color, and applying top coat – you can achieve a durable and attractive epoxy garage floor that will last for years to come!