How To Install Click And Lock Bamboo Flooring
How To Install Bamboo Flooring Click Lock – Flooring Guide by Cinvex

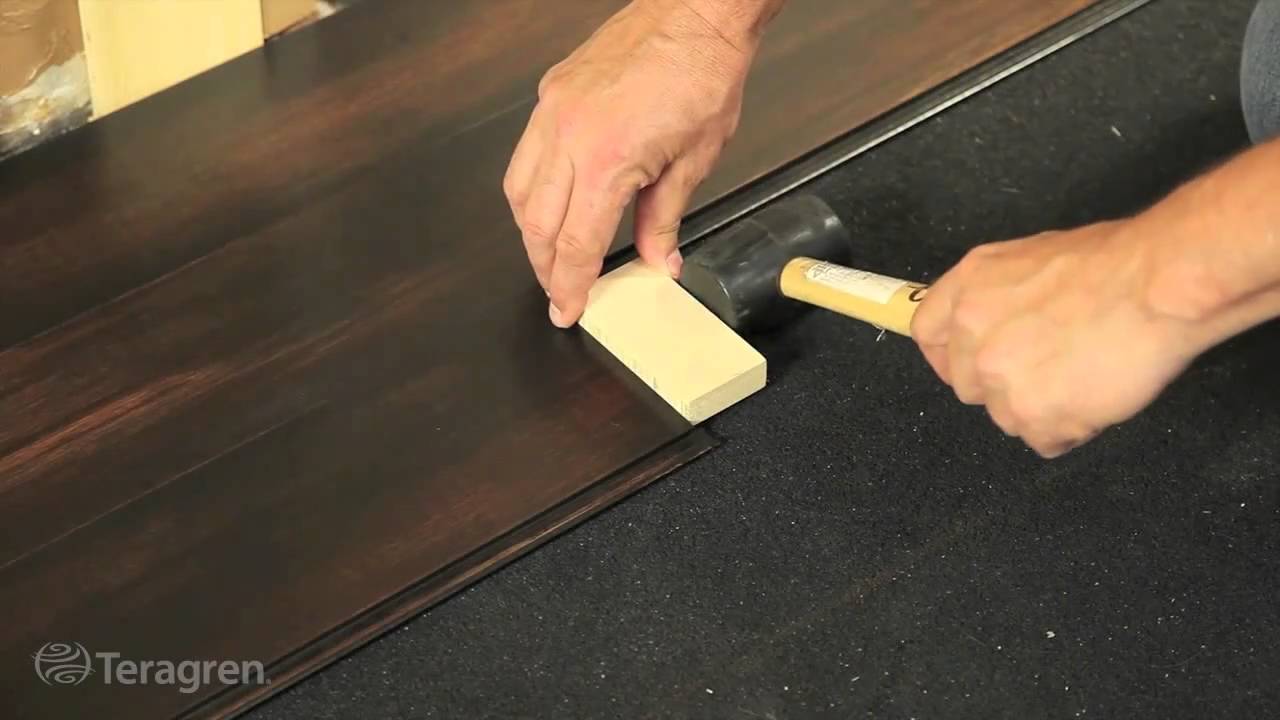
Click Lock Bamboo Flooring Installation – DIY Install – No Glue
How To Install Cali Bamboo Click Flooring – Flooring Blog
Click Lock Bamboo Flooring Pros And Cons – Flooring Blog
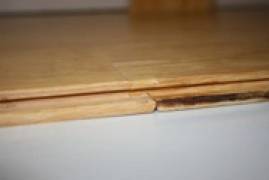
Click Lock Bamboo Flooring Installation – DIY Install – No Glue
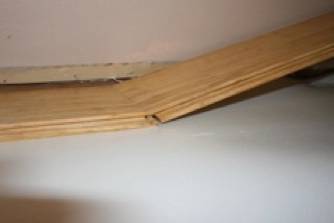
Click Lock Bamboo Flooring Installation – DIY Install – No Glue
Our WPC features the click system, the interlocking planks lock together to provide a tight

Reduce Remodeling Costs With Click Lock Flooring OnFlooring

Solid Bamboo Click Lock Flooring – Flooring Guide by Cinvex

How To Install Click Lock Engineered Hardwood Flooring Engineered hardwood flooring

Related Posts:
- DIY Bamboo Flooring
- Natural Floors Vintage Antique Bamboo
- Antique Bamboo Flooring
- Tiger Stripe Bamboo Flooring
- Bamboo Floor Stain Colors
- Best Price Bamboo Flooring
- Bamboo Flooring Interior Design
- Bamboo Floor Cleaner DIY
- Cali Bamboo Flooring
- Bamboo Floor Patio
Bamboo flooring is becoming increasingly popular for its stylish look, durable construction and environmental-friendliness. Installing click and lock bamboo flooring is simple and easy to do, making it a great DIY project. With the right tools and materials, you can have a beautiful new bamboo floor in no time. Here’s how to install click and lock bamboo flooring.
## Gather The Necessary Materials
Before you begin the installation process, make sure you have all the necessary materials. These include click and lock bamboo flooring planks, underlayment, a chalk line, a pencil, a tape measure, a saw, a hammer and nails, and a tapping block. You’ll also need the appropriate adhesive for your type of bamboo flooring.
## Measure Your Room
The first step in installing click and lock bamboo flooring is to measure the room you’re working with. Using a tape measure and pencil, mark the dimensions of the room on the wall. This will help you determine how much material you need for the job and ensure that your measurements are accurate.
## Prepare The Subfloor
Once your measurements are complete, it’s time to prepare the subfloor for the installation process. Make sure it’s clean, dry, level and free from debris before beginning. If there are any cracks or holes in the subfloor, fill them in with an appropriate filler material.
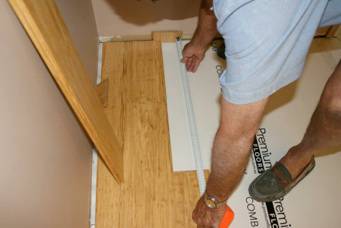
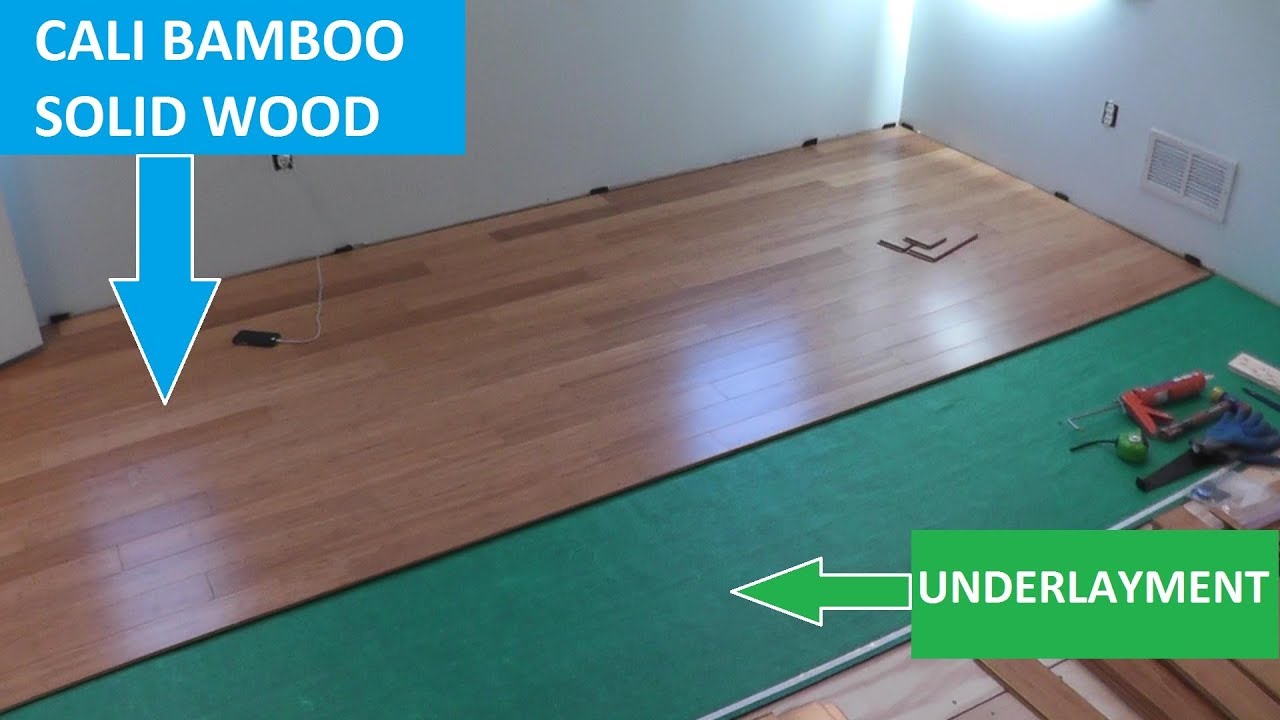
## Lay The Underlayment
Now it’s time to lay down the underlayment. This is an essential part of the installation process as it helps to create a smooth surface for the flooring planks to rest on. Start by laying down the first row of underlayment along one wall of the room. Make sure it’s even and secure it with nails or adhesive as necessary. Continue laying down additional rows until you reach the opposite wall of the room.
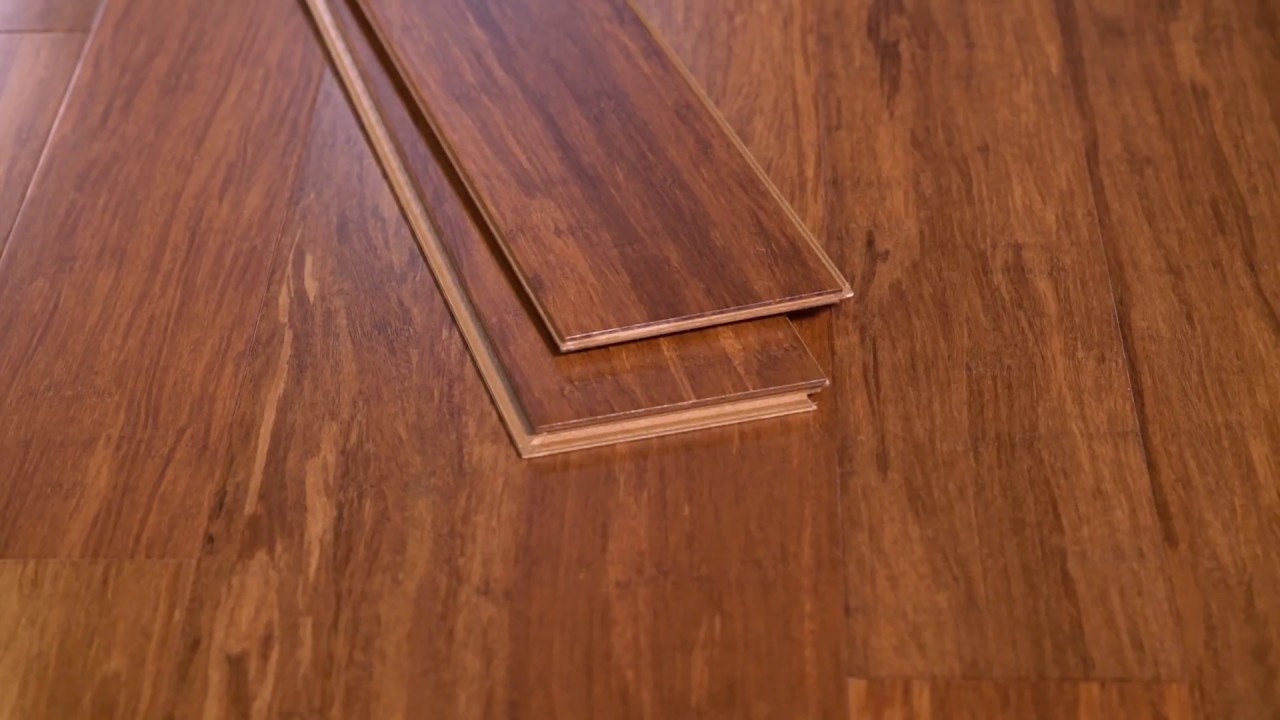
## Begin Installing The Planks
Once your underlayment is installed, you’re ready to begin installing the bamboo planks. Start with one wall of the room and work your way across. Measure each plank before cutting as necessary with a saw. Make sure each plank fits securely against its neighbor before nailing or gluing it into place. Use a tapping block when installing to ensure that each plank is properly secured.
## Finishing Touches
Once all the planks have been installed, add any finishing touches that may be necessary such as trim pieces or edging strips around doorways or other areas where planks meet walls or other surfaces. You may also want to use a sealant to protect your newly installed bamboo flooring from water damage or other issues that may arise with time.
Installing click and lock bamboo flooring is an easy DIY project that anyone can do with minimal effort. With this guide and the right materials, you can have a beautiful new bamboo floor in no time!